How to Draw a Microphone (Easy Step by Step)
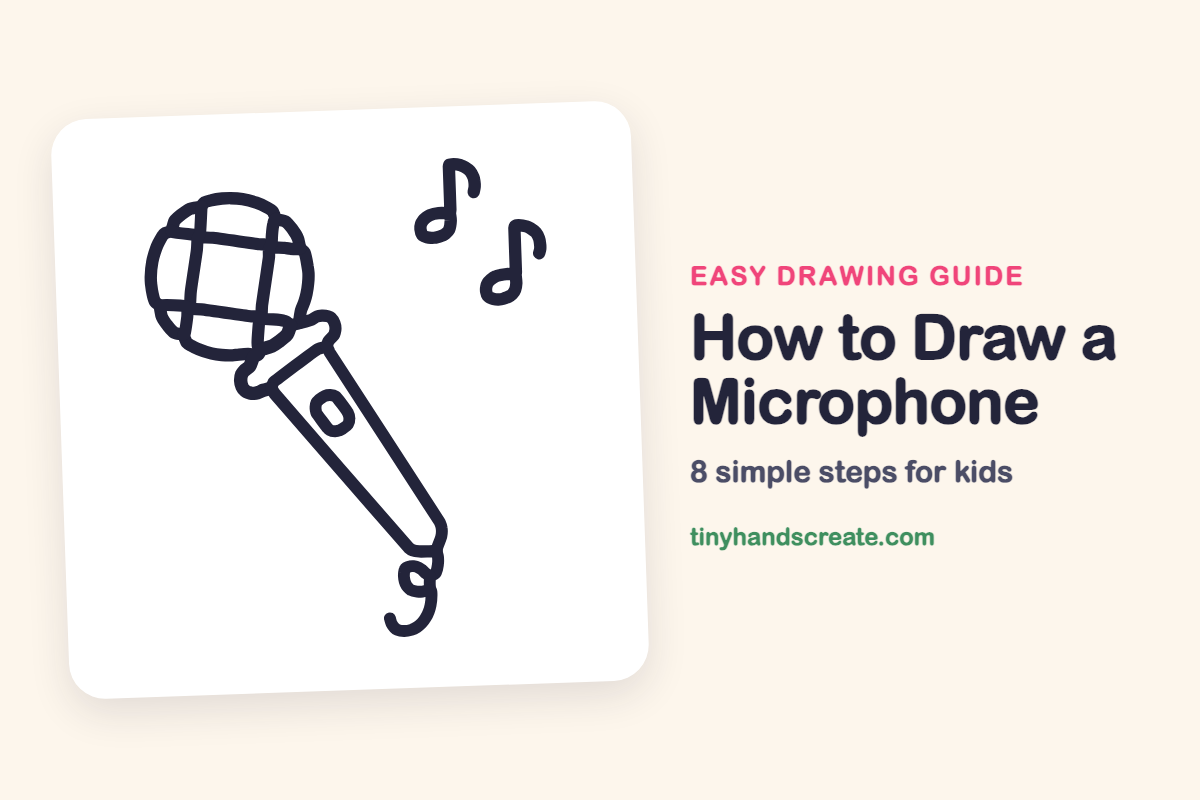
A microphone is a fun thing to draw because it is built from a few simple shapes: a circle, a long tilted handle, and a couple of little rounded shapes. Add a curly cord and two music notes, and your drawing looks ready to sing. It is a great project for a rainy afternoon or a talent show poster.
- Medium
- 15 minutes
- 8 steps
You need: paper, a pencil, an eraser, and crayons or markers for coloring.
Start drawingIn this article (7 sections)
How to draw a microphone step by step
How to Draw a Microphone · tinyhandscreate.com
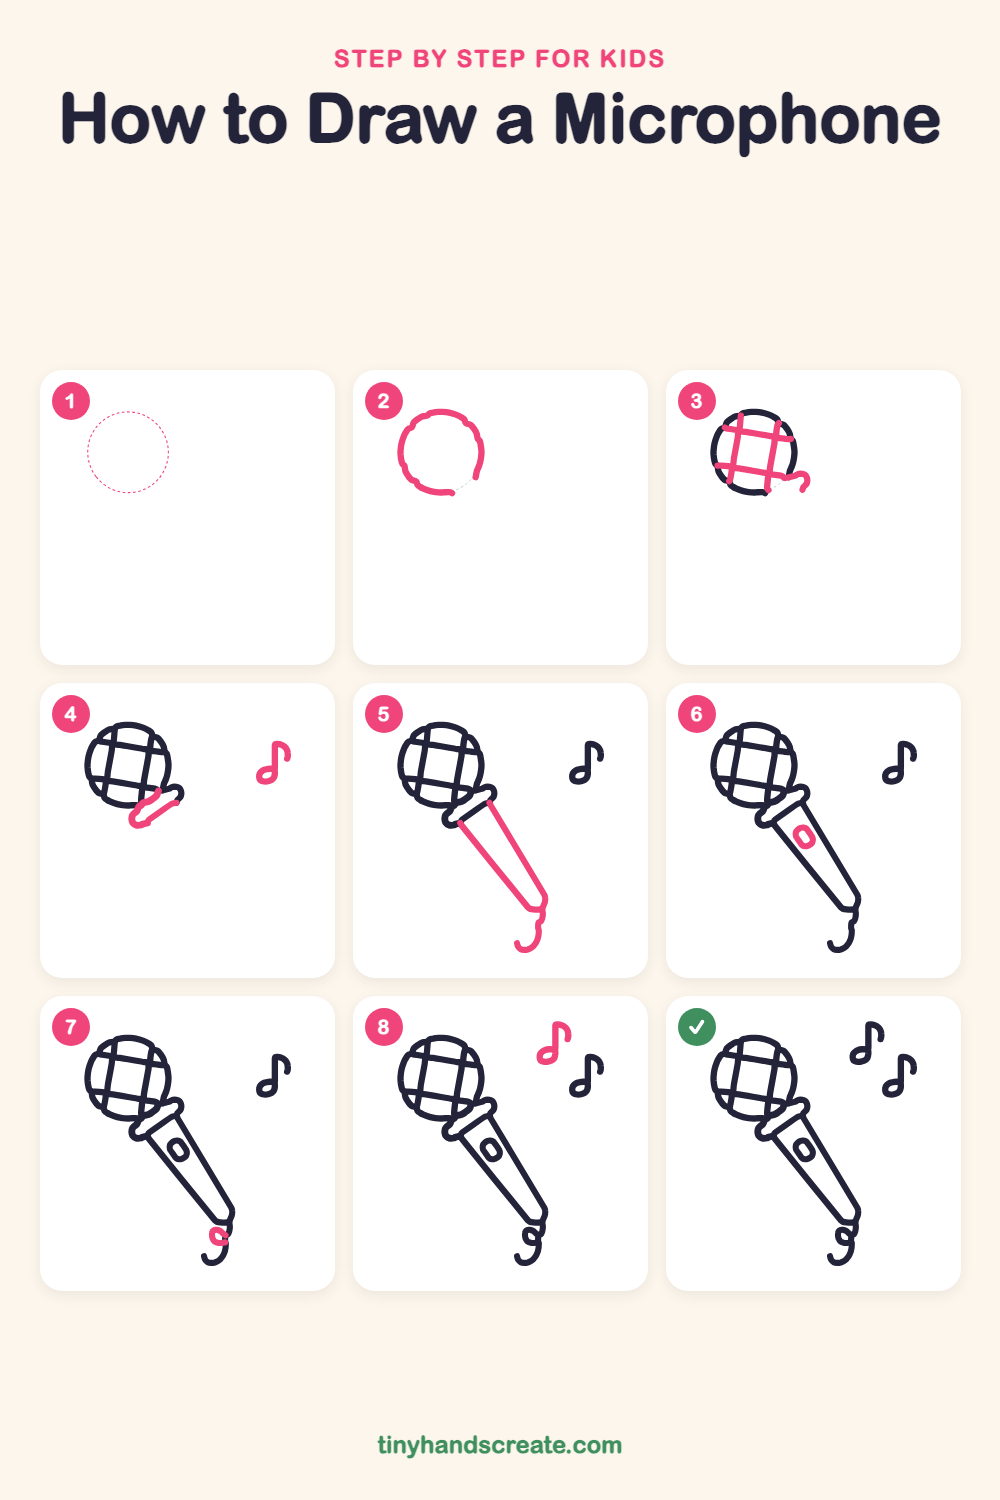
Step 1: Guide shapes
Lightly sketch this oval. It only shows where the big parts go, so press softly. You will erase it at the end.
Step 2: The round head
Draw a big circle near the top left of your page. Leave a tiny gap at the bottom right, because the next step will close it.
Step 3: The grille grid
Draw two lines going up and down across the ball, then two lines going side to side. They cross to make a tic-tac-toe grid, and a little curl at the bottom right closes the gap in the circle.
Step 4: Collar and first note
Under the ball, draw a short tilted rounded rectangle, like a pill lying on its side, to join the ball to the handle. Then up in the top right, draw a small oval with a straight line going up from its right side and a little flag curling off the top.
Step 5: Handle and cord hook
From the collar, draw two straight lines that come a little closer together as they go down toward the bottom right. Close the bottom with a short slanted line, then add a small hook curling out below it.
Step 6: The button
In the middle of the handle, draw a small tilted rounded rectangle for the on and off button.
Step 7: The cord loop
At the end of the hook below the handle, draw one tiny loop so the cord looks curly.
Step 8: The second music note
Above and a little to the left of the first note, draw another small oval with a straight line going up from its right side. Finish with a little flag curling off the top.
All done!
Erase the guide shapes, go over your lines, then color it in.
Finished your microphone? Keep the pencils out and learn how to draw a xylophone or how to draw a tooth next.
Tips for drawing a microphone
- Draw the grid lines on the ball lightly at first. Curve them just a little so they follow the round shape.
- The handle gets a little narrower as it goes down. Draw the two long sides first, then check that they are not perfectly parallel.
- Make the music notes small, so the microphone stays the star of the page.
Free microphone coloring page
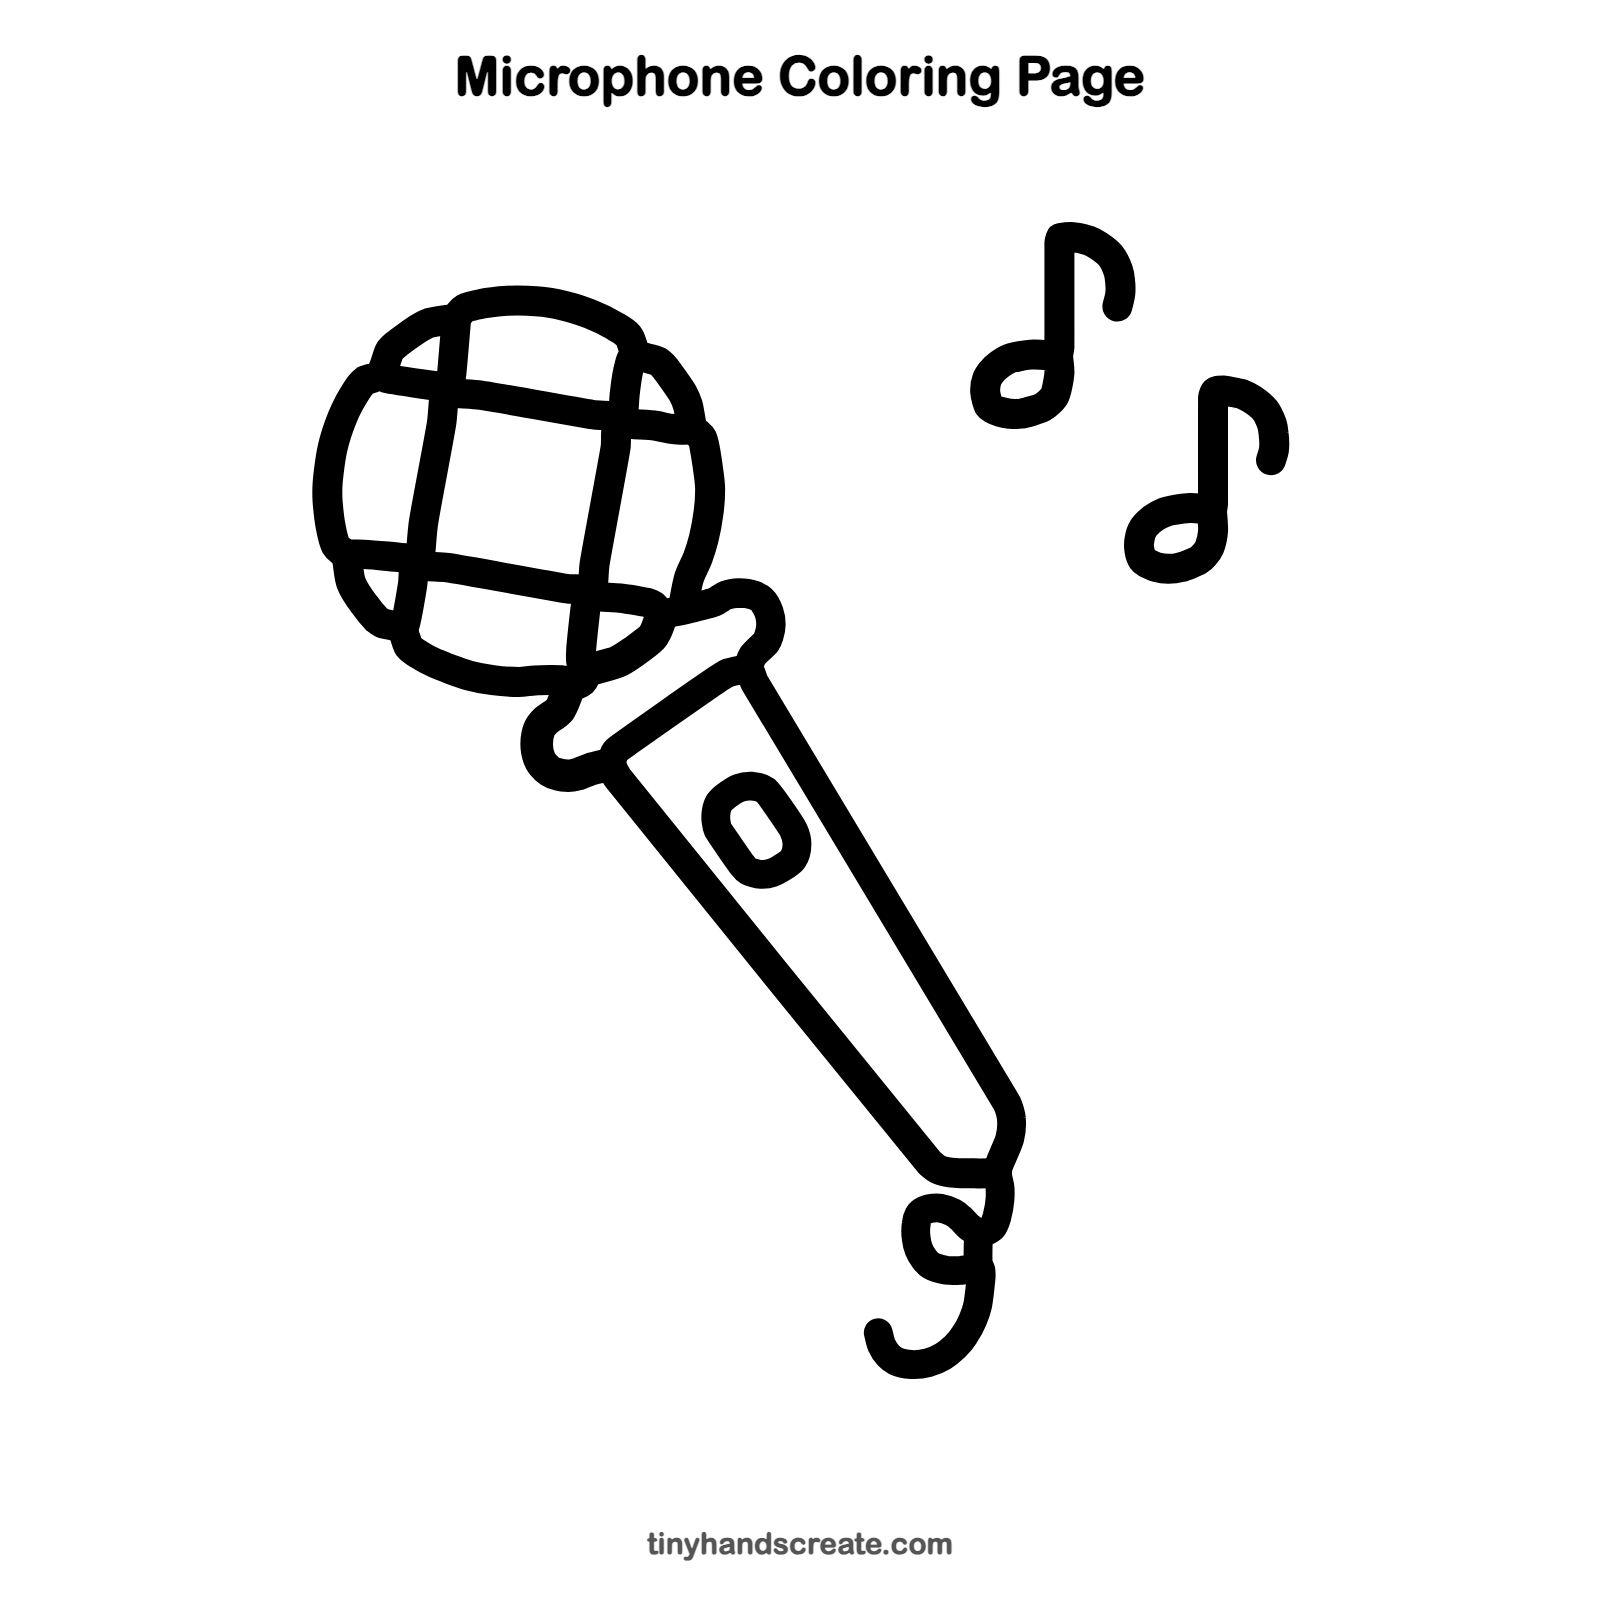
Want to go straight to coloring? Open this microphone coloring page at full size and print it. It is the same drawing you just learned, with clean lines ready for crayons or markers.
How to color your microphone drawing
Try silver or gray for the ball, a bold color like red or blue for the handle, and bright colors for each music note. For a creative twist, give each of the two notes a different color, as if each one is a different song.
Microphone fun fact for kids
The word microphone comes from two Greek words: mikros, meaning small, and phone, meaning sound. Many microphones have a thin layer inside called a diaphragm that wiggles when sound hits it.
Questions about drawing a microphone
What shapes do I need to draw a microphone?
You need a circle for the head, a small tilted rounded rectangle for the collar, two long lines for the handle, and a small rounded rectangle for the button. The notes use ovals and straight lines.
How do I make the grid on the microphone head look neat?
Draw two lines up and down first, then two lines across, and let them cross each other. Use a light pencil so you can fix any wobbly lines.
How do I draw the curly cord?
Start with a small hook curling out from the bottom of the handle. Then add one tiny loop where the hook curls.