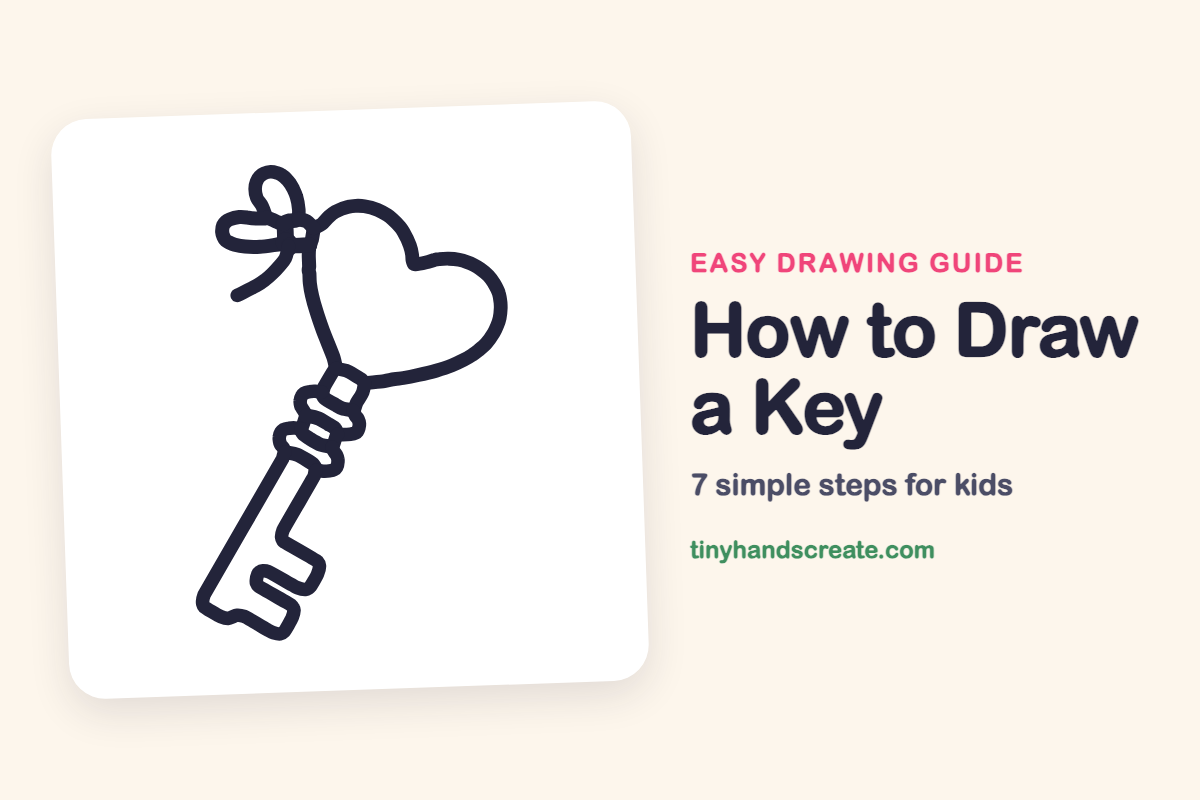
How to Draw a Key (Easy Step by Step)
A heart-shaped key tied with a little bow is a fun one to draw because it looks like a treasure from a storybook. It is built from a heart, a few puffy bands, and a long shaft with notches. Each part is simple, so kids can finish it one piece at a time.
- Medium
- 15 minutes
- 7 steps
You need: paper, a pencil, an eraser, and crayons or markers for coloring.
Start drawingIn this article (7 sections)
How to draw a key step by step
How to Draw a Key · tinyhandscreate.com
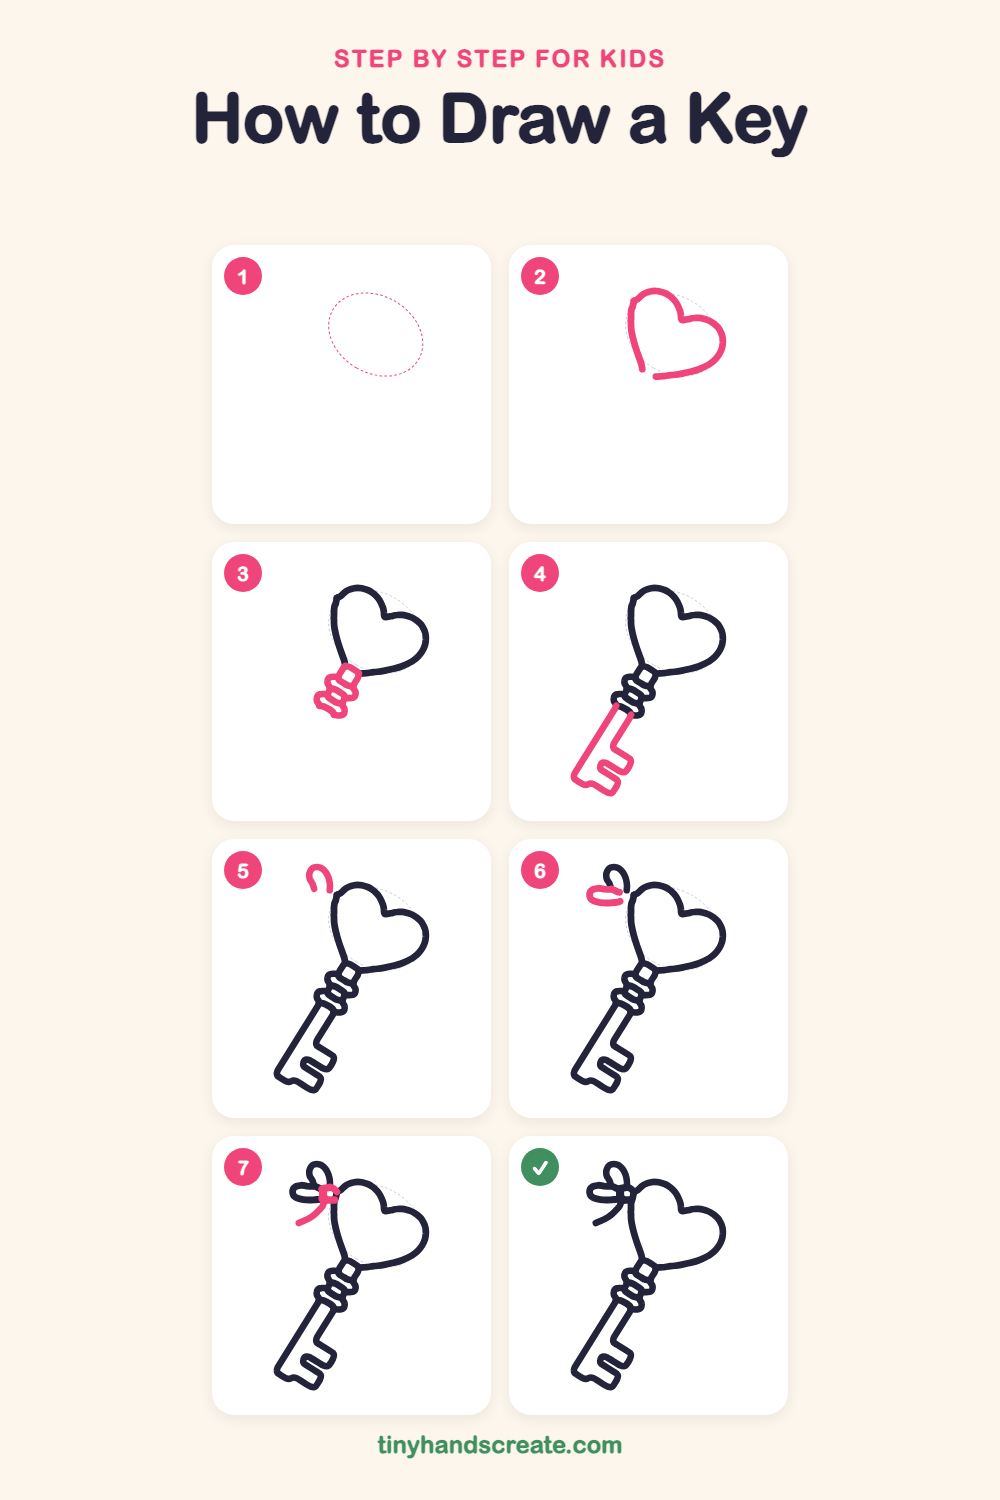
Step 1: Guide shapes
Lightly sketch this oval. It only shows where the big parts go, so press softly. You will erase it at the end.
Step 2: The heart handle
Draw a big heart tilted a little to one side, with the pointy bottom aiming down toward the left. Start at the top dip, curve around each bump, and stop just short of the point at the bottom.
Step 3: The collar rings
At the point of the heart, draw a small tilted square. Under it, stack two or three puffy, wavy bands that get a little wider as they go down.
Step 4: The long shaft
From the bottom ring, draw two long straight lines going down at a slant. Finish with a square notch on one side and a zigzag tooth at the bottom, then close the end.
Step 5: The top loop
Above and to the left of the heart, draw a small loop shaped like an upside-down U. It floats by itself for now, with the bottom left open.
Step 6: The side loop
Draw a small sideways oval just below the top loop and a little to the left. It will be the other wing of the bow.
Step 7: Knot and ribbon tail
Where the two loops meet, draw a tiny rounded knot. Then curve one ribbon tail down and to the left.
All done!
Erase the guide shapes, go over your lines, then color it in.
Finished your key? Keep the pencils out and learn how to draw a camping lantern or how to draw a rocket next.
Tips for drawing a key
- Draw the heart lightly first and make both bumps about the same size. Then go over it with a firmer line.
- The rings are the trickiest part. Think of them as flat, puffy sausages stacked up, each a bit wider than the one above.
- For the key teeth, draw the long shaft first and then add the square notch and the zigzag tooth with short straight lines, turning the corner each time.
Free key coloring page
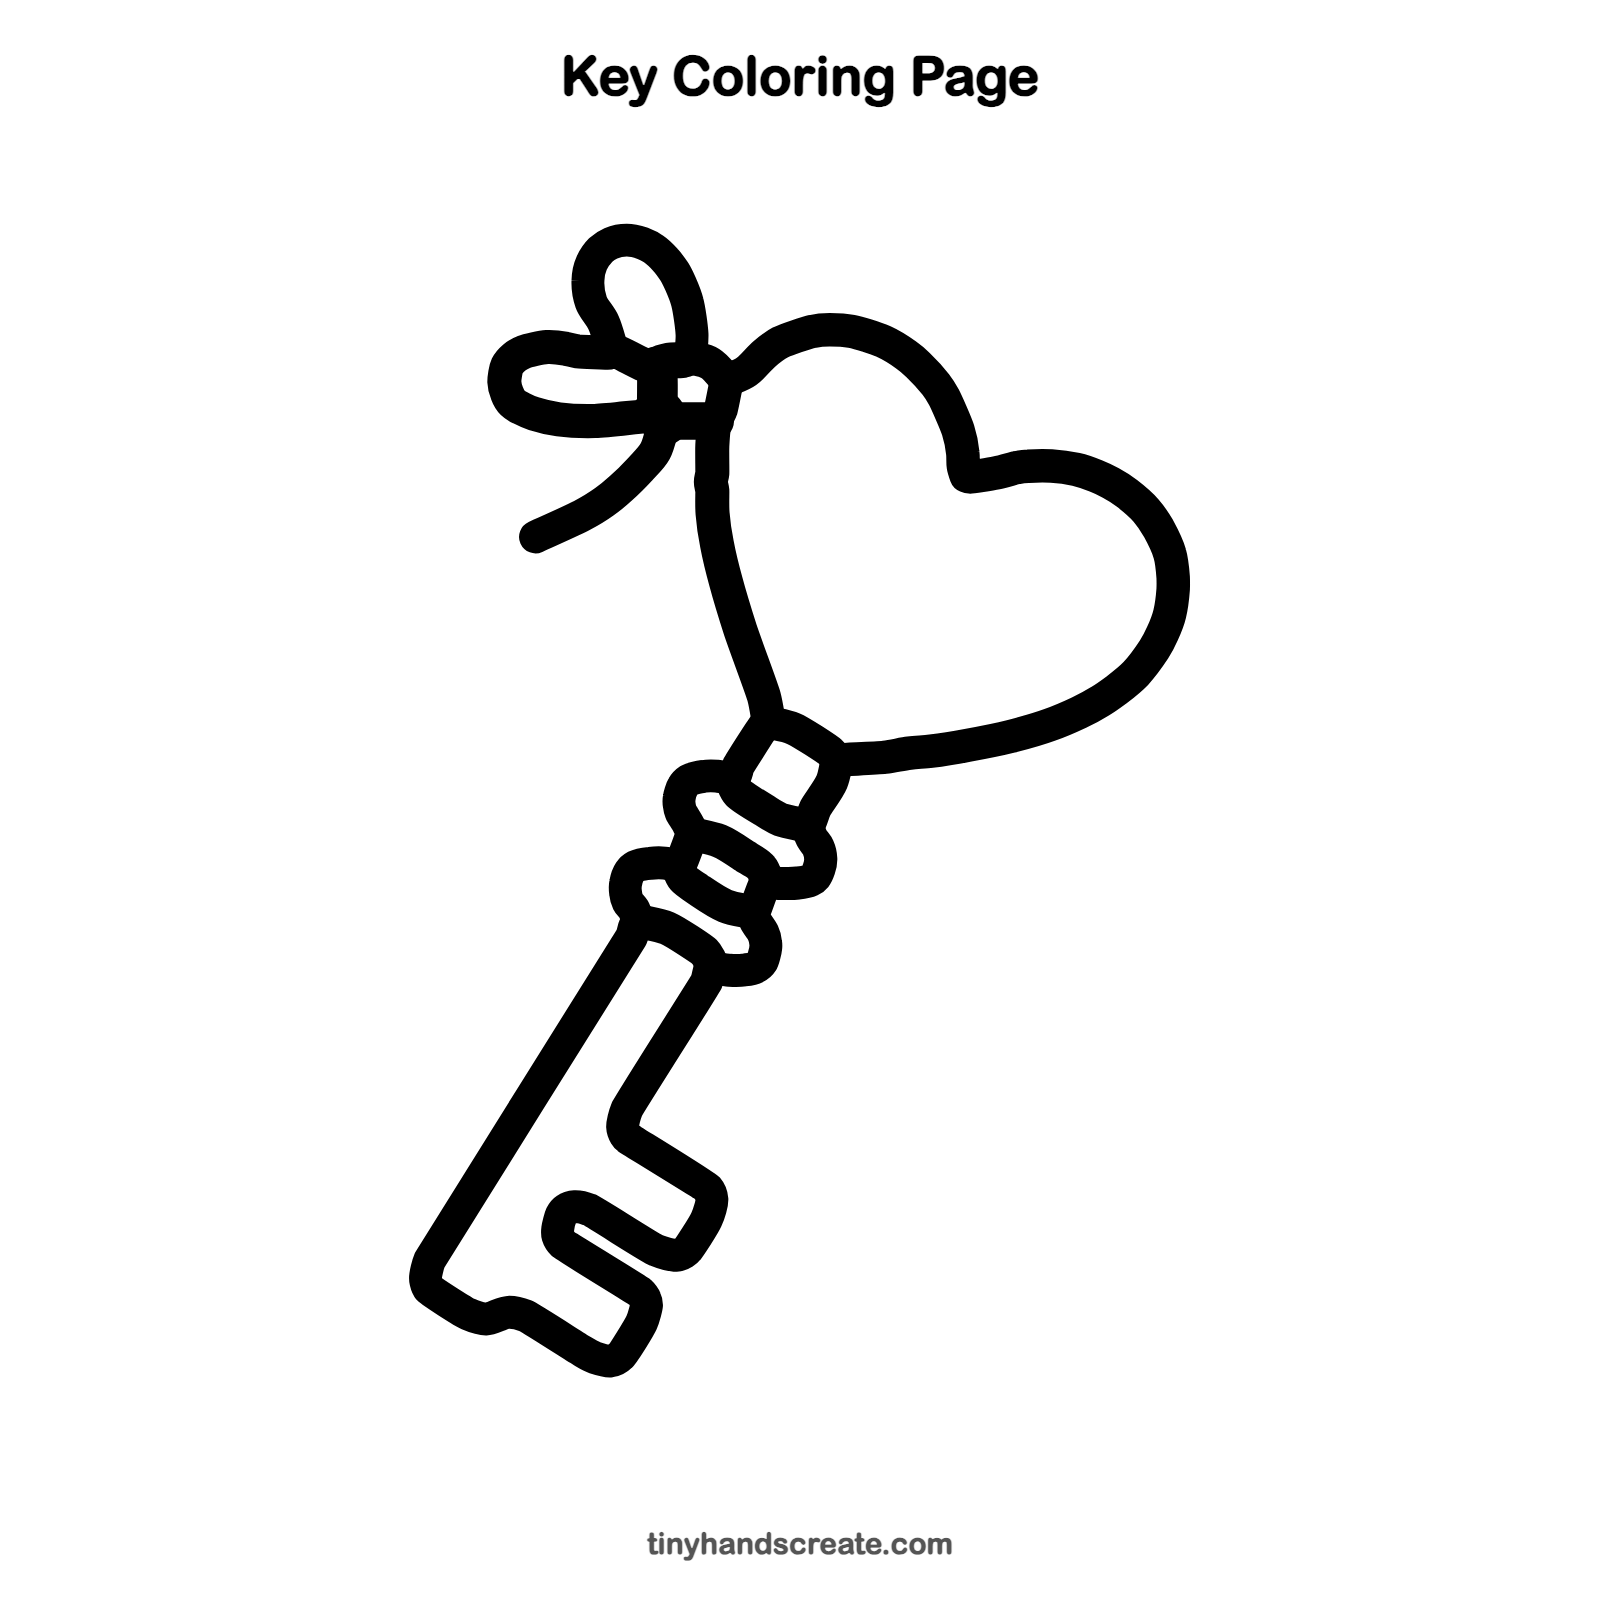
Want to go straight to coloring? Open this key coloring page at full size and print it. It is the same drawing you just learned, with clean lines ready for crayons or markers.
How to color your key drawing
Try a shiny gold key with a pink or red heart and a bow in your favorite color. For a twist, color the heart like a rainbow.
Key fun fact for kids
Ancient Egyptians used wooden locks and keys thousands of years ago. The key had pegs that lifted small pins inside the lock.
Questions about drawing a key
What shapes do I need to draw a heart key?
You need a heart, a small square, a few puffy bands, and a long shaft with notches. The bow is just two small loops, a knot, and a curved tail.
How do I make my key look cuter?
Make the heart extra big and round, and add a puffy bow at the top. You can also add little sparkles around the key.
How do I draw the key teeth?
Draw the long shaft first. Then add a square notch on one side and a zigzag tooth at the bottom end, going in and out like a small staircase.