How to Draw a Xylophone (Easy Step by Step)
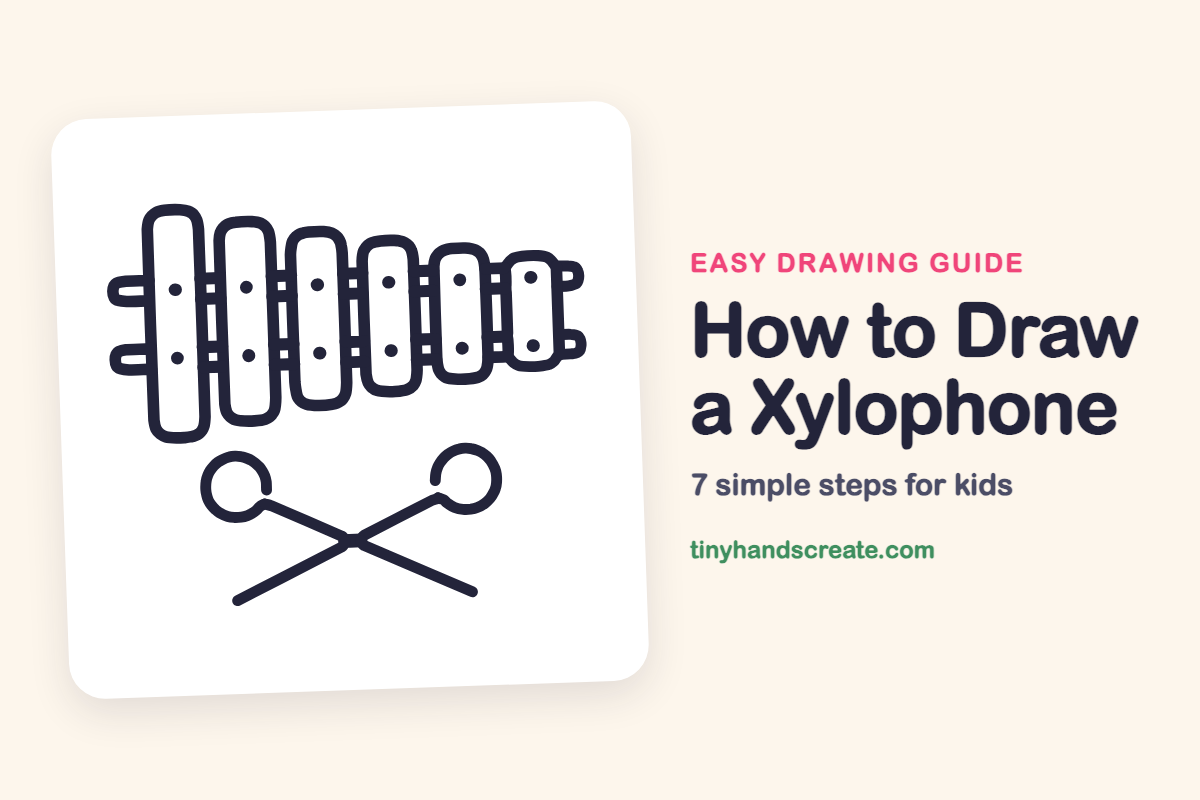
A xylophone is a fun drawing because it is mostly rounded rectangles lined up in a row, each one a little shorter than the last. Add two rails, a few dots, and two circles with crossing lines for the mallets, and you have a whole music scene. If you can draw a rectangle, a circle and a line, you can draw this.
- Easy
- 12 minutes
- 7 steps
You need: paper, a pencil, an eraser, and crayons or markers for coloring.
Start drawingIn this article (7 sections)
How to draw a xylophone step by step
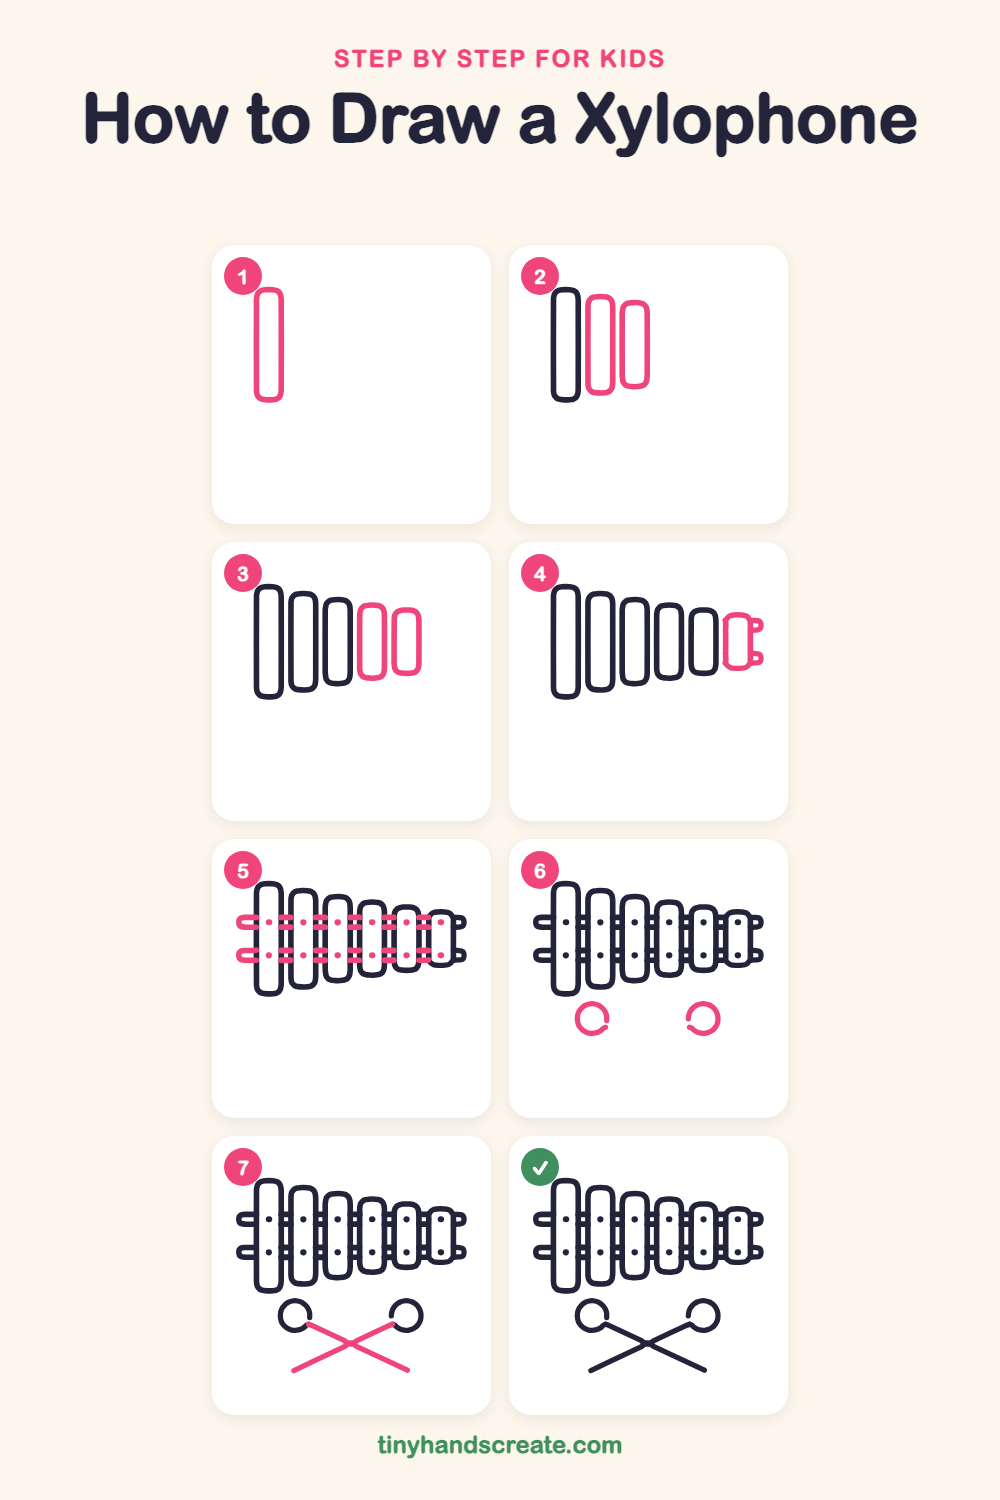
How to Draw a Xylophone · tinyhandscreate.com
Step 1: The tallest bar
On the left side, draw a tall rectangle with rounded corners, like a long pill standing up. This is the biggest bar of the xylophone.
Step 2: Two more bars
Next to the tall bar, leave a small gap and draw a slightly shorter rounded rectangle. Then draw one more beside it that is a little shorter again, so the bars start to step down.
Step 3: Two smaller bars
Keep going to the right with two more rounded rectangles. Make each one a bit shorter than the one before, and keep the gaps between them the same.
Step 4: Smallest bar and tabs
At the right end, draw the shortest rounded rectangle of all. Then add two little rounded tabs sticking out of its right side, one near the top and one near the bottom.
Step 5: Rails and dots
Draw two thin rails, one near the top and one near the bottom, running through the gaps between the bars. Let the left ends stick out past the first bar with rounded tips, then add a small dot on each bar where it meets each rail.
Step 6: Two mallet heads
Below the xylophone, draw two circles with a wide space between them. These are the round tops of the mallets.
Step 7: Crossing mallet sticks
From the lower inside edge of each circle, draw a straight line going down toward the middle. Let the two lines cross in an X and keep going down and outward past the circles.
All done!
Go over your lines with a marker, then color it in.
Finished your xylophone? Keep the pencils out and learn how to draw a tooth or how to draw a key next.
Tips for drawing a xylophone
- Draw the tallest bar first, then make every bar after it just a little shorter. A light ruler line sloping down along the tops can help you keep the steps even.
- Leave the same small gap between each bar. Matching gaps make the row look neat, and the rails pass through those gaps.
- For the mallets, draw the two circles first and then the sticks. Let the sticks cross about halfway down, and keep them straight by drawing each one in one smooth stroke.
Free xylophone coloring page
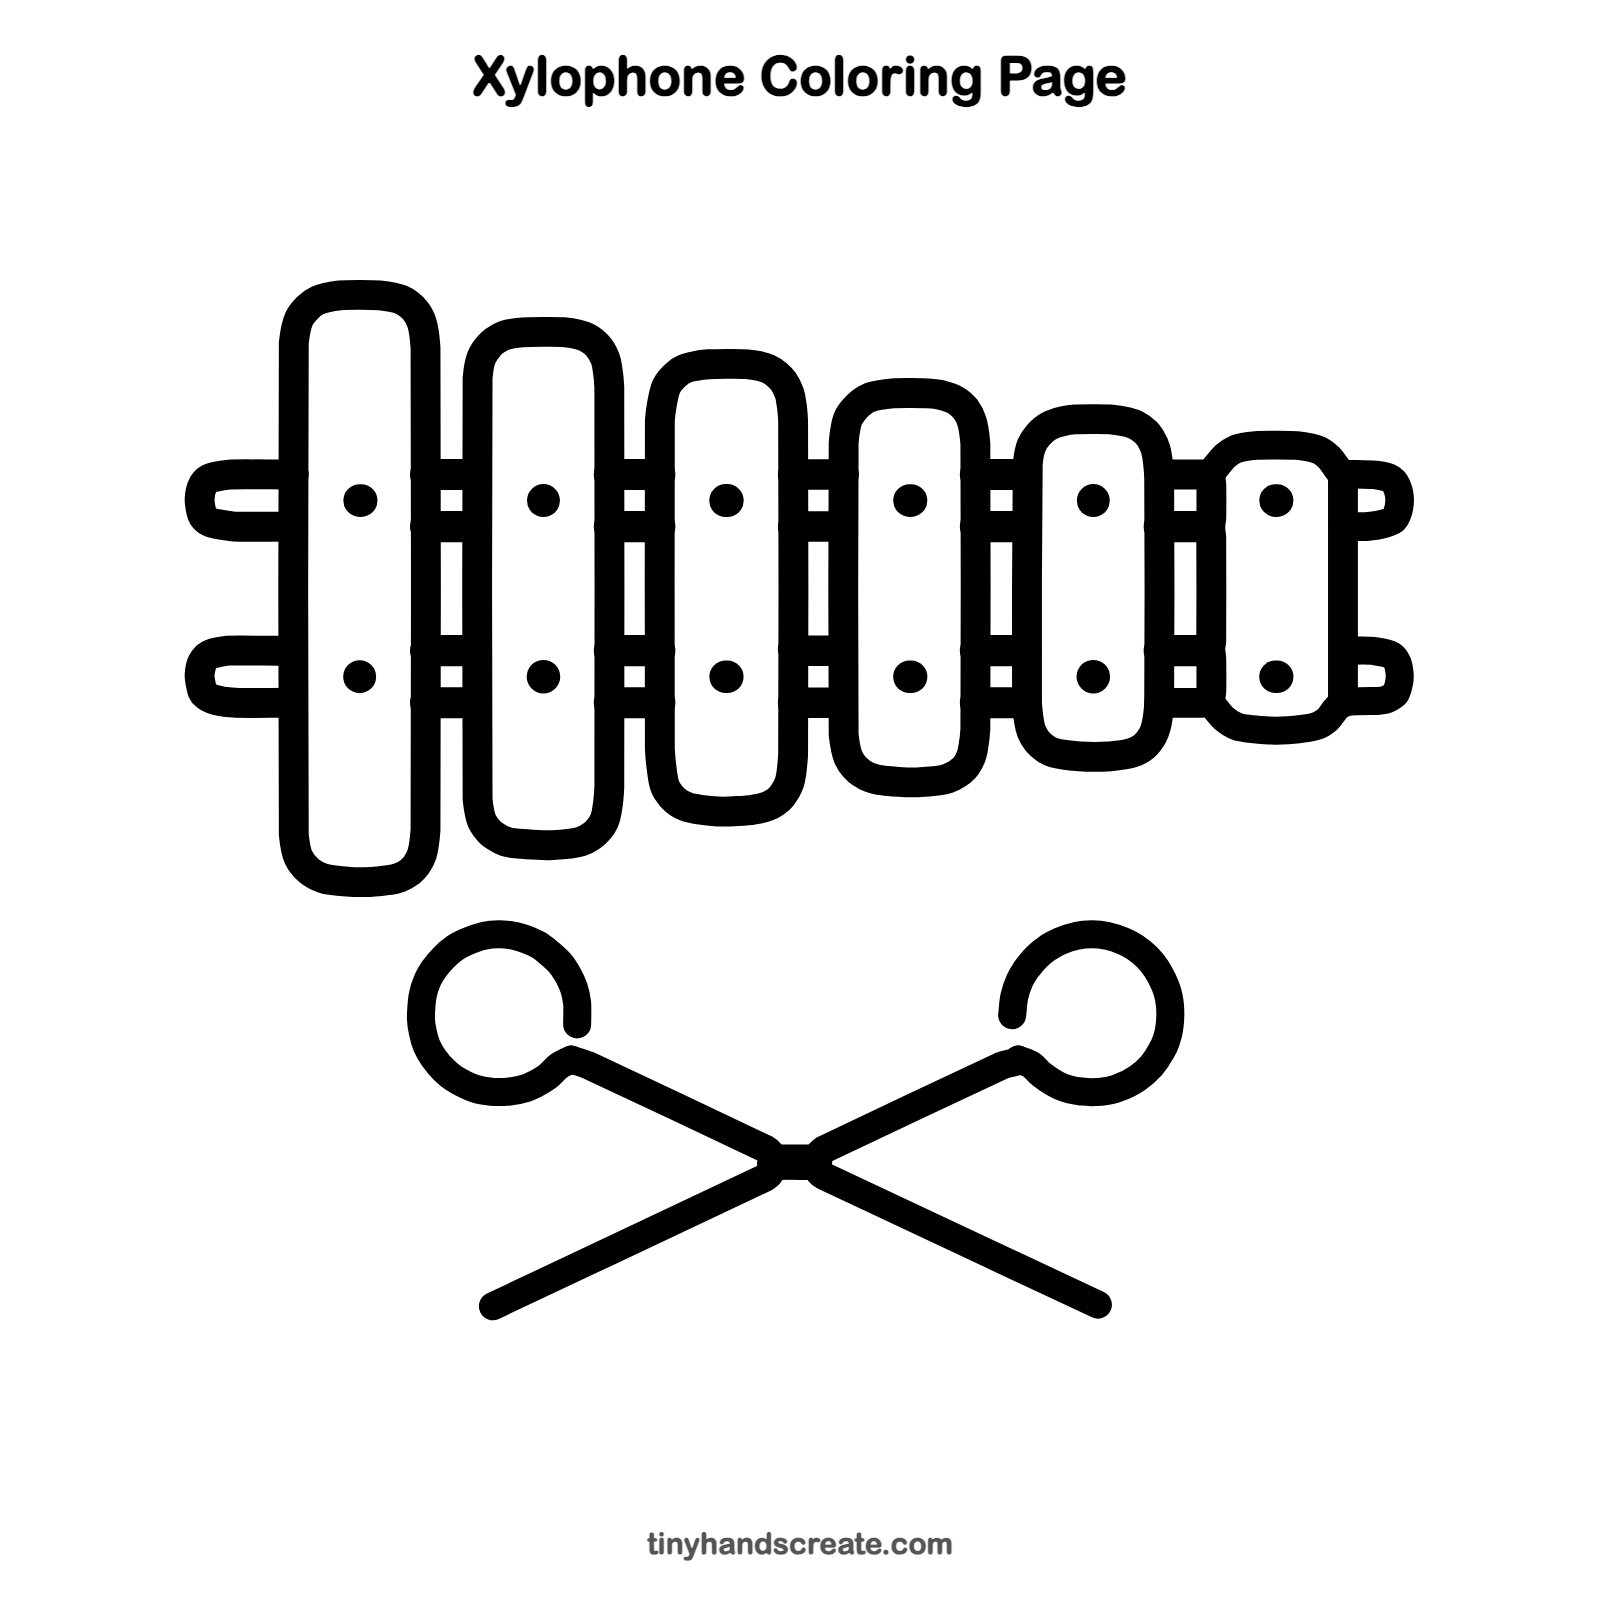
Want to go straight to coloring? Open this xylophone coloring page at full size and print it. It is the same drawing you just learned, with clean lines ready for crayons or markers.
How to color your xylophone drawing
Color each bar a different rainbow color, from red on the tall bar to purple on the short one, and make the mallet heads a bright color too. For a creative twist, add music notes floating above the bars.
Xylophone fun fact for kids
A xylophone makes sound when you hit its bars, and each bar plays a different note. Longer bars make lower sounds and shorter bars make higher sounds, which is why the bars get shorter in a row.
Questions about drawing a xylophone
What shapes do I need to draw a xylophone?
You need rounded rectangles for the bars, two thin rails, small dots, two circles for the mallet heads and straight lines for the sticks.
How do I make the bars look even?
Draw the first bar, then make each new bar a little shorter and keep the same gap between them. Lightly marking the top and bottom lines first can help.
How do I make my xylophone look more fun?
Color each bar a different bright color and add little music notes around it. You can also color the mallet heads in bright colors.