How to Draw a Tree (Easy Step by Step)
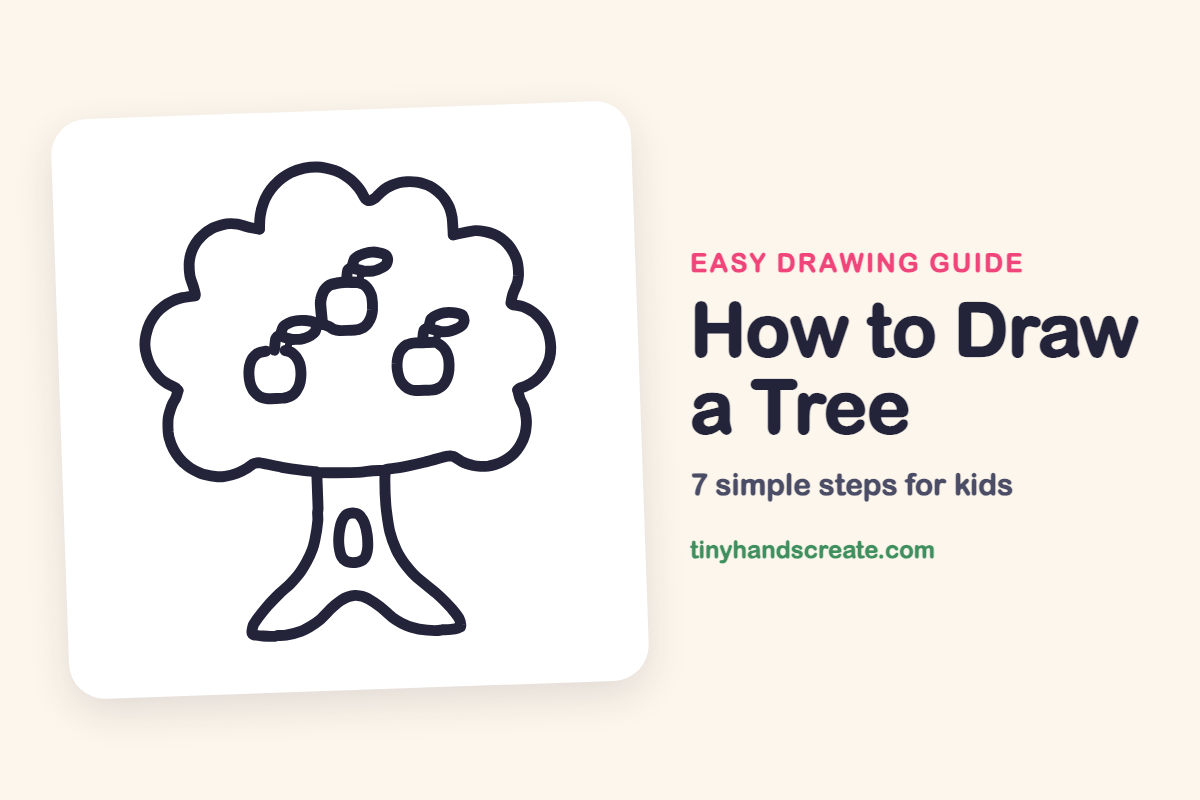
An apple tree is a friendly drawing made from just a few simple shapes. You will draw a puffy cloud for the leaves, a trunk with wide feet at the bottom, a little knothole, and three small apples with stems and leaves. It is a great first nature drawing because nothing has to be perfect, and bumpy lines look just right.
- Easy
- 10 minutes
- 7 steps
You need: paper, a pencil, an eraser, and crayons or markers for coloring.
Start drawingIn this article (7 sections)
How to draw a tree step by step
How to Draw a Tree · tinyhandscreate.com
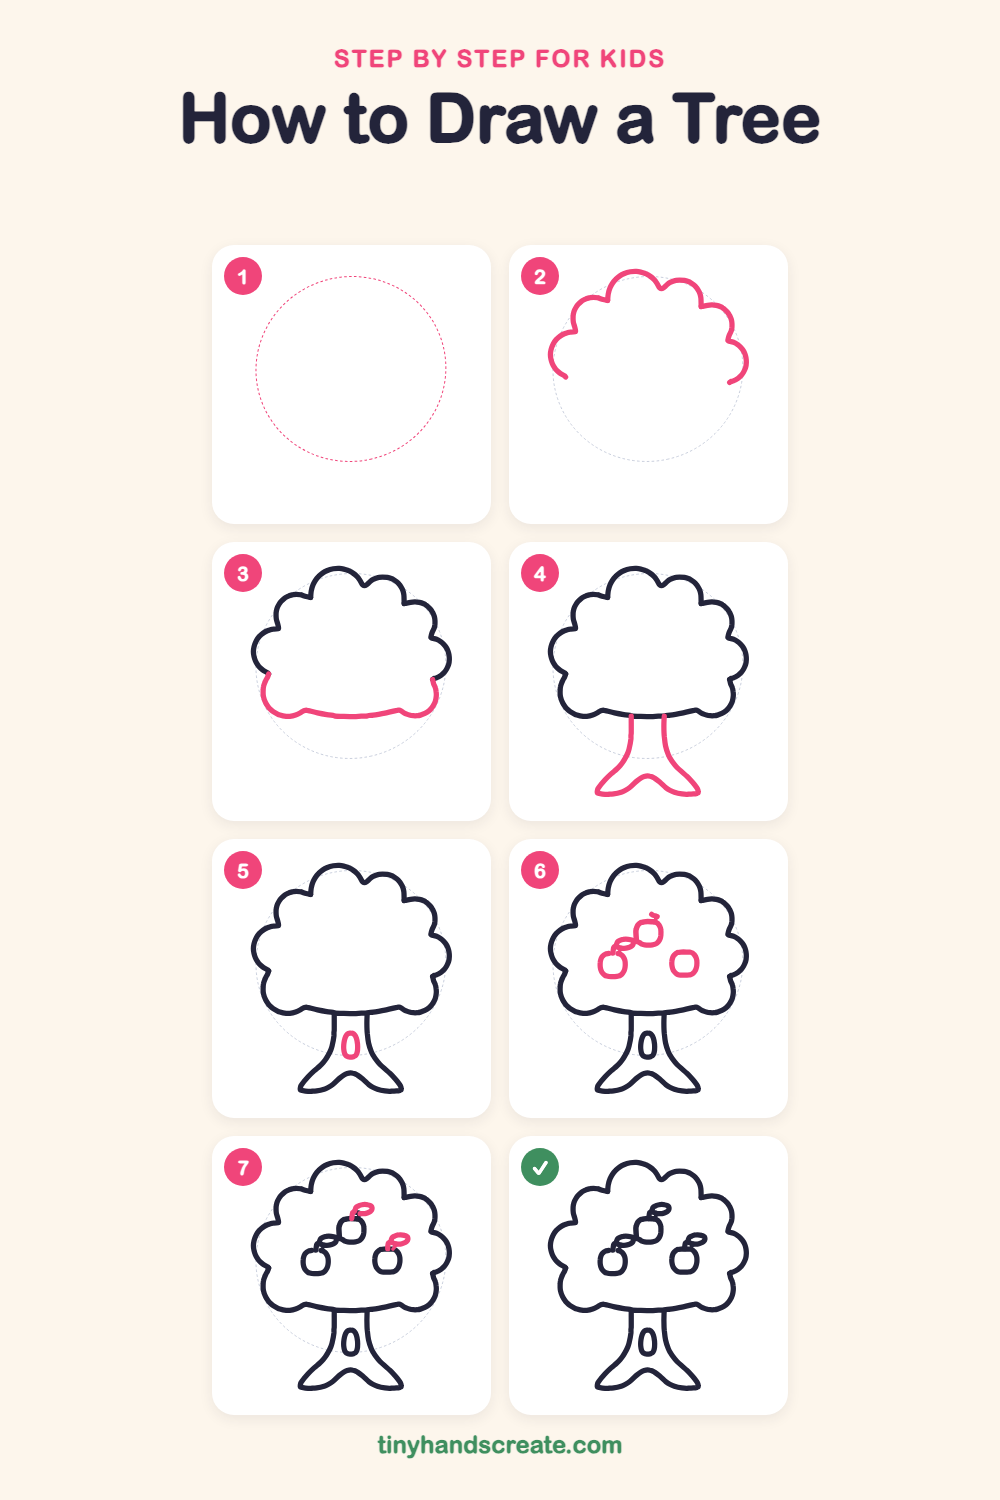
Step 1: Guide shapes
Lightly sketch this oval. It only shows where the big parts go, so press softly. You will erase it at the end.
Step 2: Puffy treetop outline
Start at the left side and draw a bumpy cloud line up and over the top, then down the right side. Make each bump a round curve, and leave a gap along the bottom.
Step 3: Bottom of the treetop
Close the cloud by drawing a gently curved line along the bottom. Start it at the end of the left side and finish at the end of the right side, with a small bump near each end.
Step 4: The trunk
Under the treetop, draw two lines going down, starting just below the cloud. At the bottom, curve them outward like wide feet and join them with an upside-down U in the middle.
Step 5: The knothole
Draw a small tall oval in the middle of the trunk. This is a cozy little hole where an animal could live.
Step 6: Three apples
Draw three small rounded squares inside the treetop: one on the lower left, one higher up in the middle, and one on the right. Add a tiny curl on top of the middle apple.
Step 7: Stems and leaves
Add a tiny stem on top of each apple. Then draw a small flat oval leaf at the top of each stem.
All done!
Erase the guide shapes, go over your lines, then color it in.
Finished your tree? Keep the pencils out and learn how to draw a moon or how to draw the Earth next.
Tips for drawing a tree
- Draw the treetop with big, slow bumps. If one comes out wobbly, it still looks like leaves, so keep going.
- Start the trunk lines right under the bottom of the treetop so the tree looks connected, then let the lines flare out at the bottom like feet.
- Draw the apples as small rounded squares, and keep them far enough apart so each one has room for its own stem and leaf.
Free tree coloring page
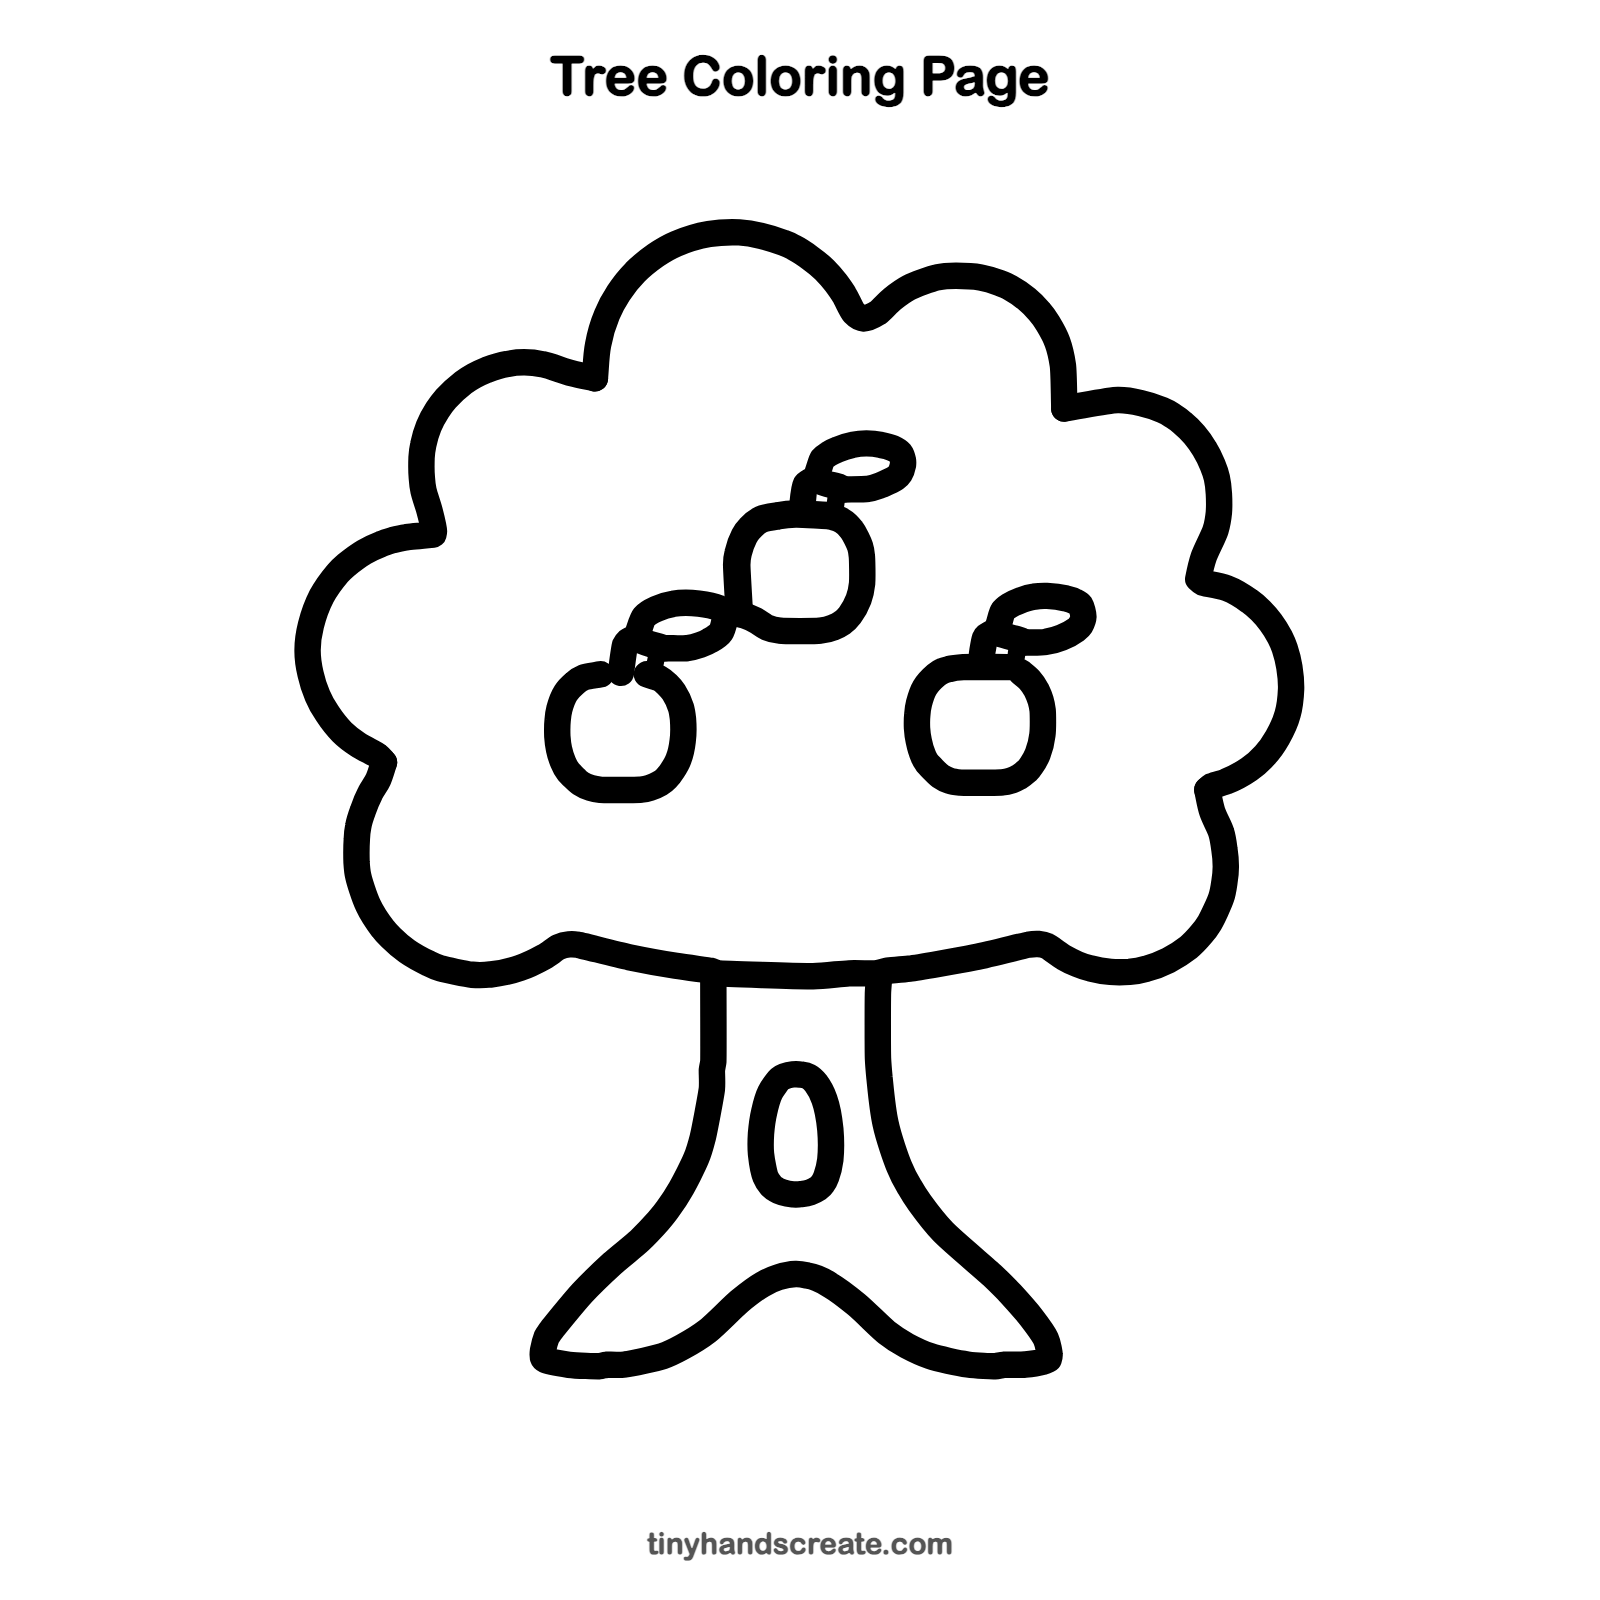
Want to go straight to coloring? Open this tree coloring page at full size and print it. It is the same drawing you just learned, with clean lines ready for crayons or markers.
How to color your tree drawing
Try red or yellow apples, green leaves, and a brown trunk with a darker brown knothole. For a creative twist, color the treetop in autumn orange and red, or make every apple a different color.
Tree fun fact for kids
Apple trees are usually grown by joining a branch from one tree onto the roots of another, not from a seed. If you plant an apple seed, the tree that grows can make apples that taste very different from the one you ate.
Questions about drawing a tree
What shapes do I need to draw an apple tree?
You need a big puffy cloud for the treetop, two lines that flare out for the trunk, a small oval for the knothole, and three small rounded squares for the apples.
How do I make my tree look fuller?
Add more bumps to the edge of the treetop and draw a few extra apples inside it. Give each new apple its own stem and leaf.
How do I draw the bottom of the trunk?
Let the two trunk lines curve outward near the bottom like wide feet. Then join them with an upside-down U shape in the middle.