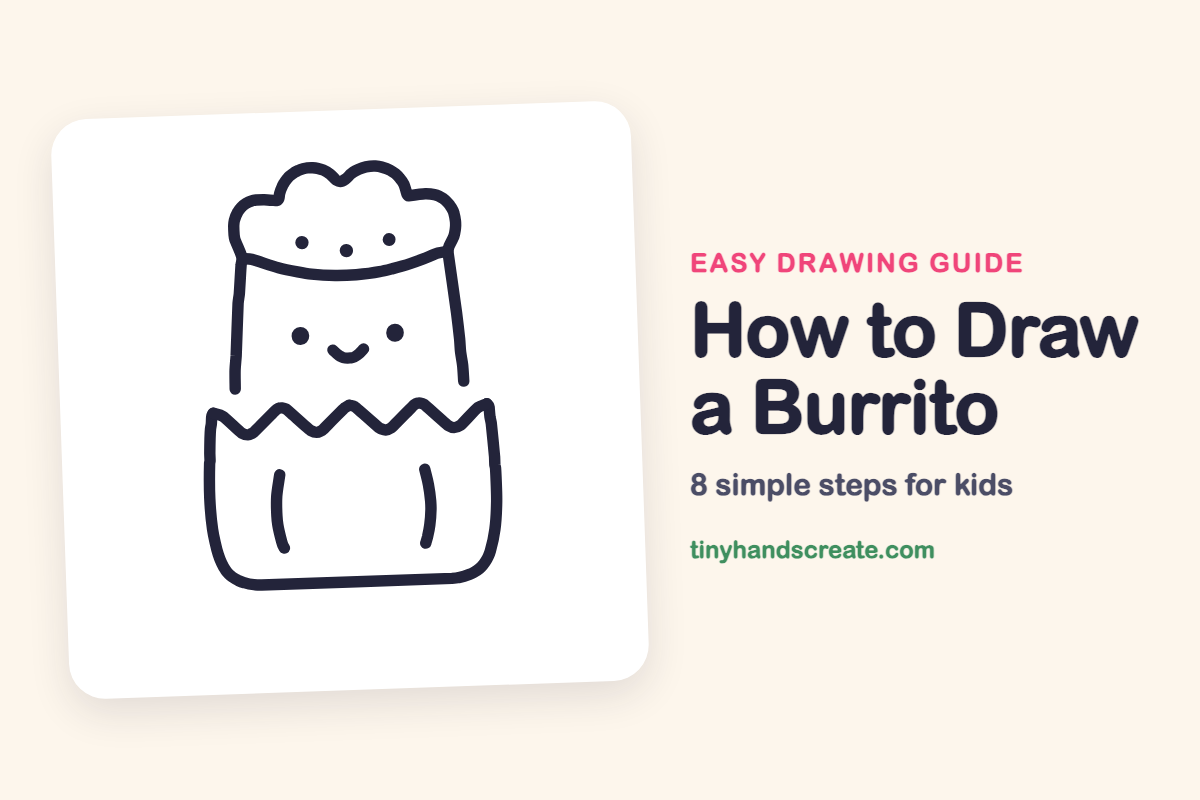
How to Draw a Burrito (Easy Step by Step)
This burrito is a cute, smiling snack built from very simple shapes: a rounded cup, a zigzag edge, a tall soft filling, and a puffy cloud on top. There are only a few lines, so it is a great first food drawing. Adding the little face makes it feel like a friend.
- Easy
- 10 minutes
- 8 steps
You need: paper, a pencil, an eraser, and crayons or markers for coloring.
Start drawingIn this article (7 sections)
How to draw a burrito step by step
How to Draw a Burrito · tinyhandscreate.com
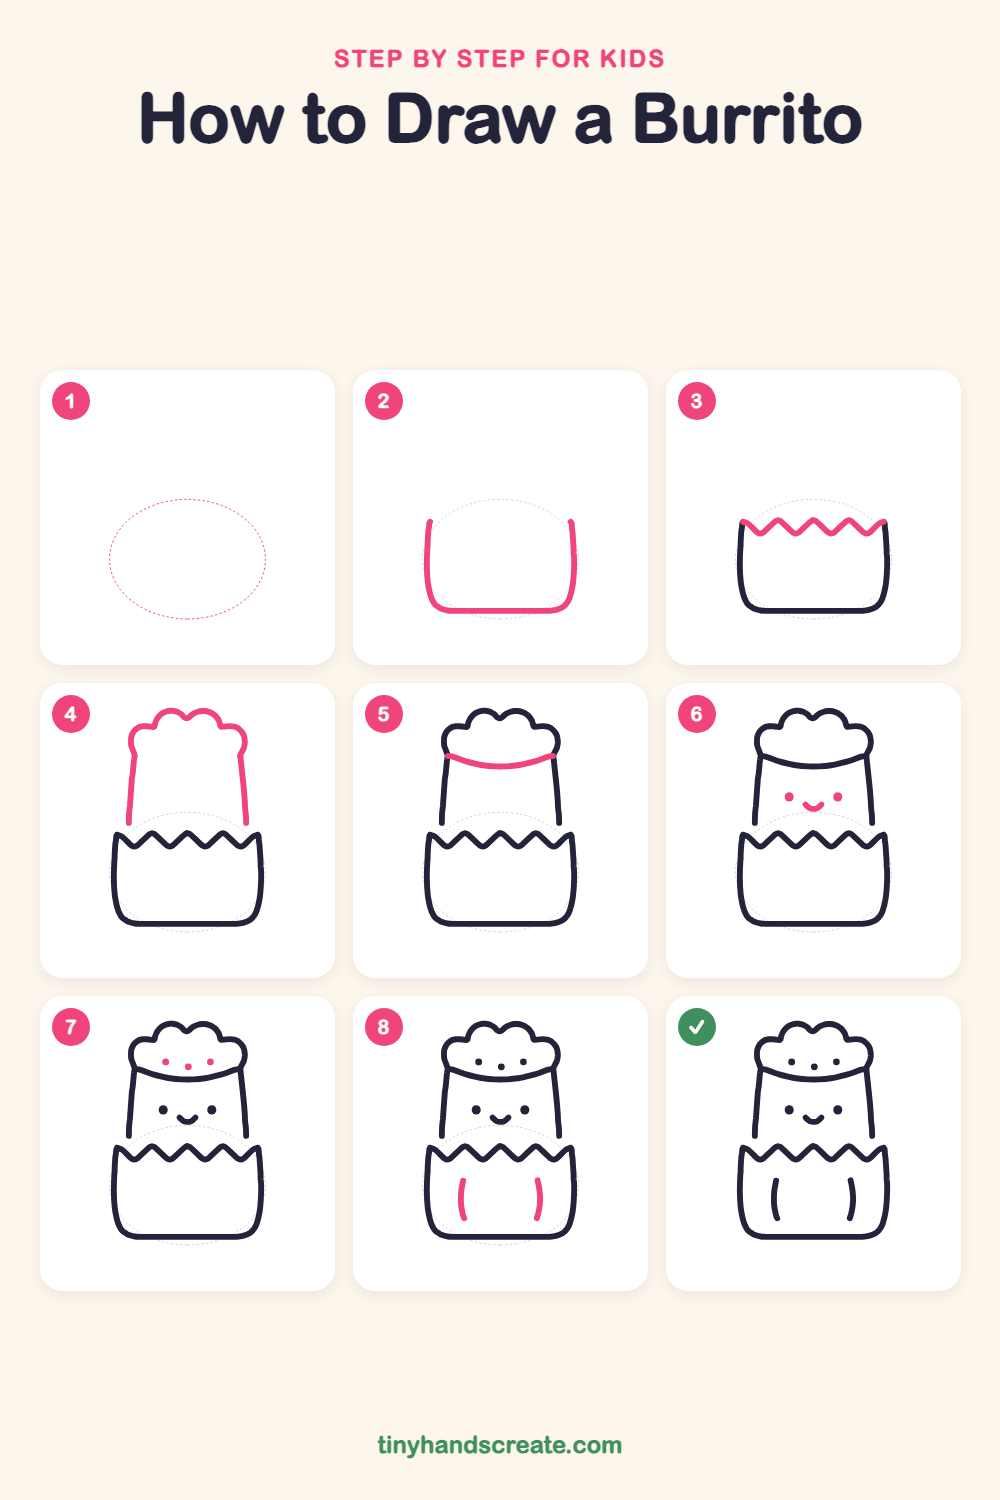
Step 1: Guide shapes
Lightly sketch this oval. It only shows where the big parts go, so press softly. You will erase it at the end.
Step 2: Rounded wrapper cup
Draw a wide cup shape for the bottom of the burrito. Start with a tall curved line on the left, curve around a flat bottom, and finish with a curved line going up on the right. Leave the top open.
Step 3: Zigzag wrapper edge
Along the open top of the wrapper, draw a row of pointy zigzag mountains from one side to the other. Start at the top of the left side and end at the top of the right side.
Step 4: Filling and fluffy top
Just above the zigzag, draw two long, nearly straight lines going up for the sides of the filling. Then join them at the top with a bumpy cloud shape made of three soft puffs.
Step 5: Cloud bottom curve
Draw a gentle curved line across the filling, right under the cloud top. It connects the left side to the right side like a smile lying down.
Step 6: Cute face
In the middle of the filling, draw two round dots for eyes. Between them, a little lower, add a small curved smile.
Step 7: Little toppings
Inside the fluffy cloud, add three small dots in a row. Make the middle dot a tiny bit lower than the two on the sides.
Step 8: Wrapper folds
On the front of the wrapper, draw two short curved lines that bend like parentheses, one on the left and one on the right. They show where the wrapper is folded.
All done!
Erase the guide shapes, go over your lines, then color it in.
Finished your burrito? Keep the pencils out and learn how to draw boba tea or how to draw a cupcake next.
Tips for drawing a burrito
- Draw the zigzag with straight, quick lines. Try making all the points about the same height so it looks neat.
- The fluffy top is the trickiest part. Draw three small bumps side by side instead of one big wiggly line.
- Keep the two eyes at the same height and the smile in the middle, and the face will look happy and balanced.
Free burrito coloring page
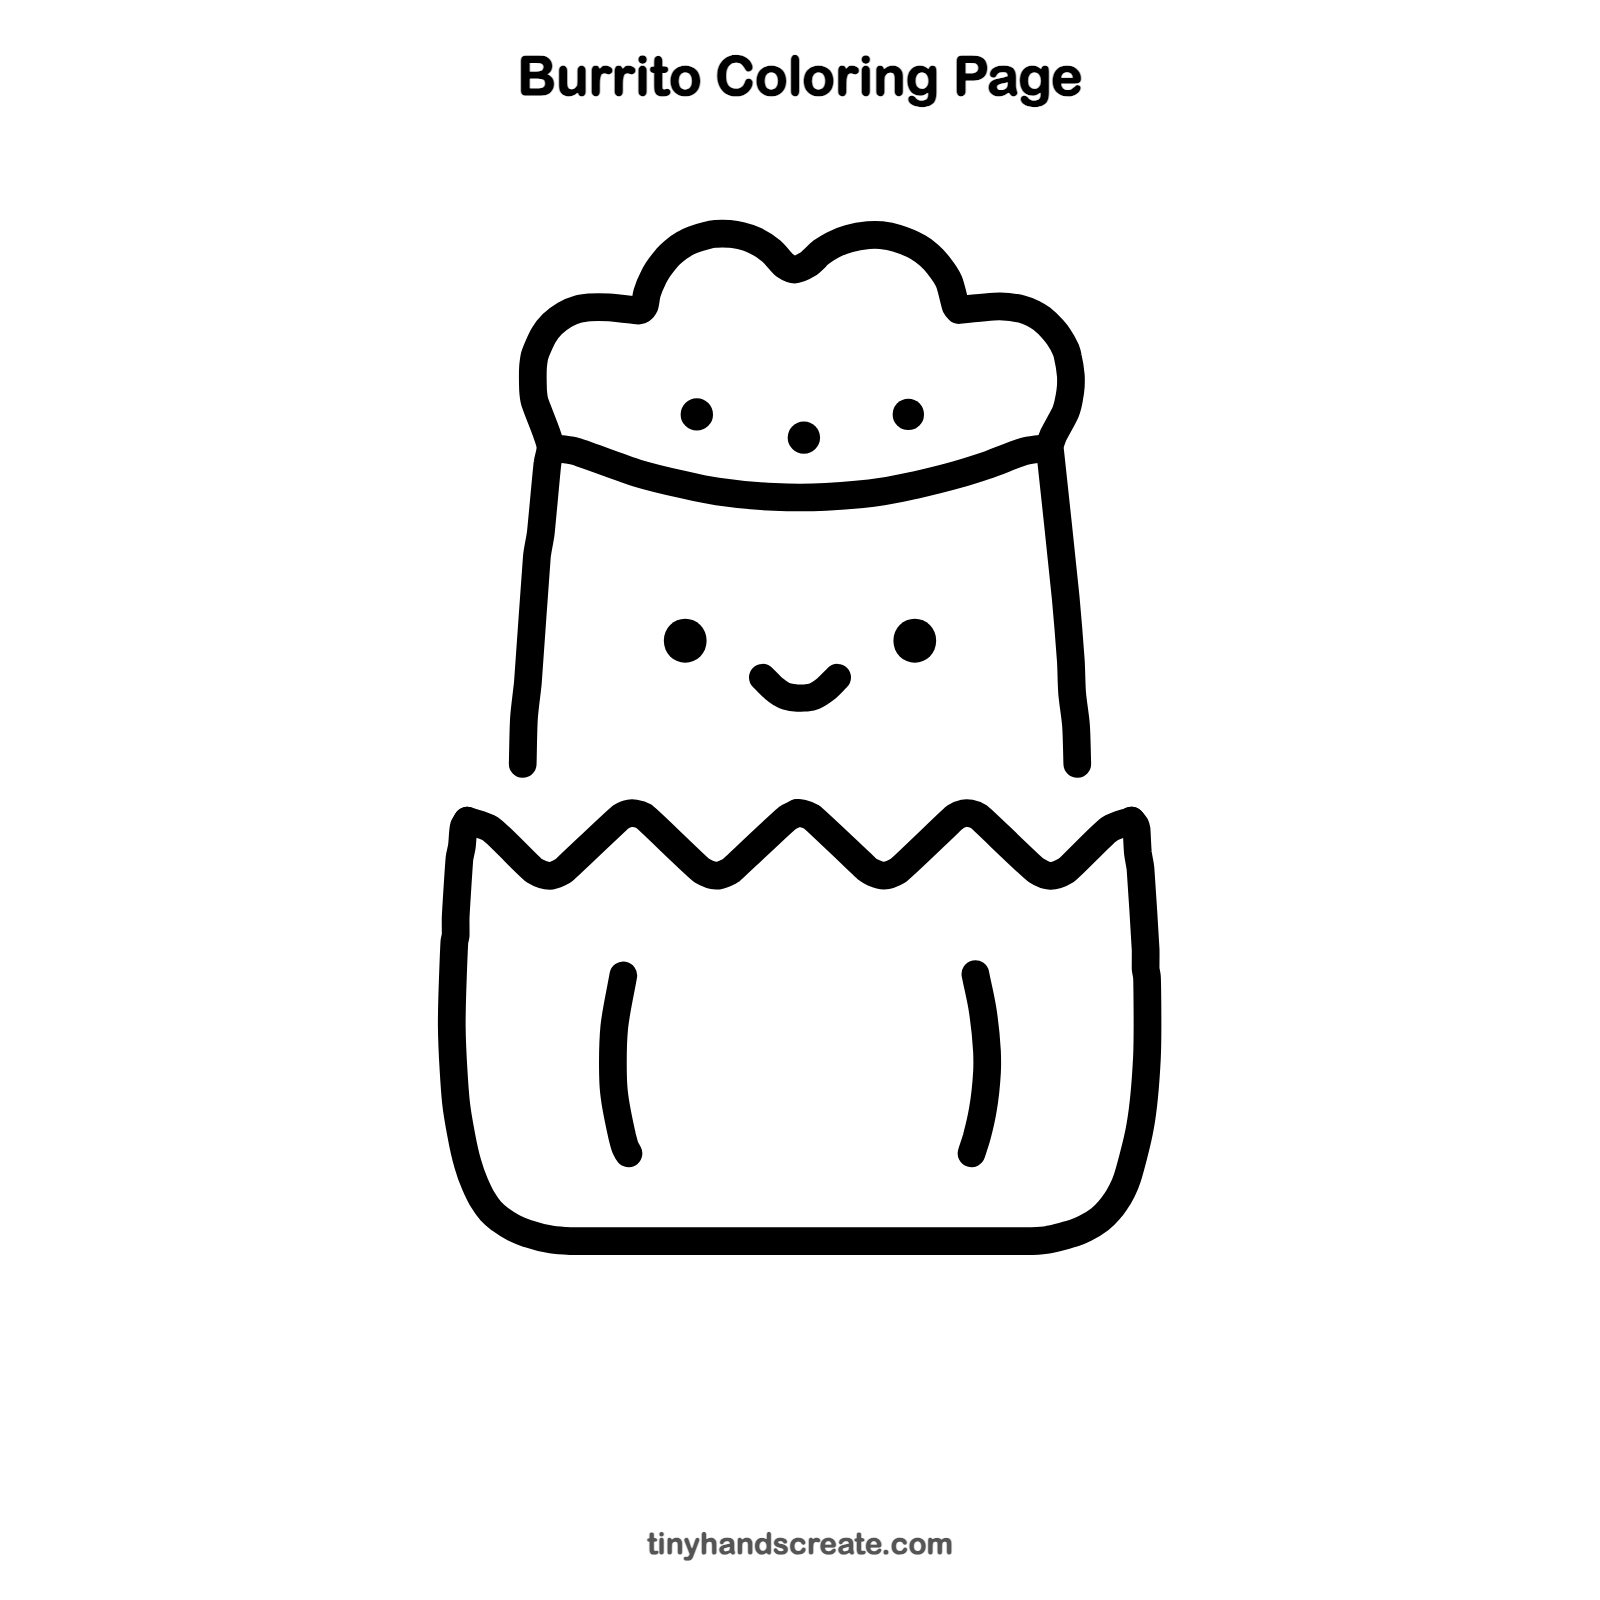
Want to go straight to coloring? Open this burrito coloring page at full size and print it. It is the same drawing you just learned, with clean lines ready for crayons or markers.
How to color your burrito drawing
Try a warm tan for the wrapper, green for the filling and red for the little dots in the cloud. For a creative twist, give your burrito rainbow fillings.
Burrito fun fact for kids
The word burrito comes from Spanish and means "little donkey." Burritos are wrapped in a soft flour tortilla so all the fillings stay tucked inside.
Questions about drawing a burrito
What shapes do I need to draw a burrito?
You need a rounded cup shape for the wrapper, a zigzag line for the edge, two long lines for the filling, and a cloud shape for the top. A few dots and curves finish the face, the toppings and the wrapper folds.
How do I make my burrito look cuter?
Keep the eyes round and the smile small in the middle of the filling. Draw the three little dots in the cloud and the two curved folds on the wrapper to finish the look.
How long does it take a kid to draw a burrito?
Most kids finish this drawing in about 10 minutes. Take your time with the zigzag and the cloud, and it will turn out great.