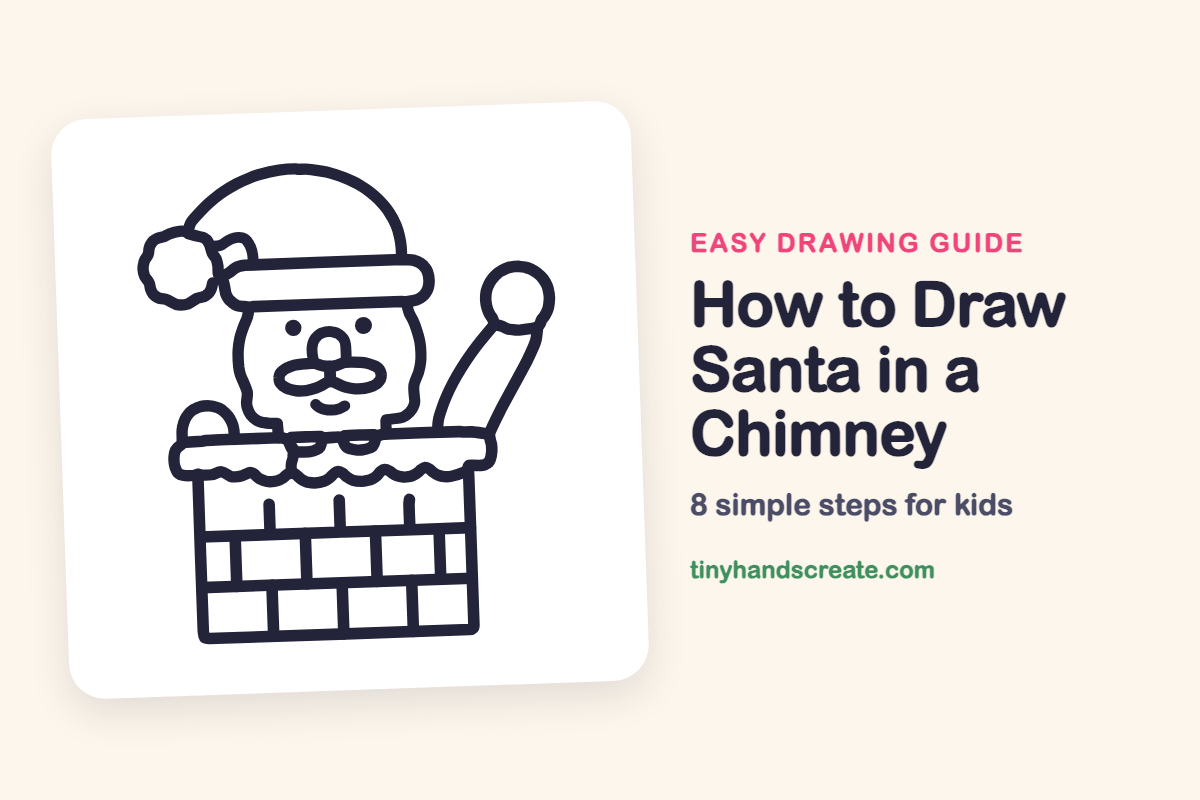
How to Draw Santa in a Chimney (Easy Step by Step)
Santa popping out of a chimney is a cozy Christmas drawing, and it is built from simple shapes: circles, ovals, rectangles, and a few curvy lines. You start with the round face, add a floppy hat, and finish with a brick chimney and a waving arm. It is a great picture to turn into a holiday card.
- Medium
- 15 minutes
- 8 steps
You need: paper, a pencil, an eraser, and crayons or markers for coloring.
Start drawingIn this article (7 sections)
How to draw Santa in a chimney step by step
How to Draw Santa in a Chimney · tinyhandscreate.com
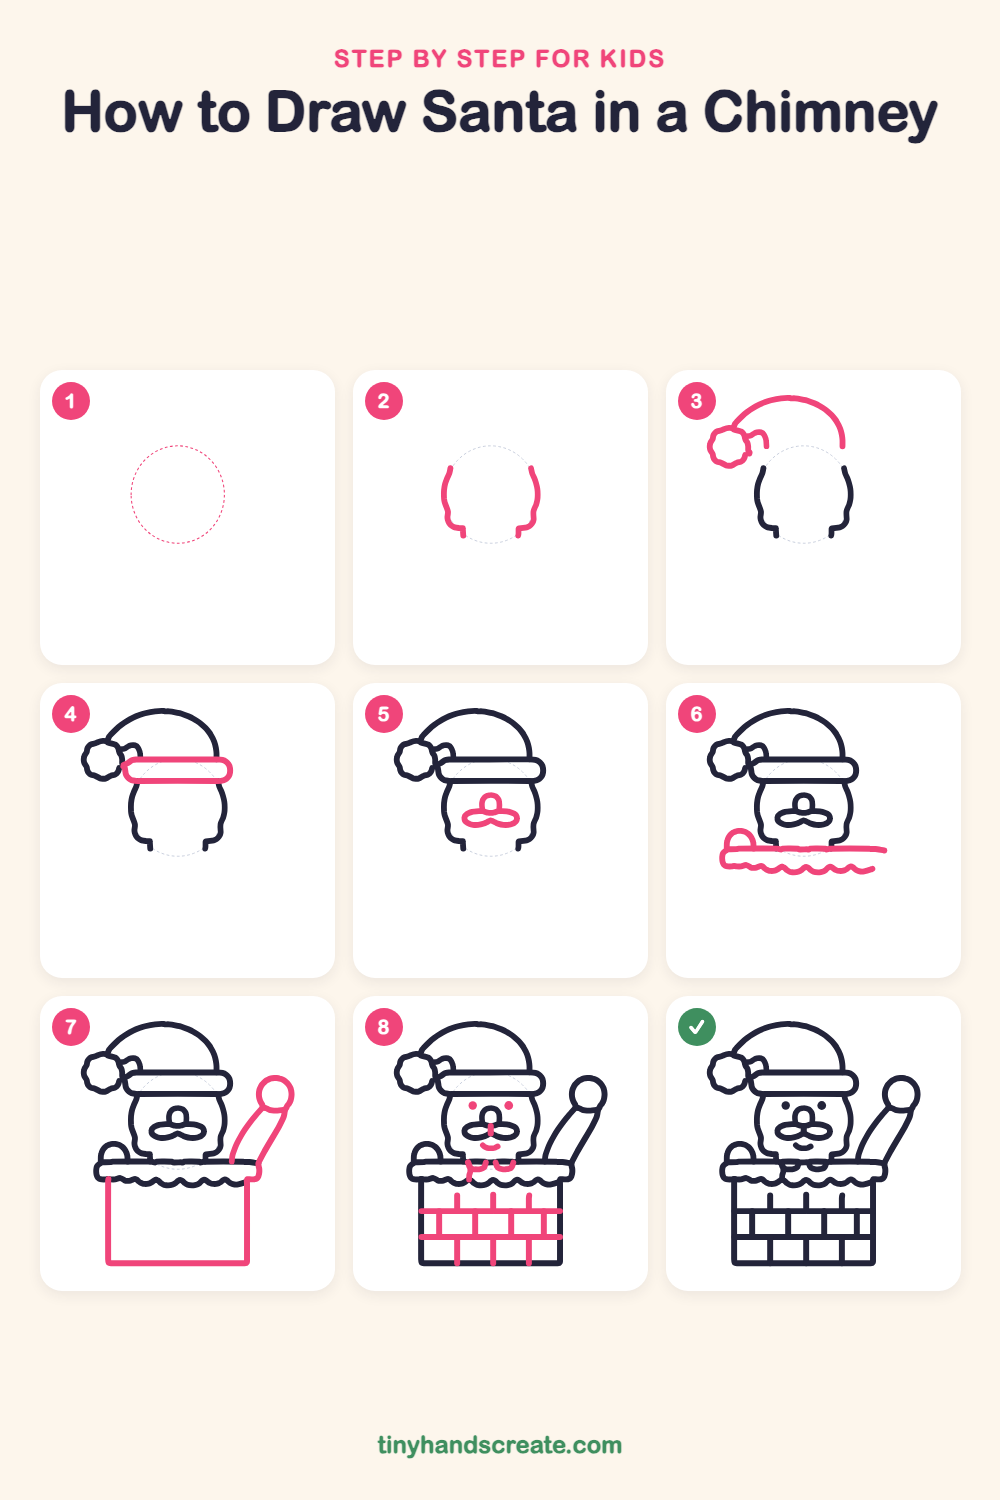
Step 1: Guide shapes
Lightly sketch this oval. It only shows where the big parts go, so press softly. You will erase it at the end.
Step 2: Sides of the face
Draw two curved lines for the sides of Santa's round face. Start each one near the top and curve it down to a small wavy foot at the bottom, leaving the top and the middle of the bottom open.
Step 3: Hat and pom-pom
Draw a big curved arch above the face for the hat, and end its left side with a small wiggly circle for the pom-pom. Add a little bent flap right next to the pom-pom.
Step 4: The hat band
Draw a long rounded rectangle across the bottom of the hat, sitting right on top of the face. It is the fluffy white fur trim.
Step 5: Nose and mustache
Draw a small round nose in the middle of the face. Under it, draw two oval shapes side by side that touch in the middle, like a big curly mustache.
Step 6: Chimney top and hand
Draw a long flat strip under the face for the top of the chimney, with a bumpy wavy edge underneath like snow. Add a little round mitten bump peeking up on the left side.
Step 7: Chimney and waving arm
Draw a tall box under the chimney top: two straight sides and a flat bottom. On the right, draw a long curved arm going up to a big circle for the hand, with a little curve across the bottom of the circle for the cuff.
Step 8: Bricks, eyes and smile
Draw two long straight lines across the chimney, then short up-and-down lines to make bricks. Finish the face with two small dot eyes above the nose and a small curved smile under the mustache.
All done!
Erase the guide shapes, go over your lines, then color it in.
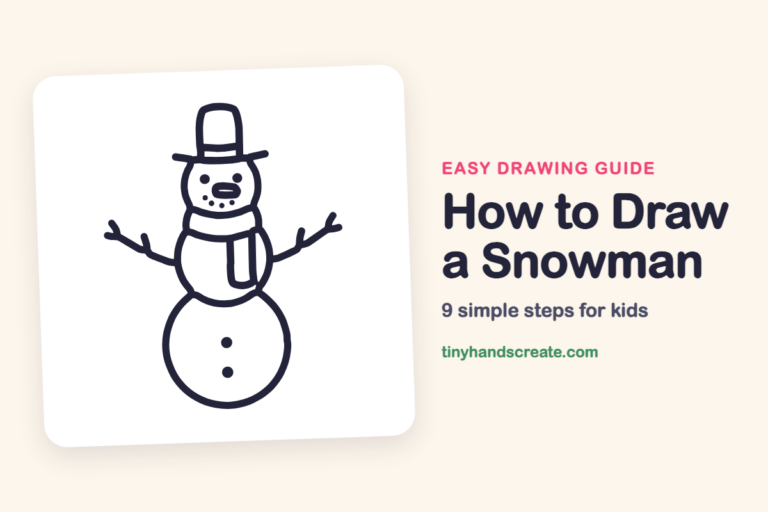
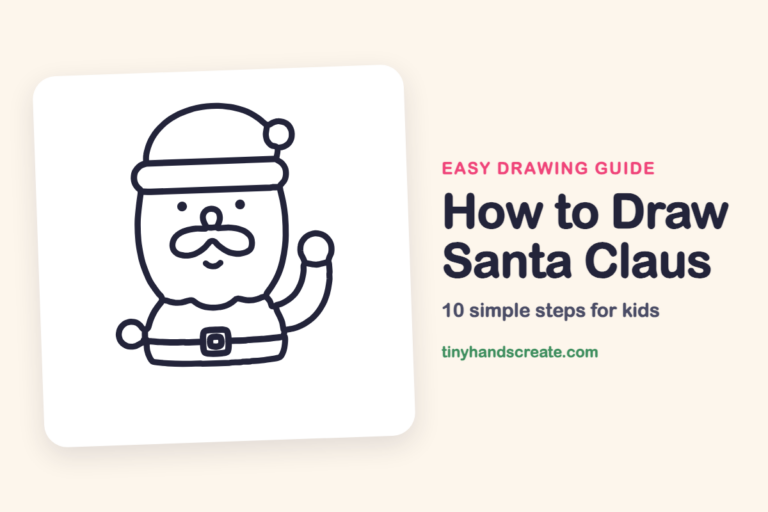
Finished your Santa in a chimney? Keep the pencils out and learn how to draw a snowman or how to draw Santa Claus next.
Tips for drawing Santa in a chimney
- Draw the two face sides lightly first, so the hat and band have a clear place to sit on top.
- The mustache is two ovals that touch in the middle. Draw them side by side and make them about the same size.
- Use a ruler or the edge of a book for the chimney lines so the bricks look neat, then draw the short up-and-down lines last.
Free Santa in a chimney coloring page
Want to go straight to coloring? Open this Santa in a chimney coloring page at full size and print it. It is the same drawing you just learned, with clean lines ready for crayons or markers.
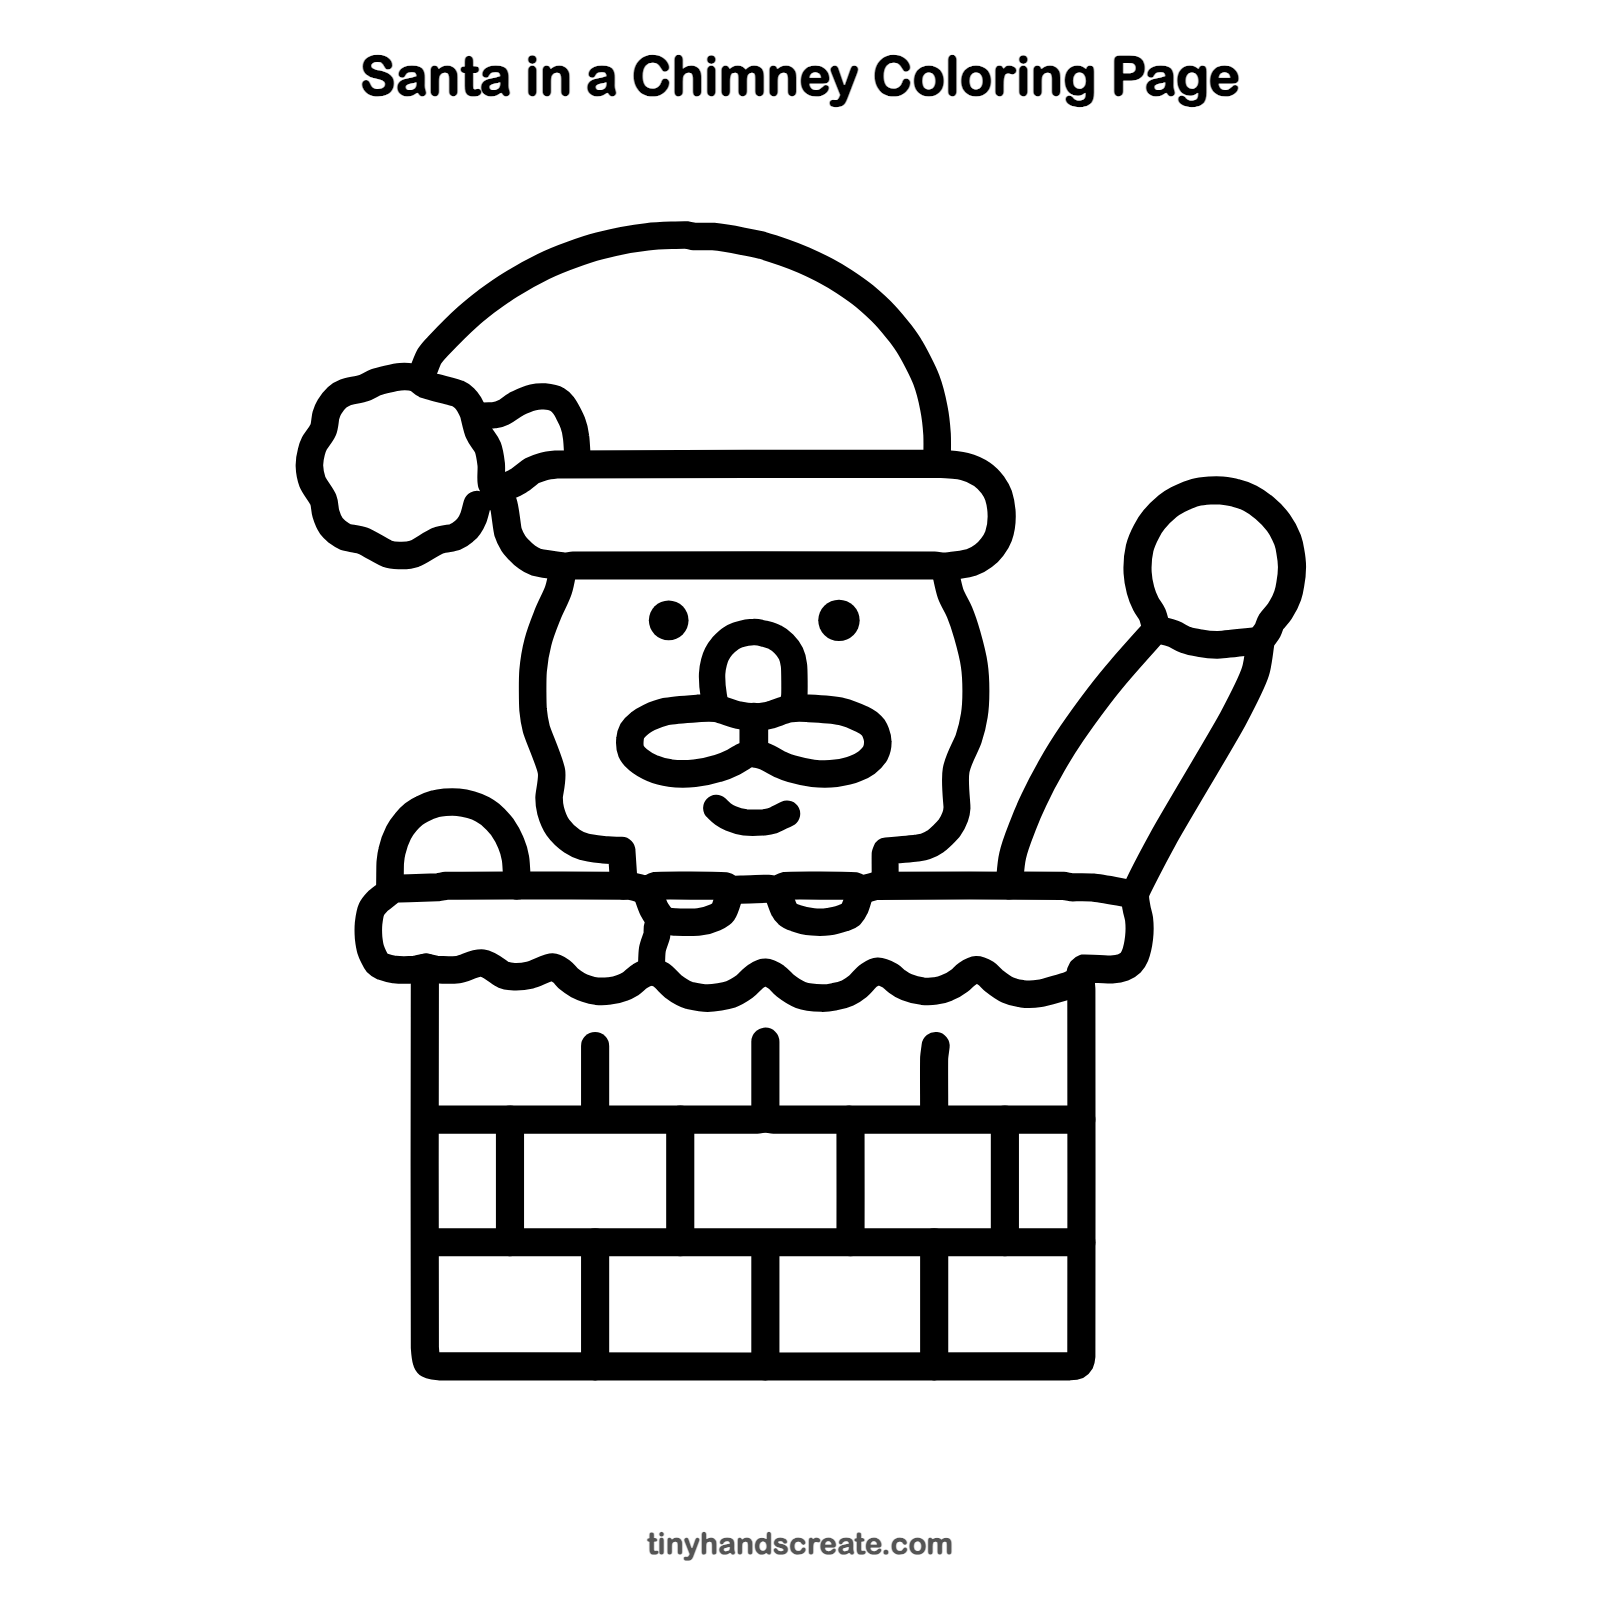
How to color your Santa in a chimney drawing
Color the hat and the sleeve red, the pom-pom and trim white or light gray, and the chimney bricks in warm reds and browns. For a creative twist, add a night sky with stars and gentle snow falling behind Santa.
Santa in a chimney fun fact for kids
The Santa Claus story grew partly out of St. Nicholas, a bishop who lived about 1,700 years ago in a place that is now part of Turkey and was known for giving gifts.
Questions about drawing Santa in a chimney
What shapes do I need to draw Santa in a chimney?
You need two curved lines for the face, a curved arch for the hat, a small circle for the pom-pom, a rounded rectangle for the hat band, two small ovals for the mustache, and a tall box for the chimney.
How do I make my Santa look cuter?
Keep the eyes as small dots and the smile small and curved. A fluffy pom-pom and a big curly mustache help too.
How do I draw bricks that look even?
Draw two straight lines across the chimney first, then add short up-and-down lines between them. Shift the up-and-down lines on each row so the bricks look stacked.