How to Draw a Campfire (Easy Step by Step)
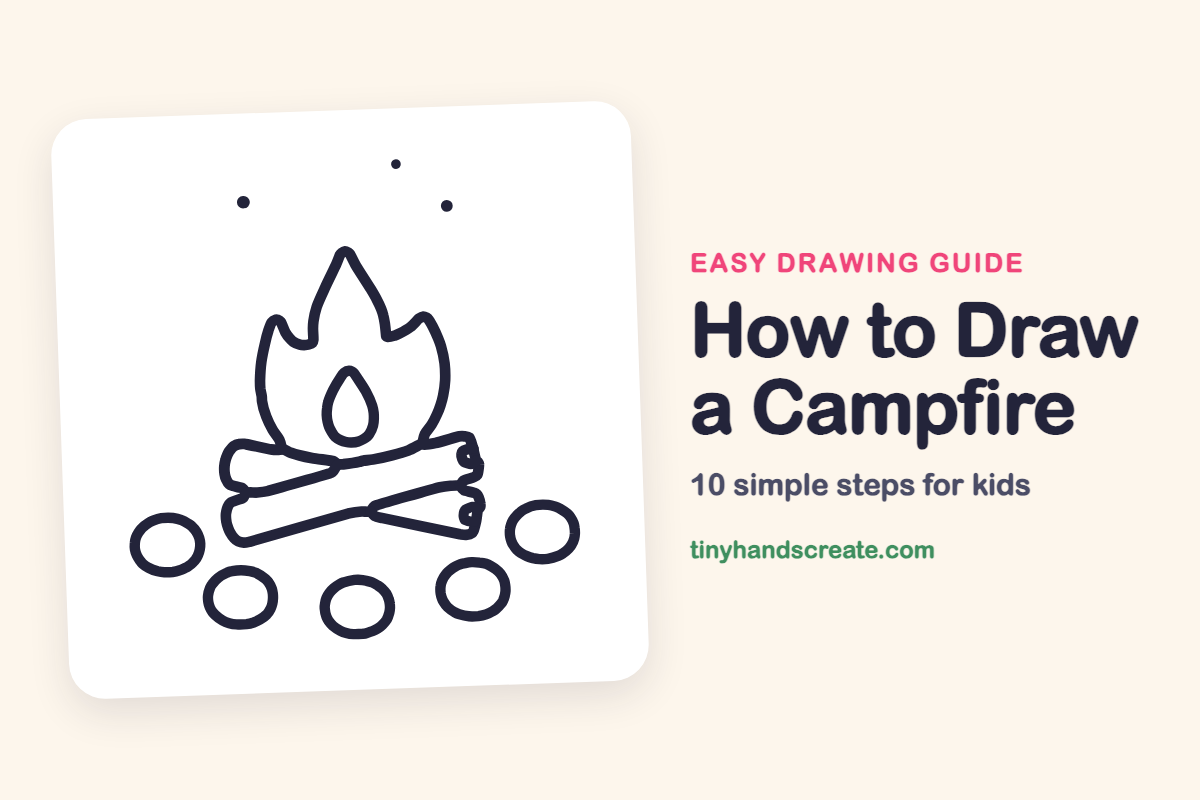
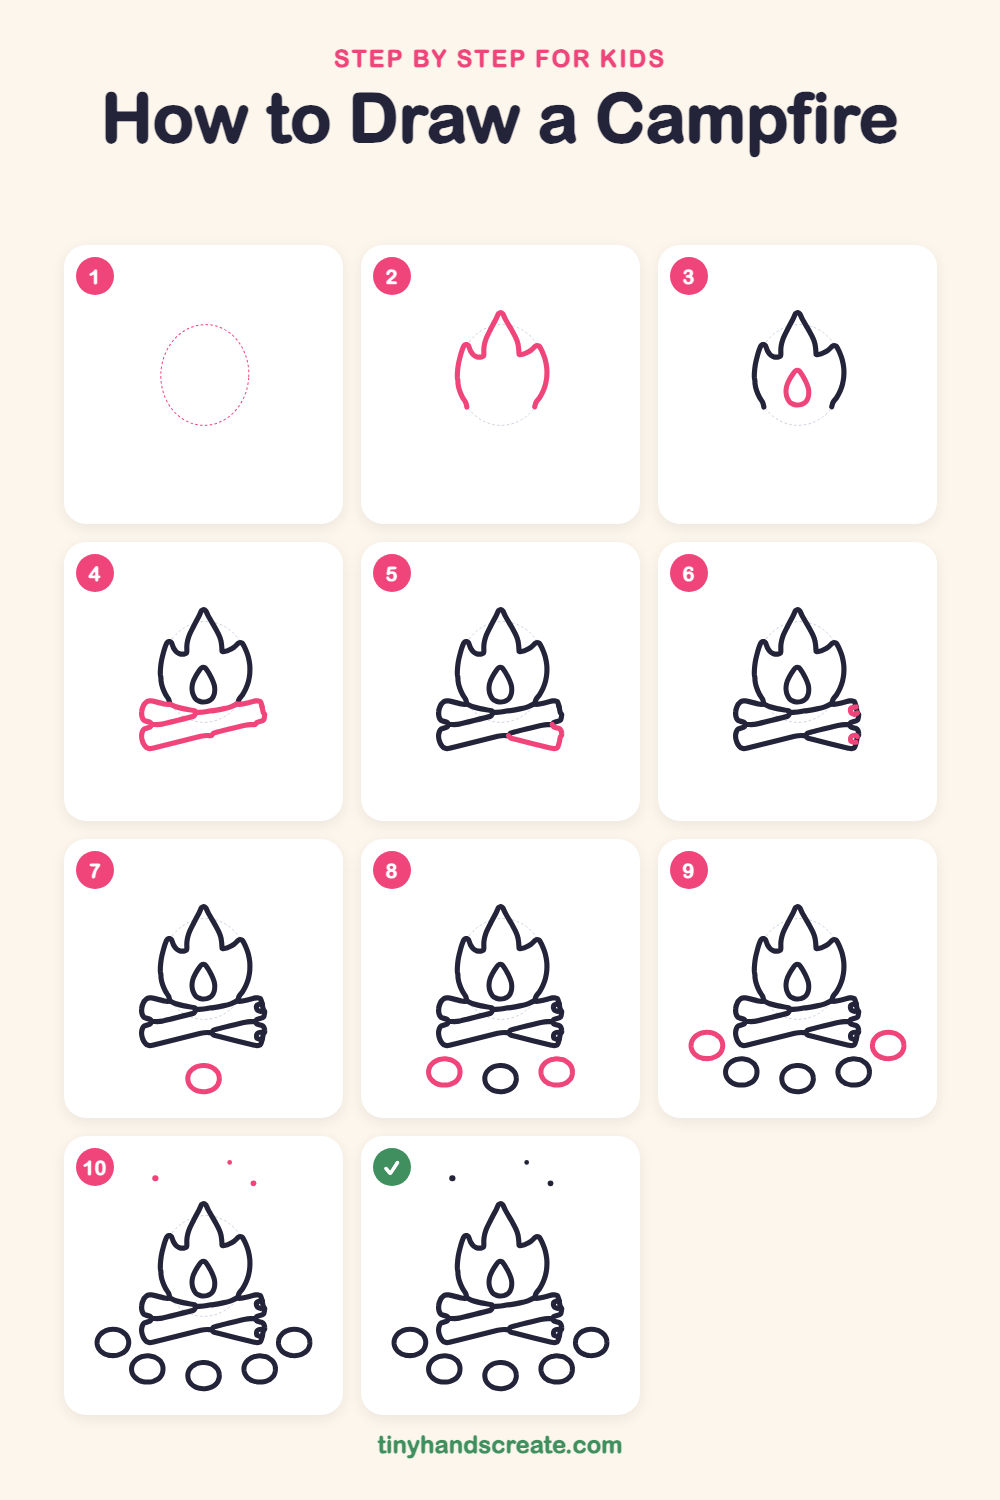
A campfire is a cozy drawing that you can build from a few easy shapes. The flame is a curvy shape with pointy tips, the logs are long rounded rectangles that cross like an X, and the stones are simple ovals in a ring. Little dots for sparks finish it off.
- Easy
- 10 minutes
- 10 steps
You need: paper, a pencil, an eraser, and crayons or markers for coloring.
Start drawingIn this article (7 sections)
How to draw a campfire step by step
How to Draw a Campfire · tinyhandscreate.com
Step 1: Guide shapes
Lightly sketch this oval. It only shows where the big parts go, so press softly. You will erase it at the end.
Step 2: The big flame
Start at the top with a pointy tip, then draw a wide, curvy shape going down both sides. Add a wavy point on the left and on the right, and leave the bottom open for the logs.
Step 3: The inner flame
Inside the big flame, draw a small teardrop with a pointy top and a round bottom. It sits in the middle like a little flame inside the flame.
Step 4: The crossed logs
Under the flame, draw two long logs that cross like an X. Each log is a long rounded rectangle, and they overlap in the middle.
Step 5: Finish the log end
On the right end of the lower log, draw a short slanted line that closes off the end of the log, so it looks like a solid piece of wood.
Step 6: Log rings
On the right end of each log, draw a tiny curl. These show the rings inside the wood.
Step 7: The center stone
Below the logs, draw a wide oval in the middle. This is the first stone in the ring around the fire.
Step 8: The side stones
Draw an oval to the left and another to the right of the center stone. Keep them about the same size and a little higher up.
Step 9: The outer stones
Add one more oval far out on the left and one far out on the right, a bit higher than the others. Now the stones make a curved ring around the fire.
Step 10: Sparks in the sky
Above the flame, add three little dots at different heights. They look like sparks floating up into the night.
All done!
Erase the guide shapes, go over your lines, then color it in.
Finished your campfire? Keep the pencils out and learn how to draw an owl or how to draw a scarecrow next.
Tips for drawing a campfire
- Draw the big flame first and leave a gap at the bottom. That way the logs can cover the bottom edge and the flame looks like it sits right on them.
- The crossing logs are the trickiest part. Draw both long logs so they overlap in the middle like an X, then add the tiny curls on the right ends.
- Make the stone ovals a little different in size. Draw the middle stone first, then work outward so the ring stays even on both sides.
Free campfire coloring page
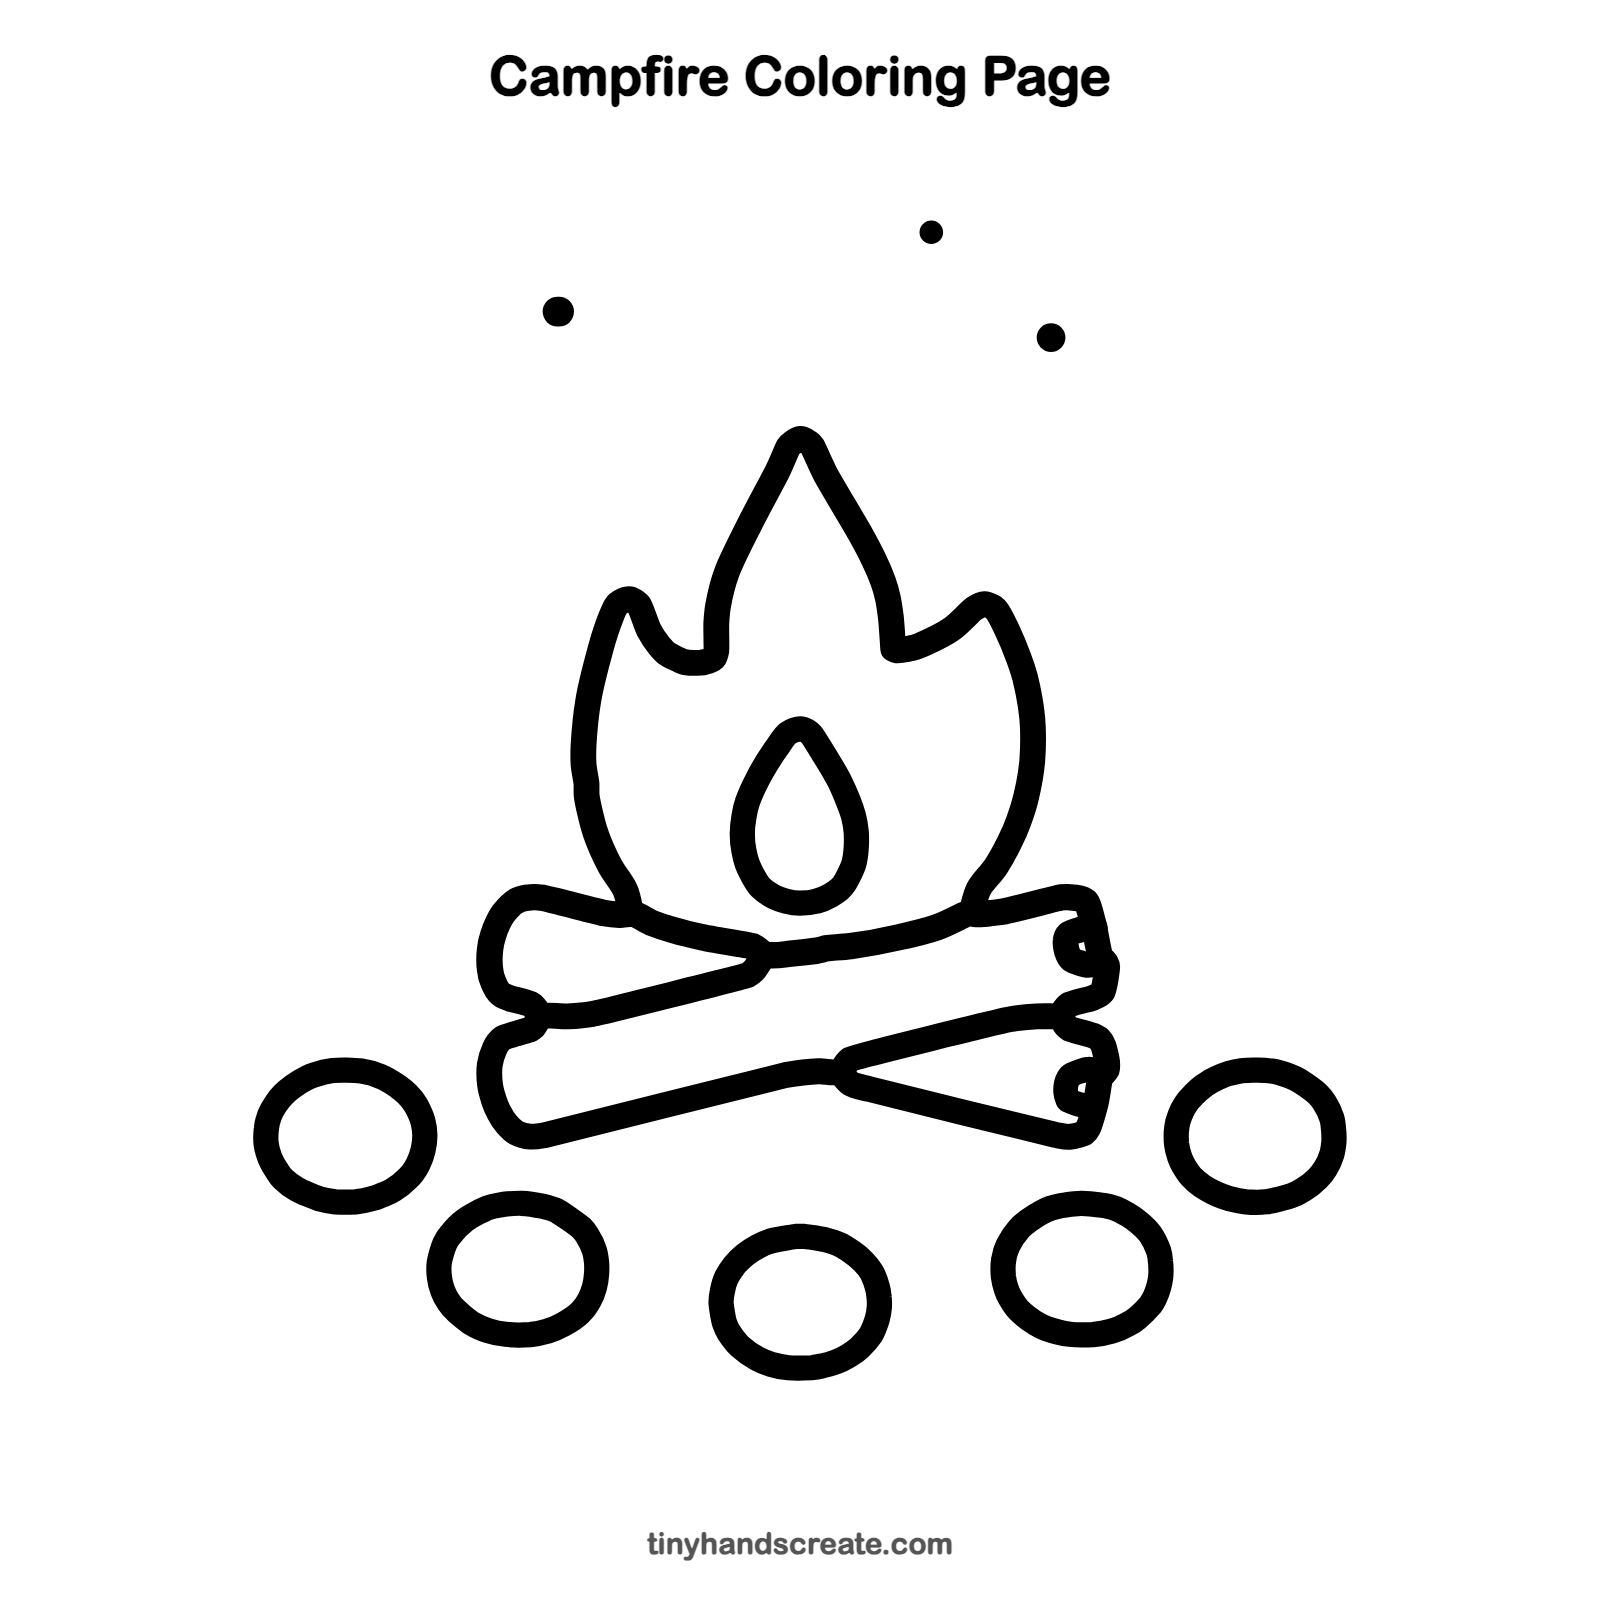
Want to go straight to coloring? Open this campfire coloring page at full size and print it. It is the same drawing you just learned, with clean lines ready for crayons or markers.
How to color your campfire drawing
Try red, orange and yellow for the flame, brown for the logs and gray for the stones. For a creative twist, color the sky dark blue and make the sparks bright yellow so the fire glows.
Campfire fun fact for kids
Campers often build a ring of stones around a fire. The stones help keep the fire in one place and keep sparks from spreading to the grass.
Questions about drawing a campfire
What shapes do I need to draw a campfire?
You need a curvy flame shape with a small teardrop inside, two long rounded rectangles for the logs, and ovals for the stones. Three small dots make the sparks.
How do I make my campfire flames look better?
Make the tip at the top sharp and let the sides curve in and out like waves. Adding a small teardrop inside the big flame makes it look hotter and brighter.
How do I draw logs that cross each other?
Draw two long logs that overlap in the middle so they form an X. Then add a tiny curl on the right end of each log to show the rings in the wood.