How to Draw a Kid Inventor (Easy Step by Step)
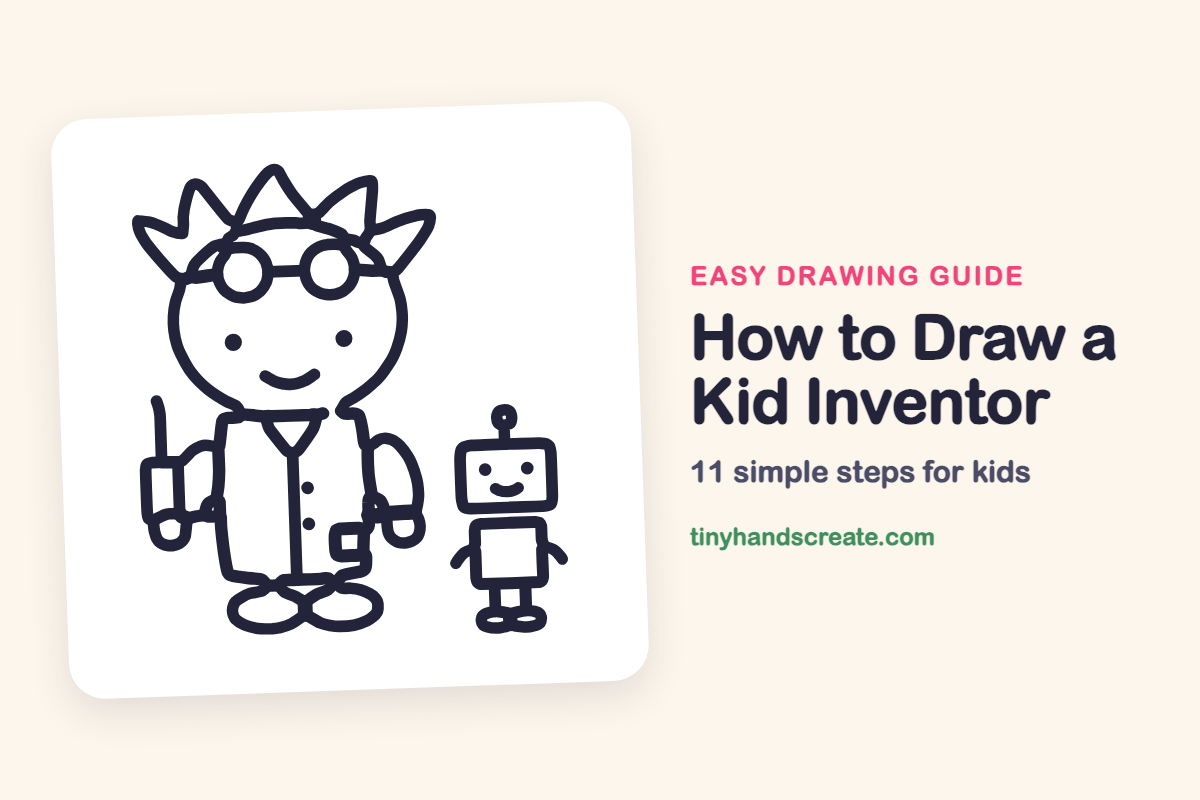
This kid inventor has wild spiky hair, round goggles, a big lab coat and a tiny robot friend. The drawing is built from simple shapes: curves, rectangles, circles and zigzags. It is a fun way to practice shapes while drawing a character with lots of personality.
- Medium
- 20 minutes
- 11 steps
You need: paper, a pencil, an eraser, and crayons or markers for coloring.
Start drawingIn this article (7 sections)
How to draw a kid inventor step by step
How to Draw a Kid Inventor · tinyhandscreate.com
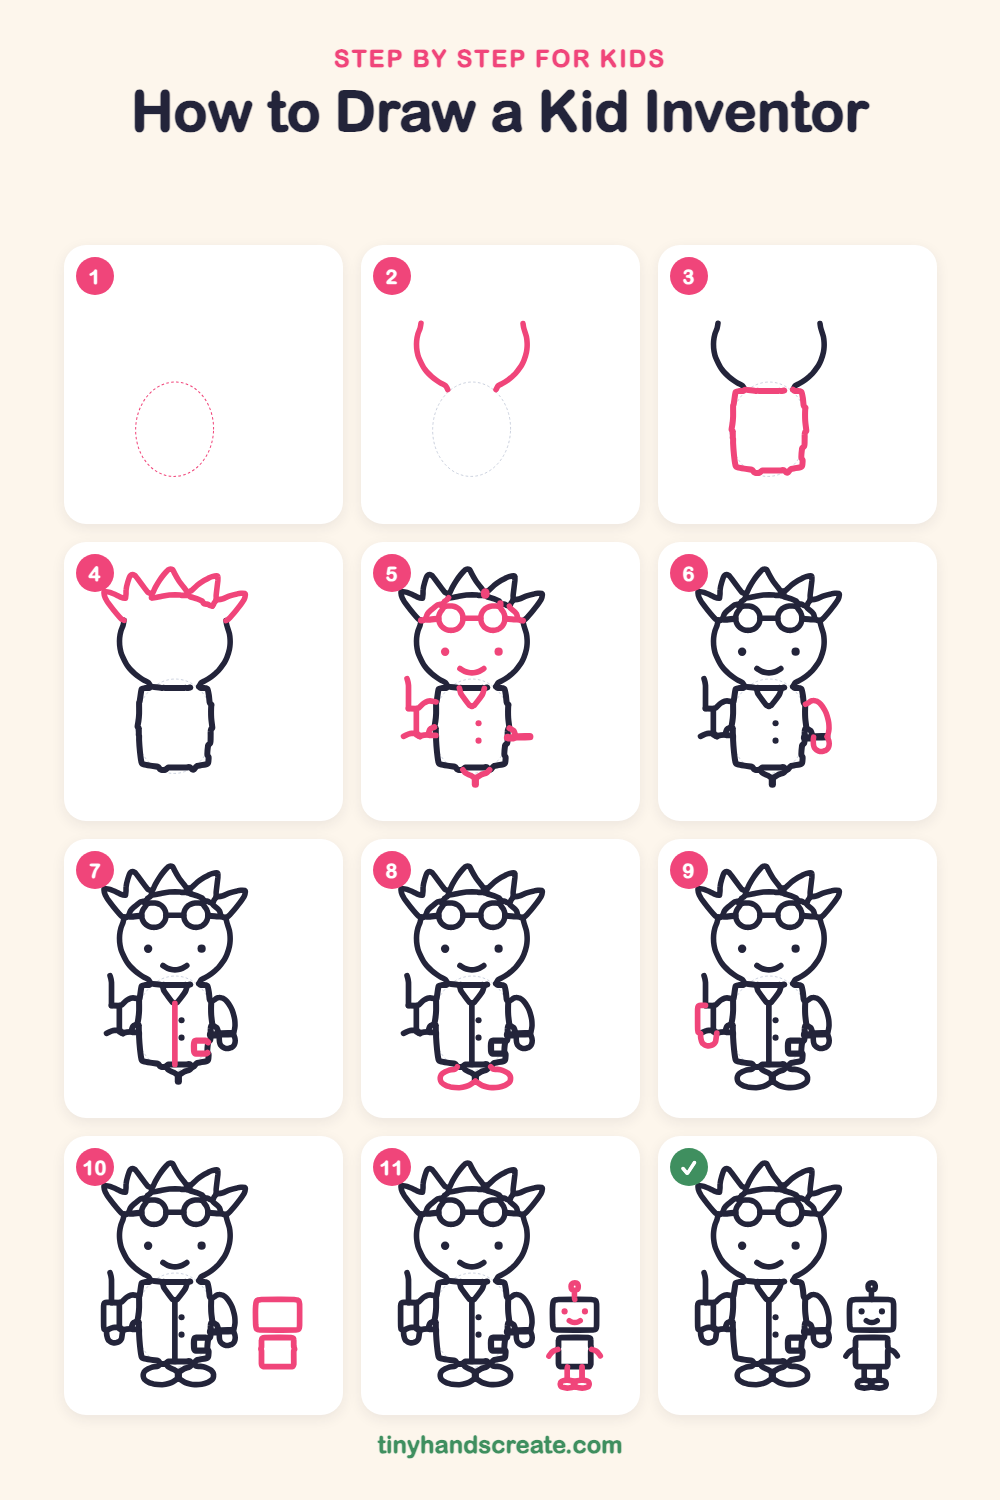
Step 1: Guide shapes
Lightly sketch this oval. It only shows where the big parts go, so press softly. You will erase it at the end.
Step 2: Head sides
Draw two curved lines that bend like a big letter U, with the top left open. This makes the cheeks and chin of the head, so leave a gap between the two top ends.
Step 3: The lab coat
Under the head, draw a tall rectangle with slightly wobbly sides for the lab coat. Start the flat top edge at the bottom of the U and finish with a curved bottom edge.
Step 4: Wild spiky hair
Across the open top of the head, draw a row of big pointy zigzag spikes. Start at one side of the head, zigzag up and over, and end at the other side to close the head.
Step 5: Face, goggles and collar
Draw two small circles side by side on the forehead, join them with a short bar, and stretch a band across the head. Add two dots for eyes, a little smile and a V for the collar with two dots for buttons, then sketch the bent arm on the left side.
Step 6: Right arm
On the right side of the coat, draw a curved line for the arm. Finish it with a small loop at the bottom for the hand.
Step 7: Coat line and pocket
Draw a straight line down the middle of the coat, starting at the point of the collar. Add a small square pocket near the bottom on the right.
Step 8: Big shoes
At the bottom of the coat, draw two wide ovals side by side for the shoes. Let them touch in the middle.
Step 9: The test tube
Next to the left hand, draw a tall thin rectangle with a rounded bottom for a test tube. Keep it small so it looks like the kid is holding it.
Step 10: Robot head and body
Next to the kid, draw a rounded rectangle for the robot head. Right below it, draw a smaller rounded rectangle for the body.
Step 11: Robot face and legs
Give the robot two dot eyes and a small smile. Add a short antenna with a tiny circle on top, two little arms on the sides, and two short legs ending in small feet.
All done!
Erase the guide shapes, go over your lines, then color it in.
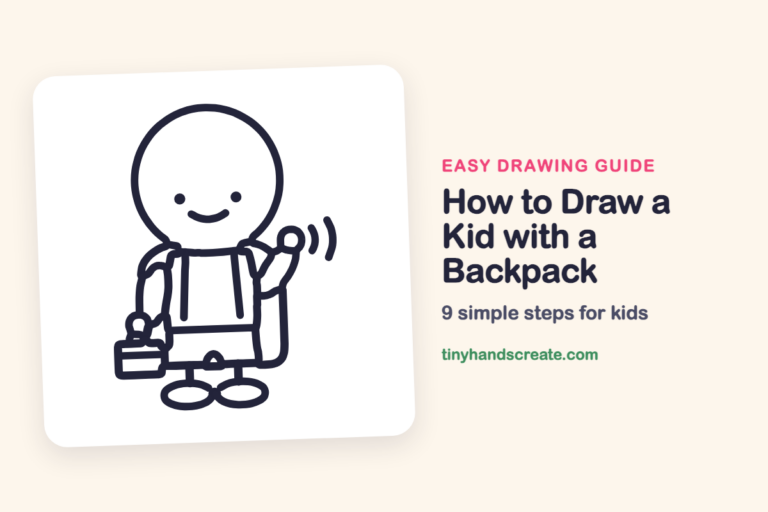
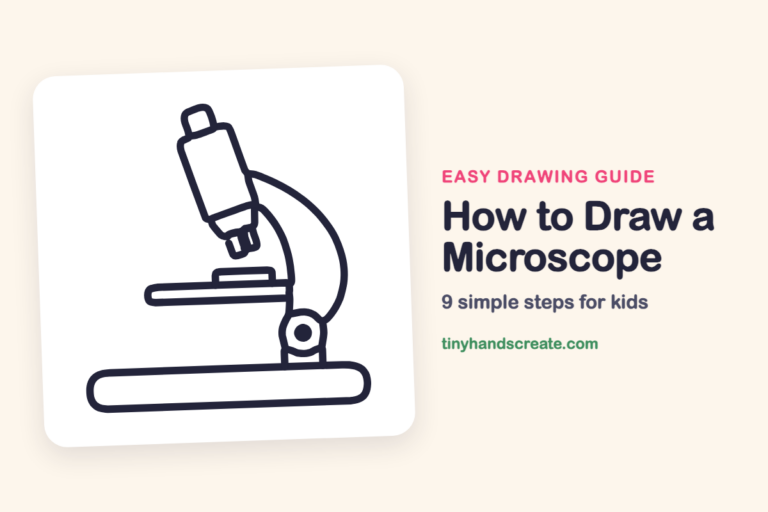
Finished your kid inventor? Keep the pencils out and learn how to draw a kid with a backpack or how to draw a microscope next.
Tips for drawing a kid inventor
- Take your time with the two curved lines in the first step. They shape the head, and the spiky hair closes it at the top.
- Make the two goggle circles about the same size. Draw one, then match the second beside it.
- Draw the robot after the kid, using straight lines and square corners to make it look different from the round kid.
Free kid inventor coloring page
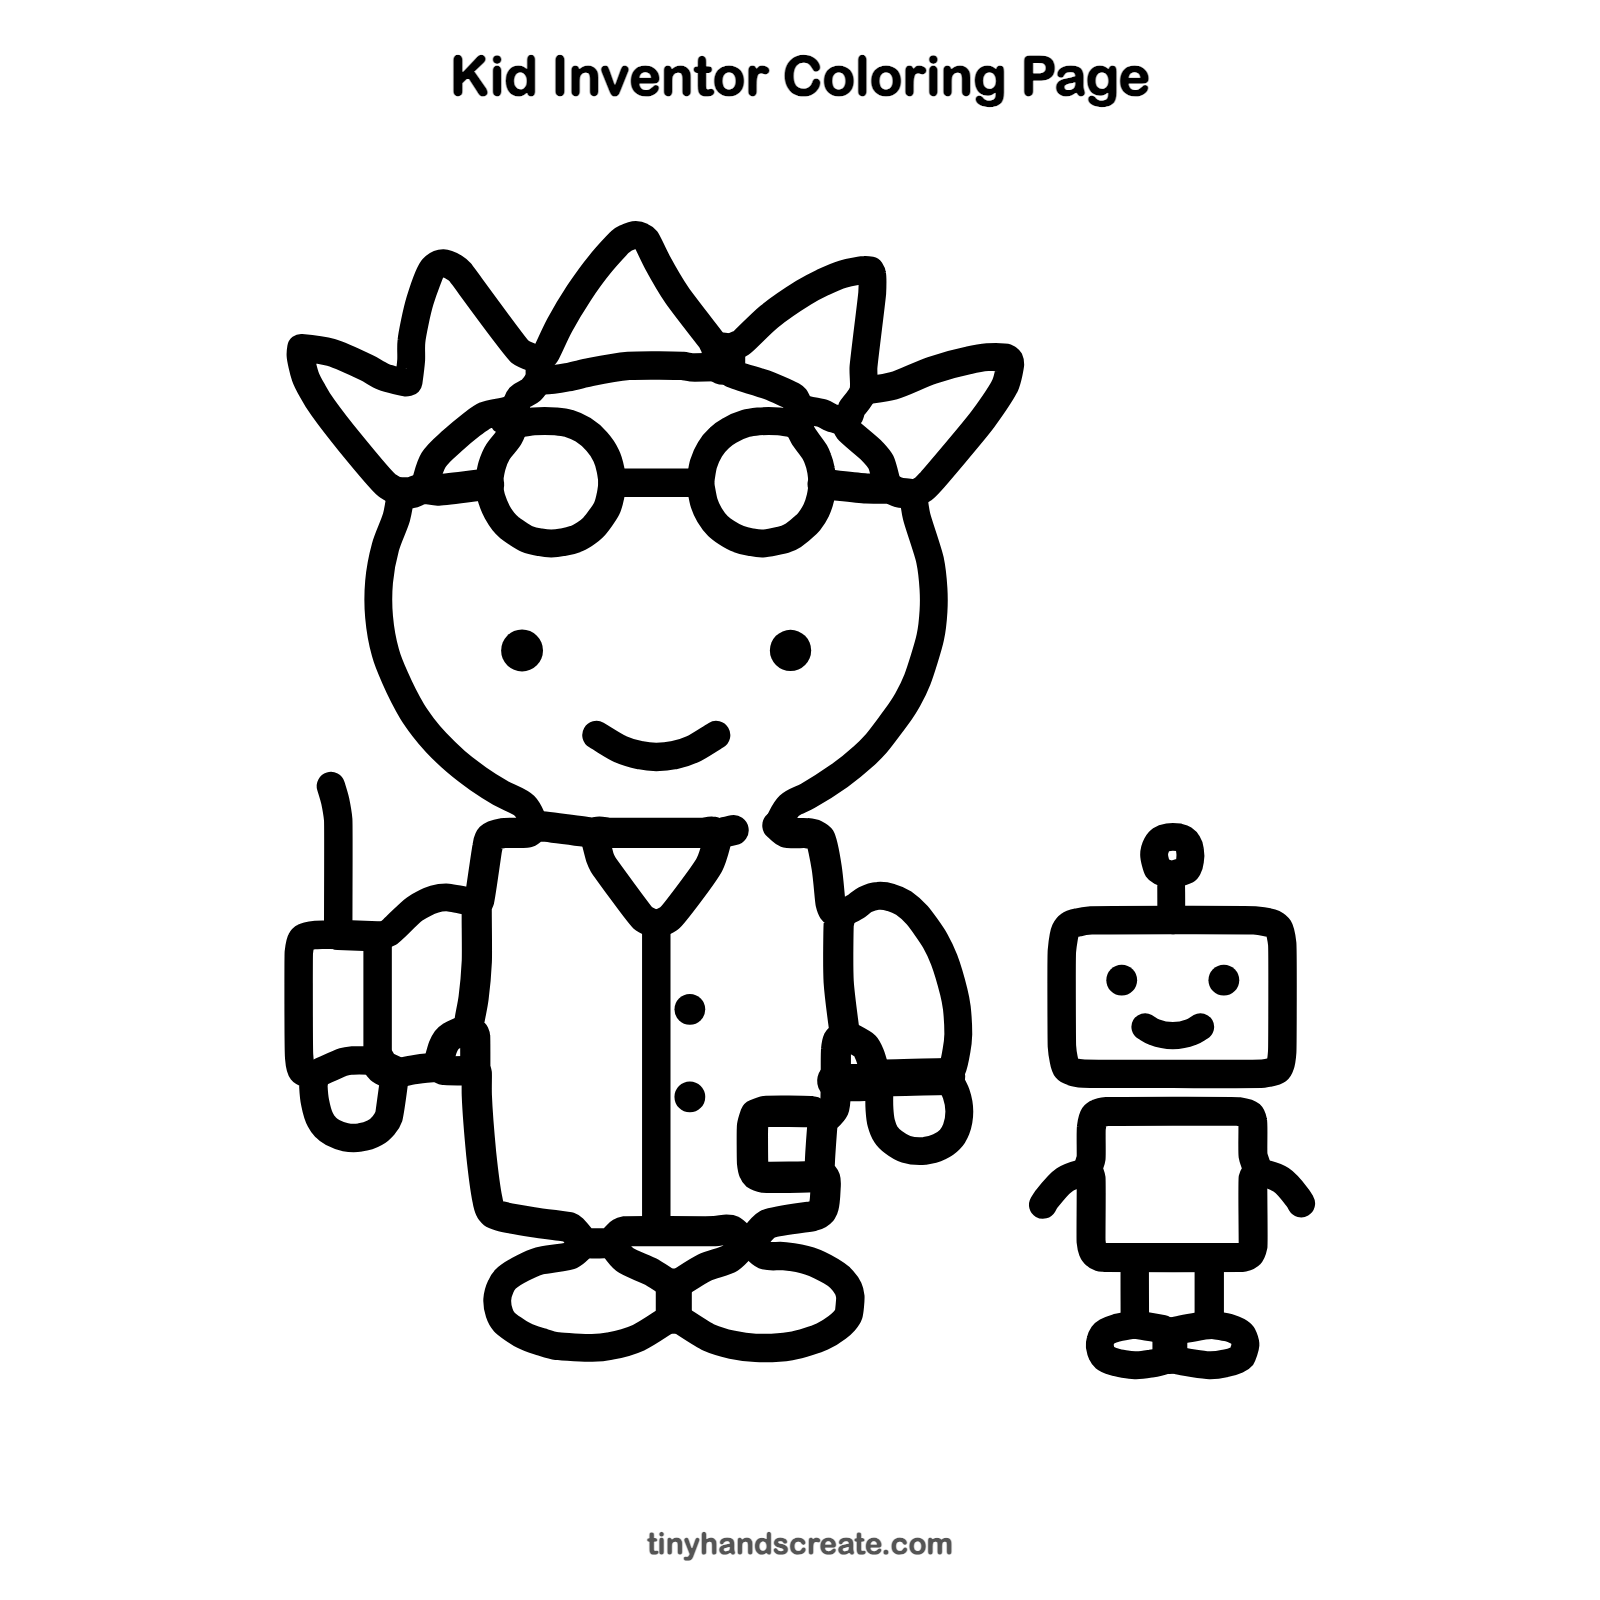
Want to go straight to coloring? Open this kid inventor coloring page at full size and print it. It is the same drawing you just learned, with clean lines ready for crayons or markers.
How to color your kid inventor drawing
Try a white coat, bright yellow or green hair, and a blue or silver robot. For a creative twist, color the test tube with swirly glowing liquid.
Kid inventor fun fact for kids
Real scientists wear lab coats to protect their clothes and skin from spills. Many wear goggles too, so their eyes stay safe while they experiment.
Questions about drawing a kid inventor
What shapes do I need to draw a kid inventor?
You need curved lines for the head, a tall rectangle for the lab coat, circles for the goggles, and zigzags for the hair. The robot uses rounded rectangles.
How do I make the hair look wild?
Draw spikes of different heights that point in different directions. Uneven spikes look messier, and that is just what you want.
How do I make the robot look cuter?
Give it a wide head with small dot eyes and a little smile. A tiny antenna with a round tip adds charm.