How to Draw a Fairy Godmother (Easy Step by Step)
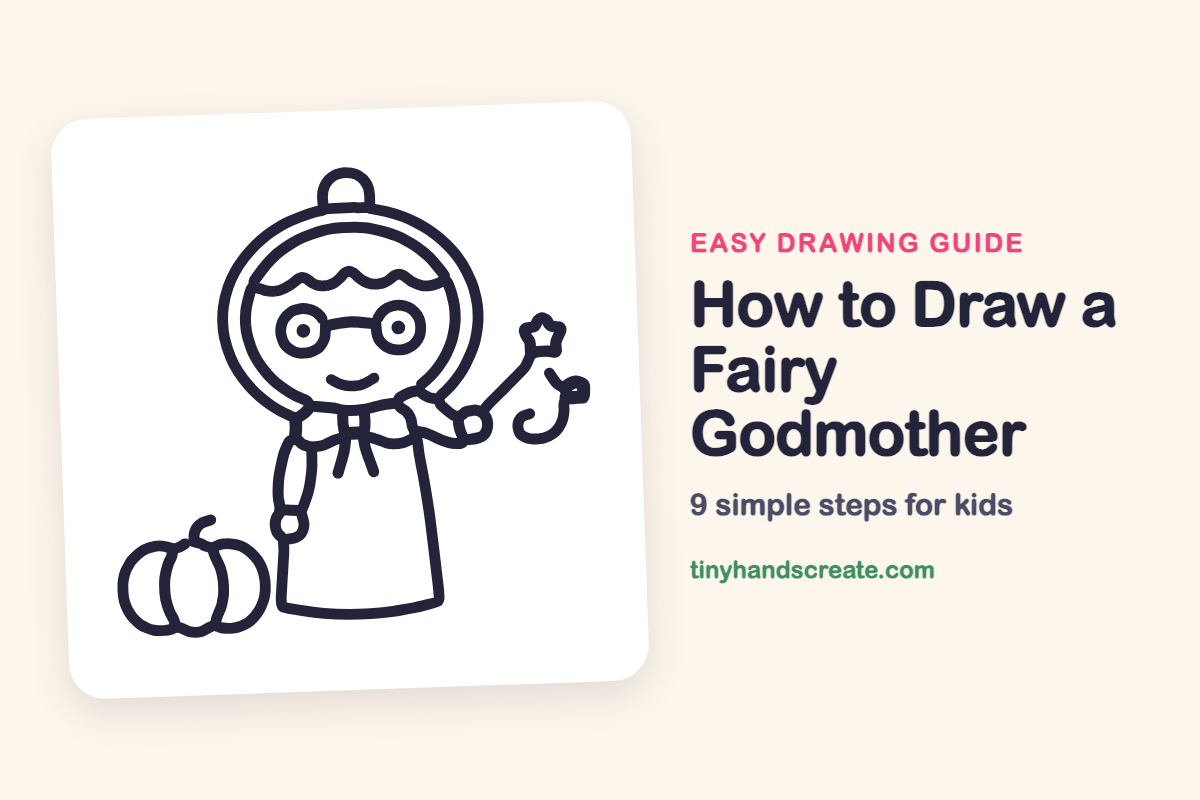
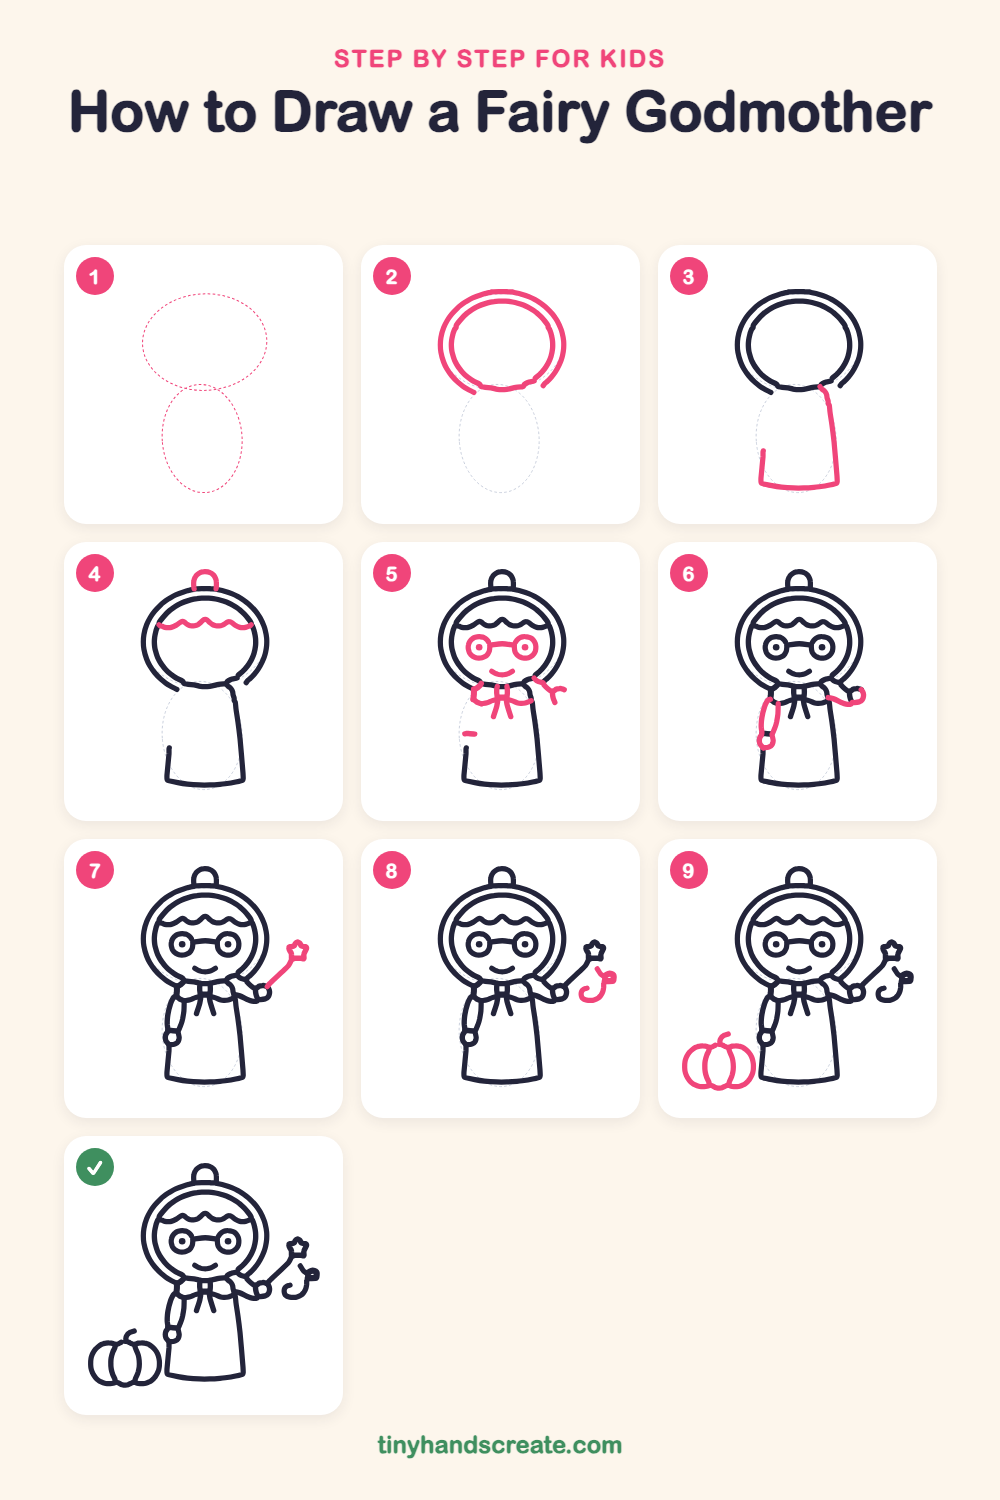
A fairy godmother is a cozy mix of simple shapes: circles for the face and glasses, a bonnet oval around her head, a long dress, and a little star on a stick for the wand. Add a round pumpkin by her side and the whole scene feels like a fairy tale. Kids can build her one shape at a time.
- Medium
- 15 minutes
- 9 steps
You need: paper, a pencil, an eraser, and crayons or markers for coloring.
Start drawingIn this article (7 sections)
How to draw a fairy godmother step by step
How to Draw a Fairy Godmother · tinyhandscreate.com
Step 1: Guide shapes
Lightly sketch these 2 ovals. They only show where the big parts go, so press softly. You will erase them at the end.
Step 2: Face and bonnet
Draw a big circle for the face. Then draw a larger oval around it for the bonnet, so the two shapes sit close together and meet near the chin.
Step 3: The long dress
Under the chin, draw a long line down the right side of the dress, then curve it along the bottom. Add a short line going up from the bottom on the left side.
Step 4: Bun and bangs
Draw a small round bump on top of the bonnet for a bun. Then draw a wavy line across the top of the face for the curly bangs.
Step 5: Glasses, smile and bow
Draw two small circles for glasses with a dot in each, and join them with a short line. Add a little smile below, then a wavy collar with a bow and two ribbon tails at the neck.
Step 6: Arms and hands
On the left, draw a bent arm down the side of the dress and finish it with a small circle for the hand. On the right, draw a curvy sleeve reaching out from the collar with a small circle hand at the end.
Step 7: The magic wand
Draw a short straight line going up and out from the right hand. Top it with a small star.
Step 8: A magic swirl
Next to the wand, draw a curly swirl that ends in a little hook, like a sparkle of magic.
Step 9: The pumpkin
At the bottom left, draw a wide round shape for the pumpkin. Add two curved lines inside for the ridges, then a little curled stem on top.
All done!
Erase the guide shapes, go over your lines, then color it in.
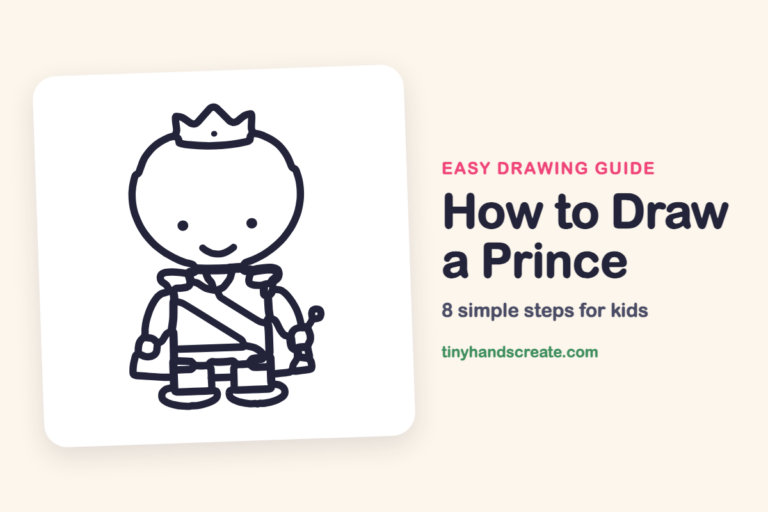
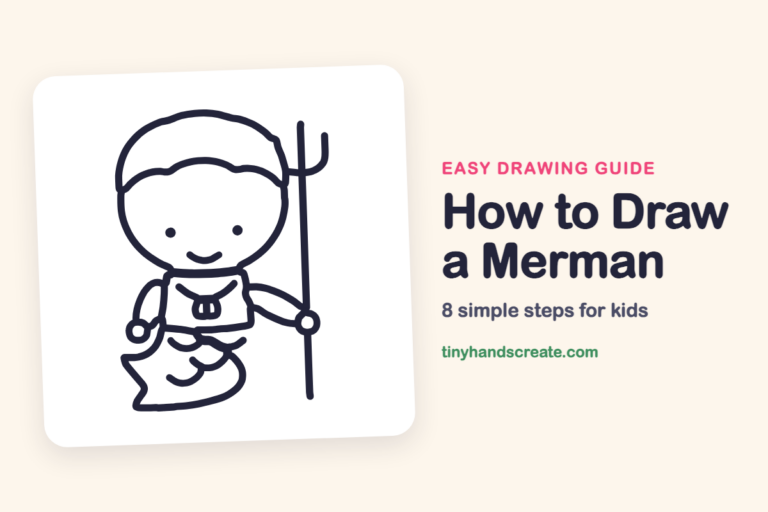
Finished your fairy godmother? Keep the pencils out and learn how to draw a prince or how to draw a merman next.
Tips for drawing a fairy godmother
- Draw the bonnet oval after the face circle so the two shapes sit close together near the chin.
- For the glasses, draw two circles about the same size, put a dot in each, then connect them with a short line.
- Draw the wand as a short straight line and add the star last, so you can place it where there is room.
Free fairy godmother coloring page
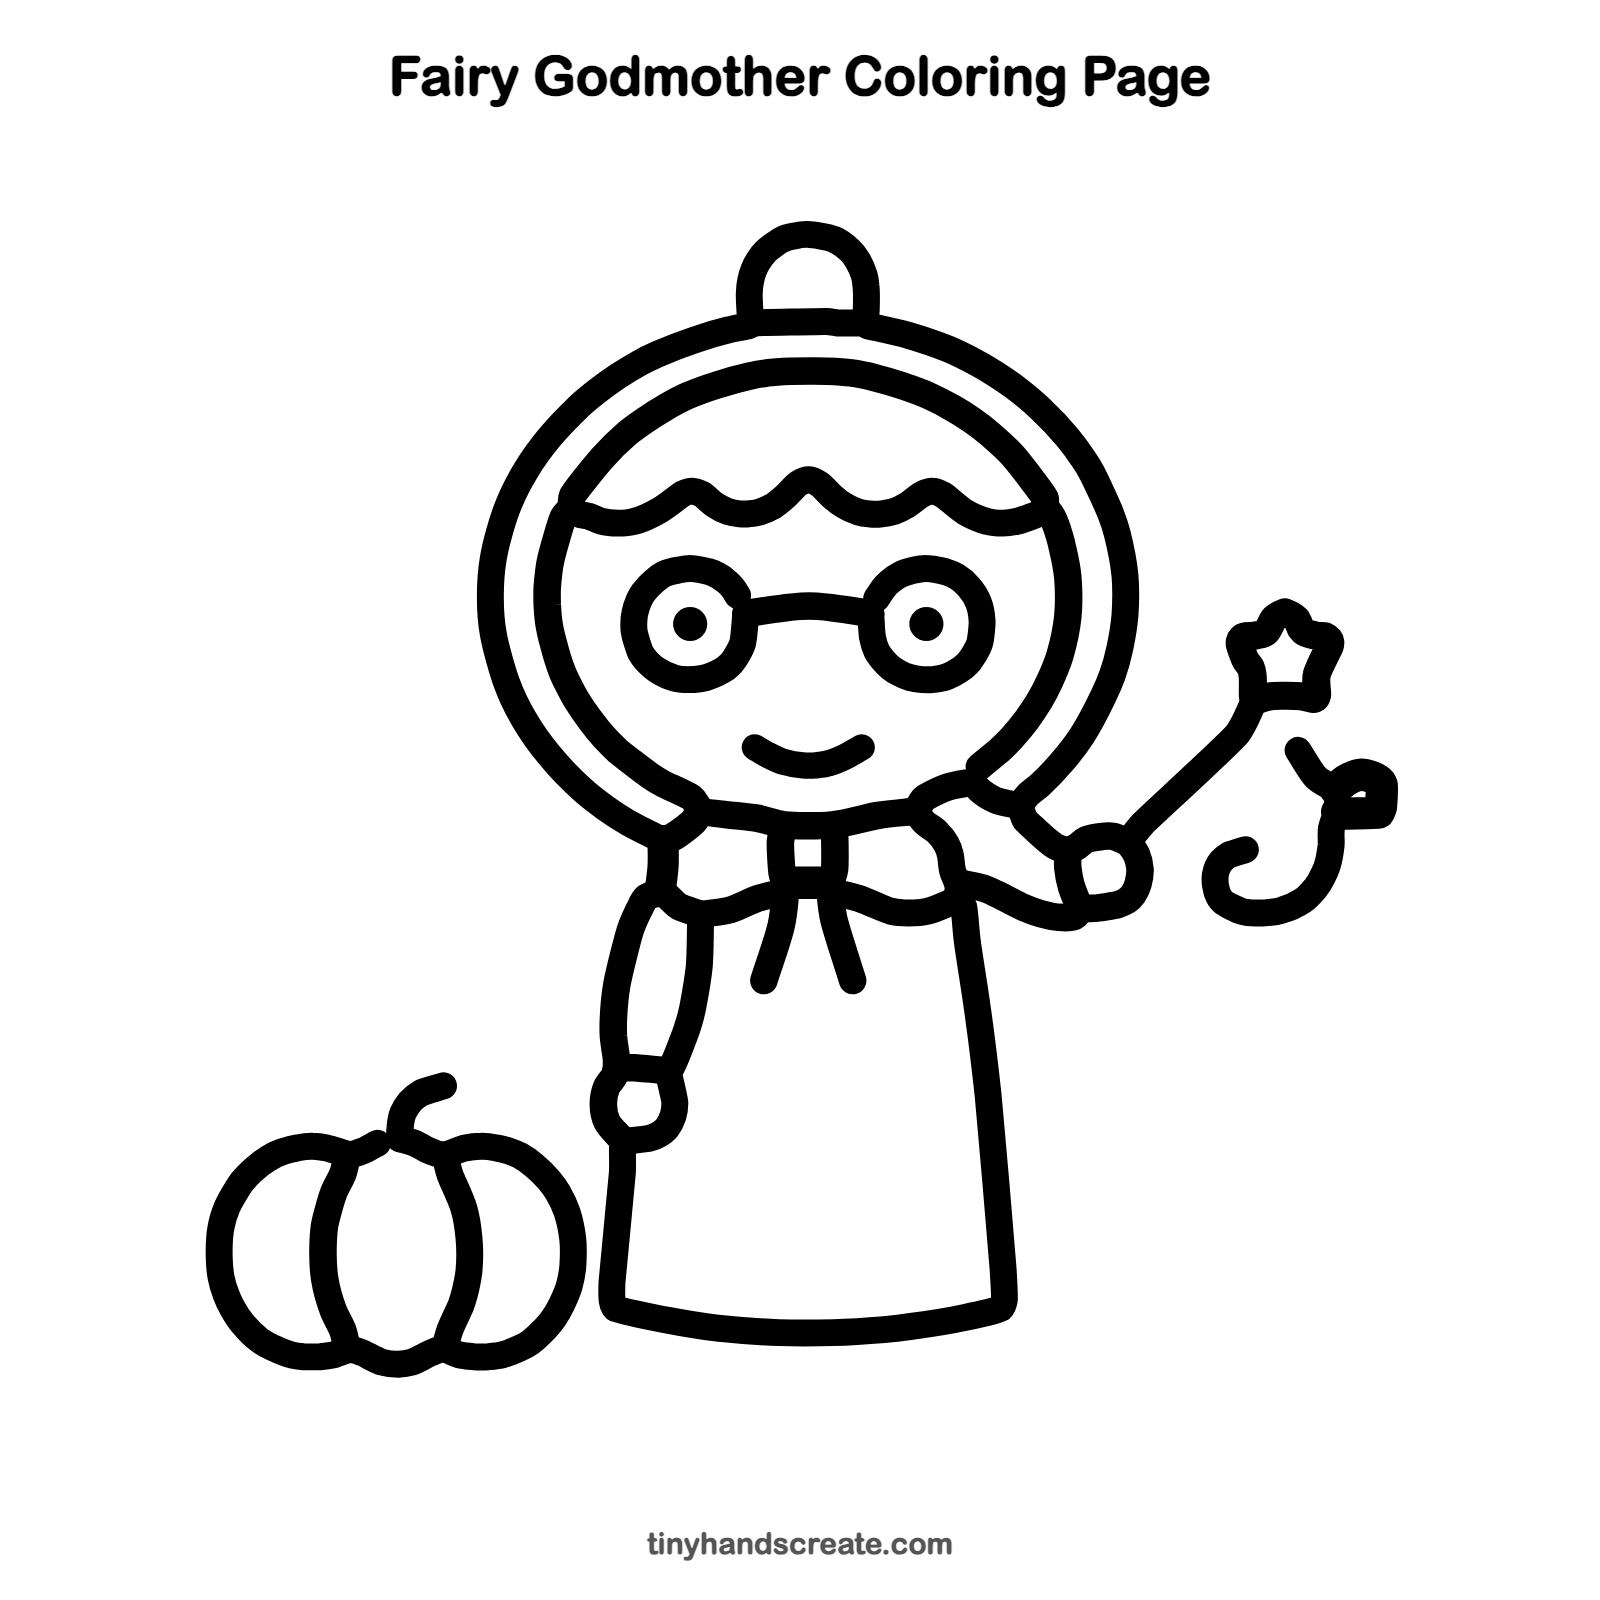
Want to go straight to coloring? Open this fairy godmother coloring page at full size and print it. It is the same drawing you just learned, with clean lines ready for crayons or markers.
How to color your fairy godmother drawing
Try soft blue for the dress, pink for the bonnet, and gold for the wand and star, with an orange pumpkin. You could also color the swirl in rainbow colors.
Fairy godmother fun fact for kids
In the story of Cinderella, which was written down by Charles Perrault in 1697, the fairy godmother uses magic to turn a pumpkin into a coach, which is why a pumpkin sits next to her here.
Questions about drawing a fairy godmother
What shapes do I need to draw a fairy godmother?
You need circles for the face, glasses and hands, an oval for the bonnet, long lines for the dress, and a small star for the wand. A wavy line makes the bangs and collar.
How do I make my fairy godmother look cuter?
Make the head big and the body small, and give her a happy smile. Round glasses and a curly magic swirl by the wand also add charm.
How do I draw a pumpkin next to her?
Start with a wide round shape, then add two curved lines inside for the ridges. Finish with a small curly stem on top.