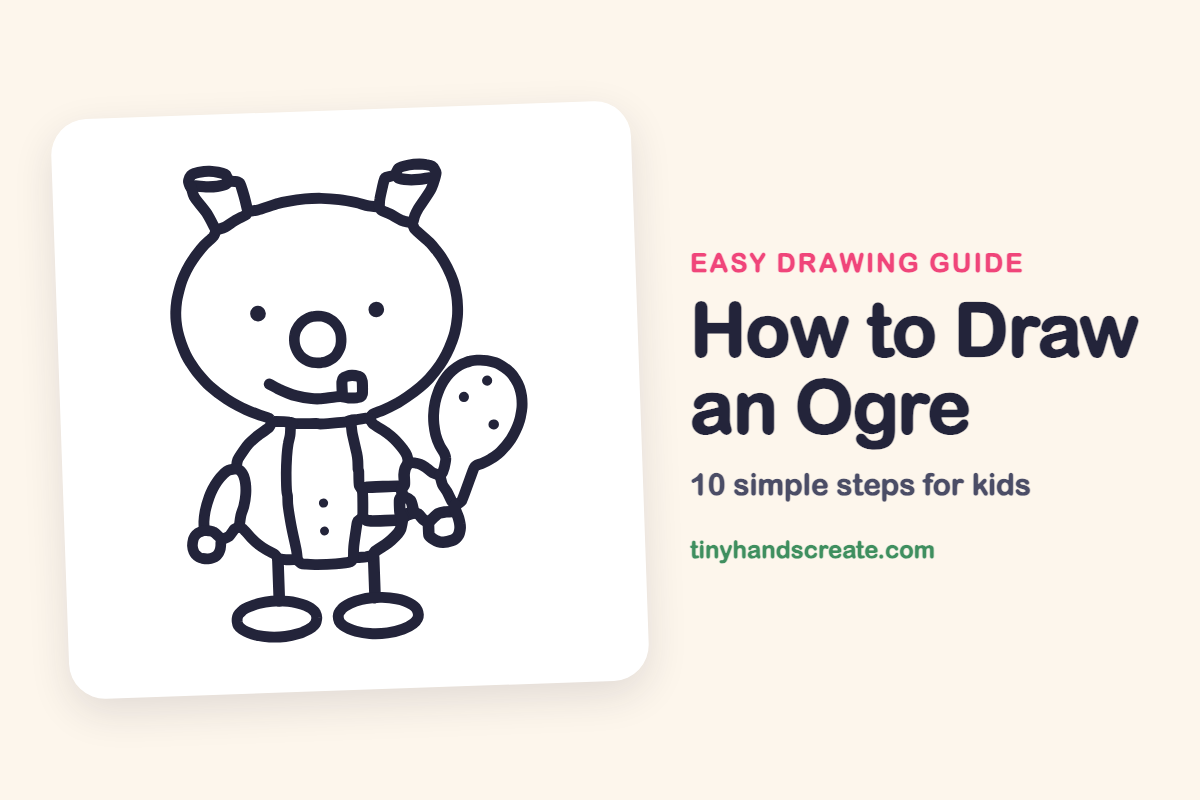
How to Draw an Ogre (Easy Step by Step)
This friendly ogre is built from ovals, circles and a few curvy lines. A giant round head, a round tummy and a big club make him look silly instead of scary. Once you can draw a simple oval, you can draw almost every part of him.
- Easy
- 15 minutes
- 10 steps
You need: paper, a pencil, an eraser, and crayons or markers for coloring.
Start drawingIn this article (7 sections)
How to draw an ogre step by step
How to Draw an Ogre · tinyhandscreate.com
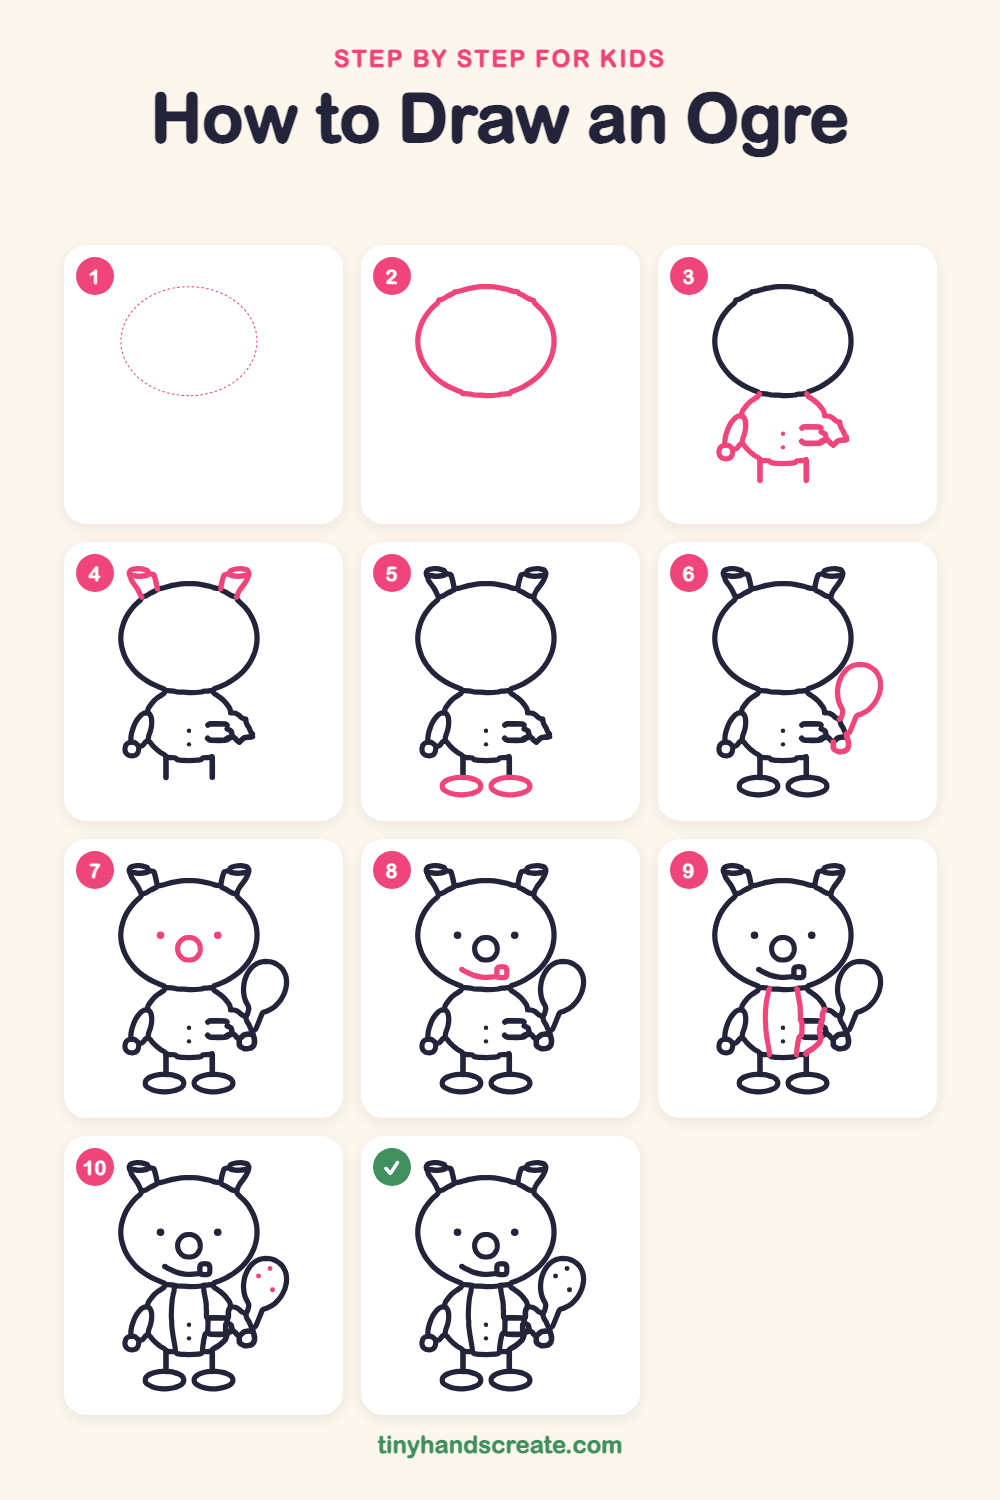
Step 1: Guide shapes
Lightly sketch this oval. It only shows where the big parts go, so press softly. You will erase it at the end.
Step 2: The big head
Draw a big wide oval near the top of the page. This round head is the biggest shape in your ogre, so leave room below it for the body.
Step 3: Body, arms and legs
Under the head, draw a round tummy shape with a flat curved line across the bottom. Add a bendy arm on the left with a small circle for a hand, and a cupped hand shape on the right side. Finish with two short straight lines going down for legs, and two tiny dots on the tummy.
Step 4: Funny ears
On top of the head, draw two tilted tube shapes that stick up like little horns. Add a thin oval at the top of each one so they look open.
Step 5: Big flat feet
At the bottom of each leg, draw a wide flat oval for a foot. Make both ovals about the same size.
Step 6: The club
Draw a big club that looks like a fat drumstick, round at the top and narrow at the bottom. End the narrow part with a small loop where the hand holds it, near the cupped hand.
Step 7: Eyes and nose
Draw two small dots for eyes, one on each side of the face. Between and below them, draw a small circle for a big nose.
Step 8: Smile and tooth
Draw a gentle curved smile under the nose. On the right end, draw a tiny square tooth.
Step 9: Belly stripes
Draw two long curved lines down the tummy, like the sides of a vest. On the right, add a short curved belt line with a small square buckle near the hand.
Step 10: Club spots
Finish with three little dots scattered on the round top of the club. Make them different distances apart.
All done!
Erase the guide shapes, go over your lines, then color it in.
Finished your ogre? Keep the pencils out and learn how to draw a pirate girl or how to draw a gladiator next.
Tips for drawing an ogre
- Draw the head oval first and make it wide, then leave a gap before the body so the head does not run into the tummy.
- The two horn ears are the trickiest part. Draw a tilted tube first, then add the thin oval on top last.
- Keep the club thin at the bottom and fat at the top, so it looks like a drumstick.
Free ogre coloring page
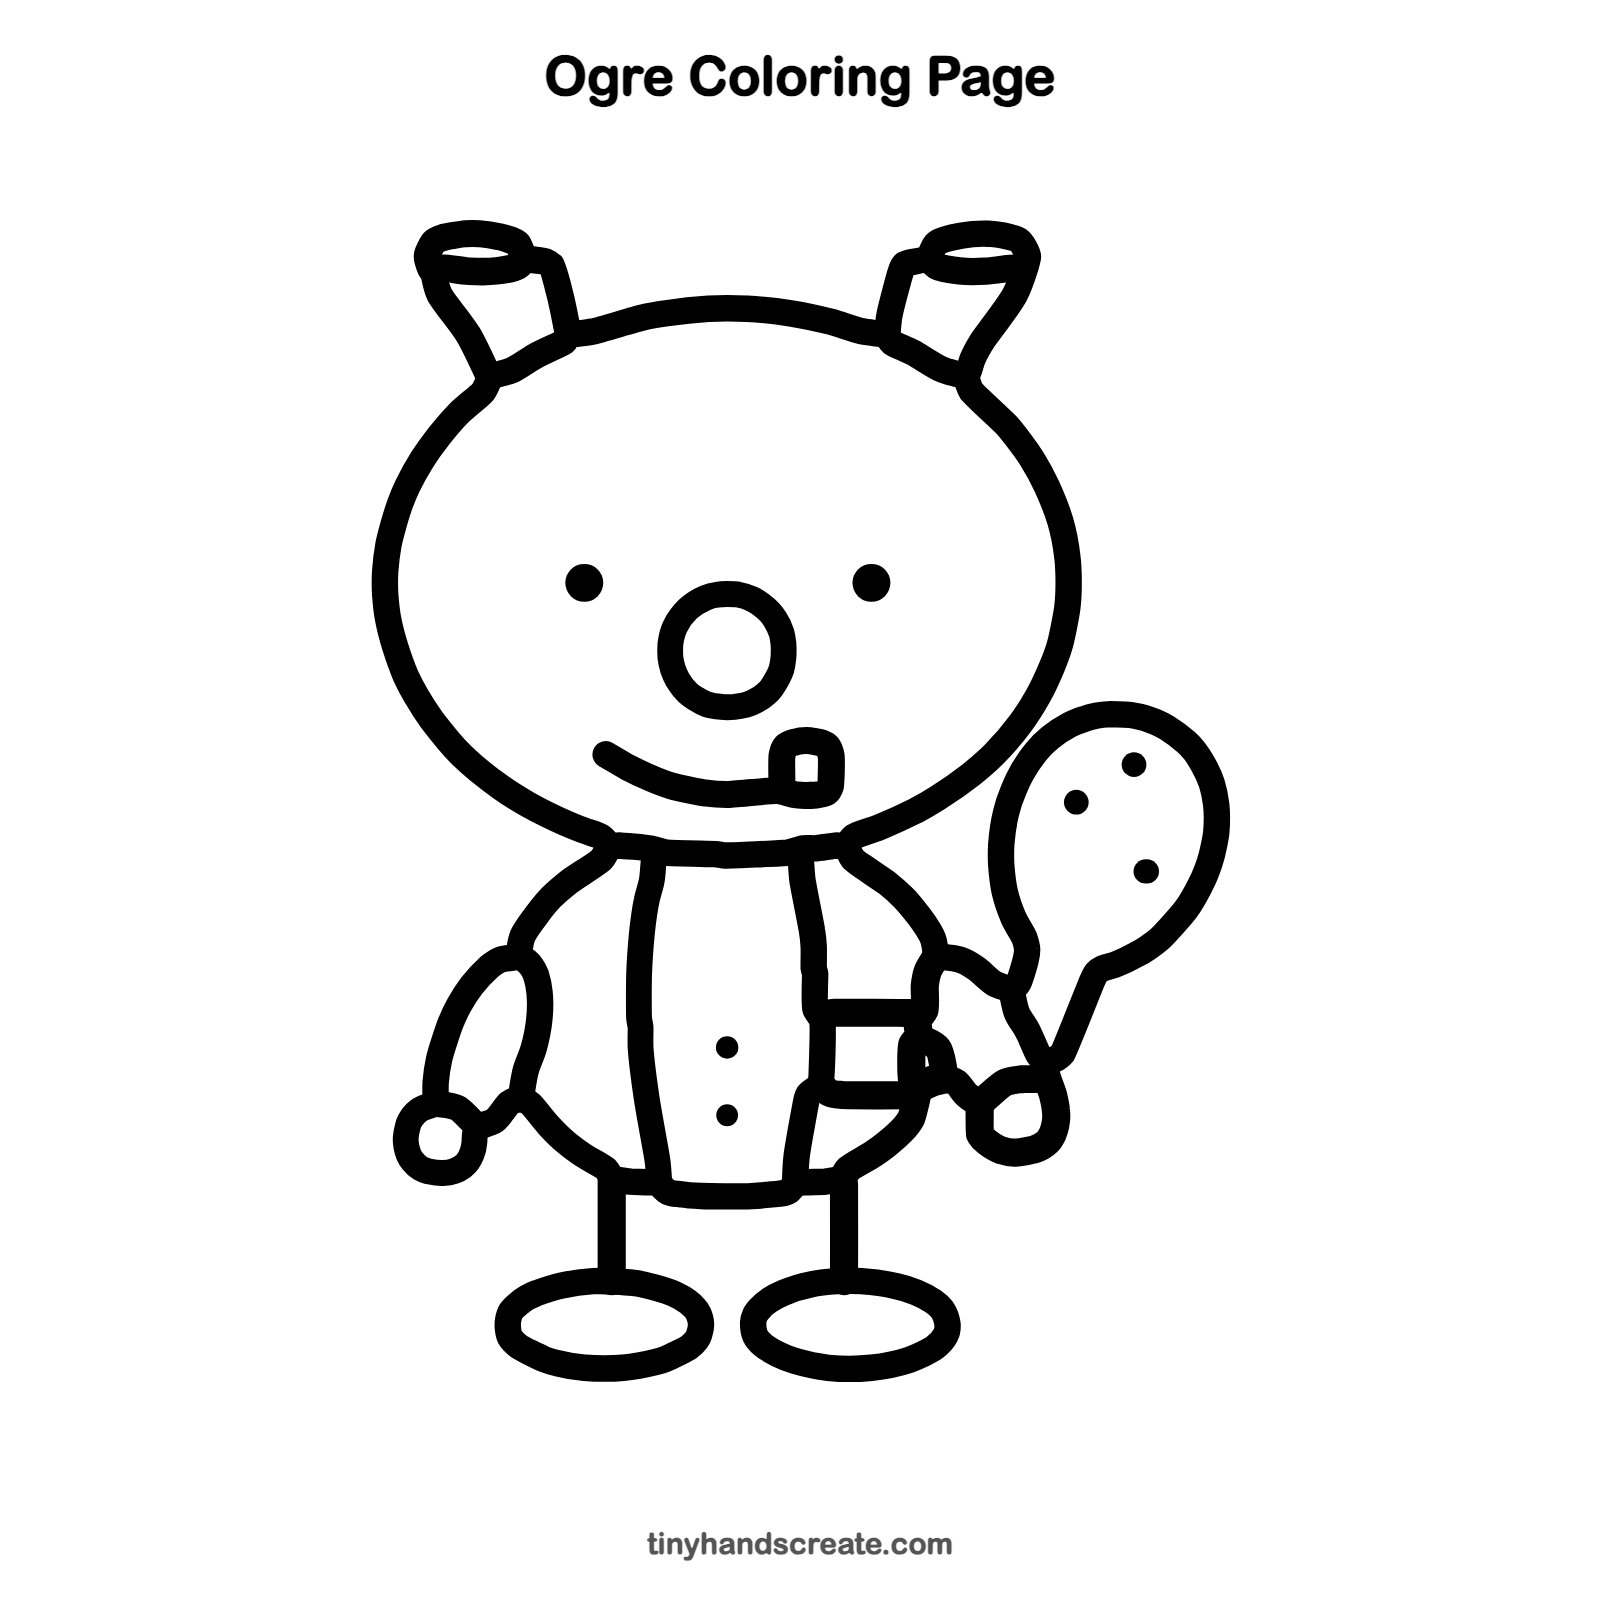
Want to go straight to coloring? Open this ogre coloring page at full size and print it. It is the same drawing you just learned, with clean lines ready for crayons or markers.
How to color your ogre drawing
Try a swampy green for the skin, brown for the club and a bright vest in red or blue. For a creative twist, give your ogre rainbow polka dots on his tummy.
Ogre fun fact for kids
The word ogre became popular in storybooks through the French author Charles Perrault, who put ogres in his fairy tales published in 1697, including Puss in Boots.
Questions about drawing an ogre
What shapes do I need to draw an ogre?
You need a big oval for the head, a round shape for the tummy, a small circle for the nose, and flat ovals for the feet. The ears are tube shapes and the club is a drumstick shape.
How do I make my ogre look friendlier?
Draw a curved smile and keep the eyes as small round dots. A tiny tooth also makes him look goofy instead of mean.
Can I give my ogre something different to hold?
Yes. Swap the club for a lollipop, a flower or a balloon by drawing a different shape at the top of the same handle.