How to Draw a Plumber (Easy Step by Step)
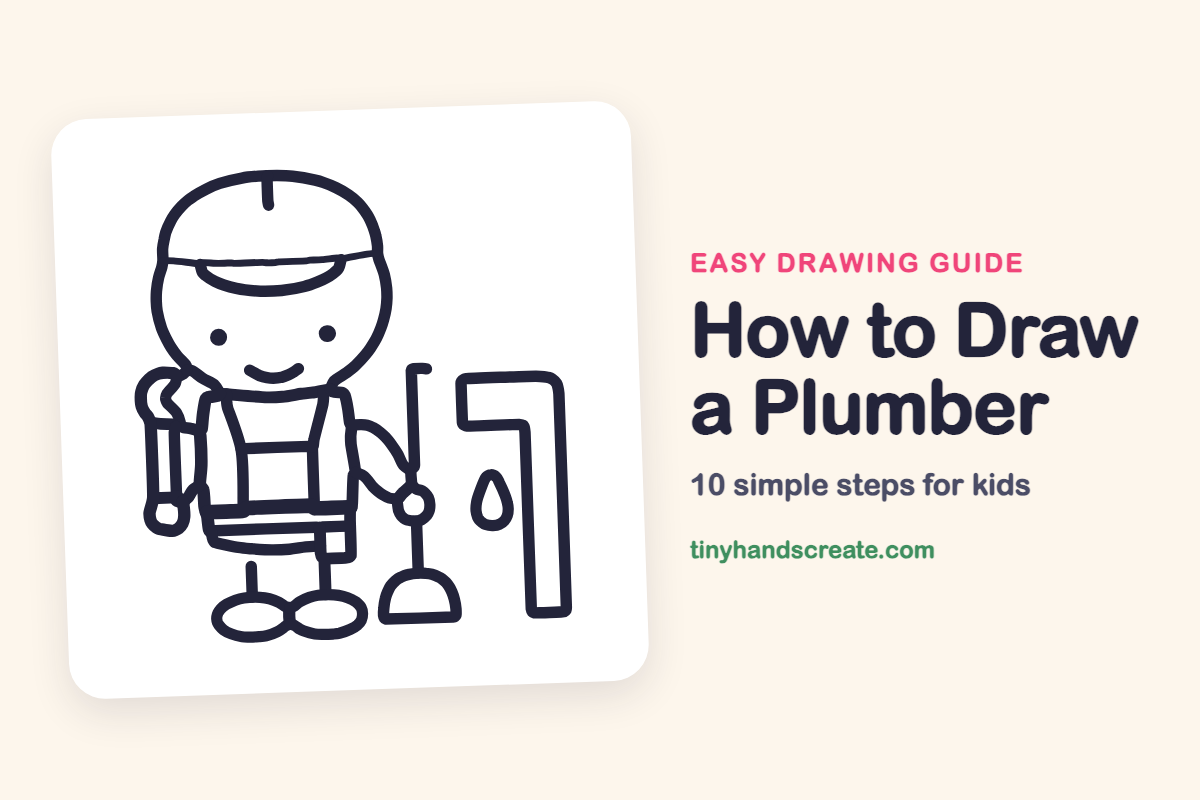
This friendly plumber is built from simple shapes: a big round head, a hard hat, a tall body for the overalls and two oval shoes. The fun part is the tools. A wrench, a plunger and a dripping pipe show what the job is without a single word.
- Medium
- 15 minutes
- 10 steps
You need: paper, a pencil, an eraser, and crayons or markers for coloring.
Start drawingIn this article (7 sections)
How to draw a plumber step by step
How to Draw a Plumber · tinyhandscreate.com
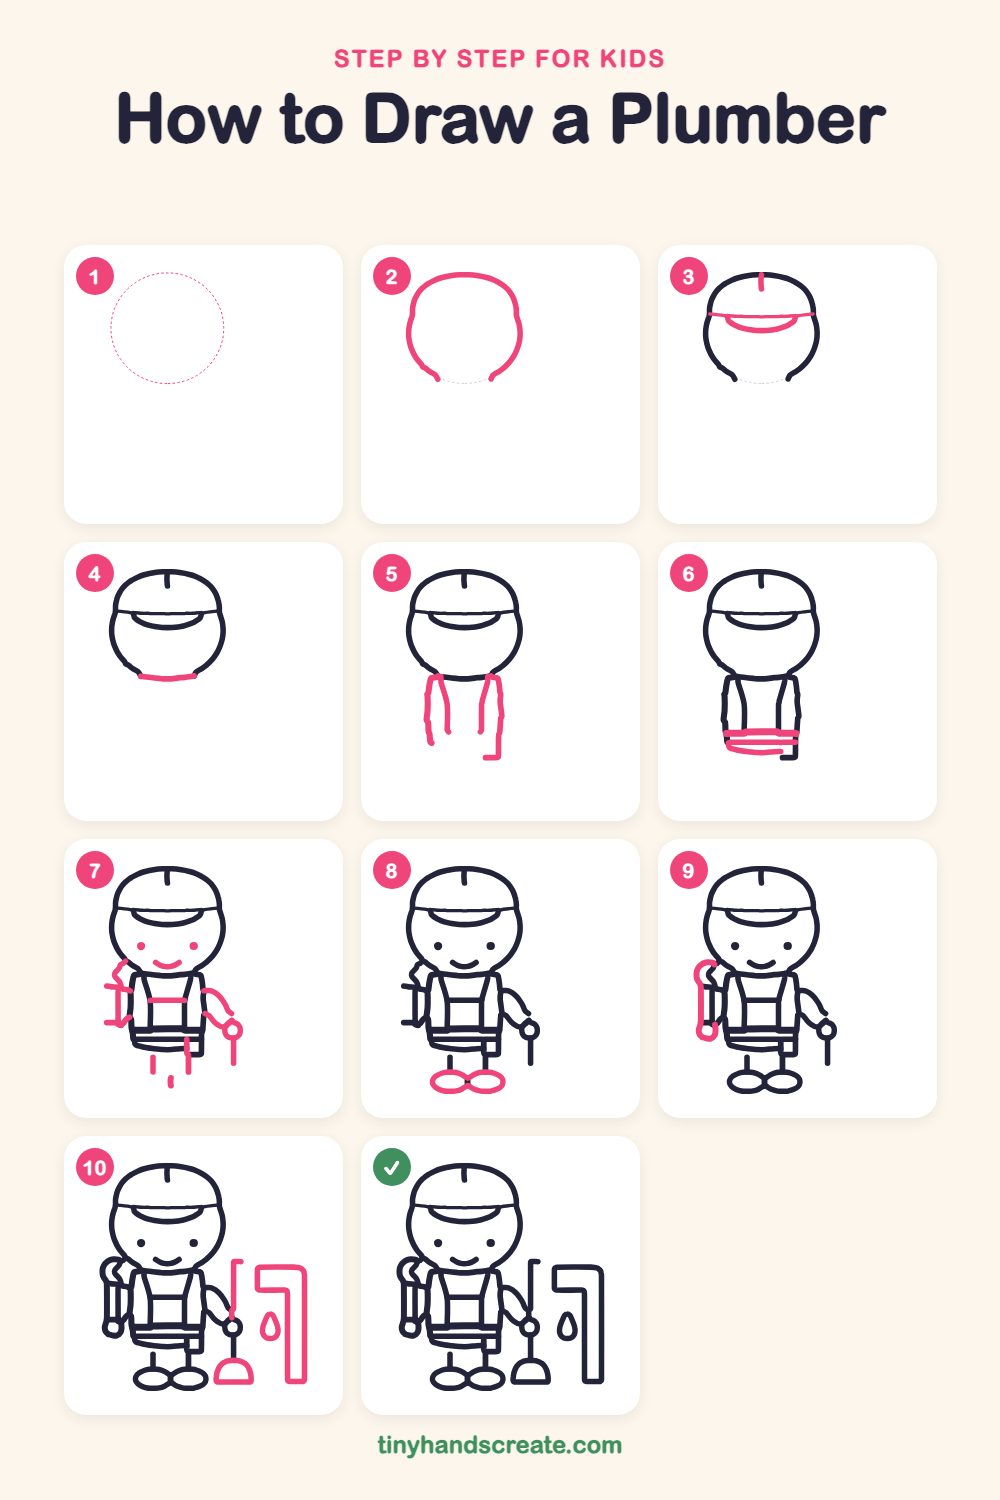
Step 1: Guide shapes
Lightly sketch this oval. It only shows where the big parts go, so press softly. You will erase it at the end.
Step 2: Head outline
Draw the top and sides of a big round head, a little wider at the cheeks. Leave a gap along the bottom for now.
Step 3: Hard hat
Draw a curved line straight across the forehead for the hat band, then a bowl shape just under it for the brim. Add a short line standing in the middle of the top of the hat.
Step 4: Chin
Close the head with a gentle curve along the bottom, joining the two sides of the face for the chin.
Step 5: Sides of the overalls
Under the chin, draw two tall wobbly lines going down, one on each side, for the sides of the overalls. Make the right line turn into a small corner at the bottom.
Step 6: Belt and hem
Draw two straight lines across the bottom of the body for the belt. Then add a curved line underneath for the hem.
Step 7: Face, pocket, arms and legs
Add two round dots for eyes and a small smile. Draw a short flat line in the middle of the body for the pocket, then an arm on each side with a small circle for the right hand. Finish with a few short lines under the body for the legs.
Step 8: Shoes
Draw two oval shoes at the bottom, side by side so they touch in the middle.
Step 9: The wrench
On the left, draw a long, thin handle with a small circle at the bottom. At the top, add a curved hook shape for the wrench jaw.
Step 10: Plunger, pipe and drip
Next to the hand, draw a half circle with a flat bottom for the plunger cup, then a straight line up from it to the hand for the pole. On the right, draw a tall backwards L shape for the pipe, and a little drop shape beside it.
All done!
Erase the guide shapes, go over your lines, then color it in.
Finished your plumber? Keep the pencils out and learn how to draw a rocket or how to draw a shooting star next.
Tips for drawing a plumber
- Draw the head outline lightly first, then add the hat band straight across the forehead so it looks even.
- Close the chin before you draw the body, so the head looks like one smooth shape.
- Draw the plunger cup as a half circle with a flat bottom, and keep the pole straight with one steady line.
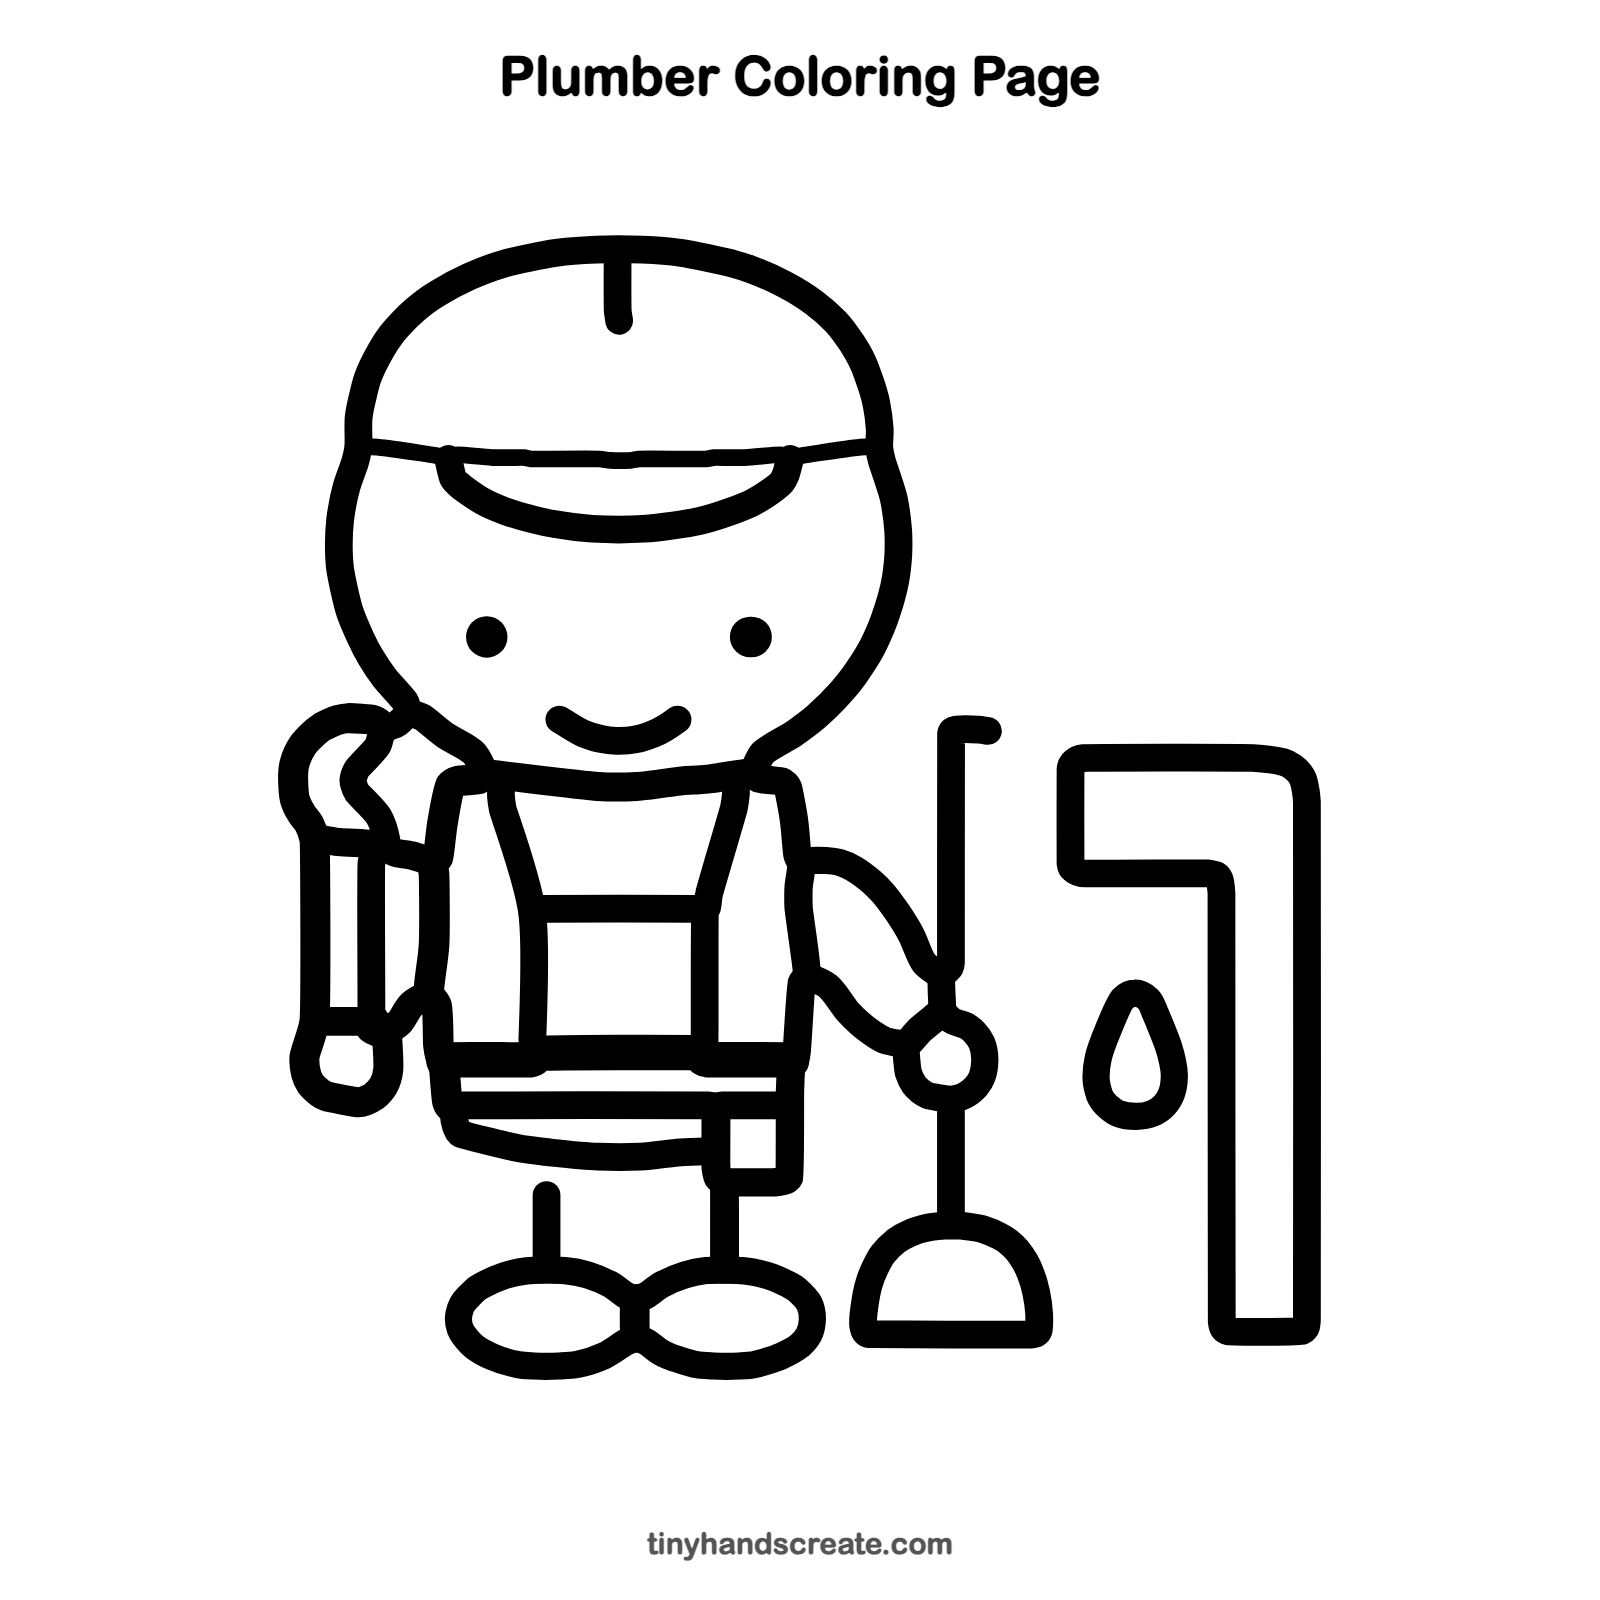
Free plumber coloring page
Want to go straight to coloring? Open this plumber coloring page at full size and print it. It is the same drawing you just learned, with clean lines ready for crayons or markers.
How to color your plumber drawing
Try a yellow hard hat, blue overalls and a red plunger cup, with a silver wrench. For a creative twist, color the water drop bright blue.
Plumber fun fact for kids
The word plumber comes from the Latin word plumbum, which means lead, because old water pipes were often made of lead.
Questions about drawing a plumber
What shapes do I need to draw a plumber?
You need a big round head, a bowl shape for the hat brim, a half circle for the plunger cup and ovals for the shoes. Straight lines make the legs, the pole and the pipe.
How do I make my plumber look cuter?
Draw the head extra big and keep the eyes small and round. A small smile gives the plumber lots of personality.
How do I draw the wrench?
Start with a long thin handle and add a small circle at the bottom. Then draw a curved hook shape at the top for the jaw.