How to Draw a Barber (Easy Step by Step)
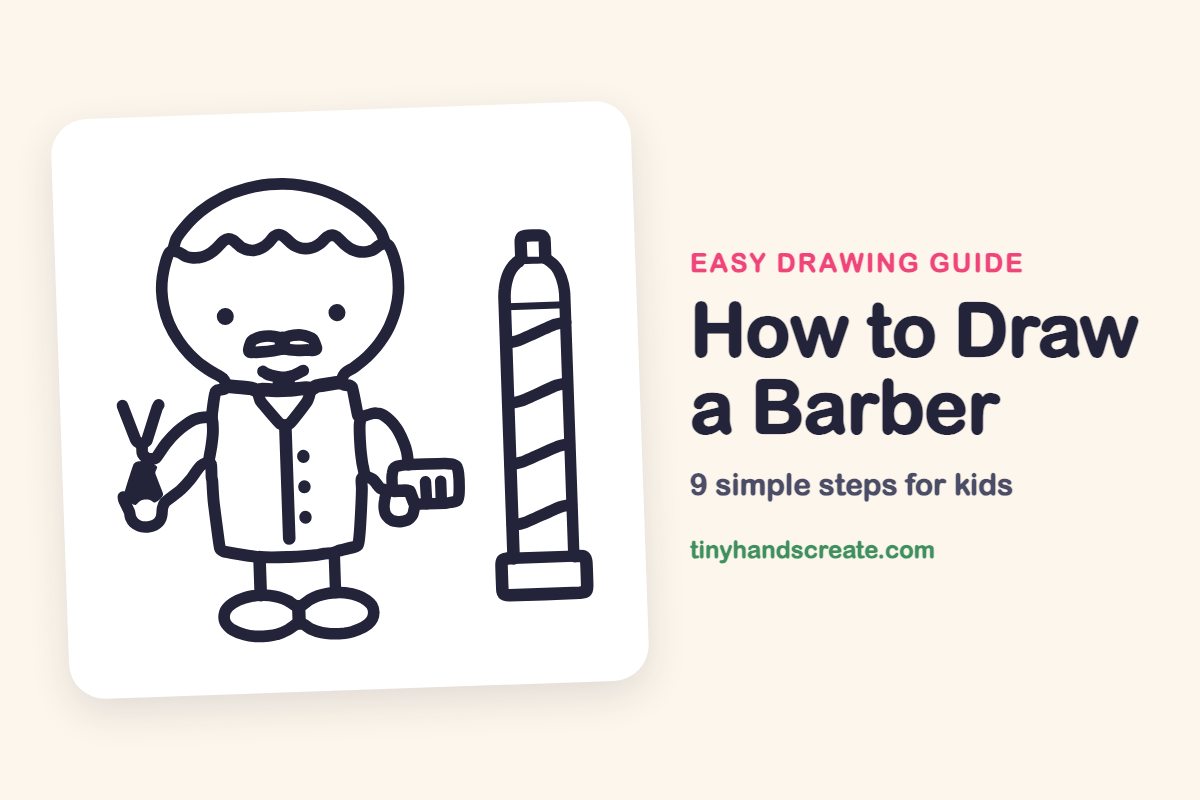
A barber with scissors, a comb and a striped pole is a fun way to practice drawing people. The whole picture is built from curves, rectangles and ovals, so it is friendly for beginners. You can make the barber look cheerful with a little mustache and wavy hair.
- Medium
- 15 minutes
- 9 steps
You need: paper, a pencil, an eraser, and crayons or markers for coloring.
Start drawingIn this article (7 sections)
How to draw a barber step by step
How to Draw a Barber · tinyhandscreate.com
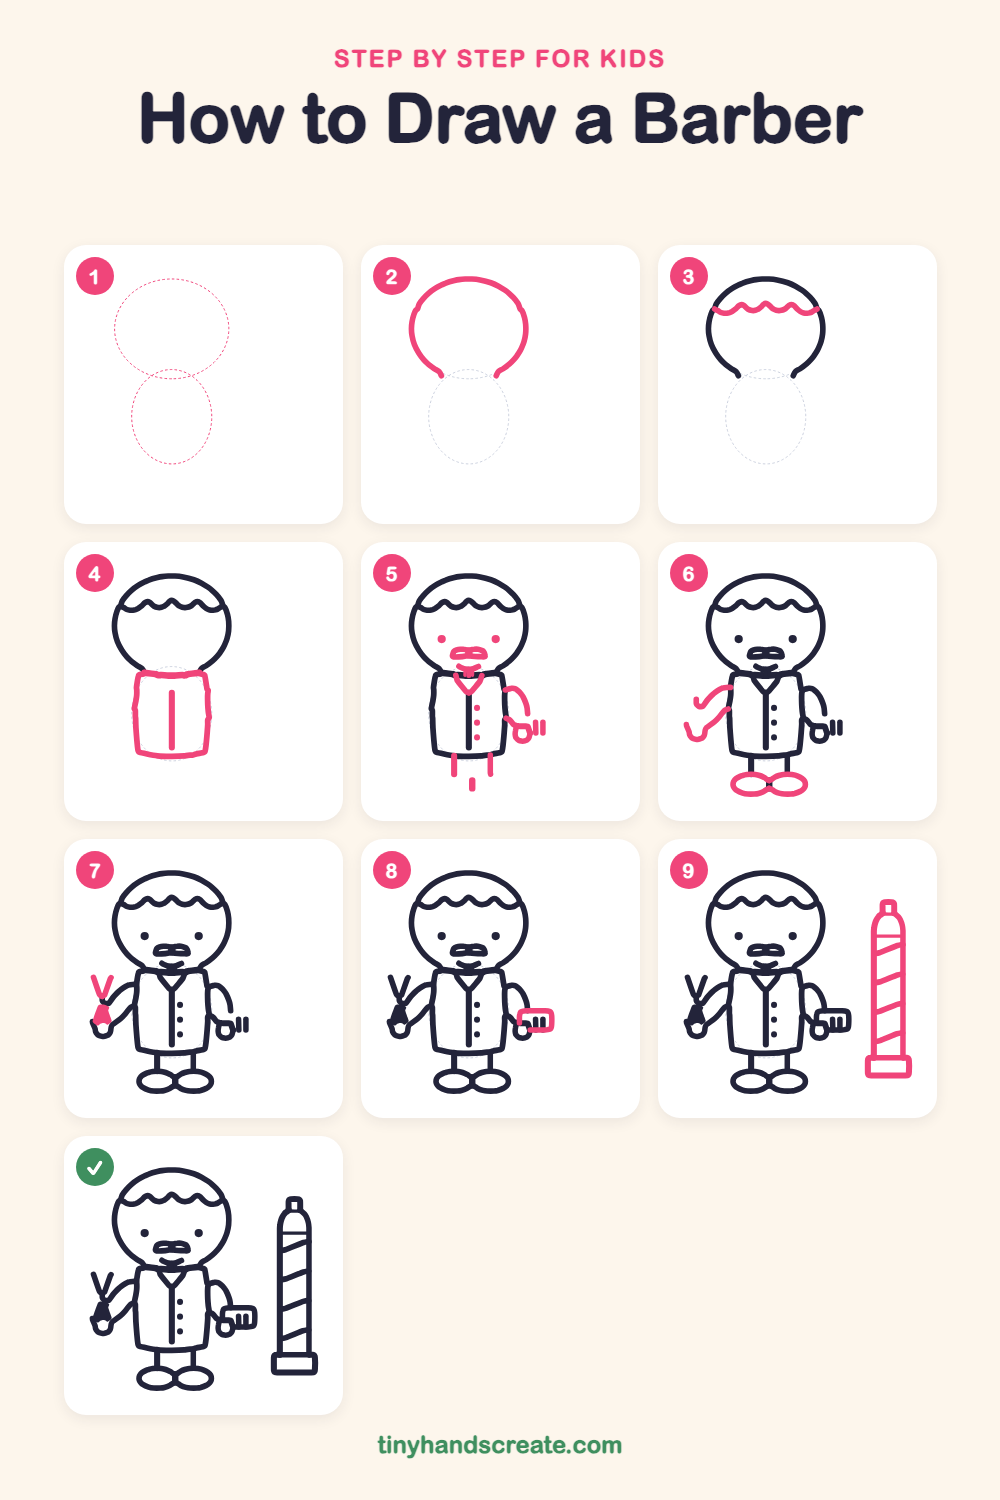
Step 1: Guide shapes
Lightly sketch these 2 ovals. They only show where the big parts go, so press softly. You will erase them at the end.
Step 2: The round head
Start low on the left and draw a big curve up and over the top, then down the right side, like an upside-down bowl. Leave the bottom open where the coat will go.
Step 3: Wavy hair
Near the top of the head, draw a wavy line from one side to the other, like a row of little hills. Everything above the wave is hair.
Step 4: The barber coat
Under the head, draw a tall rounded rectangle for the coat. Then draw a straight line down the middle.
Step 5: Face, collar and hand
Draw two dots for eyes, a little mustache under them, and a tiny chin shape below. Add a V for the collar and three dots down the coat for buttons. On the right side of the coat, draw a curved arm ending in a small circle hand with short lines beside it, and add short lines under the coat for legs.
Step 6: Other arm and shoes
On the left side of the coat, draw a wavy curved arm that ends in a small circle for the hand. Then draw two flat ovals side by side at the bottom of the legs for shoes.
Step 7: The scissors
In the left hand, draw a small filled handle. Then draw two long lines that make a V going up from it, like open scissor blades.
Step 8: The comb
Around the right hand, draw a small rounded rectangle. The short lines already there look like the comb teeth.
Step 9: The barber pole
On the right, draw a tall rounded tube with a small cap on top. Add a wide flat box at the bottom for the base, then draw slanted stripes across the tube.
All done!
Erase the guide shapes, go over your lines, then color it in.
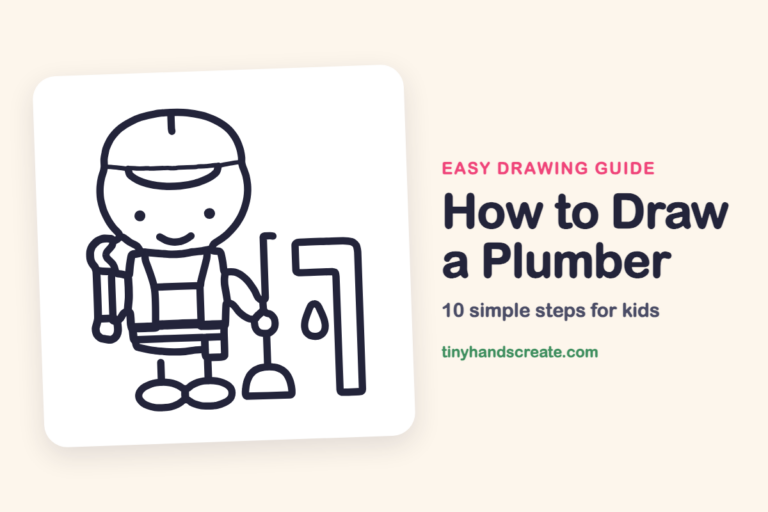
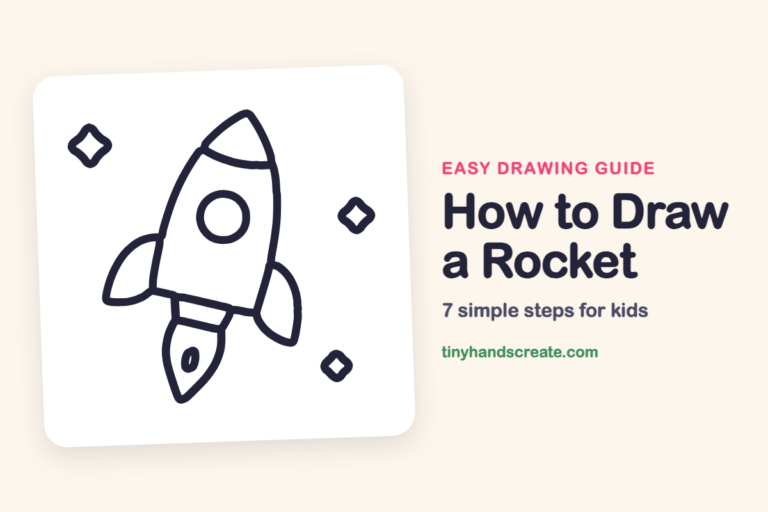
Finished your barber? Keep the pencils out and learn how to draw a plumber or how to draw a rocket next.
Tips for drawing a barber
- Draw the stripes on the barber pole slanting the same way each time. Use the edge of a card as a guide if the stripes wobble.
- The mustache is the trickiest part. Start with a small curve in the middle, then add one wave on each side so it looks balanced.
- Draw the scissors as a V of two long lines growing up from the hand. Keep the two lines the same length so the blades look even.
Free barber coloring page
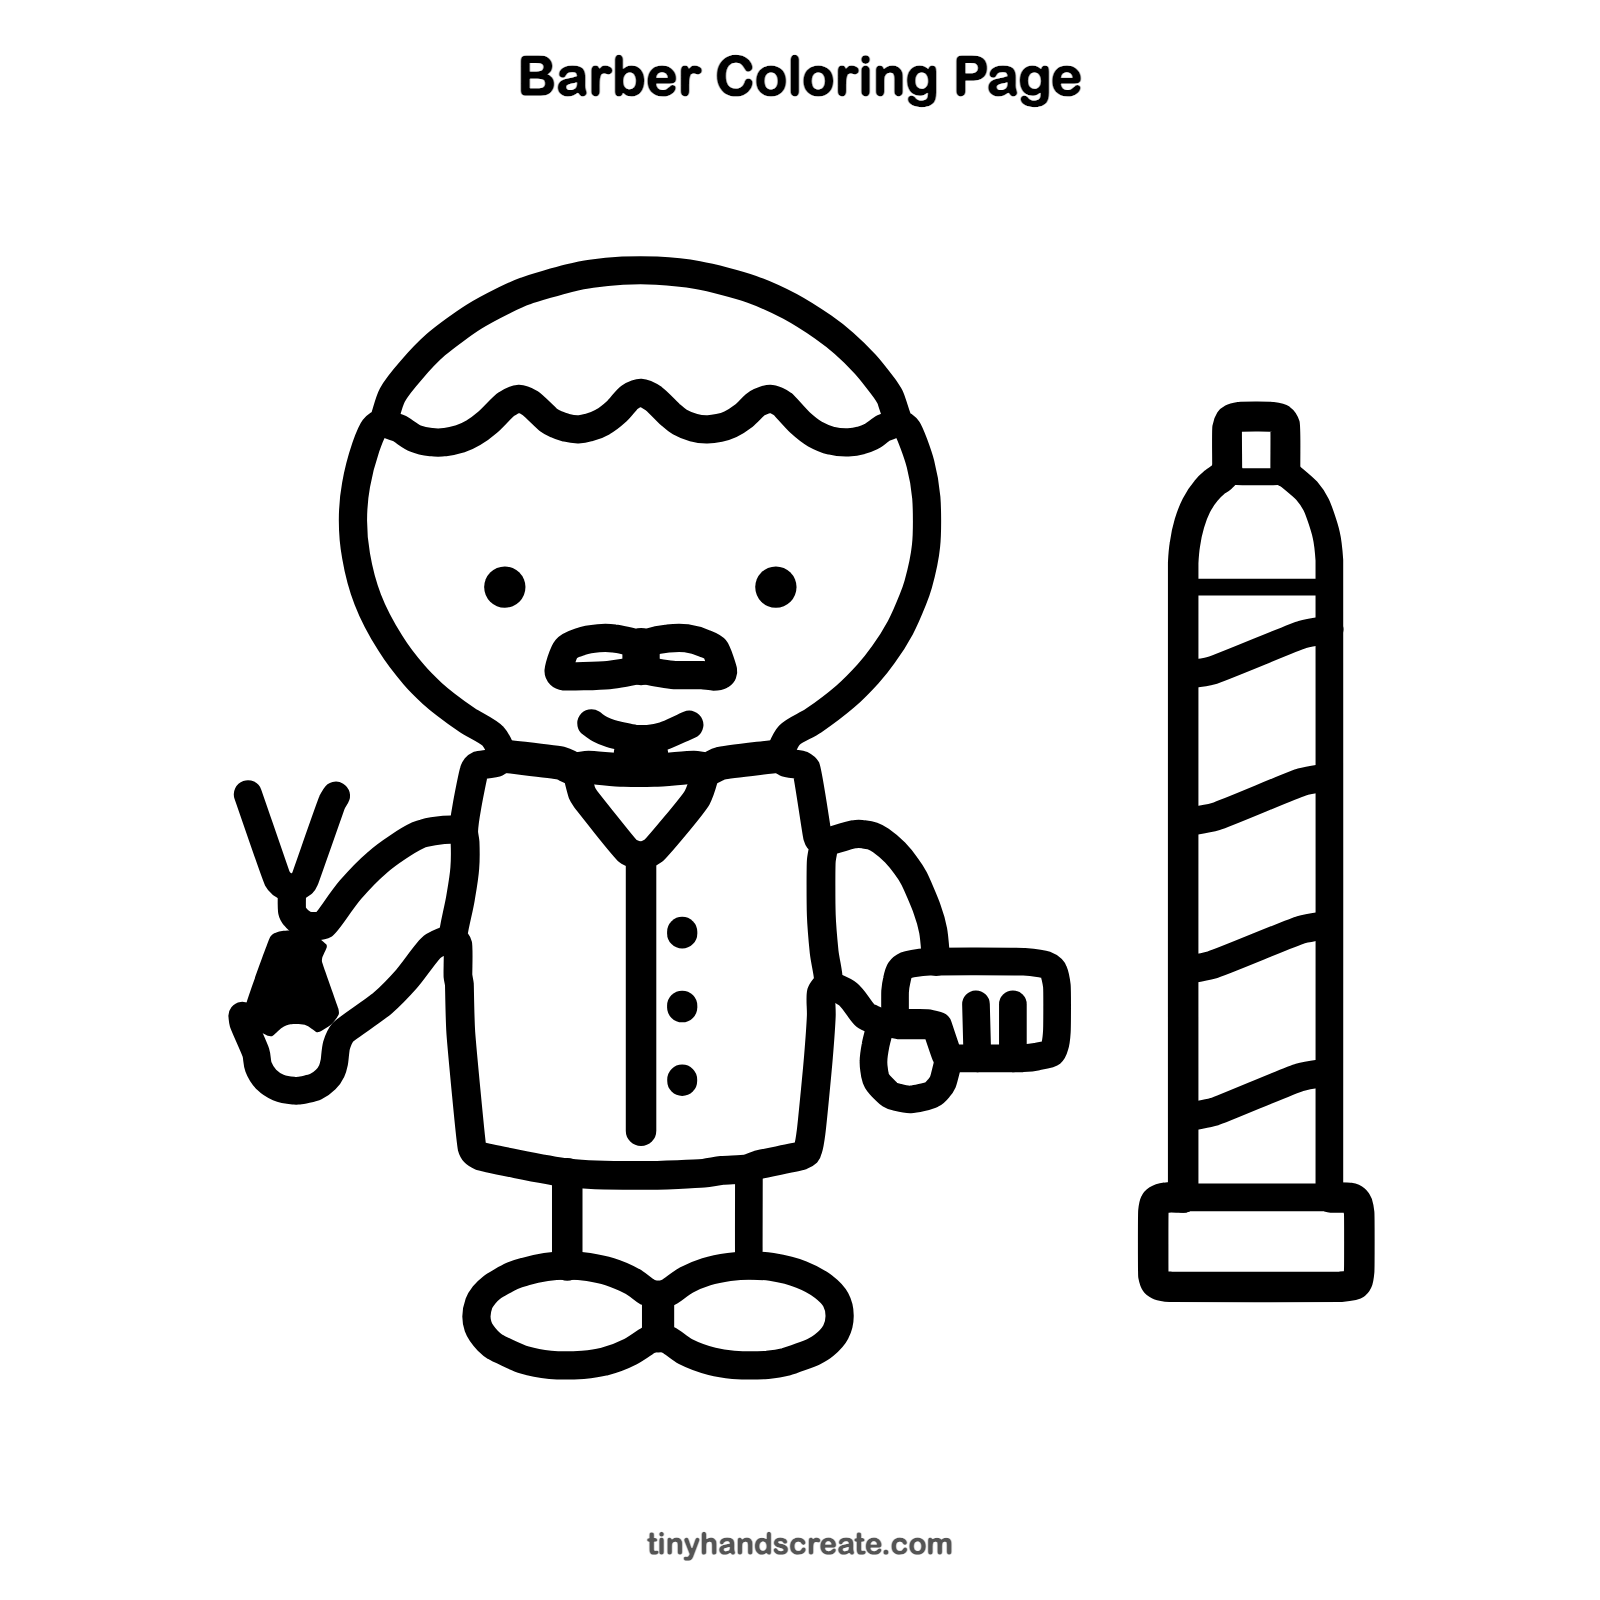
Want to go straight to coloring? Open this barber coloring page at full size and print it. It is the same drawing you just learned, with clean lines ready for crayons or markers.
How to color your barber drawing
Try a white coat, brown hair and a red and blue striped pole to look like a real barber shop. For a creative twist, give the barber a rainbow pole or hair in a surprising color.
Barber fun fact for kids
Many people say the red and white barber pole goes back to the Middle Ages, when barbers also helped with simple medical care. The red is said to stand for blood and the white for bandages.
Questions about drawing a barber
What shapes do I need to draw a barber?
You need a big rounded head shape, a rounded rectangle for the coat, ovals for the shoes and a tall rounded rectangle for the pole. A wavy line makes the hair.
How do I make my barber look friendlier?
Keep the mustache small and tidy, and make the wavy hair bouncy. Two round dots for eyes give a cheerful look.
How do I draw a barber pole with straight stripes?
Draw the tall tube first, then add the stripes as slanted lines from the left edge to the right edge. Keep each line parallel to the one before it.