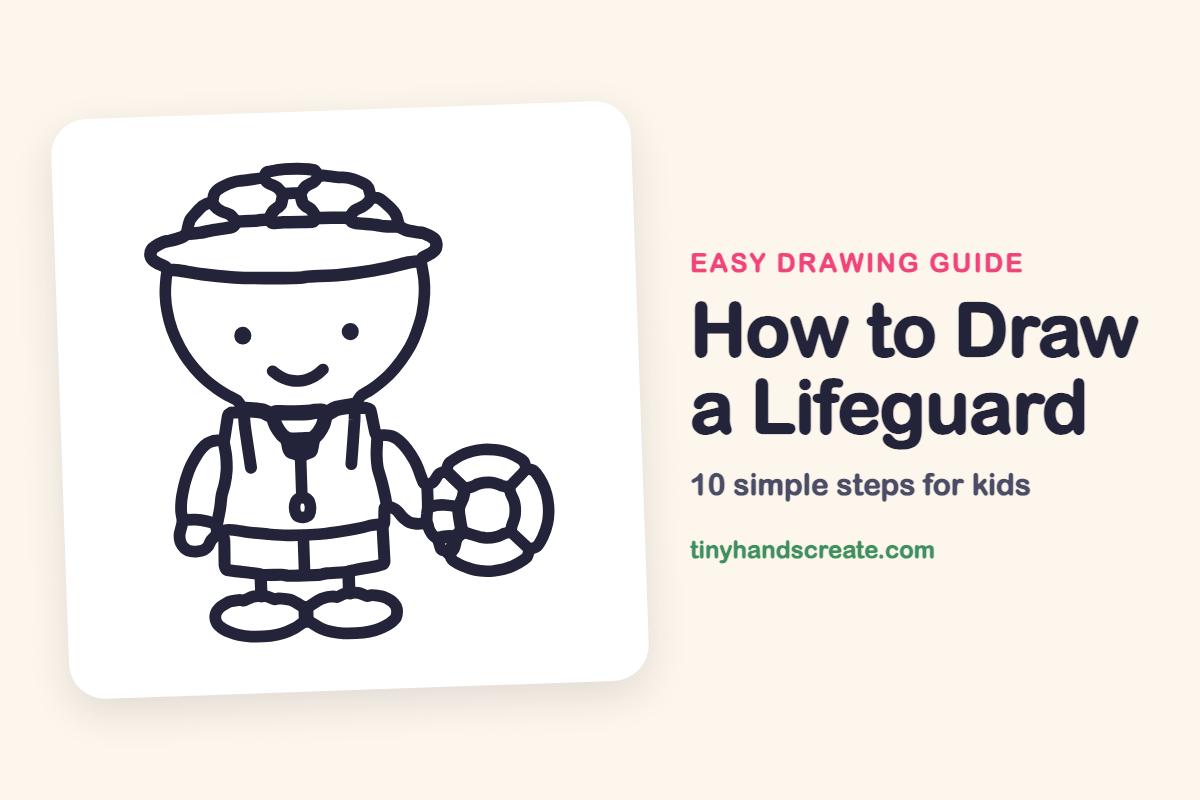
How to Draw a Lifeguard (Easy Step by Step)
A lifeguard is fun to draw because the whole character is made from simple shapes. You will use a round head, a wide oval hat brim, rectangles for the tank top and shorts, and circles for the life ring. Each shape is easy on its own, and together they make a friendly beach helper.
- Easy
- 15 minutes
- 10 steps
You need: paper, a pencil, an eraser, and crayons or markers for coloring.
Start drawingIn this article (7 sections)
How to draw a lifeguard step by step
How to Draw a Lifeguard · tinyhandscreate.com
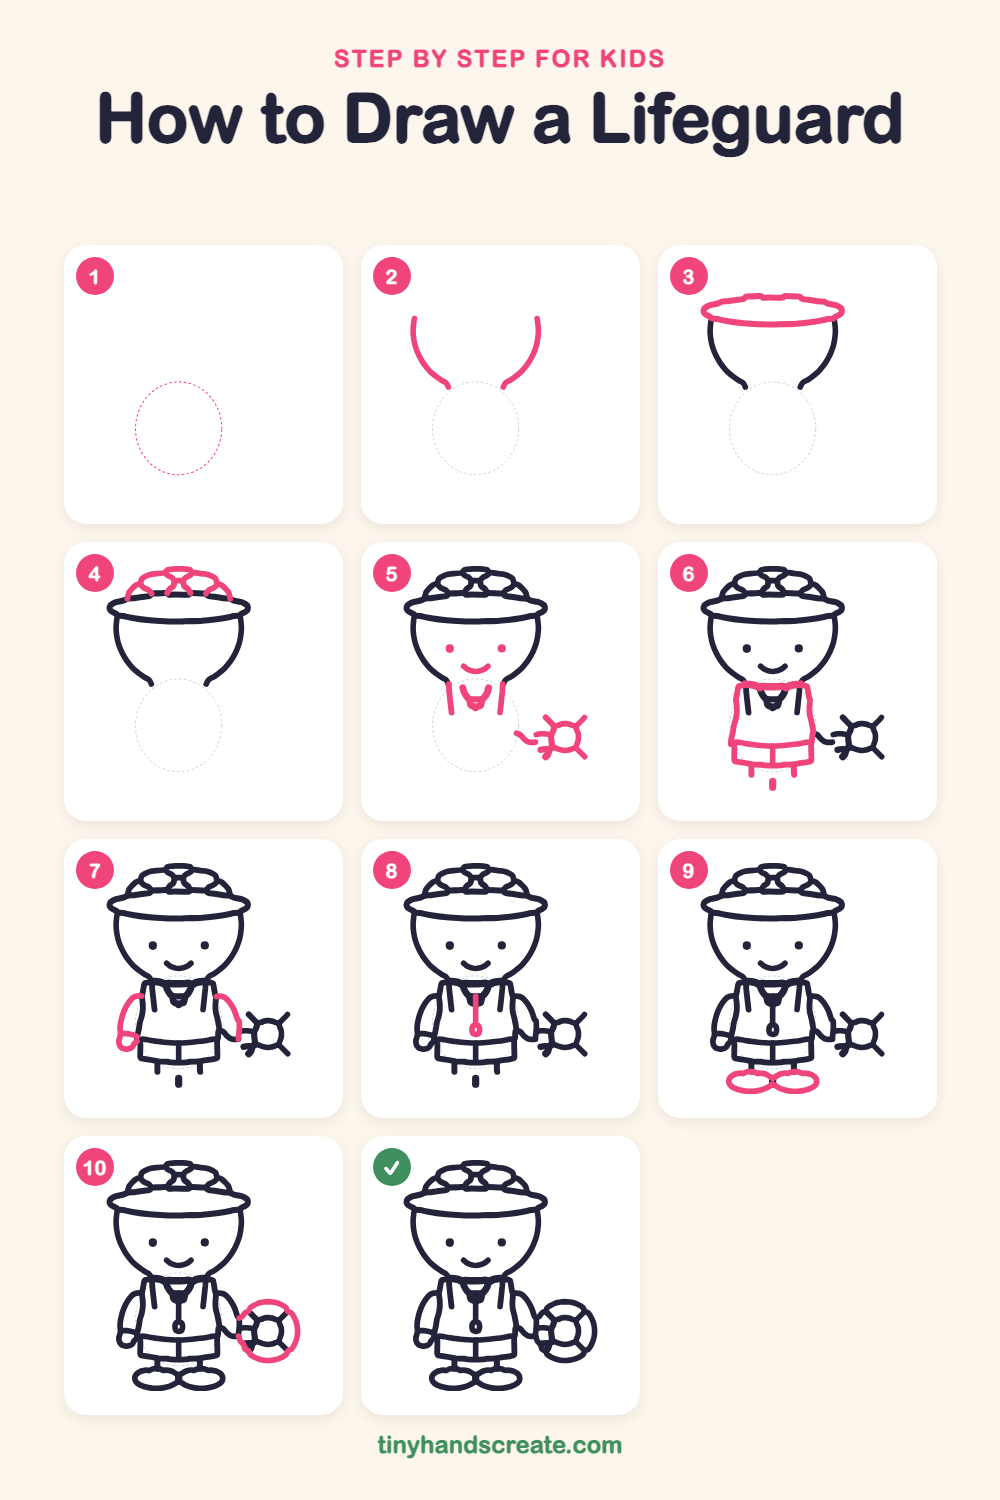
Step 1: Guide shapes
Lightly sketch this oval. It only shows where the big parts go, so press softly. You will erase it at the end.
Step 2: Round head
Draw the bottom of a big round head. Start on the left, curve down around the chin, and come back up on the right. Leave the top open for now.
Step 3: Wide hat brim
Draw a long, flat oval across the top of the head, like a wide pancake. Its sides sit right on the tops of your head lines.
Step 4: Hat top
Draw a rounded dome of puffy bumps sitting on top of the brim. This is the top of the hat.
Step 5: Face and ring start
Add two small dots for eyes and a little curved smile below them. Then draw a V-shaped collar with a short strap on each side under the chin. Off to the right, draw a small circle with four short lines sticking out.
Step 6: Tank top and shorts
Under the head, draw a rectangle for the tank top. Draw a shorter rectangle below it for the shorts, with a short line down for each leg.
Step 7: Arms and hands
Draw a curved arm on each side of the body. End each arm with a small rounded hand. The right hand reaches toward the ring.
Step 8: Whistle
Draw a short straight line down from the collar. At the bottom, add a small oval for the whistle.
Step 9: Shoes
At the bottom of the legs, draw two flat ovals side by side for the shoes.
Step 10: Big life ring
Draw a big circle around the small circle and its short lines. This makes the life ring next to the hand.
All done!
Erase the guide shapes, go over your lines, then color it in.
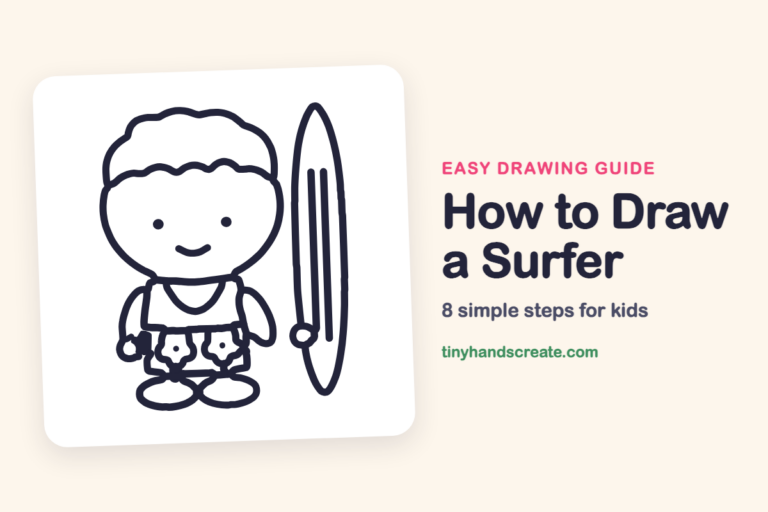
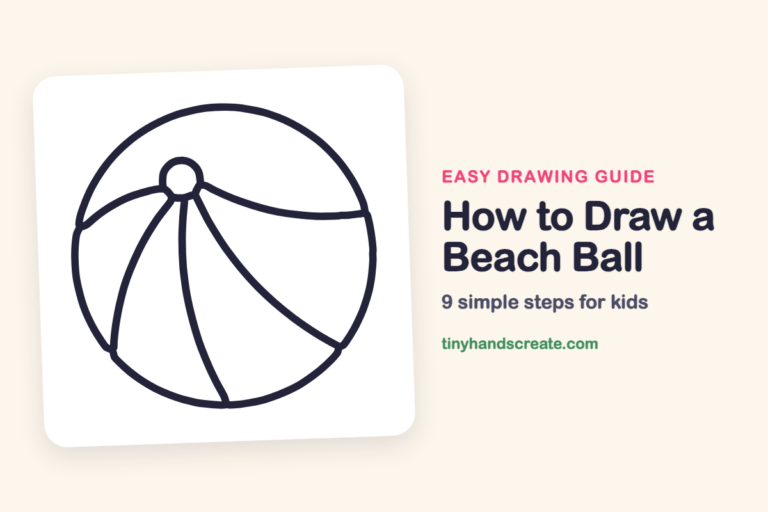
Finished your lifeguard? Keep the pencils out and learn how to draw a surfer or how to draw a beach ball next.
Tips for drawing a lifeguard
- Draw the hat brim as a wide, flat oval. Line it up with the sides of the head so the hat sits on top.
- Leave the top of the head open until you draw the brim, so the head and hat fit together.
- For the life ring, start with the small circle and its short lines, then draw the big circle around it.
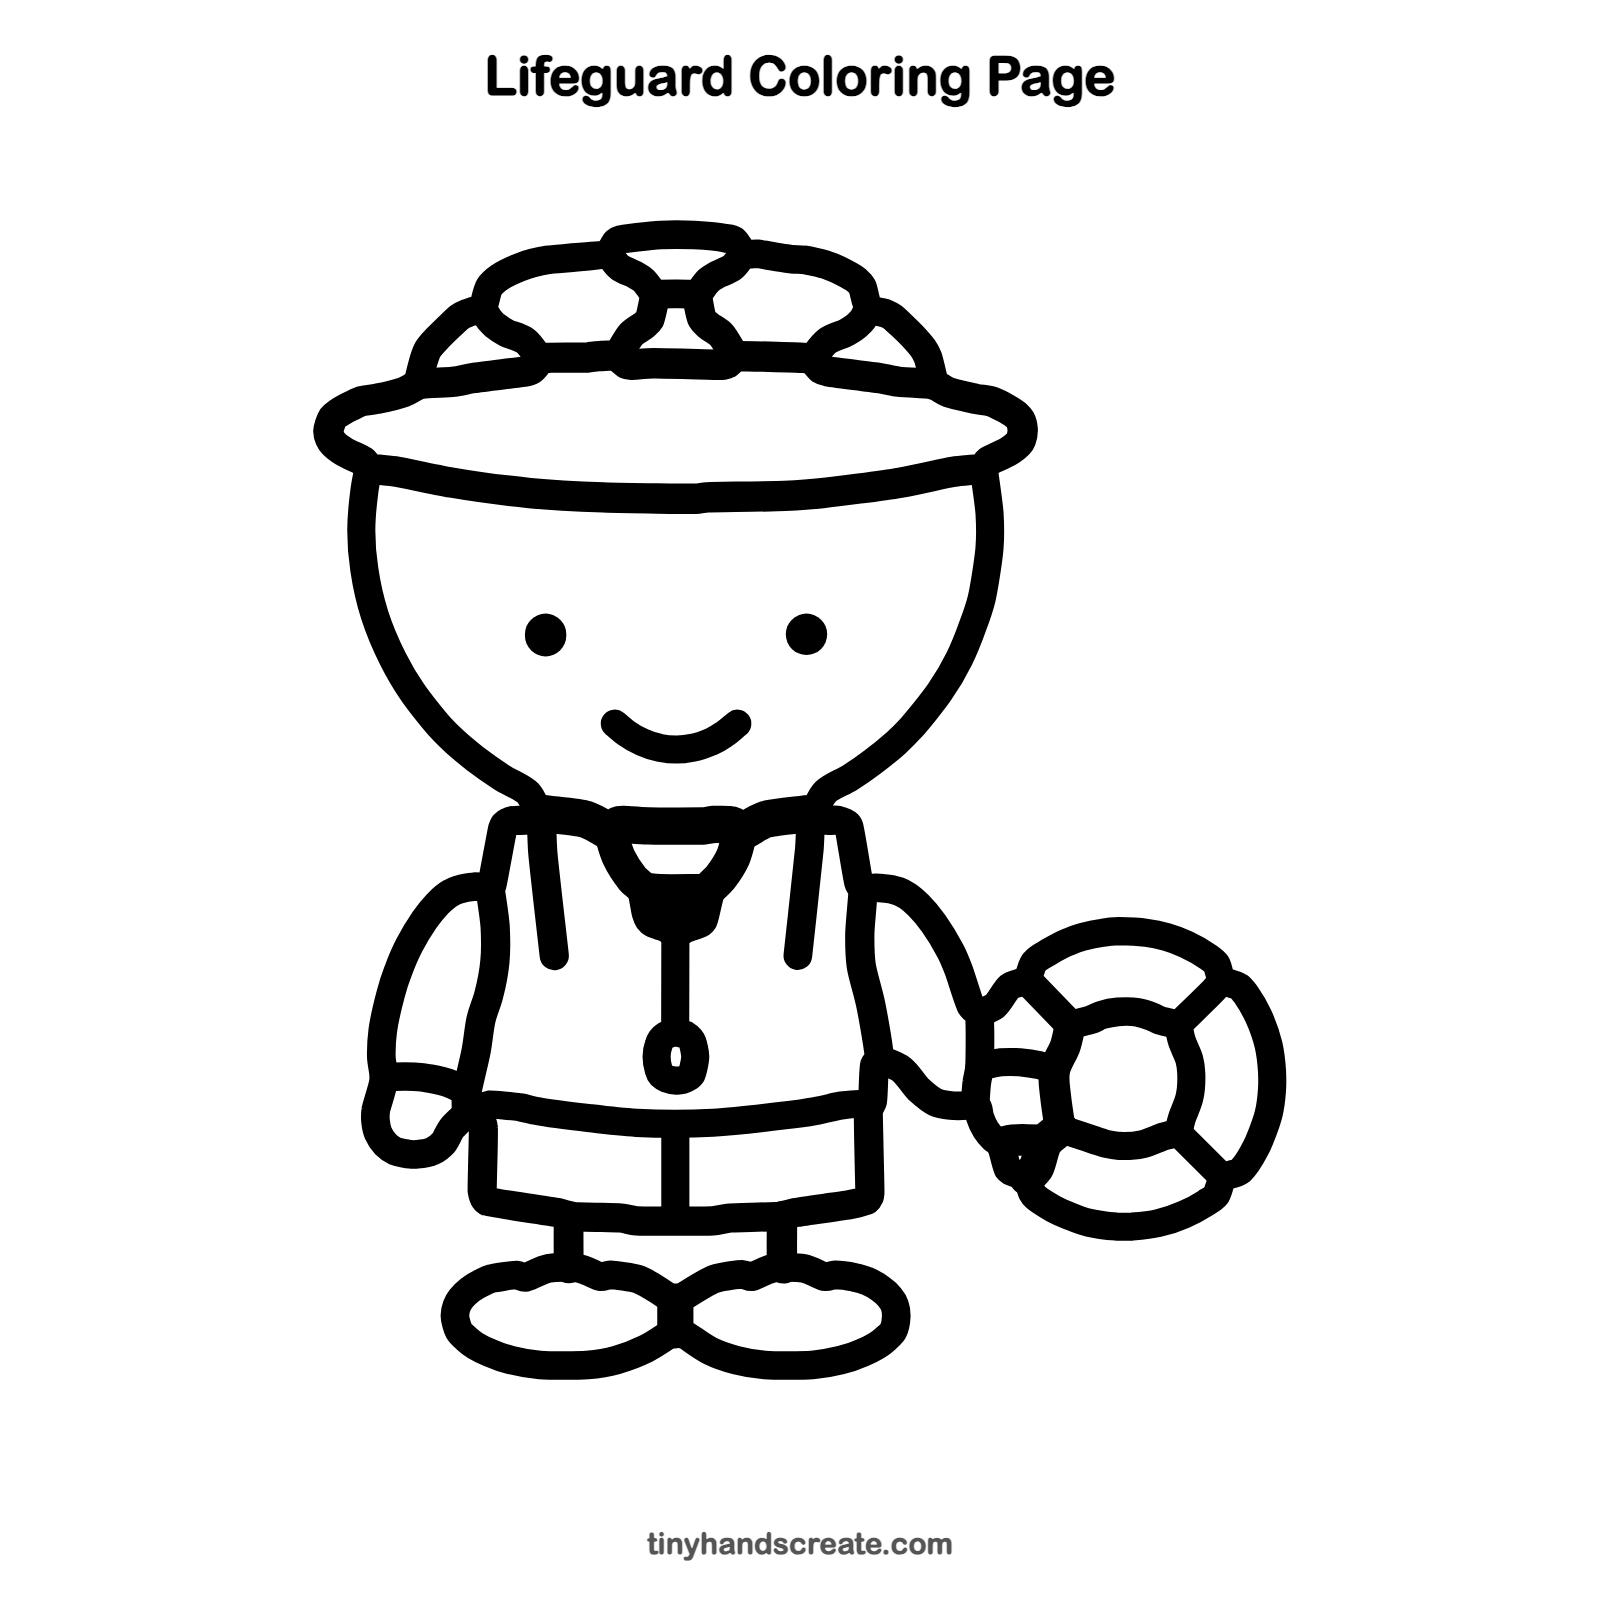
Free lifeguard coloring page
Want to go straight to coloring? Open this lifeguard coloring page at full size and print it. It is the same drawing you just learned, with clean lines ready for crayons or markers.
How to color your lifeguard drawing
Try a red hat, a red tank top and blue shorts. Color the life ring red and white in stripes. For a twist, add a sandy beach and blue waves around your lifeguard.
Lifeguard fun fact for kids
A life ring is also called a life buoy. It floats, so a person in the water can hold on to it until help arrives.
Questions about drawing a lifeguard
What shapes do I need to draw a lifeguard?
You need a round head, an oval hat brim, rectangles for the tank top and shorts, ovals for the shoes, and circles for the life ring.
How do I make my lifeguard look friendlier?
Draw two small dot eyes and a curvy smile under them. Keep the smile small and gentle so the face looks happy.
How do I draw the life ring so it looks round?
Draw a small circle first and add four short lines sticking out from it. Then draw a big circle around it. Go slowly and keep the big circle even.