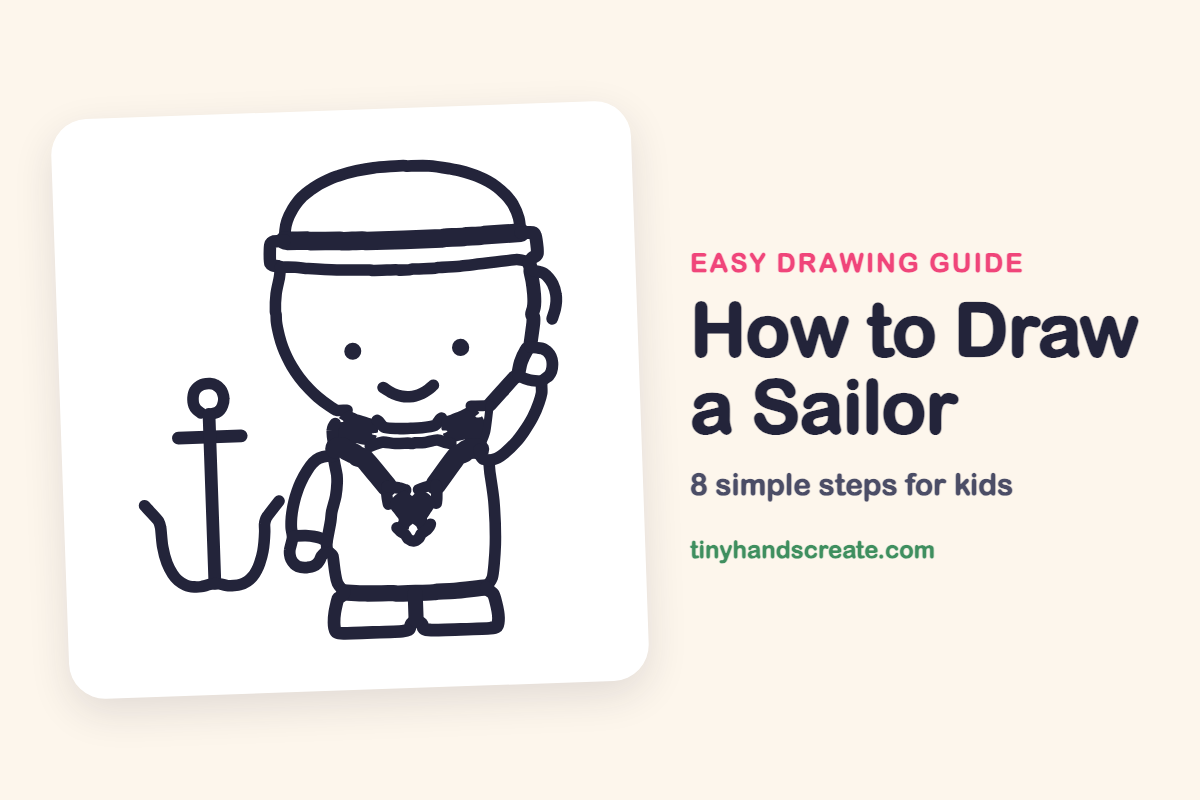
How to Draw a Sailor (Easy Step by Step)
This little sailor is built from a handful of easy shapes: a round head, a dome for the hat, and a box for the shirt. A raised hand and a big anchor beside the sailor tell the whole seaside story. It is a good drawing for kids who like bold, simple lines.
- Easy
- 15 minutes
- 8 steps
You need: paper, a pencil, an eraser, and crayons or markers for coloring.
Start drawingIn this article (7 sections)
How to draw a sailor step by step
How to Draw a Sailor · tinyhandscreate.com
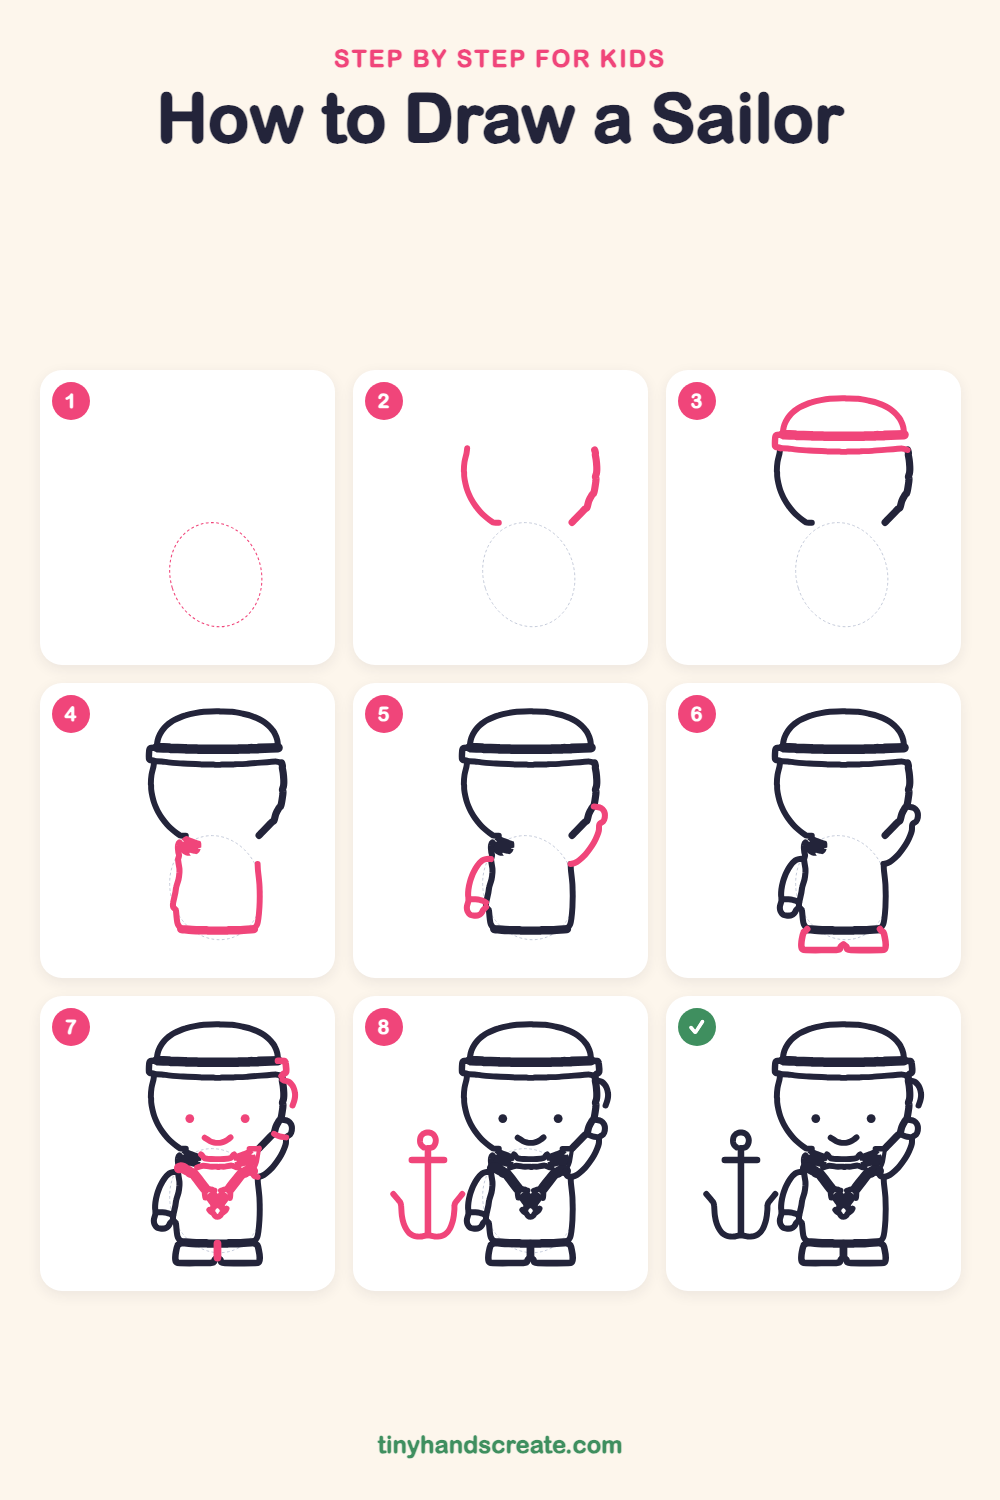
Step 1: Guide shapes
Lightly sketch this oval. It only shows where the big parts go, so press softly. You will erase it at the end.
Step 2: Sides of the head
Draw a big curve on the left that bends down like the side of a ball. Add a shorter curve on the right. Leave the top open for the hat, and leave a gap at the bottom.
Step 3: The sailor hat
Draw a dome like half a ball on top of the head. Add a wide, flat band across the bottom of the dome, with small rounded ends that stick out a little past the head.
Step 4: The body
Under the head, draw a tall shape like a rounded box for the shirt. Start at the shoulders, draw the two sides down, and close the bottom with a straight line for the hem.
Step 5: Arms and hands
On the left, draw a bent arm that hangs down and ends in a small round hand. On the right, draw an arm raised up beside the head, with a small curled hand at the top.
Step 6: Two shoes
Under the shirt, draw two flat boxes with rounded corners side by side for the shoes. Let them touch in the middle with a tiny notch.
Step 7: Face and collar
Add two dots for eyes and a curvy smile. Draw a V-shaped sailor collar on the chest with a small diamond at the point, and a short line down the middle of the hem. Finish with a little curl by the hat on the right side of the head.
Step 8: The anchor
Next to the sailor, draw a small ring, then a long straight line down from it. Add a short bar across near the top. Finish with a wide U-shaped curve at the bottom with pointed tips.
All done!
Erase the guide shapes, go over your lines, then color it in.
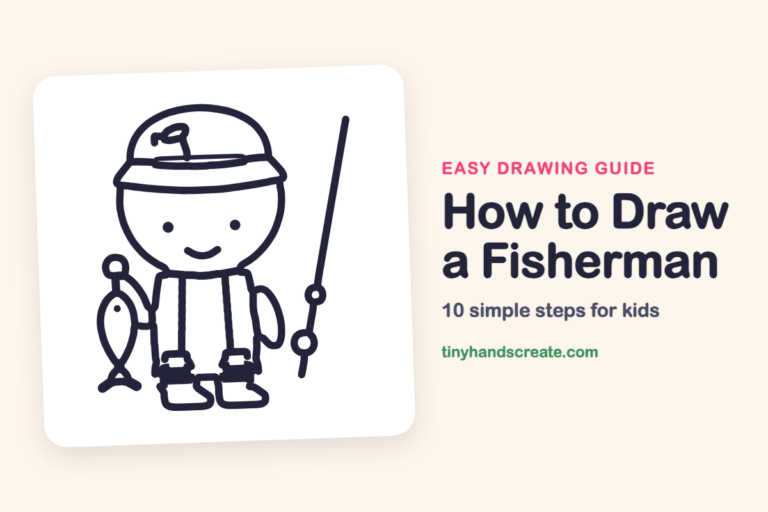
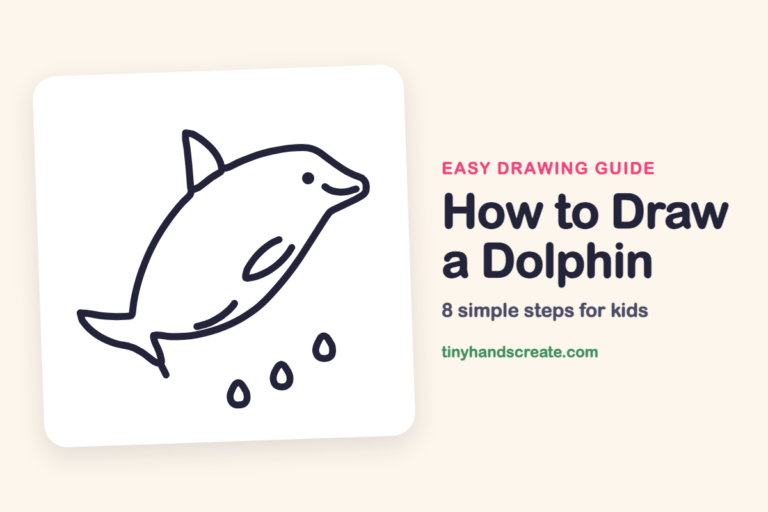
Finished your sailor? Keep the pencils out and learn how to draw a fisherman or how to draw a dolphin next.
Tips for drawing a sailor
- Draw the hat band as a long, flat stripe with rounded ends so it sits snugly across the bottom of the dome.
- The raised arm is the trickiest part. Start from the shoulder and curve up beside the face, then finish with a small curl for the hand.
- For the anchor, draw the ring and the straight line first, then add the U-shaped curve at the bottom so both sides match.
Free sailor coloring page
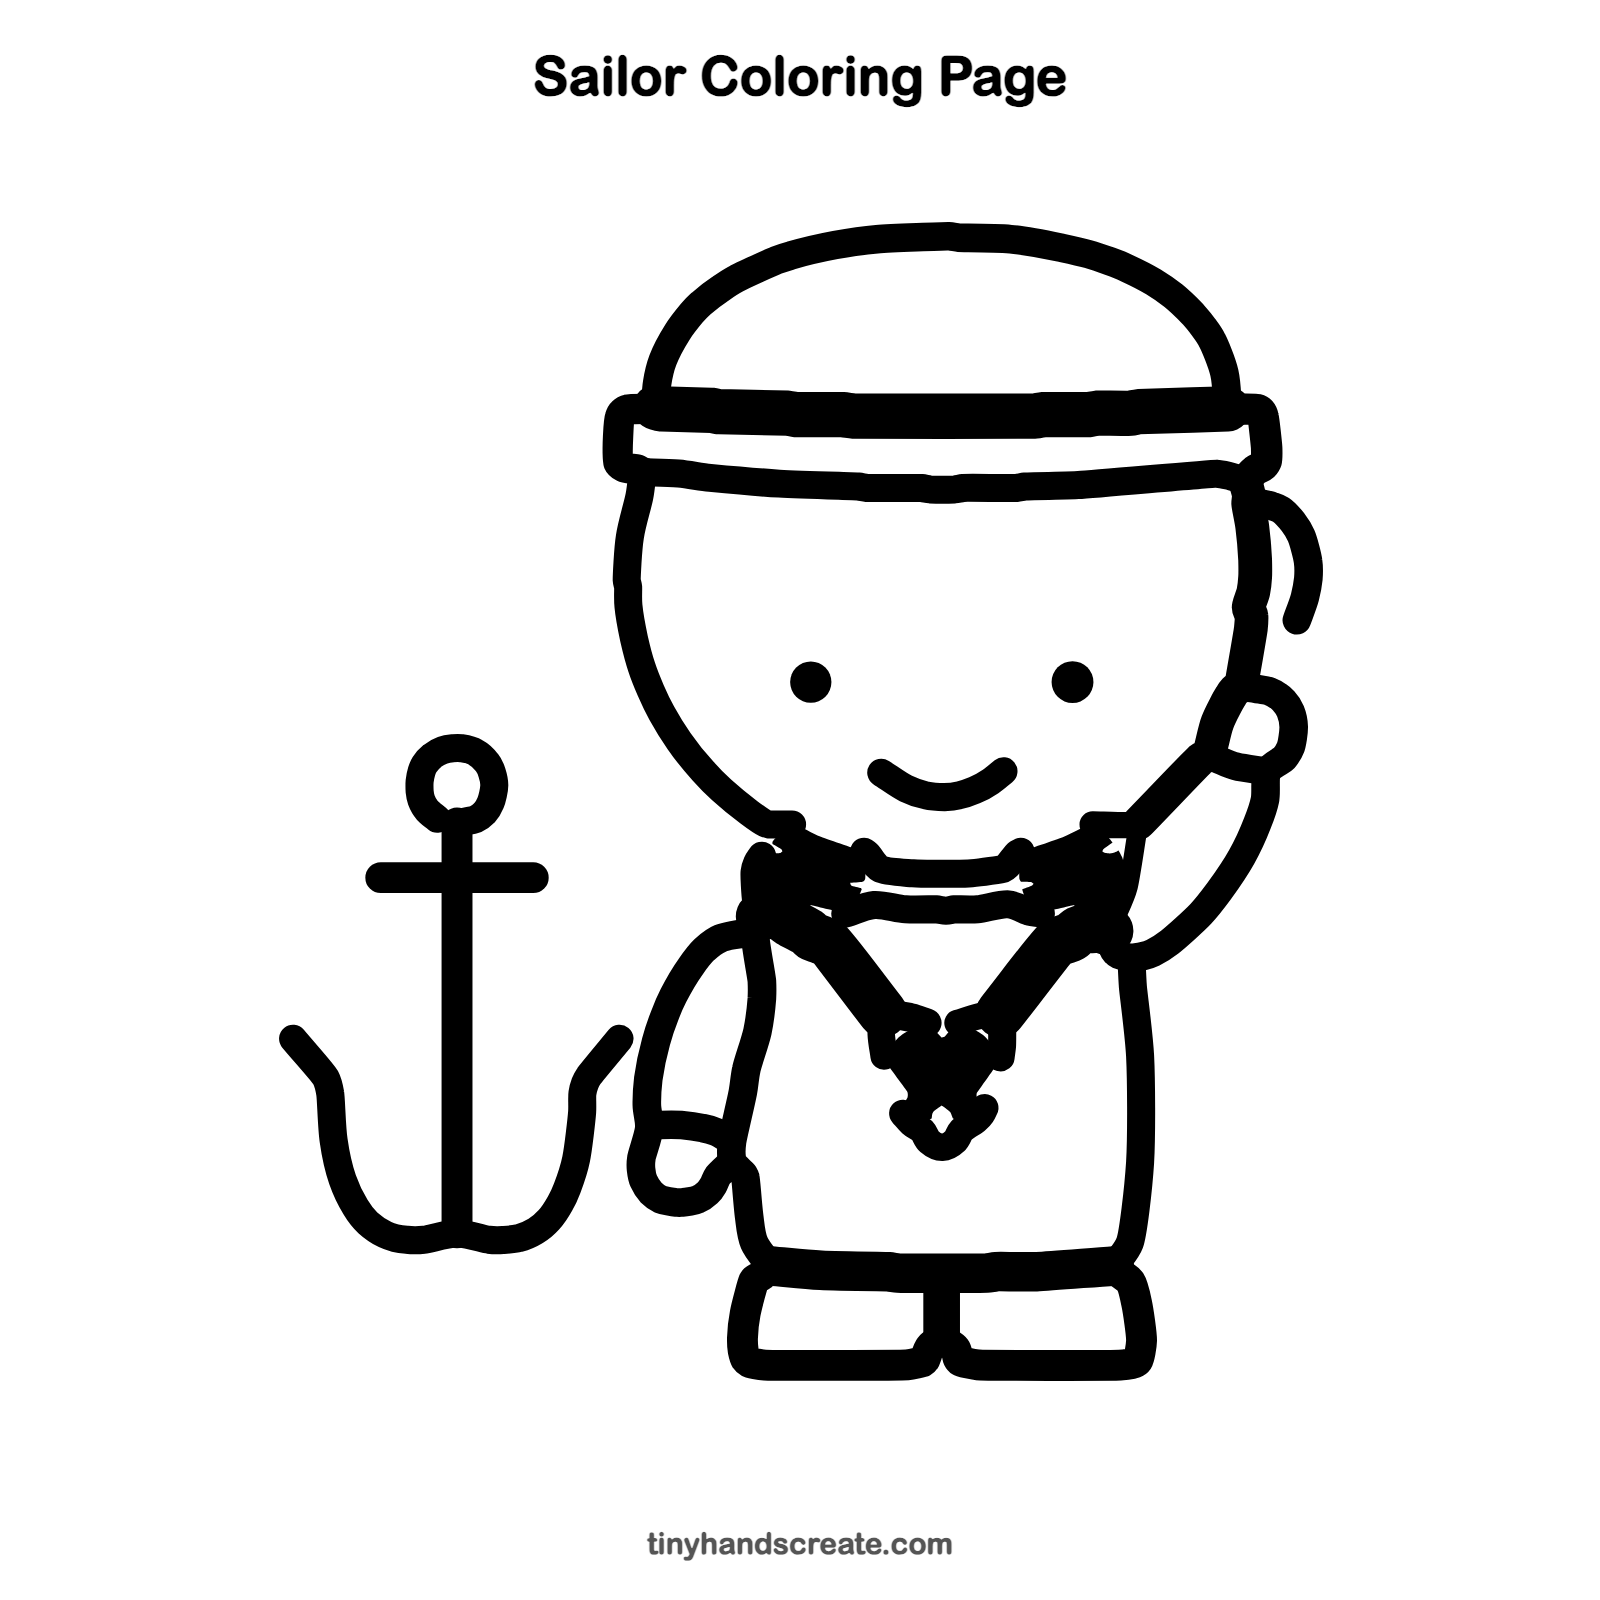
Want to go straight to coloring? Open this sailor coloring page at full size and print it. It is the same drawing you just learned, with clean lines ready for crayons or markers.
How to color your sailor drawing
Try a navy blue collar and shirt trim, a white hat, and a gold anchor. For a creative twist, color the background like a sunny sea with waves and a few seagulls.
Sailor fun fact for kids
An anchor keeps a ship from drifting by digging into the sea floor. The pointed tips on its curved arms are called flukes.
Questions about drawing a sailor
What shapes do I need to draw a sailor?
You need two curves for the round head, a dome and a flat band for the hat, and a rounded box for the body. Small curved lines make the arms and hands, and two little boxes make the shoes.
How do I make my sailor look cuter?
Place the eyes low and wide apart on the face, and give the sailor a big curved smile. A round head and a slightly oversized hat make the sailor look extra friendly.
How do I draw an anchor?
Start with a small ring at the top and a long straight line down. Add a short bar across near the top, then a wide U-shaped curve at the bottom with two pointed tips.