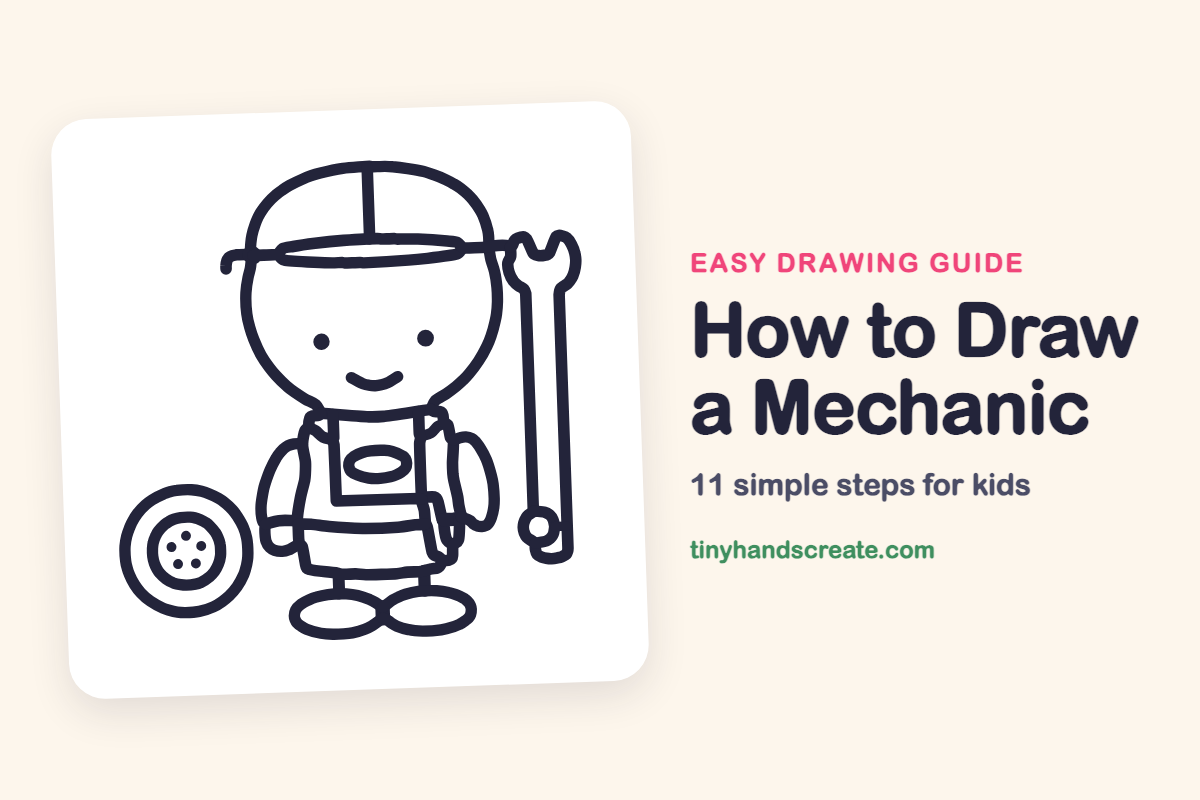
How to Draw a Mechanic (Easy Step by Step)
This little mechanic is built from circles and ovals, so it is a great pick for beginners. A big round head with a cap, a boxy set of overalls, and a tire and wrench make a cheerful garage scene. You will practice drawing round shapes, straight lines, and tiny dots.
- Easy
- 15 minutes
- 11 steps
You need: paper, a pencil, an eraser, and crayons or markers for coloring.
Start drawingIn this article (7 sections)
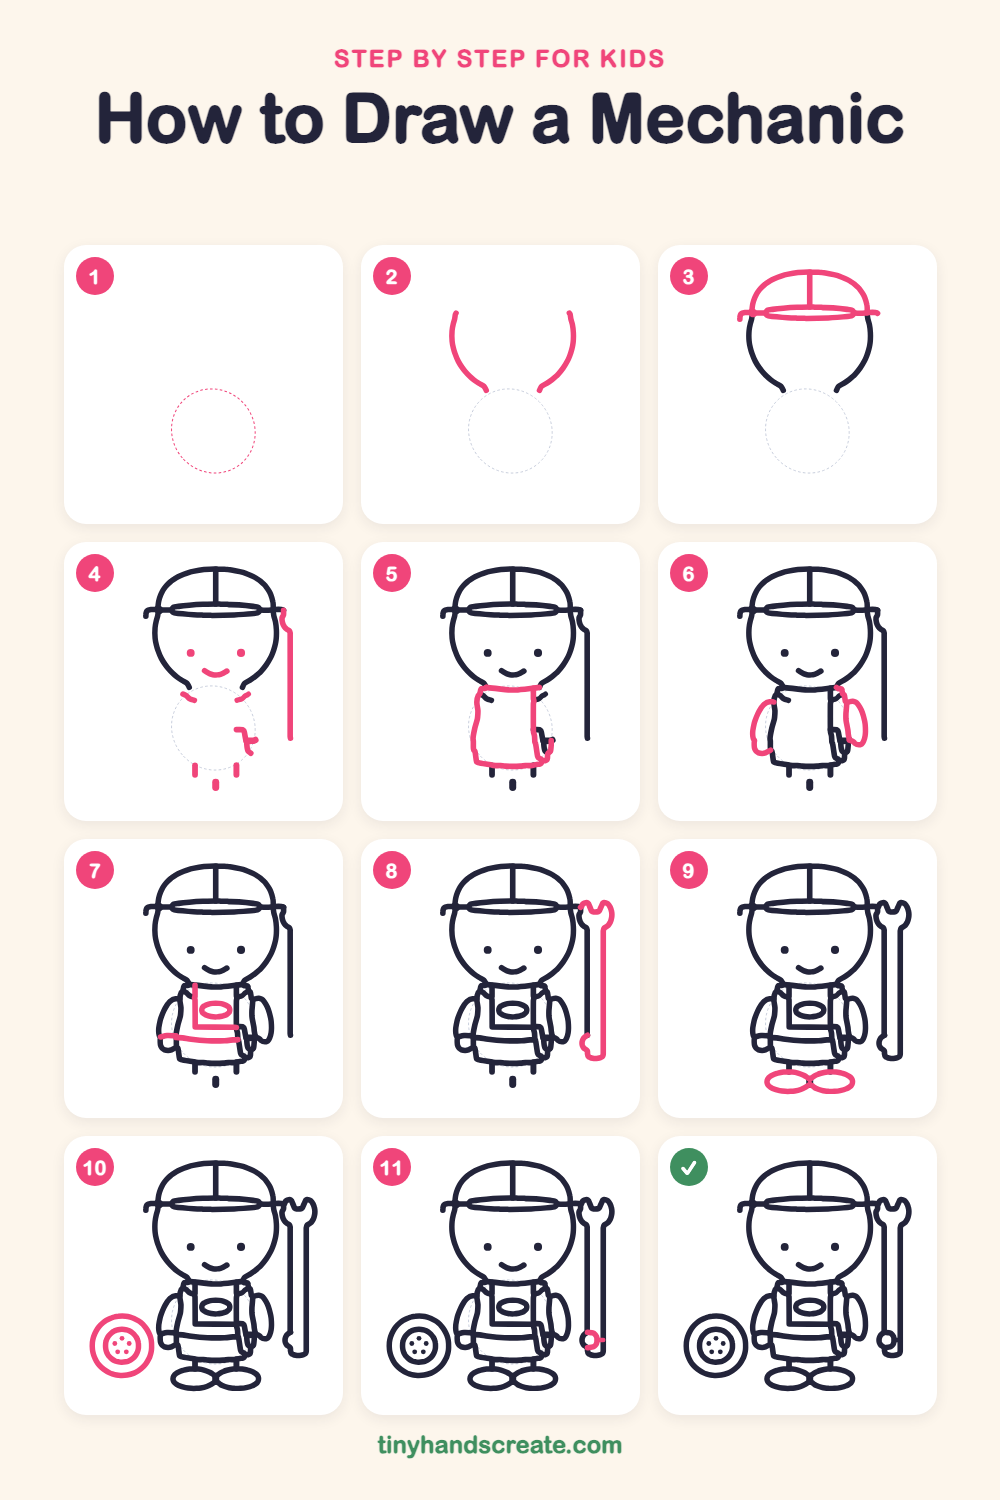
How to draw a mechanic step by step
How to Draw a Mechanic · tinyhandscreate.com
Step 1: Guide shapes
Lightly sketch this oval. It only shows where the big parts go, so press softly. You will erase it at the end.
Step 2: Lower head curve
Draw a big U-shaped curve for the sides and chin of the head. Leave a small gap at the bottom, and leave the top open for the cap.
Step 3: The cap
Draw a dome on top of the head like half a circle. Add a long flat oval across the bottom of the dome for the brim, and one straight line from the top of the dome down to the brim.
Step 4: Face and shoulders
Add two small dots for eyes and a little curved smile below them. Then draw a few short marks below the head for the shoulders and legs, and one long straight line down on the right side.
Step 5: The overalls body
Under the head, draw a wide box shape for the body with a flat top and a flat bottom edge. Make the sides go straight down.
Step 6: Arms
Draw a long oval on each side of the body for the arms. Make them touch the sides of the overalls.
Step 7: Bib and belt
Draw a square bib on the chest with a small oval badge inside it. Then draw a straight belt line across the tummy below the bib.
Step 8: The wrench
On the right, draw a tall thin shape like a long stick for the wrench handle. At the top, add an open mouth with two little bumps, and round off the bottom end.
Step 9: Shoes
At the bottom, draw two wide ovals side by side so they just touch in the middle. These are the shoes.
Step 10: The tire
On the left, draw a big circle for the tire. Draw a smaller circle inside it, then a few little dots in the small circle for the bolts.
Step 11: Wrench ring
Near the bottom of the wrench handle, draw a small circle for the bolt hole.
All done!
Erase the guide shapes, go over your lines, then color it in.
Finished your mechanic? Keep the pencils out and learn how to draw a photographer or how to draw a lumberjack next.
Tips for drawing a mechanic
- Draw the head as a big U shape first, then add the cap on top so the brim stretches across the middle of the head.
- The wrench is the trickiest part. Draw a long thin handle first, then add the open mouth with two bumps at the top.
- For the tire, draw the big outer circle, then a smaller circle in the center. Put the little bolt dots in a ring so they look even.
Free mechanic coloring page
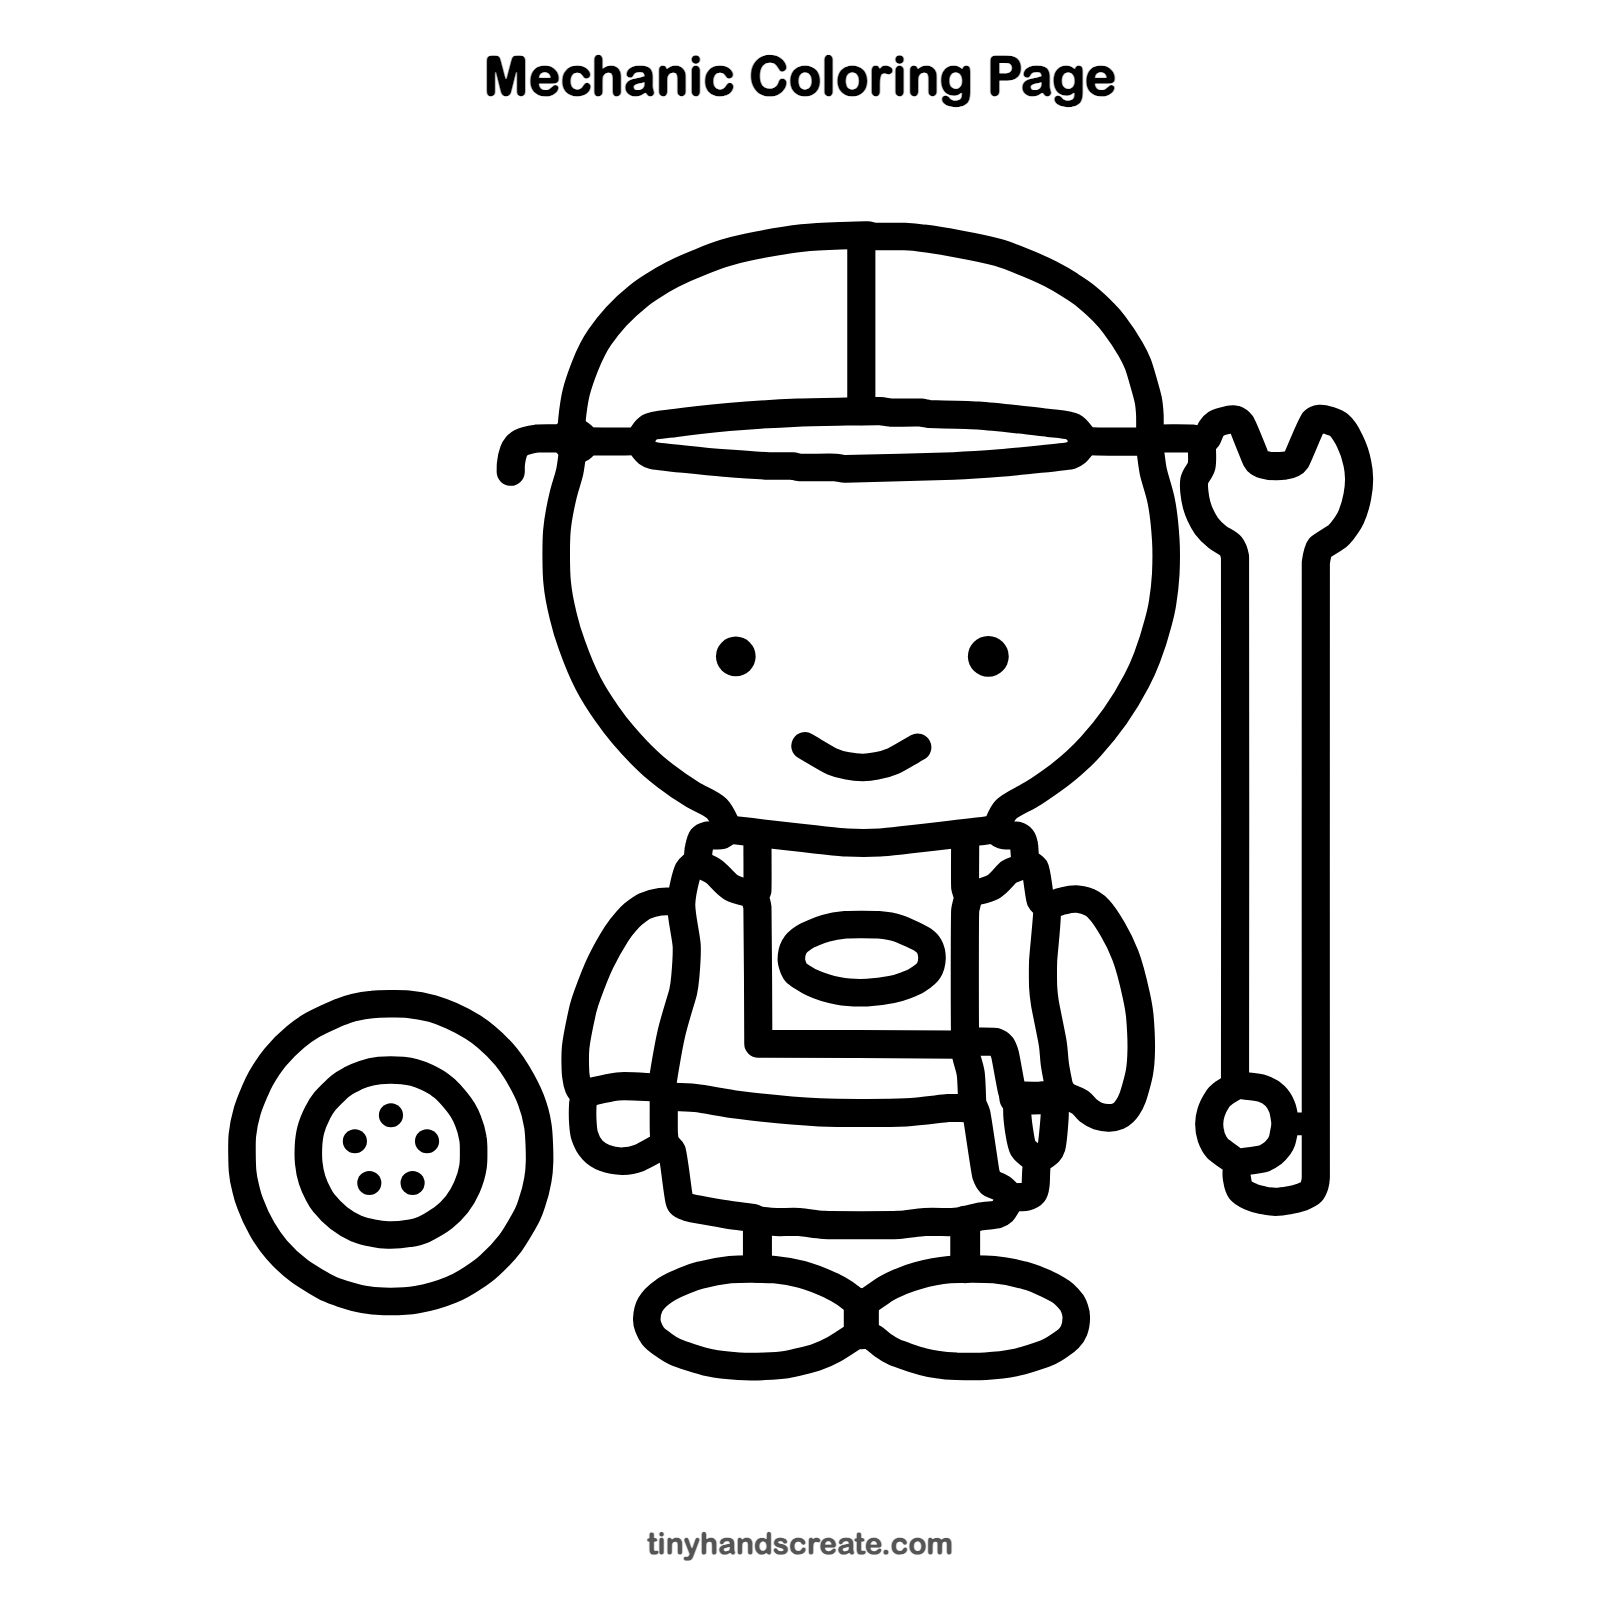
Want to go straight to coloring? Open this mechanic coloring page at full size and print it. It is the same drawing you just learned, with clean lines ready for crayons or markers.
How to color your mechanic drawing
Try a blue cap and blue overalls with a red tire and a gray wrench. For a creative twist, give the mechanic a rainbow cap or a sticker on the badge.
Mechanic fun fact for kids
In British English, a wrench is called a spanner. Both words name the same tool that turns nuts and bolts.
Questions about drawing a mechanic
What shapes do I need to draw a mechanic?
You need circles for the head and tire, ovals for the arms, shoes, and badge, and a box for the overalls. A few small dots finish the face and the tire bolts.
How do I make my mechanic look cuter?
Keep the head big and the body small, and make the smile wide and curvy. Round dot eyes set a little low on the face help too.
How do I draw a wrench?
Start with a long thin stick, then add an open mouth with two bumps at the top. Finish with a small circle near the bottom end.