How to Draw a Kid Roasting a Marshmallow (Easy Step by Step)
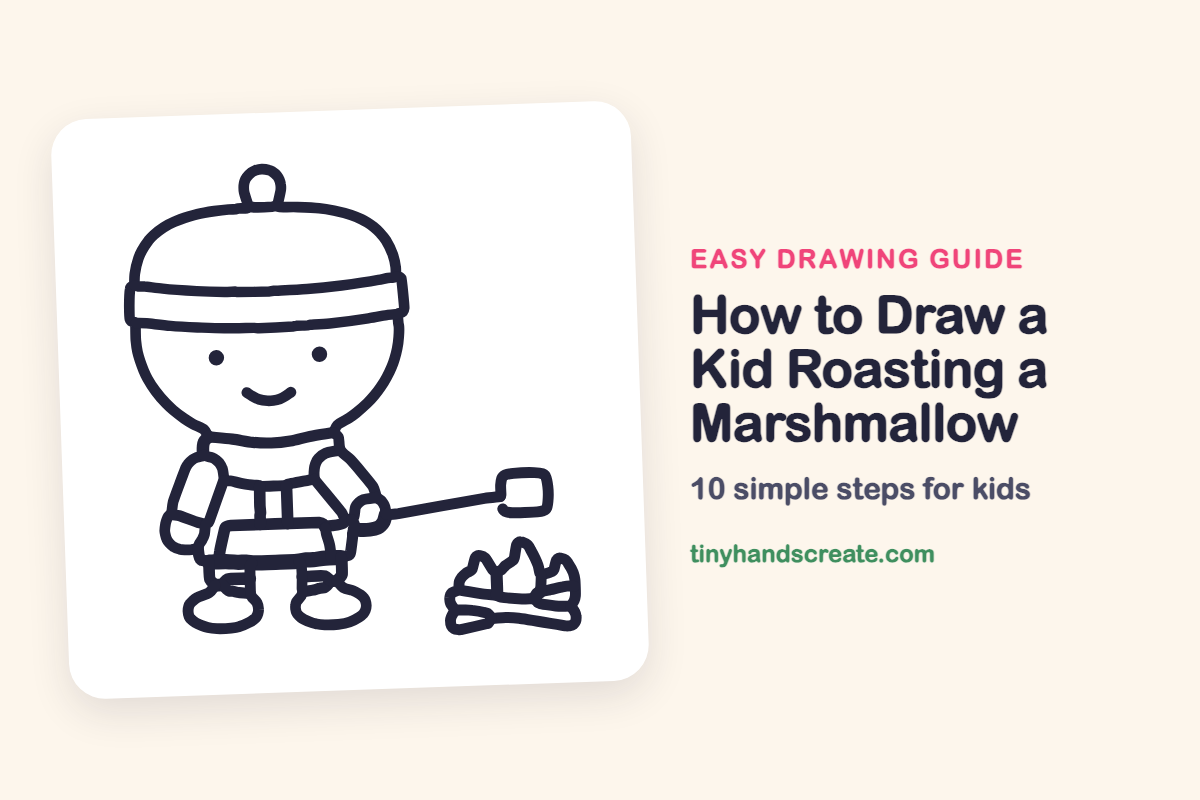
A kid in a cozy hat roasting a marshmallow by the fire is a happy camping scene. It is built from simple shapes: a big round head with a pom-pom hat, rounded tubes for arms, ovals for boots and a little square for the marshmallow. The fire adds a few pointy flames to practice.
- Medium
- 20 minutes
- 10 steps
You need: paper, a pencil, an eraser, and crayons or markers for coloring.
Start drawingIn this article (7 sections)
- How to draw a kid roasting a marshmallow step by step
- Tips for drawing a kid roasting a marshmallow
- Free kid roasting a marshmallow coloring page
- How to color your kid roasting a marshmallow drawing
- Kid roasting a marshmallow fun fact for kids
- Questions about drawing a kid roasting a marshmallow
- More easy summer drawings
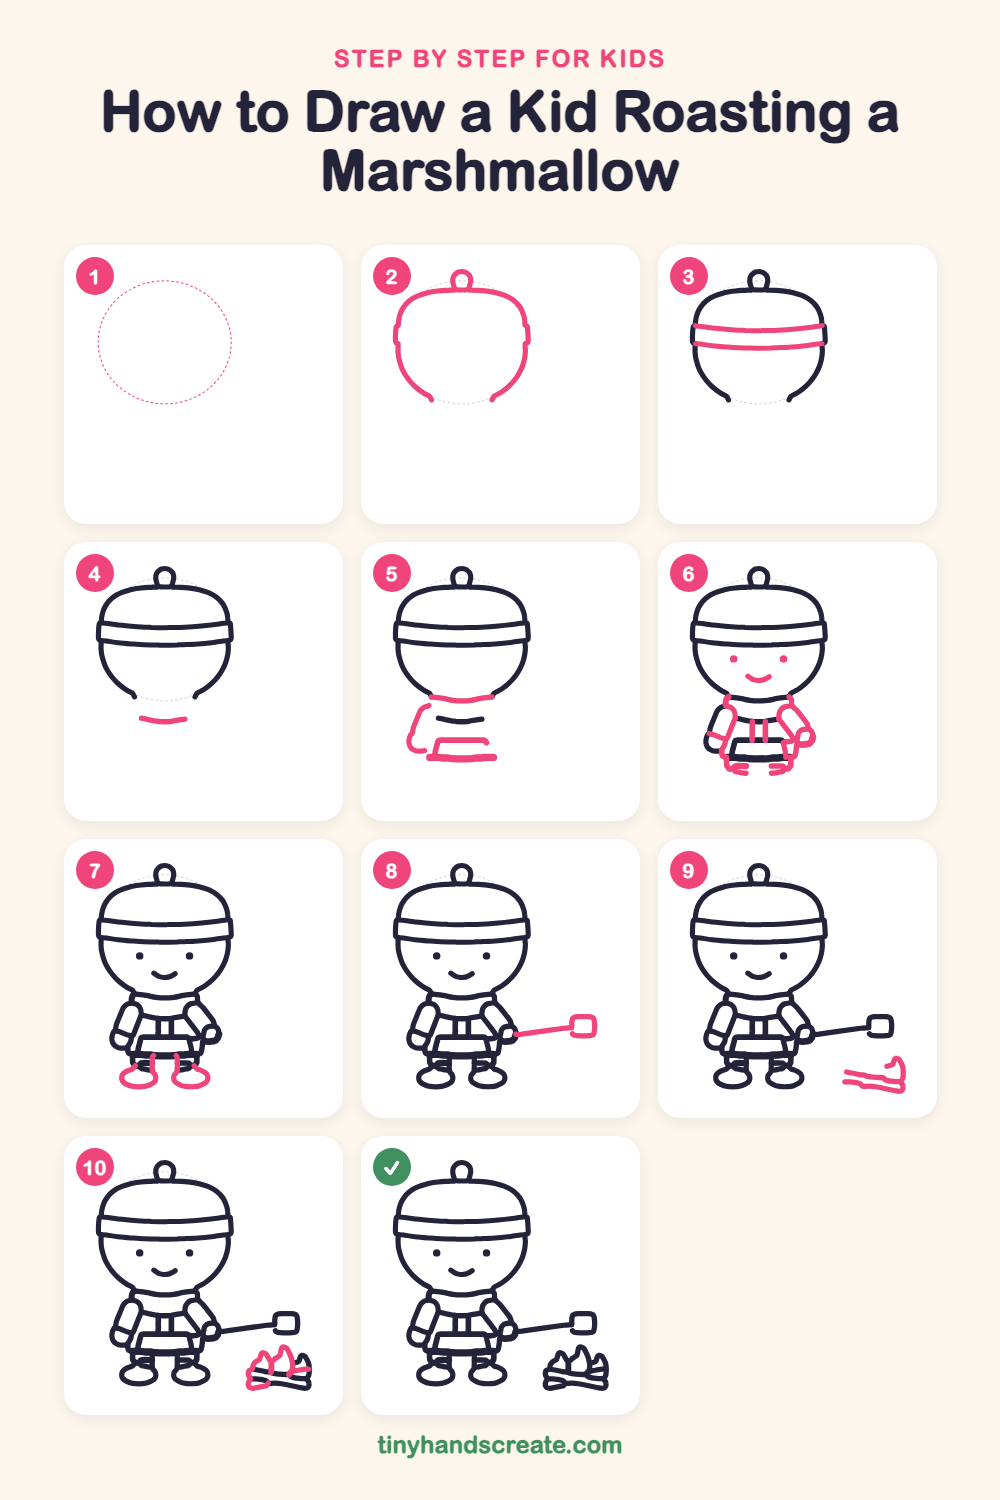
How to draw a kid roasting a marshmallow step by step
How to Draw a Kid Roasting a Marshmallow · tinyhandscreate.com
Step 1: Guide shapes
Lightly sketch this oval. It only shows where the big parts go, so press softly. You will erase it at the end.
Step 2: Head and pom-pom
Draw a big rounded shape for the head, wide and flat across the top like a dome. Leave the bottom open, then add a small loop on top for a pom-pom.
Step 3: The hat band
Draw two gently curved lines across the head, one above the other, to make a cozy hat band. Let the ends touch the sides of the head.
Step 4: Chin line
Draw a short, gentle curve below the head, like a little smile lying on its side. It will be the bottom edge of the collar.
Step 5: Collar and body
Draw a curved line connecting the two sides of the head for the top of the collar. Then draw the left side of the body and a flat belt shape at the bottom.
Step 6: Face, arms and zipper
Add two little dots for eyes and a small curved smile. Draw one arm as a rounded tube on the left, and bend the other arm out to the side with a small circle for the hand. Add two short lines down the middle for the zipper and two little lines for the tops of the legs.
Step 7: Boots
At the bottom of each leg, draw a wide oval for a boot.
Step 8: The marshmallow stick
Draw a long straight line going out from the hand. At the end, draw a small square with rounded corners for the marshmallow.
Step 9: Campfire logs
Near the bottom right, draw two long logs that lie crossed over each other, with rounded ends.
Step 10: Flames
Above the logs, draw pointy flame shapes, a taller one in the middle and smaller ones beside it. Add a short line on the right side of the fire.
All done!
Erase the guide shapes, go over your lines, then color it in.
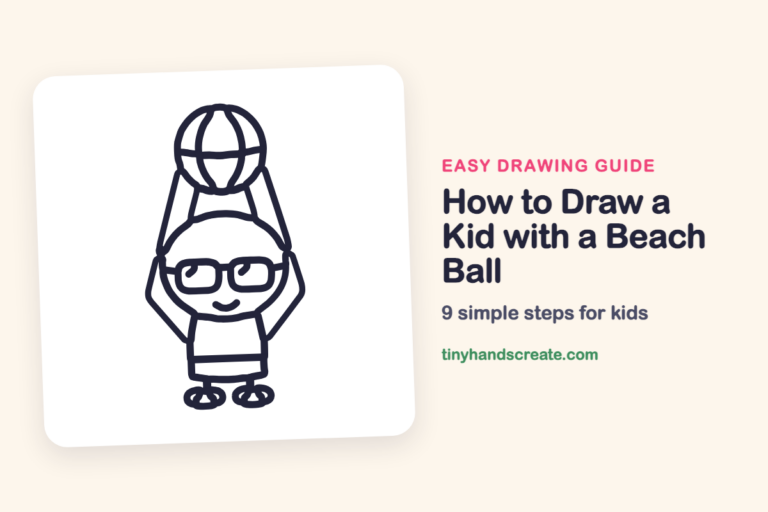
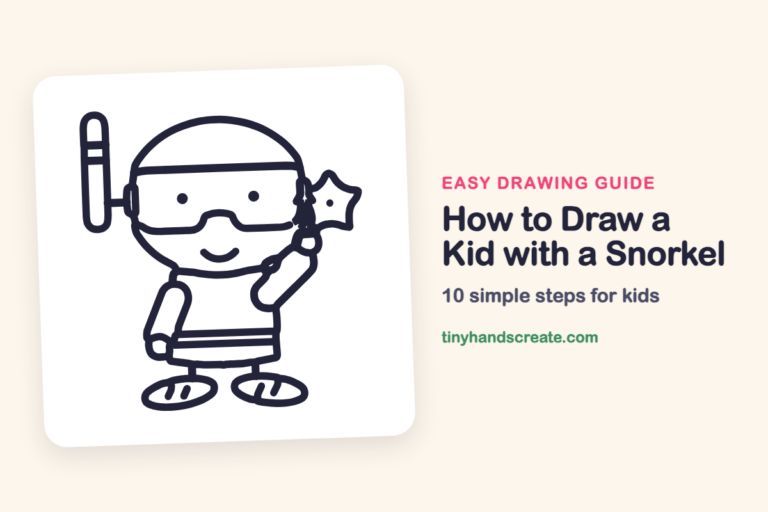
Finished your kid roasting a marshmallow? Keep the pencils out and learn how to draw a kid with a beach ball or how to draw a kid with a snorkel next.
Tips for drawing a kid roasting a marshmallow
- Start the head as a light, wide shape with a flat top, then add the hat band lines so they curve the same way as the head.
- The bent arm holding the stick is the trickiest part. Draw the little circle hand first, then connect the arm tube to it.
- For the flames, draw one tall pointy shape first, then add the shorter ones next to it.
Free kid roasting a marshmallow coloring page
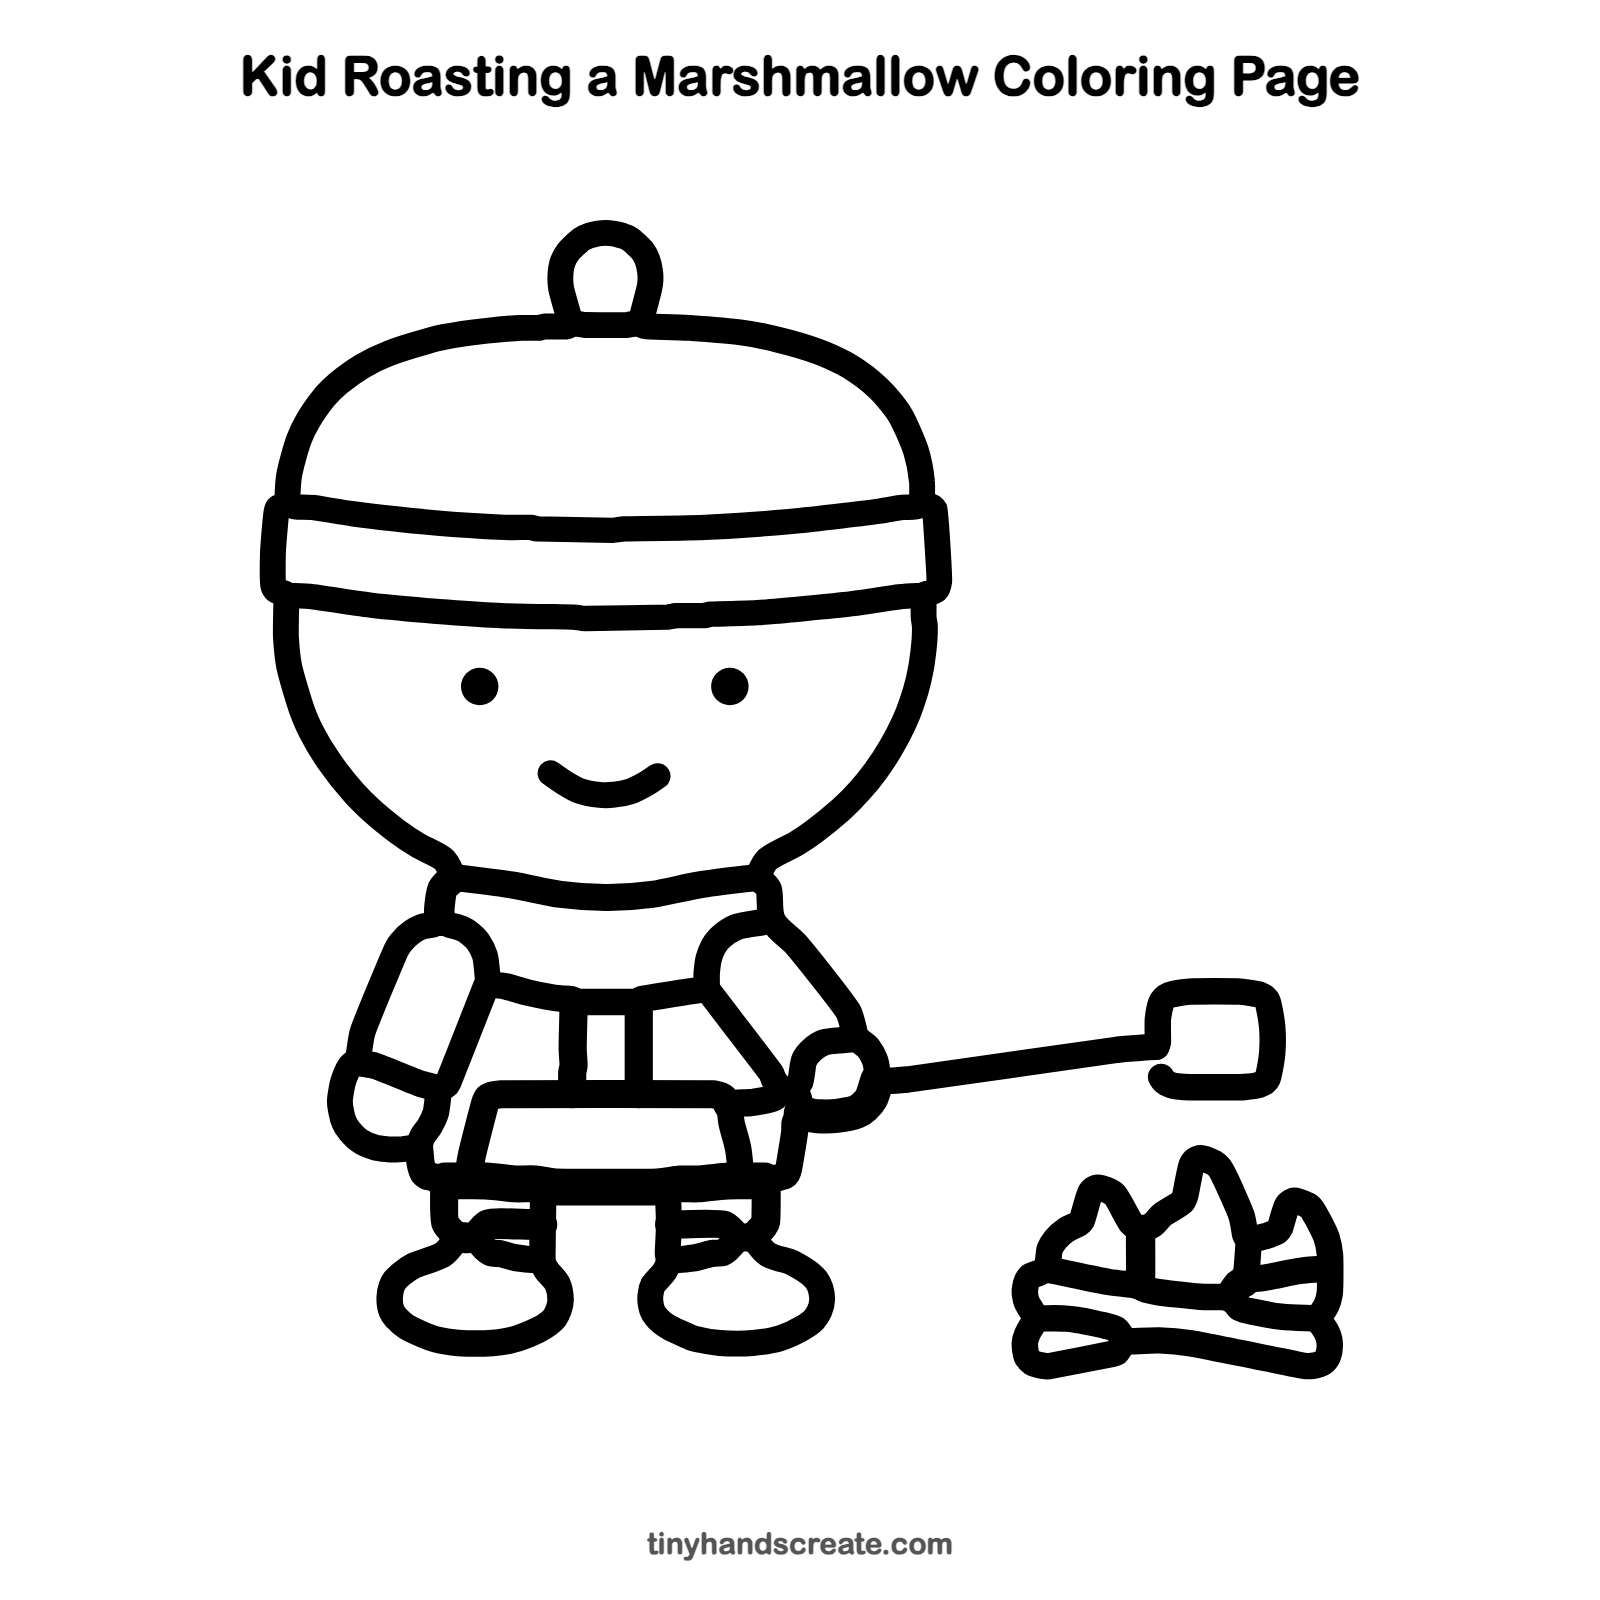
Want to go straight to coloring? Open this kid roasting a marshmallow coloring page at full size and print it. It is the same drawing you just learned, with clean lines ready for crayons or markers.
How to color your kid roasting a marshmallow drawing
Try a bright red or blue hat, a brown stick and orange, yellow and red flames. For a creative twist, color the marshmallow golden brown on one side, as if it is toasted.
Kid roasting a marshmallow fun fact for kids
Marshmallow candy was first made from the sap of the marshmallow plant, which grows in marshy places. Today most marshmallows are made from sugar, corn syrup and gelatin, which is why they puff up and turn gooey over a fire.
Questions about drawing a kid roasting a marshmallow
What shapes do I need to draw a kid roasting a marshmallow?
You need a big rounded shape for the head, rounded tubes for the arms, ovals for the boots and a small rounded square for the marshmallow. The flames are pointy shapes.
How do I make the kid look cuter?
Keep the eyes as small dots and draw a small, curved smile. A big round head with a small body also makes the kid look extra cute.
How do I draw a campfire for kids?
Draw two logs lying crossed over each other, then add a tall pointy flame with smaller flames beside it.