How to Draw a Kid Fishing (Easy Step by Step)
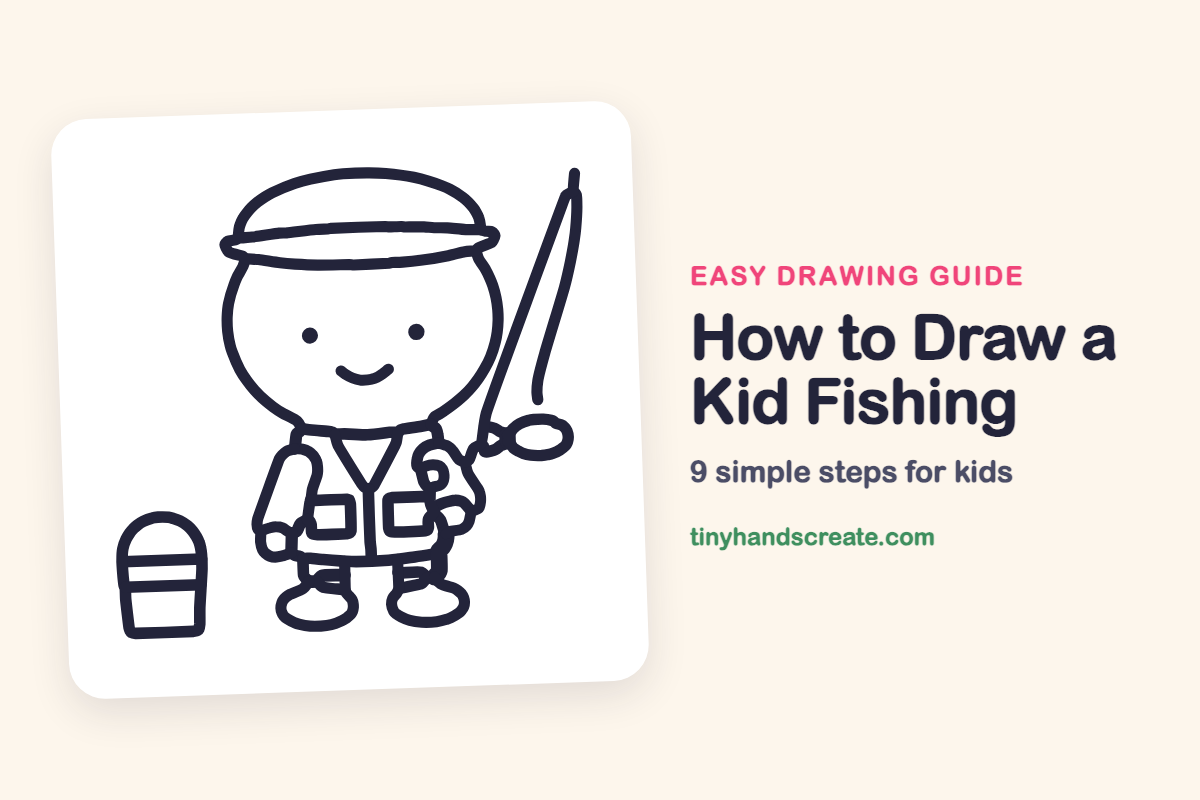
This young angler is built from simple shapes: a round head, a dome hat, a vest with two pockets and oval boots. A long fishing rod and a striped bucket finish the scene. Once you know the shapes, you can draw it again and again.
- Medium
- 15 minutes
- 9 steps
You need: paper, a pencil, an eraser, and crayons or markers for coloring.
Start drawingIn this article (7 sections)
How to draw a kid fishing step by step
How to Draw a Kid Fishing · tinyhandscreate.com
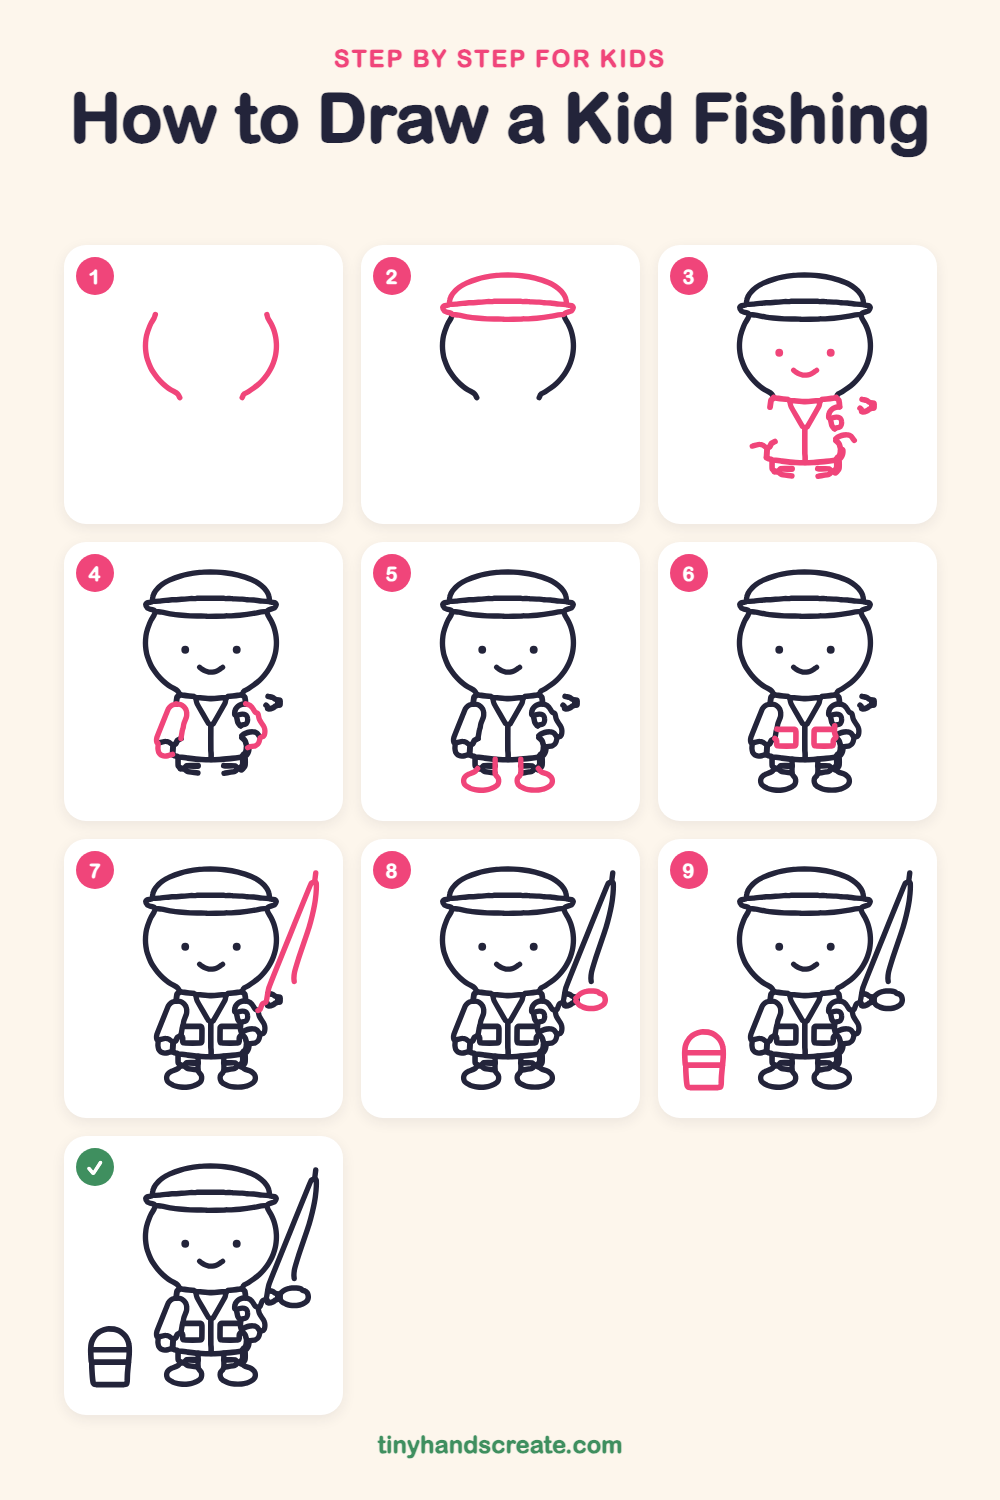
Step 1: Sides of the head
Draw two curved lines that look like a pair of parentheses, one on the left and one on the right. Leave the top and bottom open for now, because they will be finished later.
Step 2: The hat
Across the top of the head, draw a dome like half a circle. Then draw a long, flat oval across the bottom of the dome for the wide hat brim.
Step 3: Face and vest
Draw two small dots for eyes and a little curved smile under them. Below the head, draw a vest with a big V at the top and a straight line down the middle for the zipper.
Step 4: Arms and hands
On the left side of the body, draw a long rounded tube for the arm with a small round hand at the bottom. Do the same on the right side, with the hand held up near the chest.
Step 5: Legs and boots
Under the vest, draw two short straight lines for legs. At the bottom of each one, draw a flat oval for a boot.
Step 6: Vest pockets
Draw a small square with rounded corners on each side of the zipper for the pockets.
Step 7: Fishing rod
Start at the right hand and draw a long slanted line going up to the right. Next to it, draw a second thin line that curves up alongside, so the rod looks like a long, narrow loop.
Step 8: Small oval
Near the bottom of the rod, next to the hand, draw a small oval. It sits right where the rod meets the hand.
Step 9: The bucket
In the bottom left corner, draw a bucket with a flat bottom and a rounded top edge. Add two straight lines across the middle for stripes.
All done!
Go over your lines with a marker, then color it in.
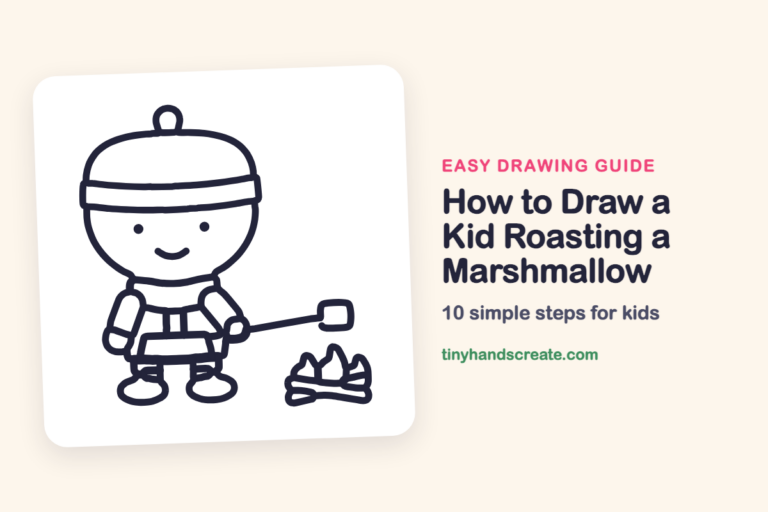
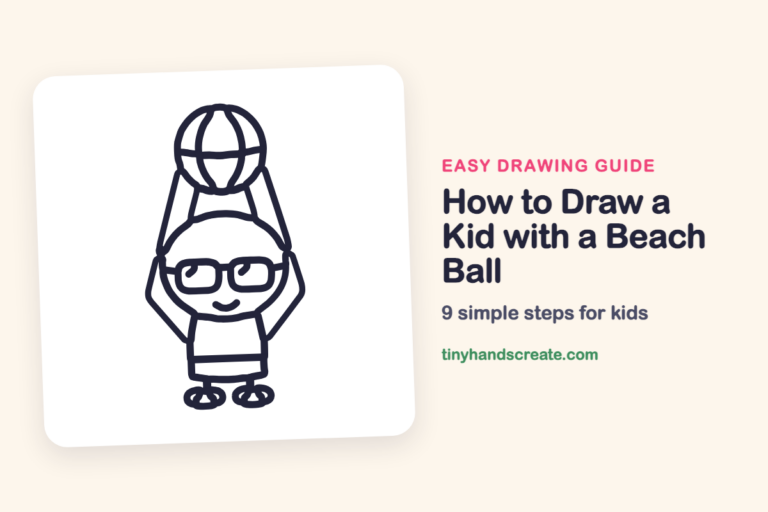
Finished your kid fishing? Keep the pencils out and learn how to draw a kid roasting a marshmallow or how to draw a kid with a beach ball next.
Tips for drawing a kid fishing
- Draw the hat after the head so the brim sits across the top. Keep the brim a long, flat oval that is wider than the head.
- The arms are the trickiest part. Draw the left arm as a long tube with a small round hand first, then do the right arm.
- Draw the rod as one long slanted line, then add the second thin line beside it. A steady hand works better than a ruler.
Free kid fishing coloring page
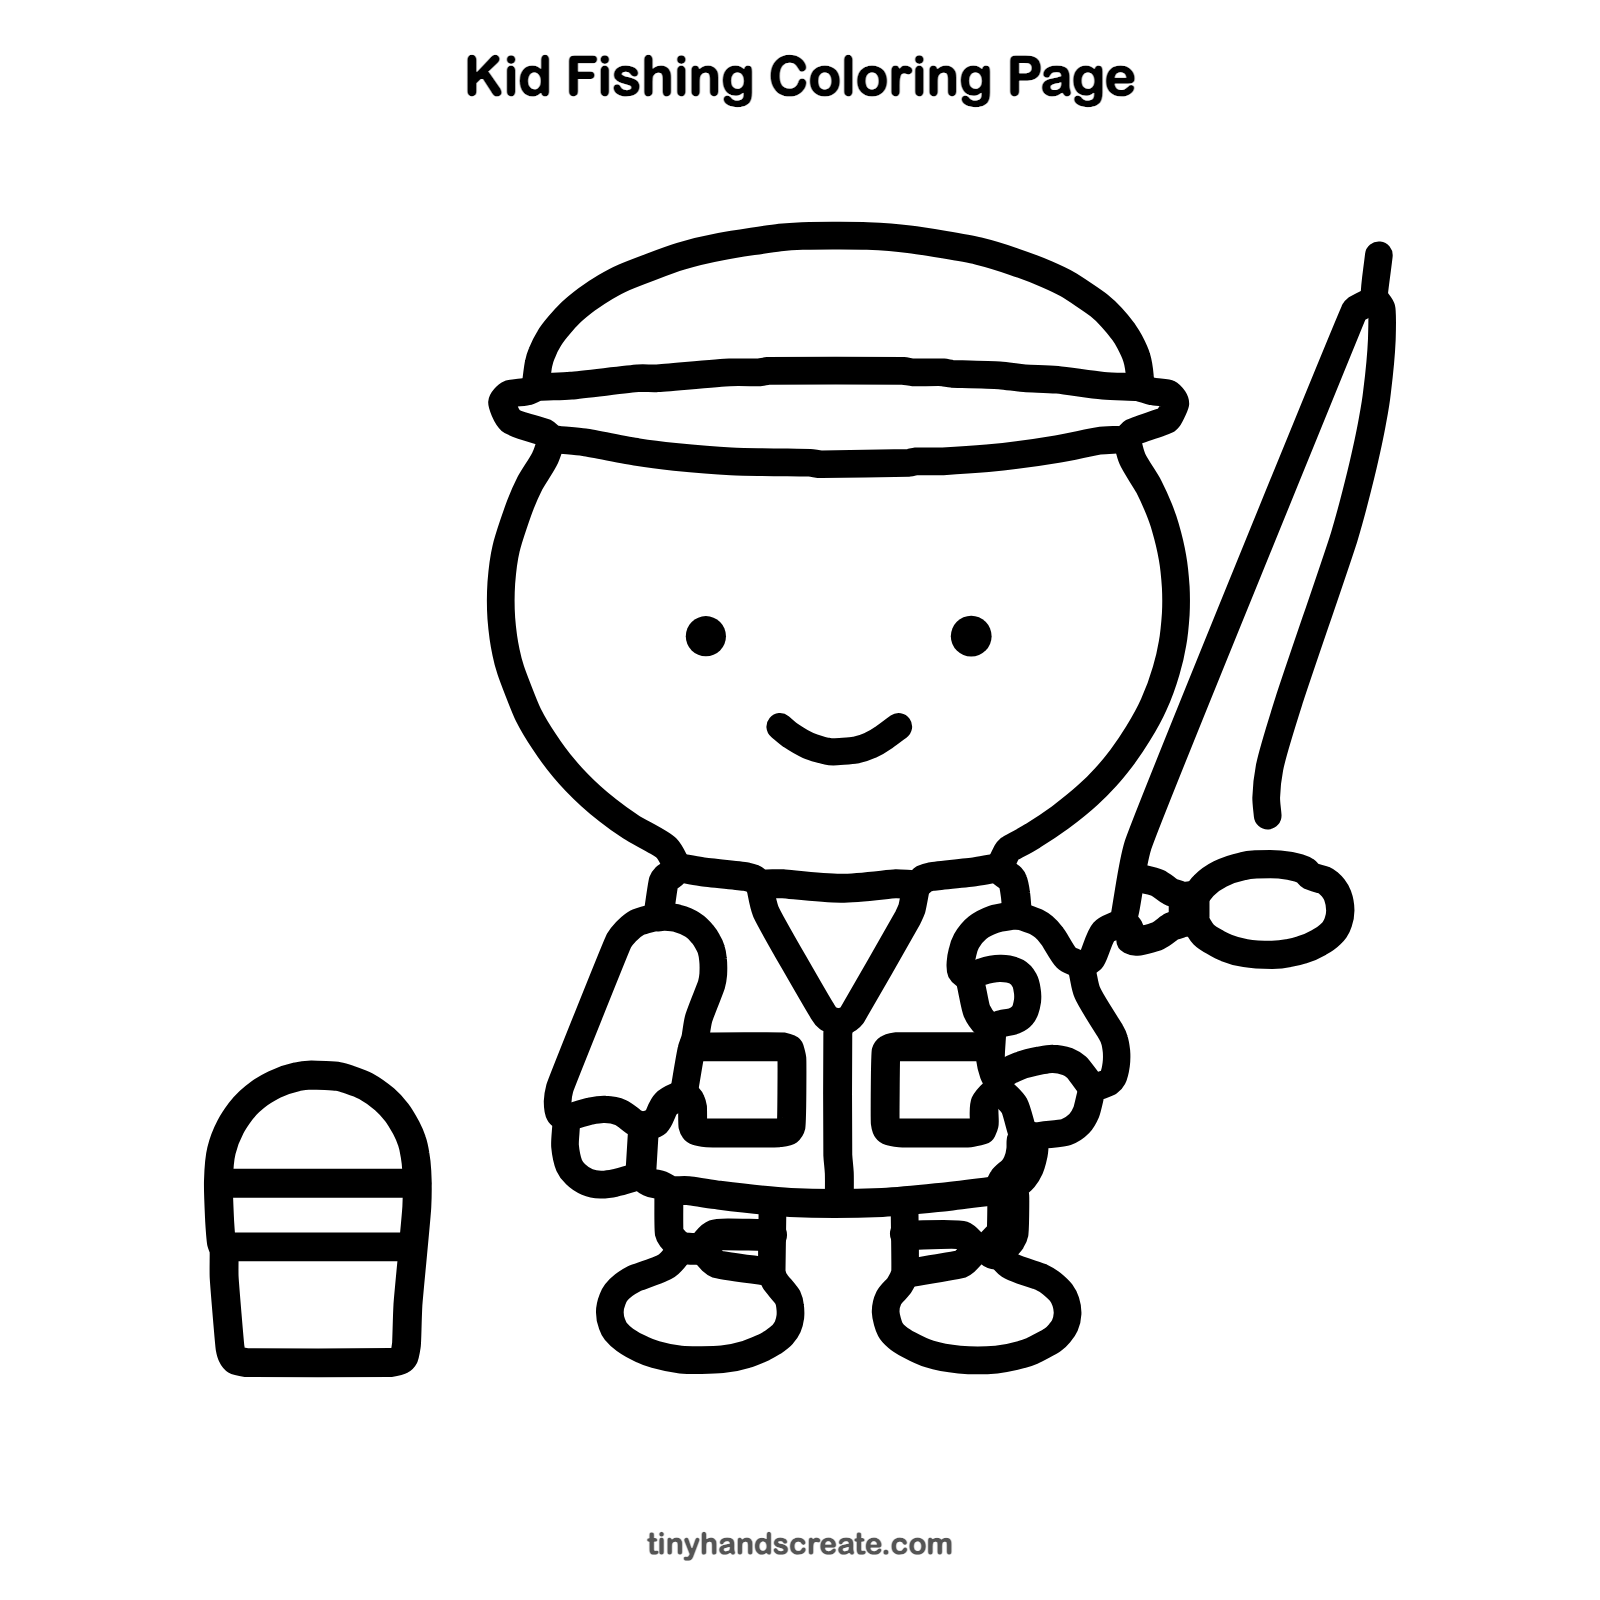
Want to go straight to coloring? Open this kid fishing coloring page at full size and print it. It is the same drawing you just learned, with clean lines ready for crayons or markers.
How to color your kid fishing drawing
Try a yellow hat, a green or orange vest and brown boots, with a red or blue bucket. For a creative twist, color the background as a blue lake with ripples.
Kid fishing fun fact for kids
Fish have a lateral line, a row of tiny sensors along each side of the body that feels movements and pressure changes in the water.
Questions about drawing a kid fishing
What shapes do I need to draw a kid fishing?
You need a circle for the head, a dome and a flat oval for the hat, small squares for the pockets, and ovals for the boots. Long lines make the rod.
How do I make my fishing kid look cuter?
Keep the head big and round and put the two dot eyes wide apart. A small curved smile and a floppy hat make the face friendly.
How do I draw the fishing rod so it looks right?
Start at the right hand and draw one long slanted line going up to the right. Then add a second thin line beside it so the rod looks like a narrow loop.