How to Draw a Kid with a Watering Can (Easy Step by Step)
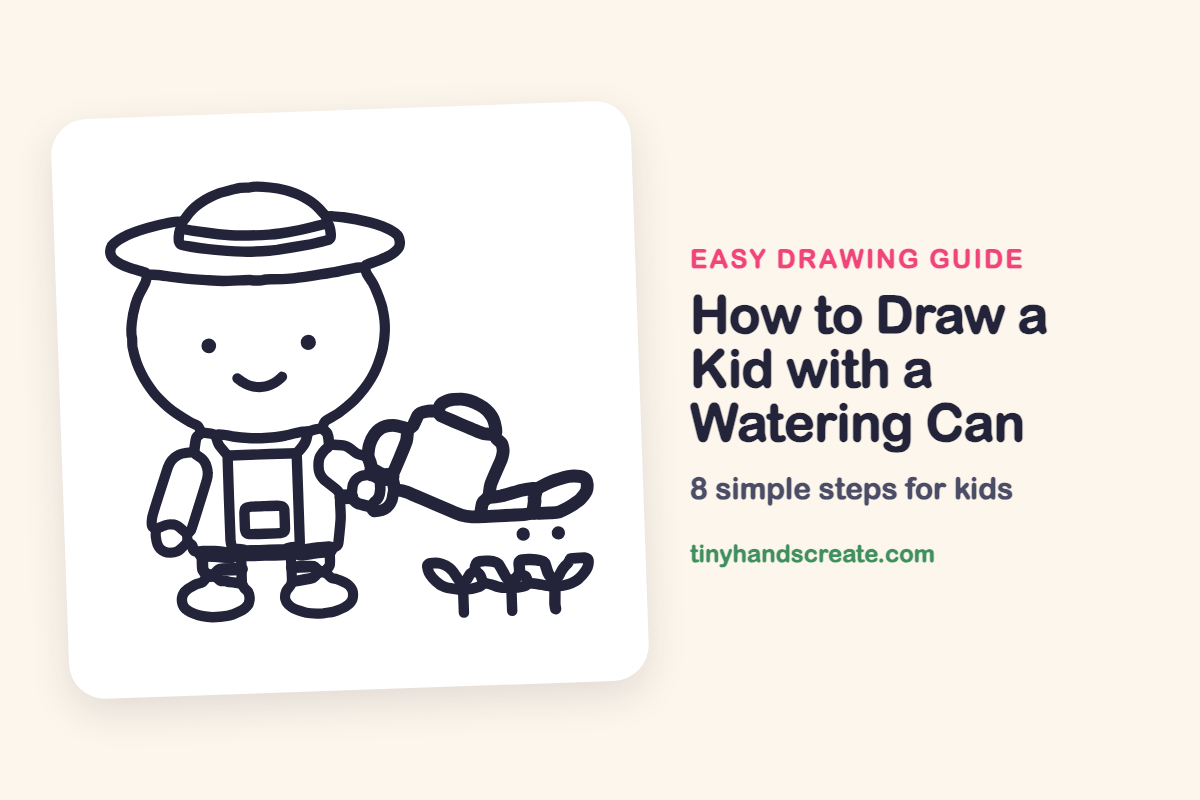
A kid in a big sun hat watering baby plants is a cheerful scene to draw. It is built from simple shapes: a round head, a wide oval hat brim, a rectangle body, and ovals for the shoes. The watering can is a spout and a curved handle, so even beginners can manage it.
- Medium
- 15 minutes
- 8 steps
You need: paper, a pencil, an eraser, and crayons or markers for coloring.
Start drawingIn this article (7 sections)
How to draw a kid with a watering can step by step
How to Draw a Kid with a Watering Can · tinyhandscreate.com
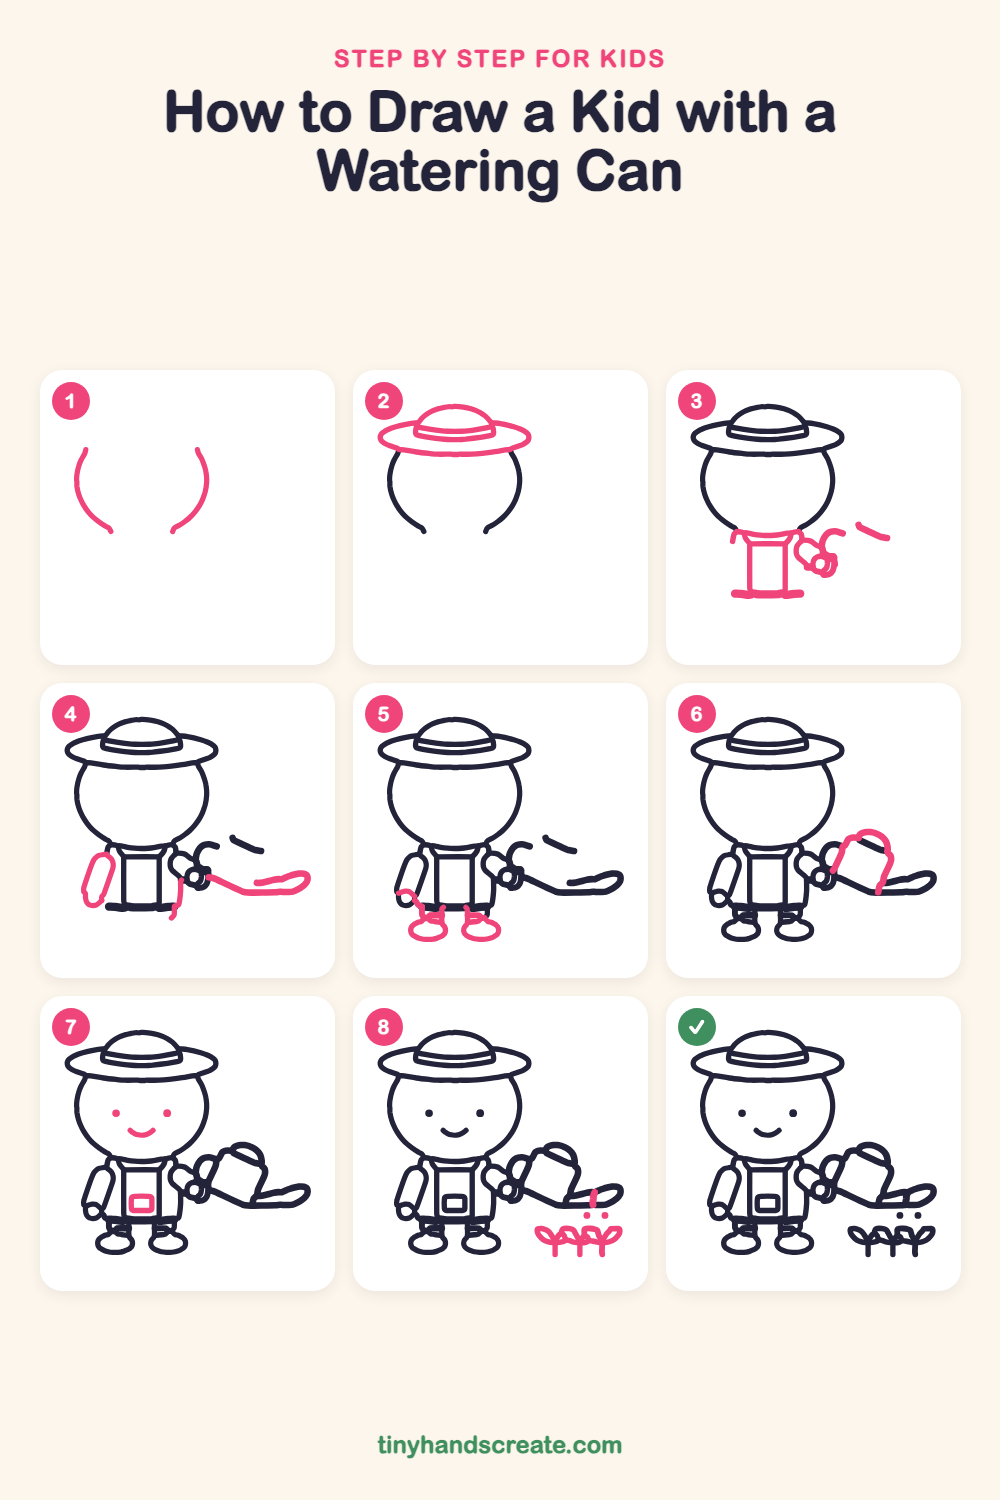
Step 1: Sides of the head
Draw two curved lines for the sides of a round head, one on the left and one on the right. Leave the top and bottom open, because the hat and body will close them.
Step 2: The wide hat
Draw a wide, flat oval for the brim across the top of the head. Add a rounded dome on top, then a curved band around the bottom of the dome.
Step 3: Body and hand
Under the head, draw a tall rectangle for the body with a short curved collar line across the top and a flat line along the bottom. On the right side, draw a small hook shape with a little round hand for holding the can.
Step 4: Arm and spout
On the left, draw a long rounded tube for the arm with a small round hand at the bottom. On the right, draw a long slanted line going out from the hand that ends in a flat oval for the end of the spout.
Step 5: Legs and shoes
Under the body, draw two short lines for the legs. Add a wide oval shoe at the bottom of each leg. Add a small curl to finish the left hand.
Step 6: Can handle
Next to the right hand, draw a curved arch for the handle of the watering can. Both ends of the arch connect to the spout shape you drew before.
Step 7: Face and pocket
Draw two little dots for eyes and a small curved smile underneath. Then draw a small rounded rectangle for a pocket in the middle of the body.
Step 8: Sprouting plants
On the ground at the right, draw three short stems. Add a pair of curved leaves at the top of each one. Then add a few small drops under the end of the spout.
All done!
Go over your lines with a marker, then color it in.
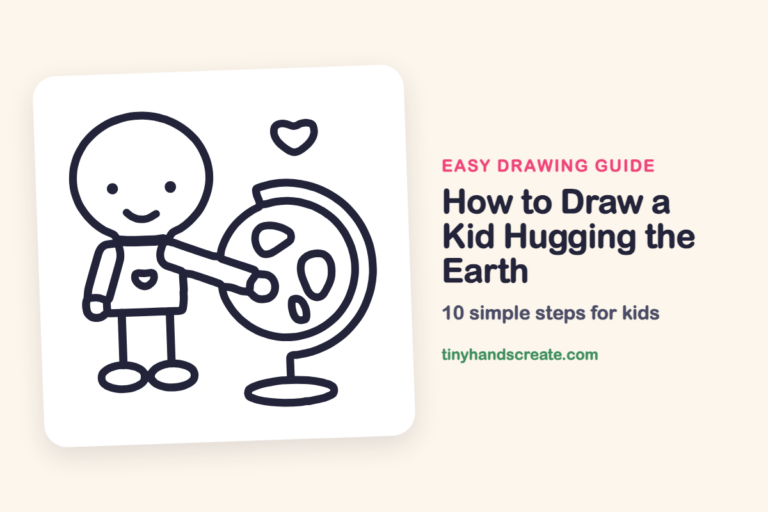
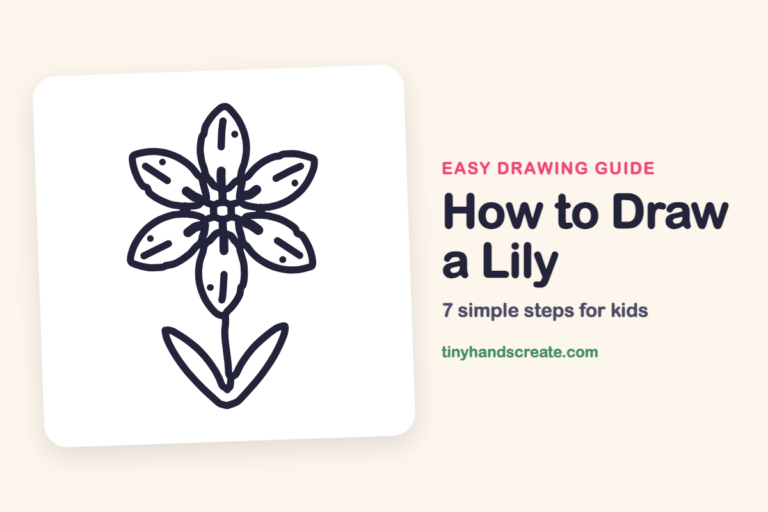
Finished your kid with a watering can? Keep the pencils out and learn how to draw a kid hugging the Earth or how to draw a lily next.
Tips for drawing a kid with a watering can
- Draw the hat brim as a wide, flat oval first, then tuck the dome on top. The brim should be wider than the head.
- The watering can is the trickiest part. Draw the long spout first, then add the curved handle where it meets the hand.
- Draw the three little plants last and keep them small. Stems first, then two curved leaves on each.
Free kid with a watering can coloring page
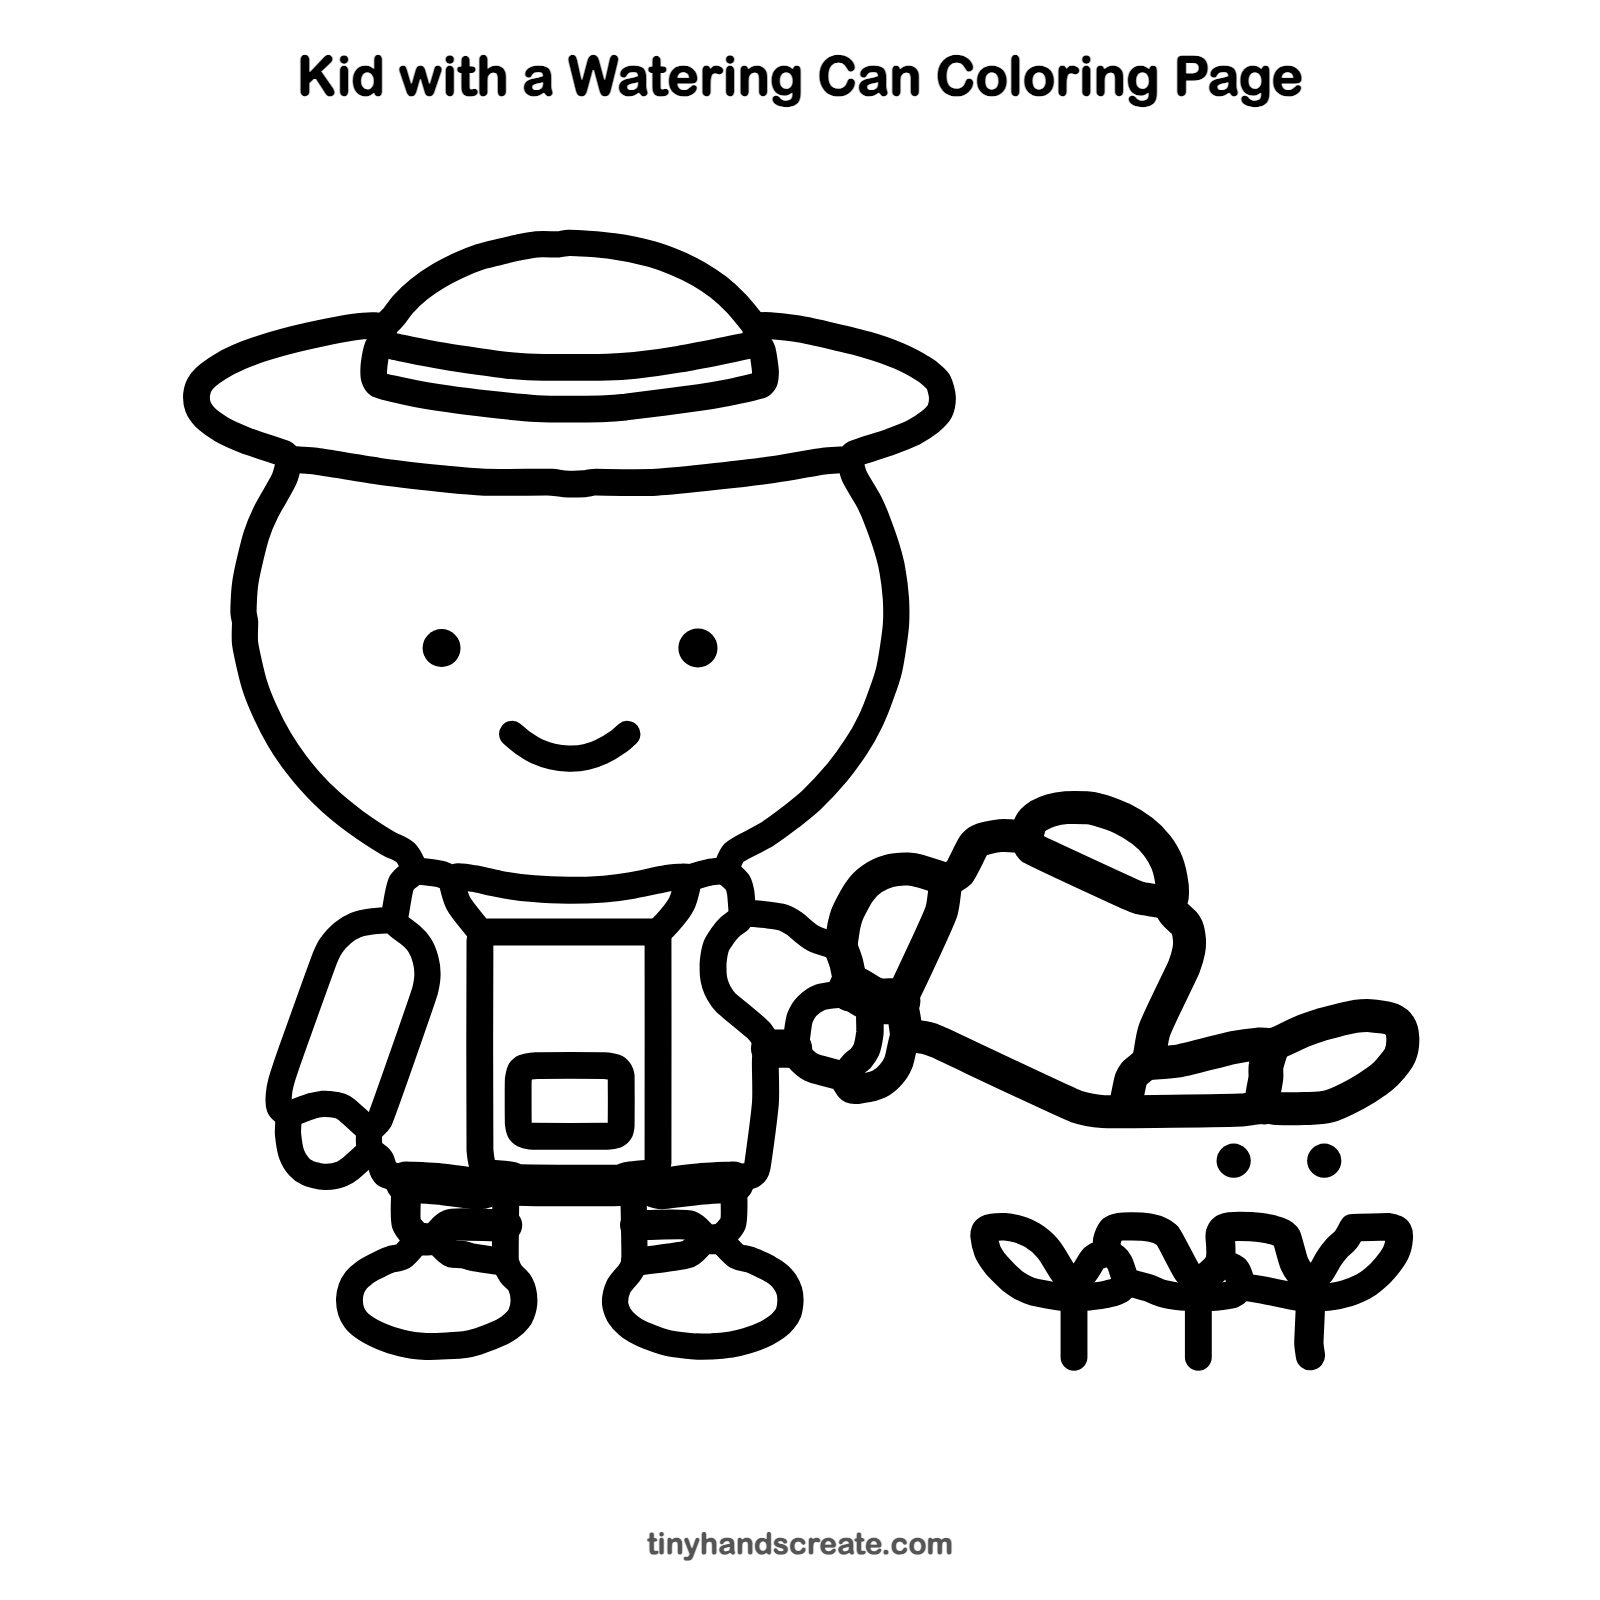
Want to go straight to coloring? Open this kid with a watering can coloring page at full size and print it. It is the same drawing you just learned, with clean lines ready for crayons or markers.
How to color your kid with a watering can drawing
Try a yellow straw hat, a green shirt, and bright green plants with a blue can. For a creative twist, color the water drops different shades of blue.
Kid with a watering can fun fact for kids
The flat end of a watering can spout is called a rose. It has many tiny holes that spread the water out like gentle rain, so it does not wash away young seedlings.
Questions about drawing a kid with a watering can
What shapes do I need to draw a kid with a watering can?
You need a round head, a wide oval for the hat brim, a rectangle for the body, and ovals for the shoes. The watering can is a long slanted spout with a curved handle.
How do I make the watering can look like it is pouring?
Draw a few small drops under the end of the spout. They look like water falling onto the plants.
How do I make my gardener look cuter?
Make the head extra big and keep the eyes small and far apart. A small smile and a big floppy hat make the kid look friendly.