How to Draw a Hibiscus Flower (Easy Step by Step)
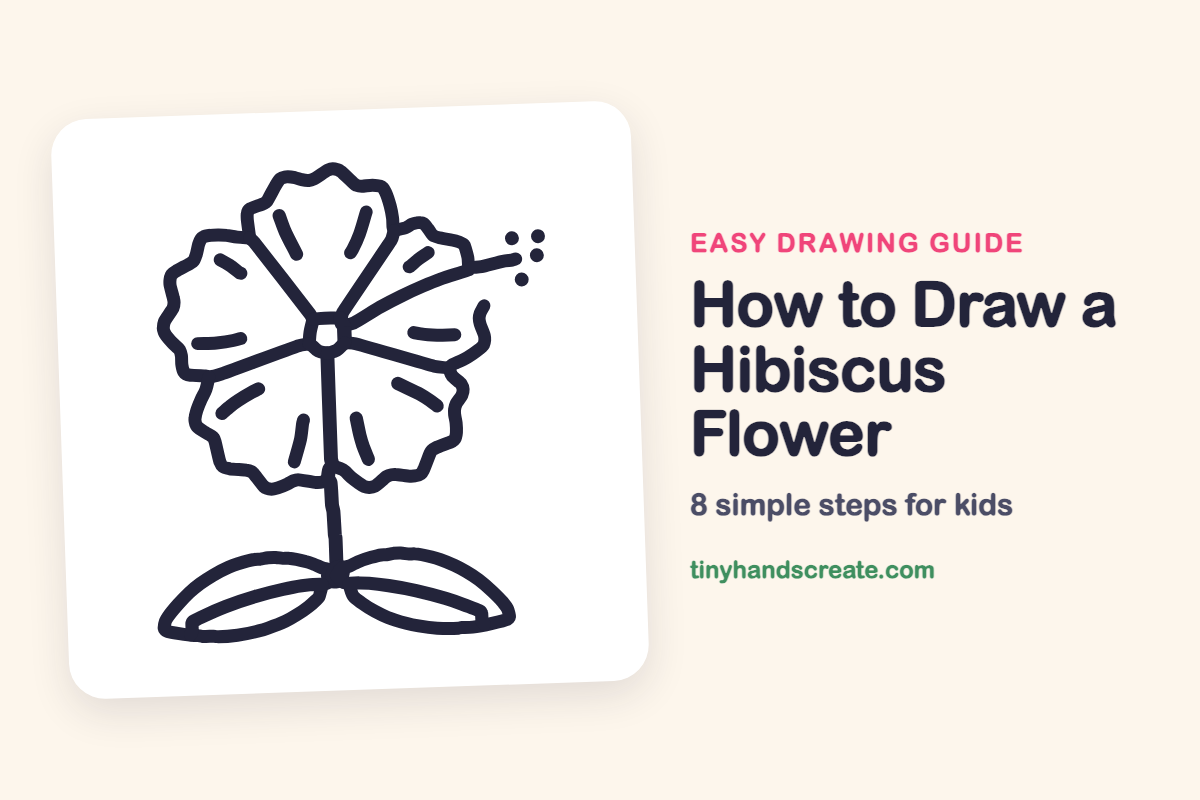
A hibiscus is a fun flower to draw because it is made of ruffly petals that all start from one little circle. You only need wavy lines, a few straight lines, two pointy ovals for leaves, and some dots. Once you can draw one ruffly edge, you can draw them all.
- Medium
- 15 minutes
- 8 steps
You need: paper, a pencil, an eraser, and crayons or markers for coloring.
Start drawingIn this article (7 sections)
How to draw a hibiscus flower step by step
How to Draw a Hibiscus Flower · tinyhandscreate.com
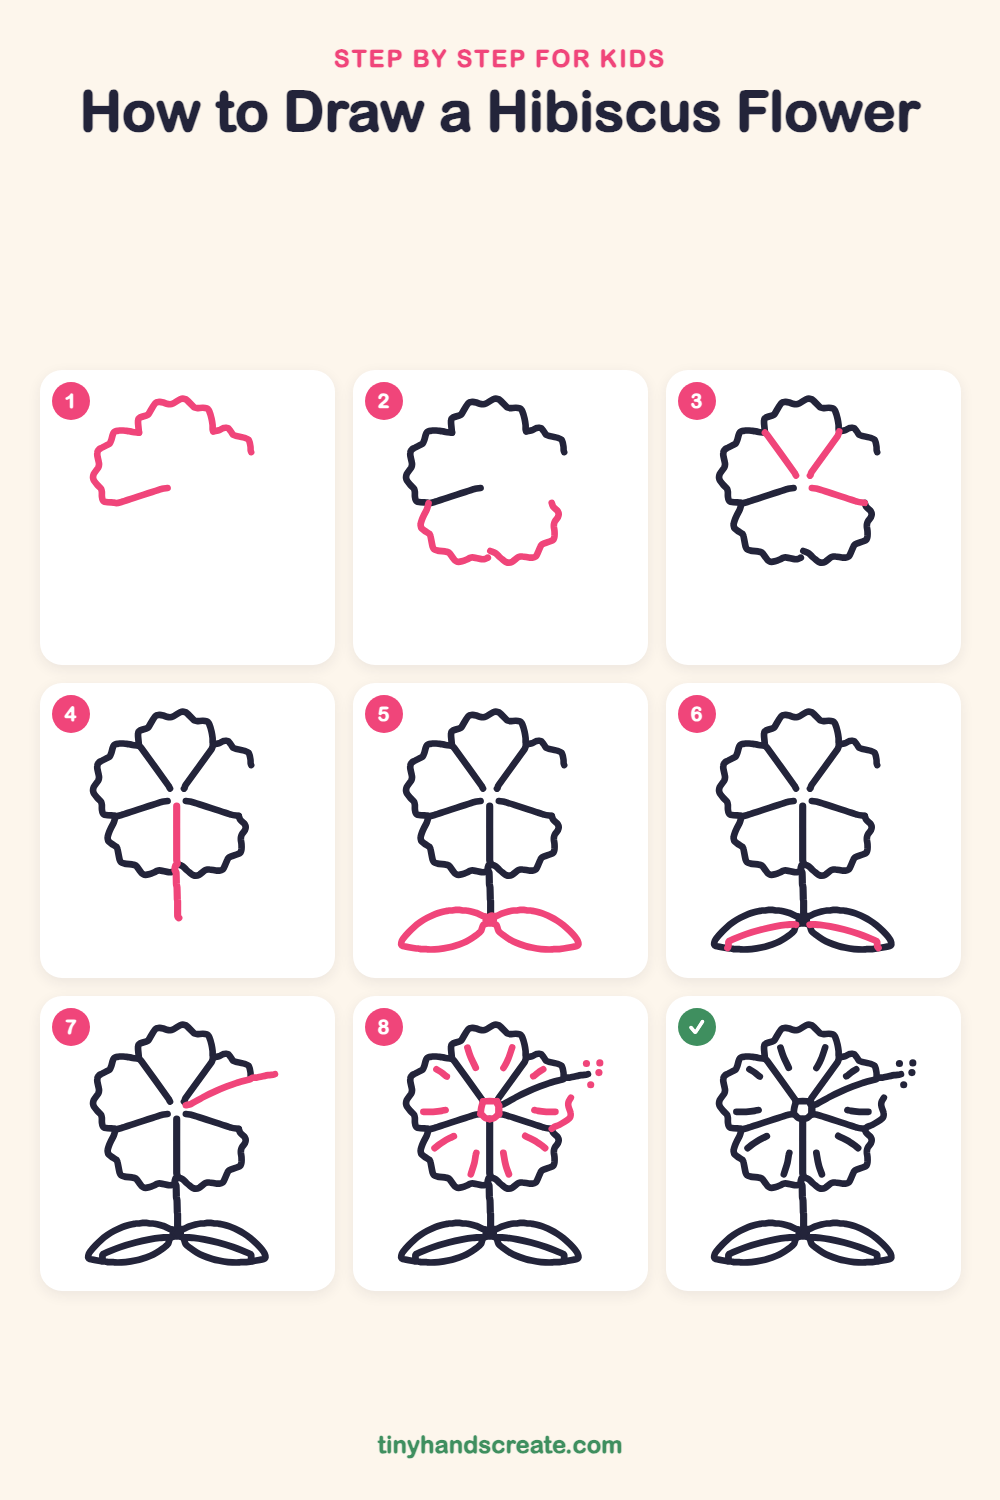
Step 1: Top and side petals
Draw one long wavy line that starts in the middle left, bumps up and over like a ruffly cloud, and ends at the right. Add a short straight line pointing in from the left side.
Step 2: The lower petals
Draw a wavy, bumpy line along the bottom that starts near the short straight line and curves down and around to the right side. This finishes the rounded outline of the flower.
Step 3: Petal dividers
Draw three short straight lines that start near the middle of the flower. Two go up toward the top petal and one goes out to the right edge.
Step 4: The stem
Draw one long straight line starting at the middle of the flower and going straight down past the bottom petals. This is the stem.
Step 5: Two leaves
At the bottom of the stem, draw two leaf shapes that look like pointy ovals. Let one leaf point left and the other point right, with both touching the stem.
Step 6: Leaf veins
Inside each leaf, draw one gentle curved line from the stem toward the leaf tip. This is the middle vein.
Step 7: The long stamen
Start at the middle of the flower and draw a long, curving line that sweeps up and out to the right. It looks like a thin, bendy arm.
Step 8: Center, marks and dots
Draw a small circle in the middle where the lines meet. Add short curved dashes inside each petal, finish the wavy edge on the right, and put a few little dots at the end of the stamen.
All done!
Go over your lines with a marker, then color it in.
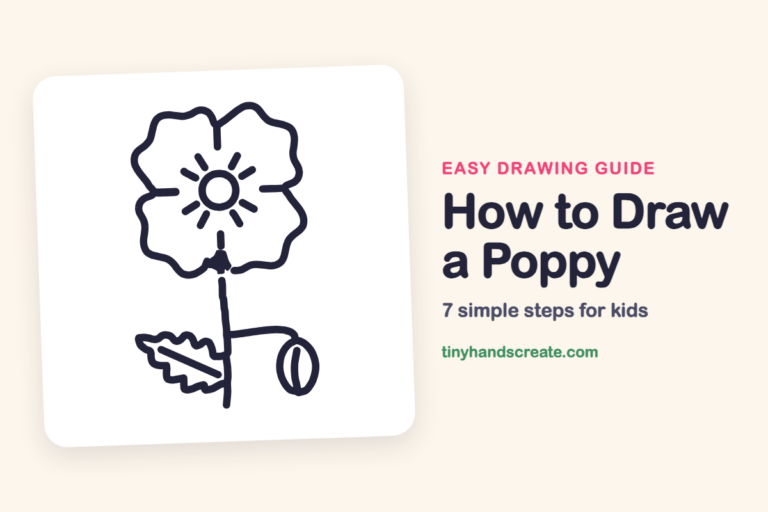
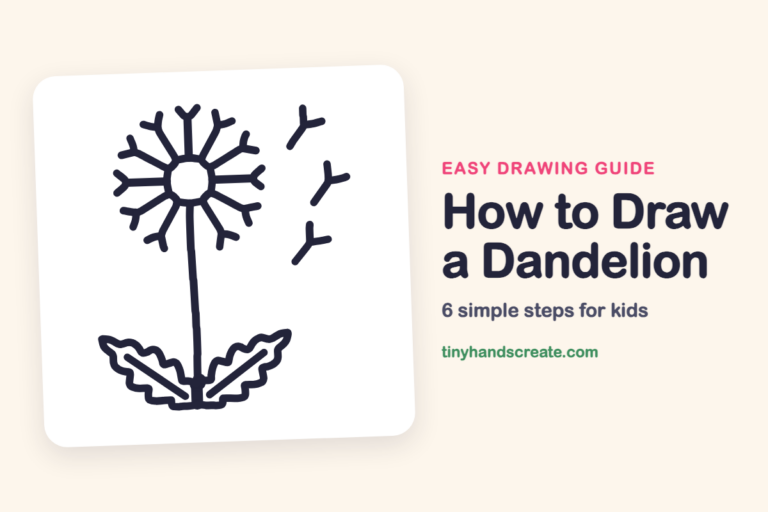
Finished your hibiscus flower? Keep the pencils out and learn how to draw a poppy or how to draw a dandelion next.
Tips for drawing a hibiscus flower
- Take your time with the wavy outline. Small, soft bumps one after another make it look ruffly, like a cloud. They do not have to match.
- Draw the straight lines from the middle outward so all the petals meet at one spot, then cover that spot with the small center circle.
- Draw the long stamen in one smooth swoop, and add the dots at the end so they do not touch the line.
Free hibiscus flower coloring page
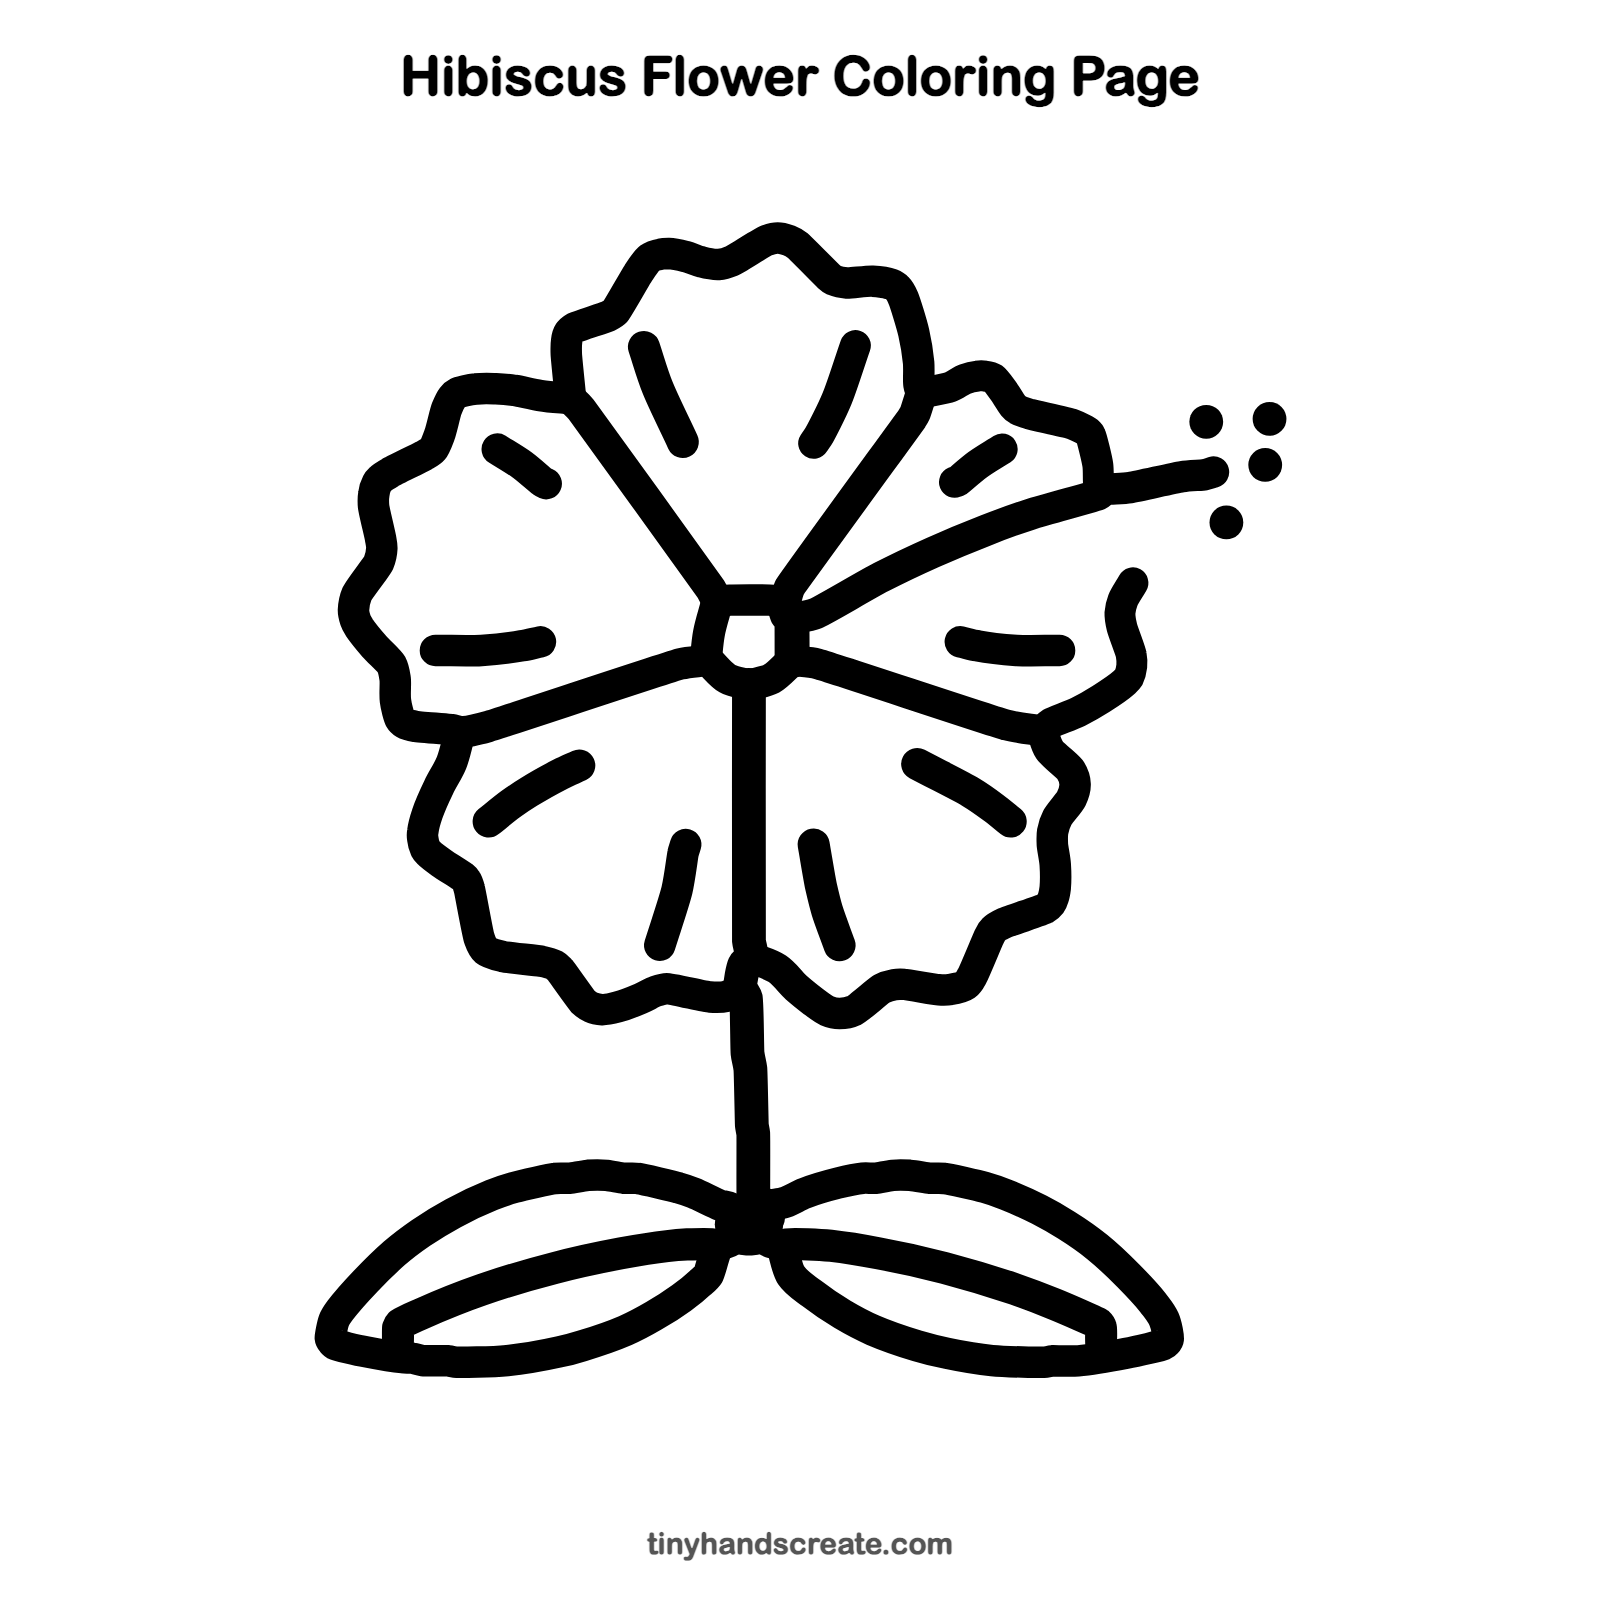
Want to go straight to coloring? Open this hibiscus flower coloring page at full size and print it. It is the same drawing you just learned, with clean lines ready for crayons or markers.
How to color your hibiscus flower drawing
Try bright red, pink, or orange for the petals, with a yellow center and green leaves. For a twist, color each petal a different sunset shade.
Hibiscus flower fun fact for kids
The hibiscus is the state flower of Hawaii. Many hibiscus flowers open for only about a day before they close.
Questions about drawing a hibiscus flower
What shapes do I need to draw a hibiscus?
You need wavy lines for the ruffled petal edges, straight lines to divide the petals, a small circle for the center, and two pointy ovals for the leaves. A long curved line and a few dots make the stamen.
How do I make my hibiscus petals look ruffled?
Draw the outer edge as a row of small, rounded bumps instead of one smooth curve. Little bumps of different sizes look more natural.
How do I make my hibiscus look more real?
Add short curved dashes inside each petal and draw the long stamen sticking out. Coloring from dark near the center to light at the edges helps too.