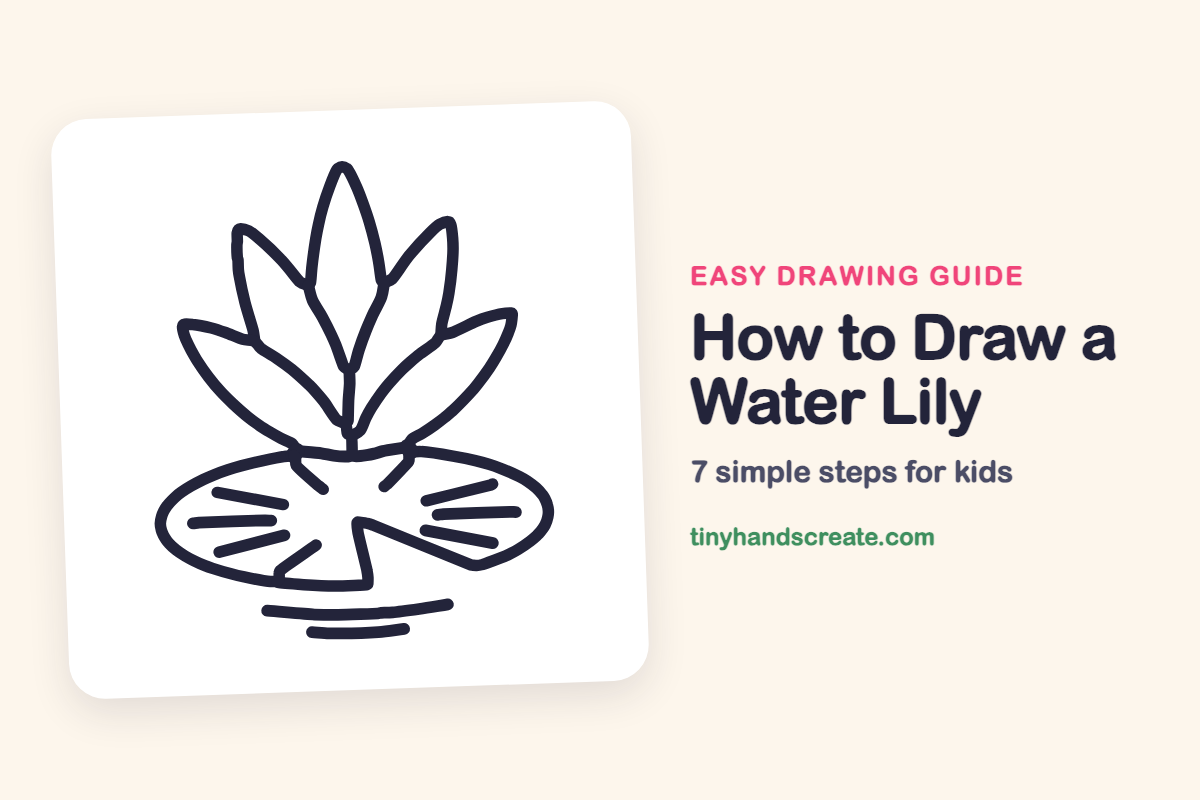
How to Draw a Water Lily (Easy Step by Step)
A water lily is a calm, pretty flower, and it is easier to draw than it looks. It is built from pointy leaf shapes for petals, one big flat oval for the lily pad, and a few curved lines for the water. Once you can draw a pointy arch and an oval, you can draw this whole pond scene.
- Easy
- 12 minutes
- 7 steps
You need: paper, a pencil, an eraser, and crayons or markers for coloring.
Start drawingIn this article (7 sections)
How to draw a water lily step by step
How to Draw a Water Lily · tinyhandscreate.com
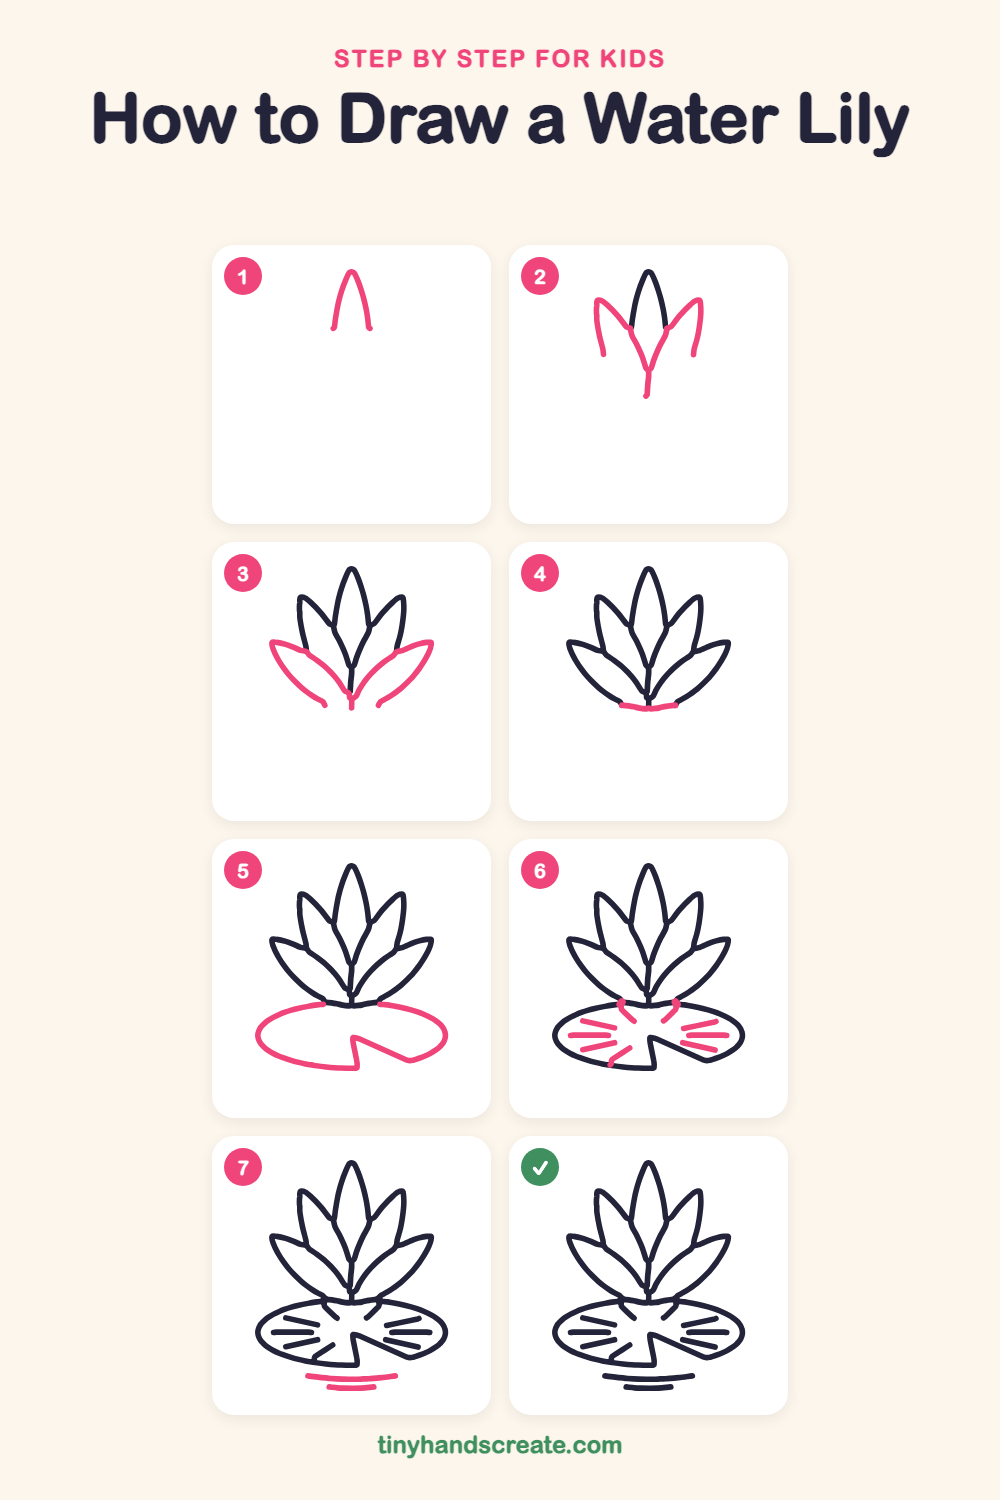
Step 1: The middle petal
Near the top of the page, draw a tall, pointy arch like an upside-down U with a sharp tip. Leave the bottom open for now, because the other petals will join it there.
Step 2: The side petals
Draw a pointy petal edge leaning out on the left and on the right of the middle petal, each one starting at the middle petal's side and curving up to its own tip. Then draw a curved line from each side of the middle petal down to a point below it, and add a short line straight down from that point.
Step 3: The front petals
Add two wide, sharp-tipped petals that stretch out low on each side, like open arms. Each one starts near the side petal, sweeps out to a point, and curves back in toward the short line in the middle.
Step 4: The flower base
Draw a short, gently curved line across the bottom of the flower, joining the ends of the two front petals together.
Step 5: The lily pad
Under the flower, draw a big, wide oval like a flat plate, starting at one side of the flower base and looping all the way around to the other side. Add a notch like a missing pie slice: draw a line in toward the middle and back out to the edge.
Step 6: Lines on the pad
Draw short, straight lines on the left and right sides of the pad, fanning out like little sun rays. Make the same number on each side so it looks even.
Step 7: Water ripples
Under the pad, draw one long, gently curved line for the water. Add a shorter curved line below it to make a ripple.
All done!
Go over your lines with a marker, then color it in.
Finished your water lily? Keep the pencils out and learn how to draw a Venus flytrap or how to draw a bonsai tree next.
Tips for drawing a water lily
- Draw the middle petal first and make it the tallest. The side petals then start from its sides, so you know where each one begins.
- The wide front petals are the trickiest part. Draw each one as a long, flat leaf shape with a sharp tip, and let the inner curves come in toward the short line in the middle.
- For the lily pad, draw the wide oval and add the pie-slice notch as part of its outline. The little lines on the pad are easiest if you keep the same number on the left and right.
Free water lily coloring page
Want to go straight to coloring? Open this water lily coloring page at full size and print it. It is the same drawing you just learned, with clean lines ready for crayons or markers.
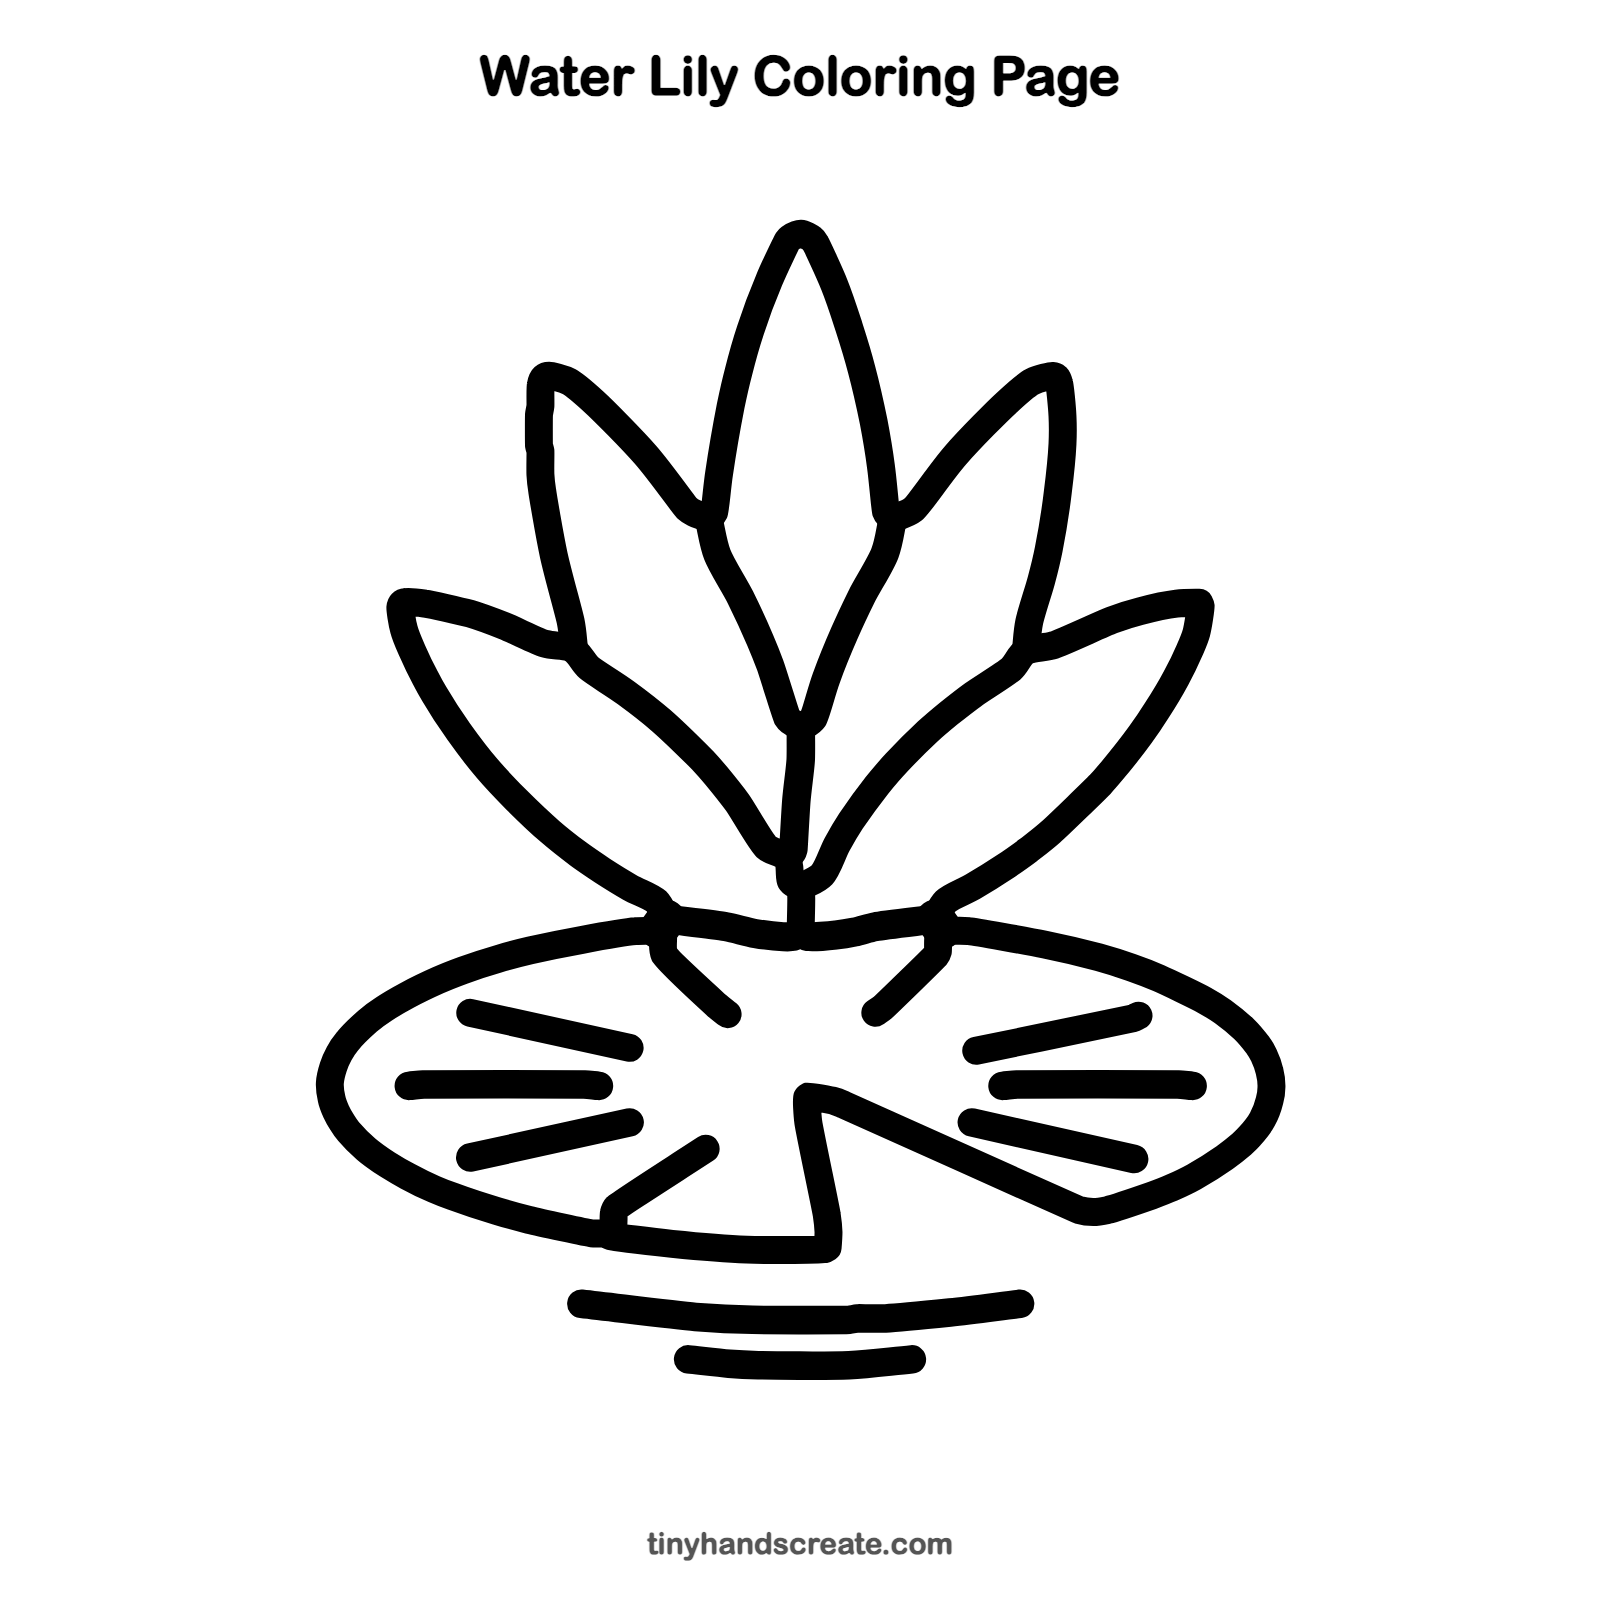
How to color your water lily drawing
Try pink or white petals, a bright green pad, and light blue water. You can color each petal a slightly different shade to make the flower look full.
Water lily fun fact for kids
Water lily leaves, called pads, float on top of the water, and the long stems underneath reach down to the mud at the bottom of the pond. Frogs and insects often rest on the pads like little rafts.
Questions about drawing a water lily
What shapes do I need to draw a water lily?
You need pointy leaf shapes for the petals and one wide oval for the lily pad. A few curved lines make the water.
How do I make my water lily petals look pretty?
Make the petals different sizes, with the tallest one in the middle. Give every petal a sharp tip and a smooth curve so they look like they are opening up.
How do I draw a lily pad that looks like it is floating?
Draw the pad as a wide, flat oval and put a couple of curved water lines right under it. Those ripples make it look like it is resting on the water.