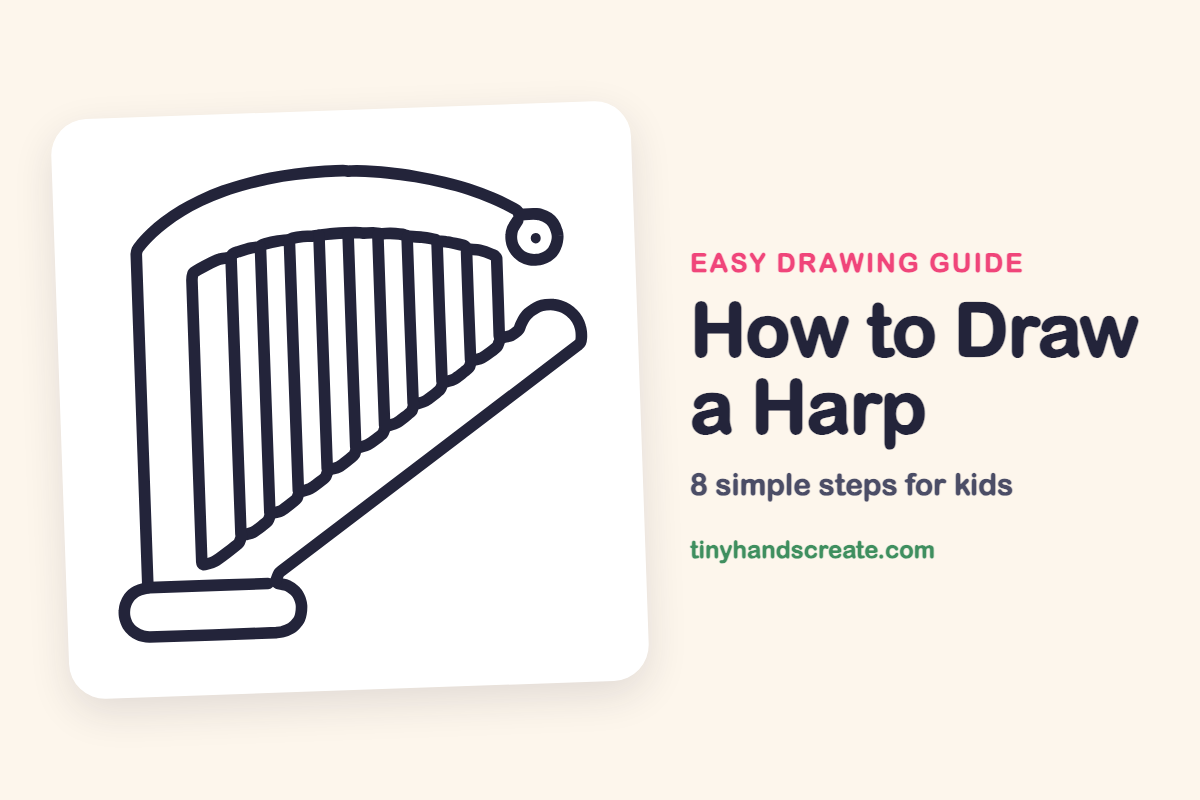
How to Draw a Harp (Easy Step by Step)
A harp looks fancy, but it is made of simple pieces: a big curve, a slanted line, a flat oval, and lots of straight strings. This guide builds it one part at a time so the strings line up neatly. Once you can draw the frame, adding the strings is almost like drawing a row of fence posts.
- Medium
- 15 minutes
- 8 steps
You need: paper, a pencil, an eraser, and crayons or markers for coloring.
Start drawingIn this article (7 sections)
How to draw a harp step by step
How to Draw a Harp · tinyhandscreate.com
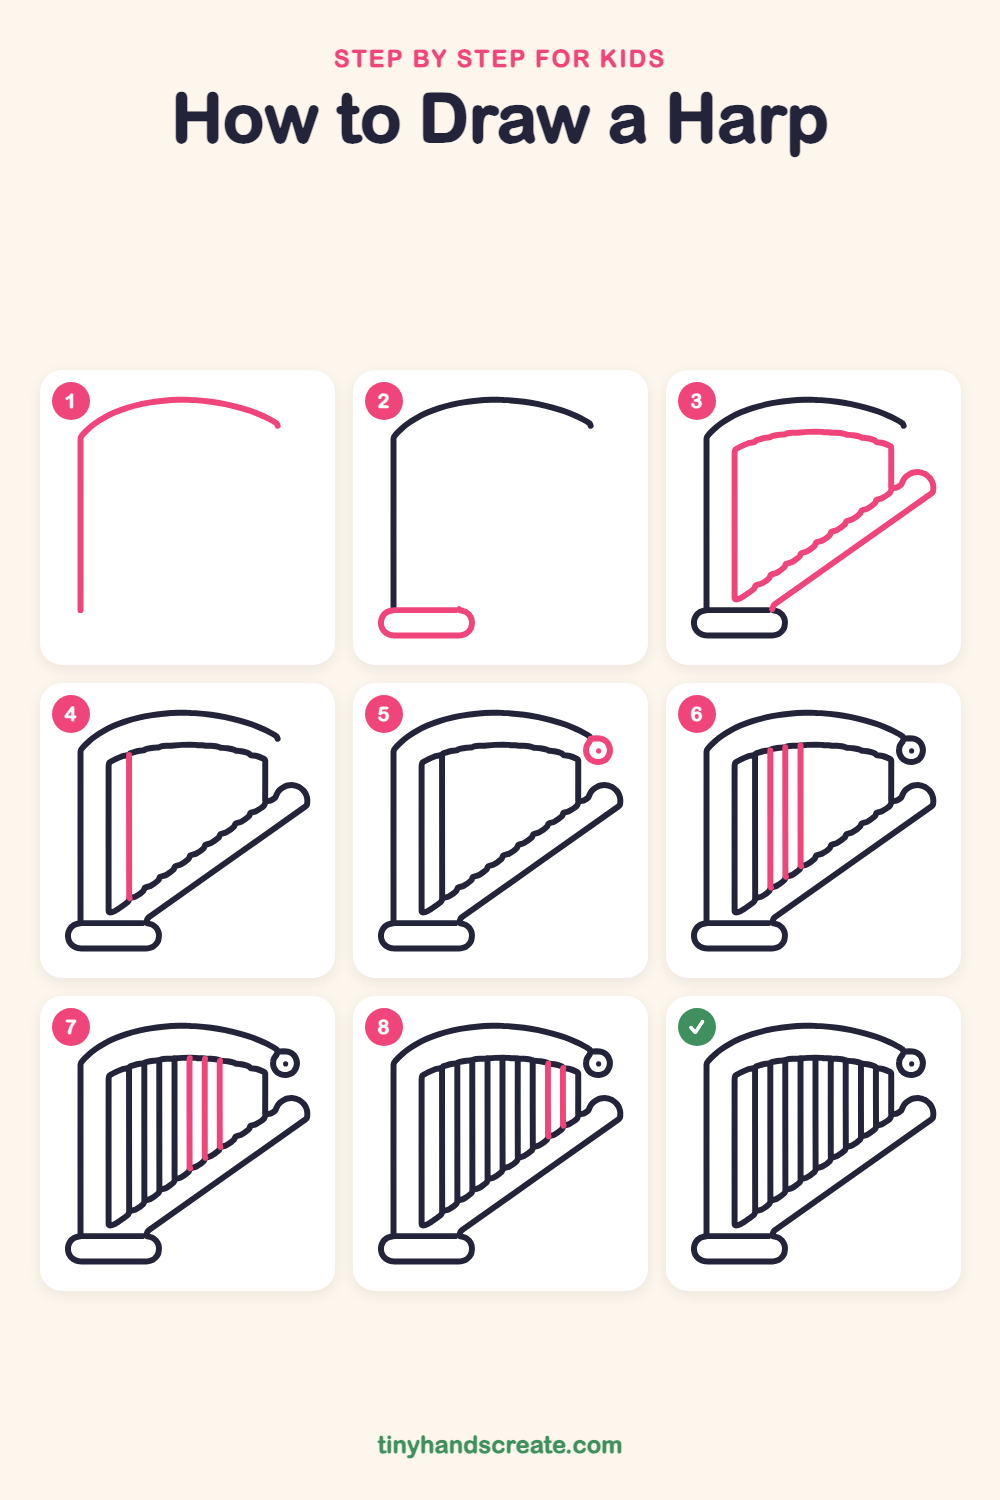
Step 1: The curved frame
Start at the bottom left and draw a tall straight line up, then curve it over the top in a big rainbow arc. End the arc on the right with a little dip.
Step 2: The foot
At the bottom of the tall line, draw a long, flat oval with rounded ends. This is the base that lets the harp sit steady.
Step 3: Arm and string frame
Inside the big curve, draw a tall shape with a straight left side, a gently bumpy top, and a bumpy slanted bottom. Then start near the right end of the foot and draw a long slanted line going up to the right, finishing with a rounded bump at the top that meets the shape.
Step 4: The first string
Draw one straight up-and-down line near the left side of the string shape. Start at the top edge and stop at the bottom edge.
Step 5: The tuning knob
At the right end of the top arc, draw a small circle. Add a tiny dot in the middle.
Step 6: Left strings
Draw three more straight up-and-down lines to the right of the first string, leaving even gaps between them. Each one runs from the top edge down to the slanted bottom edge.
Step 7: Middle strings
Keep going to the right with three more straight lines. Each string is a little shorter than the one before it.
Step 8: Right strings
Finish with two short strings near the right side. Stop each one when it touches the slanted bottom edge.
All done!
Go over your lines with a marker, then color it in.
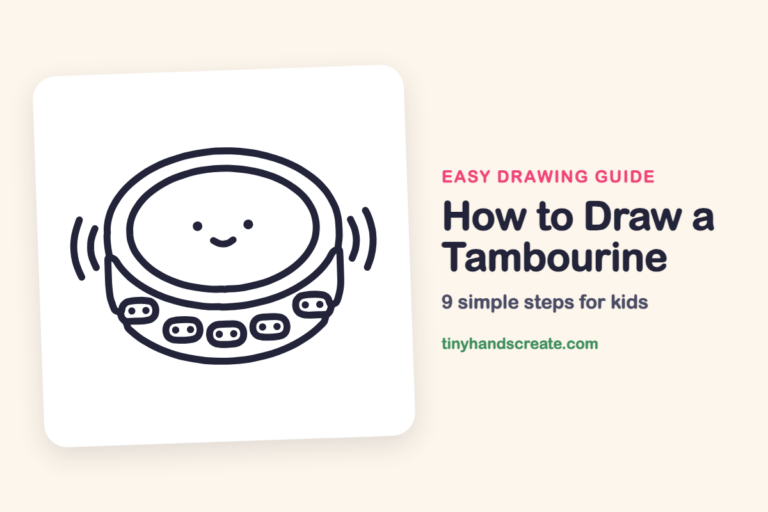
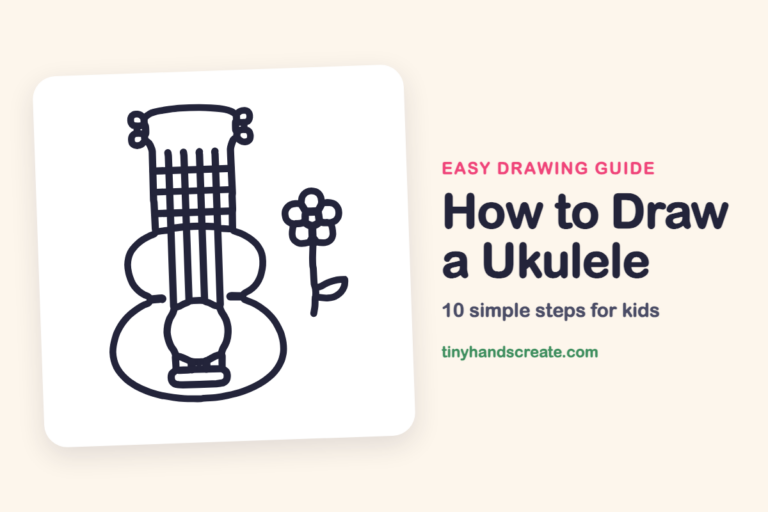
Finished your harp? Keep the pencils out and learn how to draw a tambourine or how to draw a ukulele next.
Tips for drawing a harp
- Draw the tall left line and the top curve in one smooth motion, and lift your pencil only at the end of the arc.
- The strings are the trickiest part. Make a light mark along the top and another along the slanted bottom first, then connect them with straight lines.
- Make each string a little shorter than its neighbor on the right, because the bottom edge slants upward.
Free harp coloring page
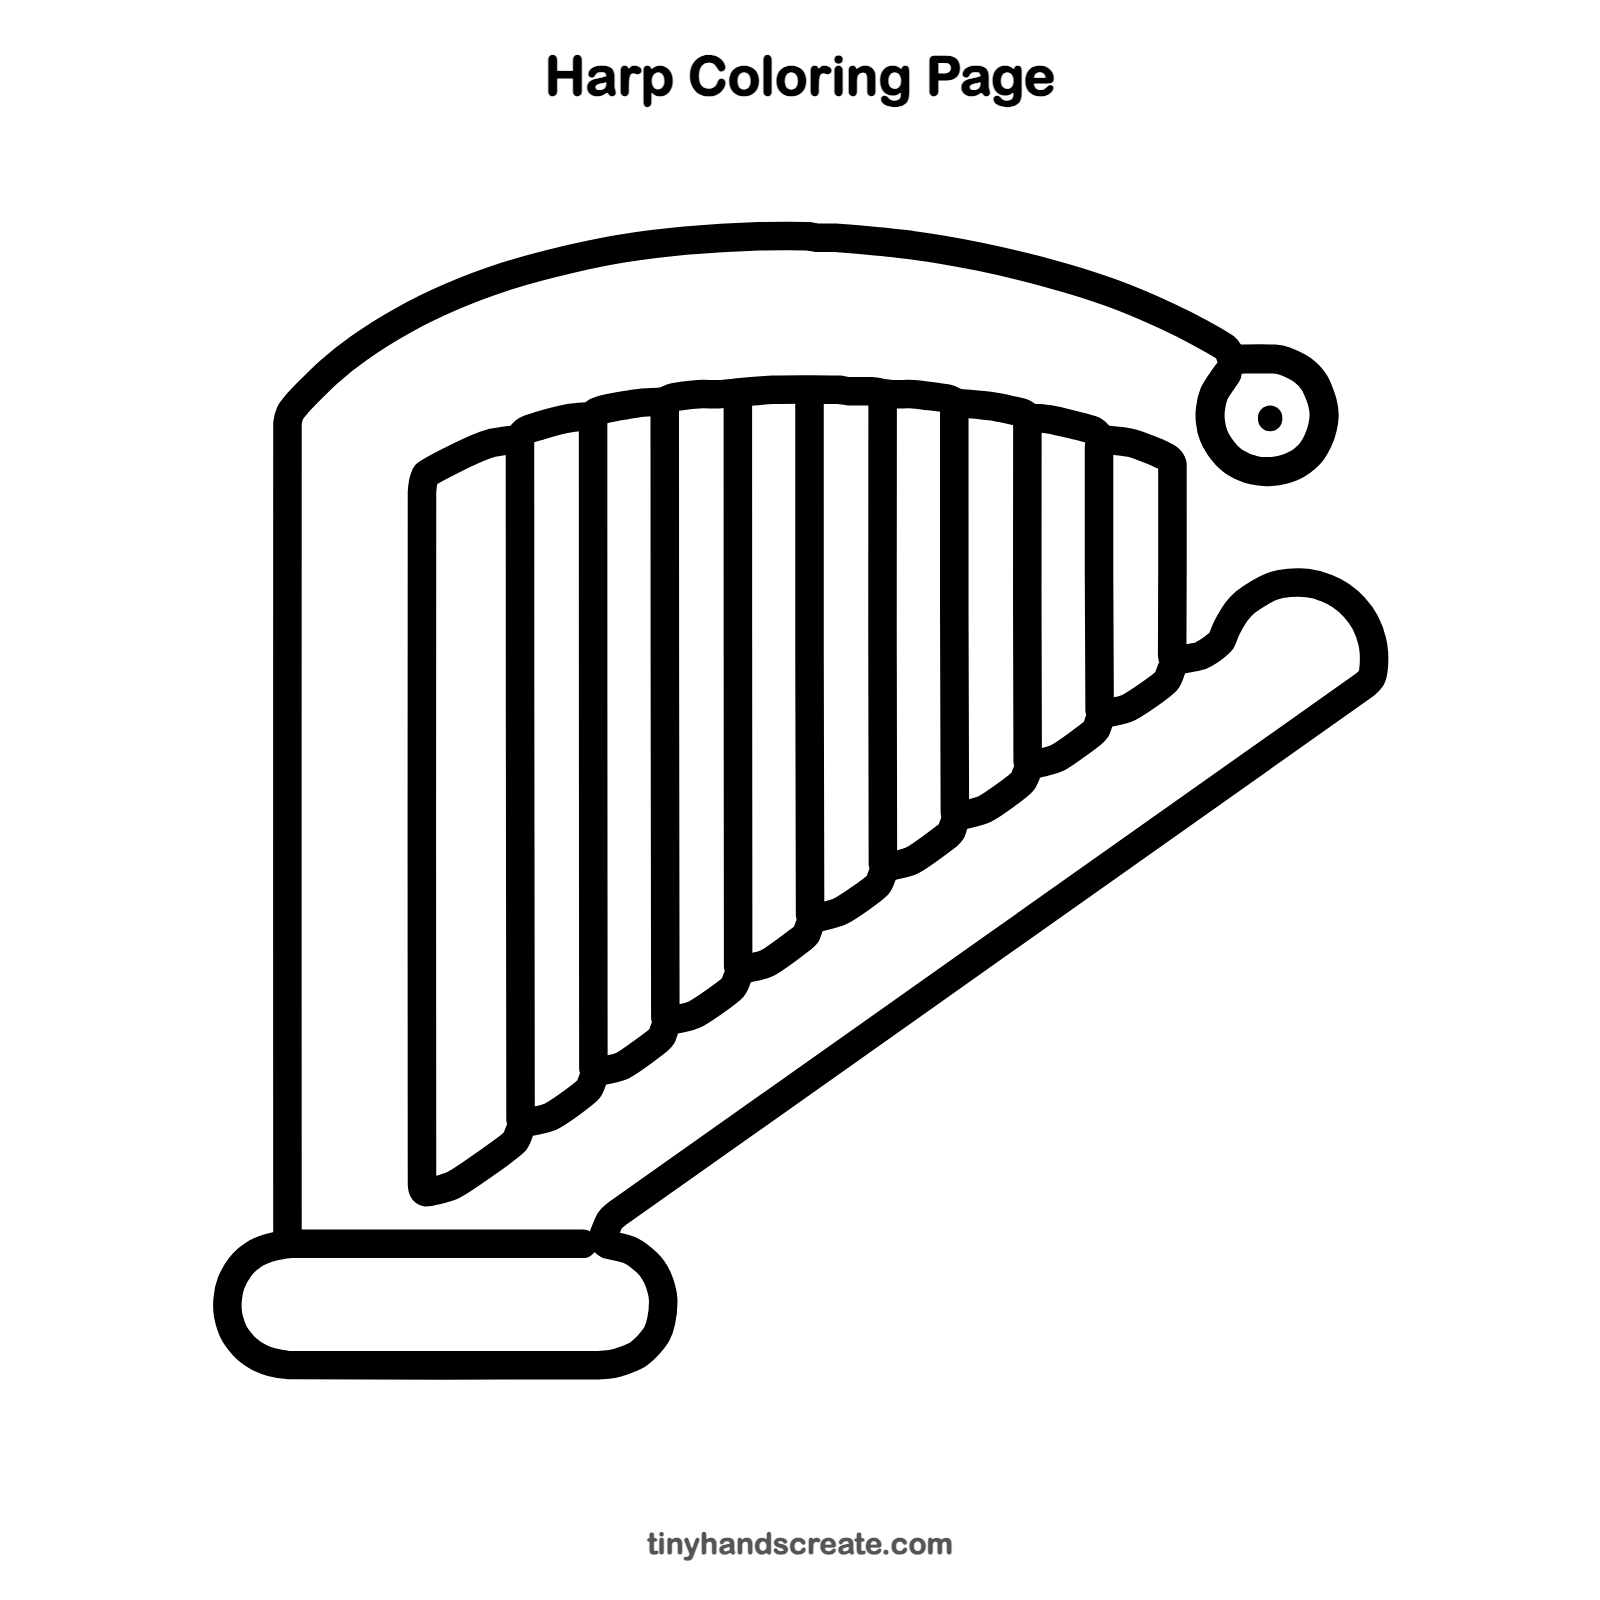
Want to go straight to coloring? Open this harp coloring page at full size and print it. It is the same drawing you just learned, with clean lines ready for crayons or markers.
How to color your harp drawing
Try warm gold or wood brown for the frame and the base, with strings in pale yellow or silver. For a creative twist, color every string a different rainbow color to make a magic harp.
Harp fun fact for kids
A concert harp has 47 strings, and some of them are colored on purpose. The red strings are all C notes and the black ones are F notes, so the player can find their place quickly.
Questions about drawing a harp
What shapes do I need to draw a harp?
You need a big curved arc, a long slanted line, a flat oval for the base, a small circle for the tuning knob, and many straight lines for the strings.
How do I draw the strings evenly?
Mark equal gaps along the top edge with small dots, then draw each string down from a dot to the slanted edge. Use a ruler if you want them extra straight.
How do I make my harp look neater?
Draw the first string, then space the rest evenly beside it. Lightly sketch the strings first and trace over them once they look right.