How to Draw an Electric Guitar (Easy Step by Step)
An electric guitar looks like a rock star, but it is built from simple shapes: a rounded body, a long skinny neck, and a little paddle at the top. Add some small circles and a lightning bolt, and your guitar is ready for the stage.
- Medium
- 15 minutes
- 9 steps
You need: paper, a pencil, an eraser, and crayons or markers for coloring.
Start drawingIn this article (7 sections)
How to draw an electric guitar step by step
How to Draw an Electric Guitar · tinyhandscreate.com
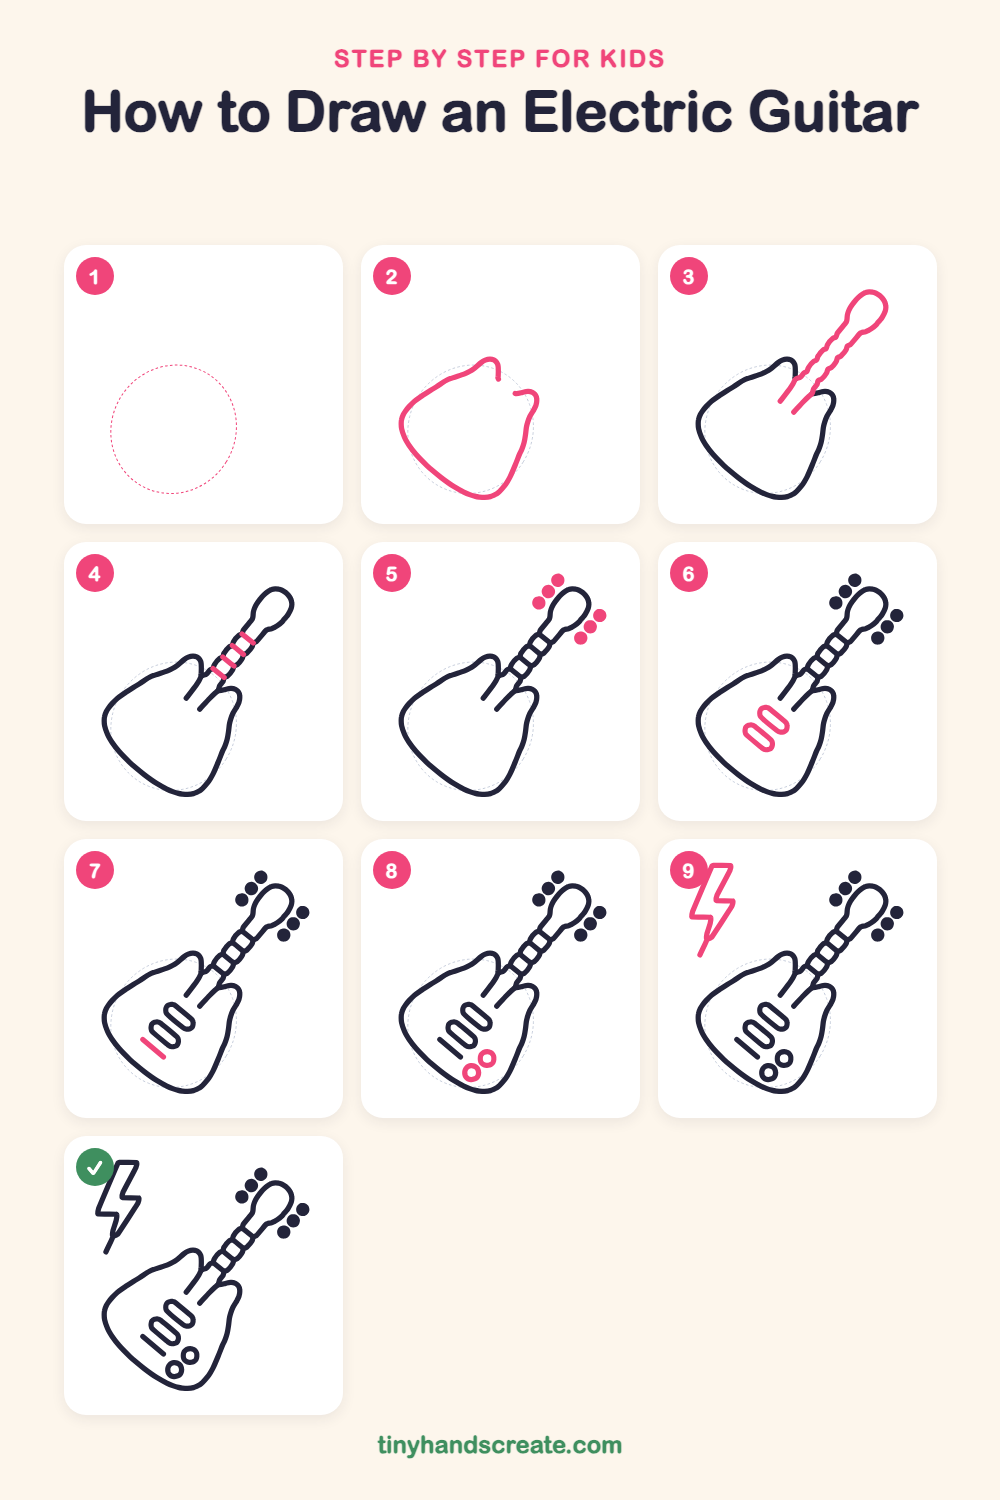
Step 1: Guide shapes
Lightly sketch this oval. It only shows where the big parts go, so press softly. You will erase it at the end.
Step 2: The body
Sketch a big rounded shape like a tipped-over pear, wide at the bottom and narrower toward the top. At the top, curl the line up into a little bump on the left and another on the right, leaving a gap between them for the neck.
Step 3: Neck and headstock
Draw two long, slanted lines that start in the gap between the bumps and stretch up and to the right. At the top, join them with a rounded paddle shape, like a spoon or a lollipop.
Step 4: The frets
Draw three short bars across the neck, near the top, like the rungs of a ladder. Space them evenly so there are little boxes between them.
Step 5: Tuning pegs
Add three small round dots on each side of the paddle at the top. Make them all about the same size, like beads on a string.
Step 6: The pickups
On the lower left of the body, draw two long skinny rounded rectangles side by side, shaped like pill capsules. Make them the same size and keep them parallel.
Step 7: The bridge
Next to the capsules, on the side toward the lower left edge of the body, draw one short straight slanted line. Keep it about as long as one capsule.
Step 8: Control knobs
Near the bottom of the body, draw two small circles close together. Make one a little bigger than the other.
Step 9: The lightning bolt
In the empty space at the upper left, draw a zigzag bolt. Start with a short flat line at the top, go down and to the left, jog out to the right, then slant down to a long sharp point at the bottom.
All done!
Erase the guide shapes, go over your lines, then color it in.
Finished your electric guitar? Keep the pencils out and learn how to draw music notes or how to draw an accordion next.
Tips for drawing an electric guitar
- Draw the body first, then place the neck so it starts right in the gap between the two bumps at the top. That keeps the guitar from looking crooked.
- Keep the two neck lines about the same distance apart all the way up, so the neck stays even instead of getting wider or narrower.
- Draw the six tuning pegs as little circles of the same size, three on each side of the paddle. Lightly mark where they go before you draw them.
Free electric guitar coloring page
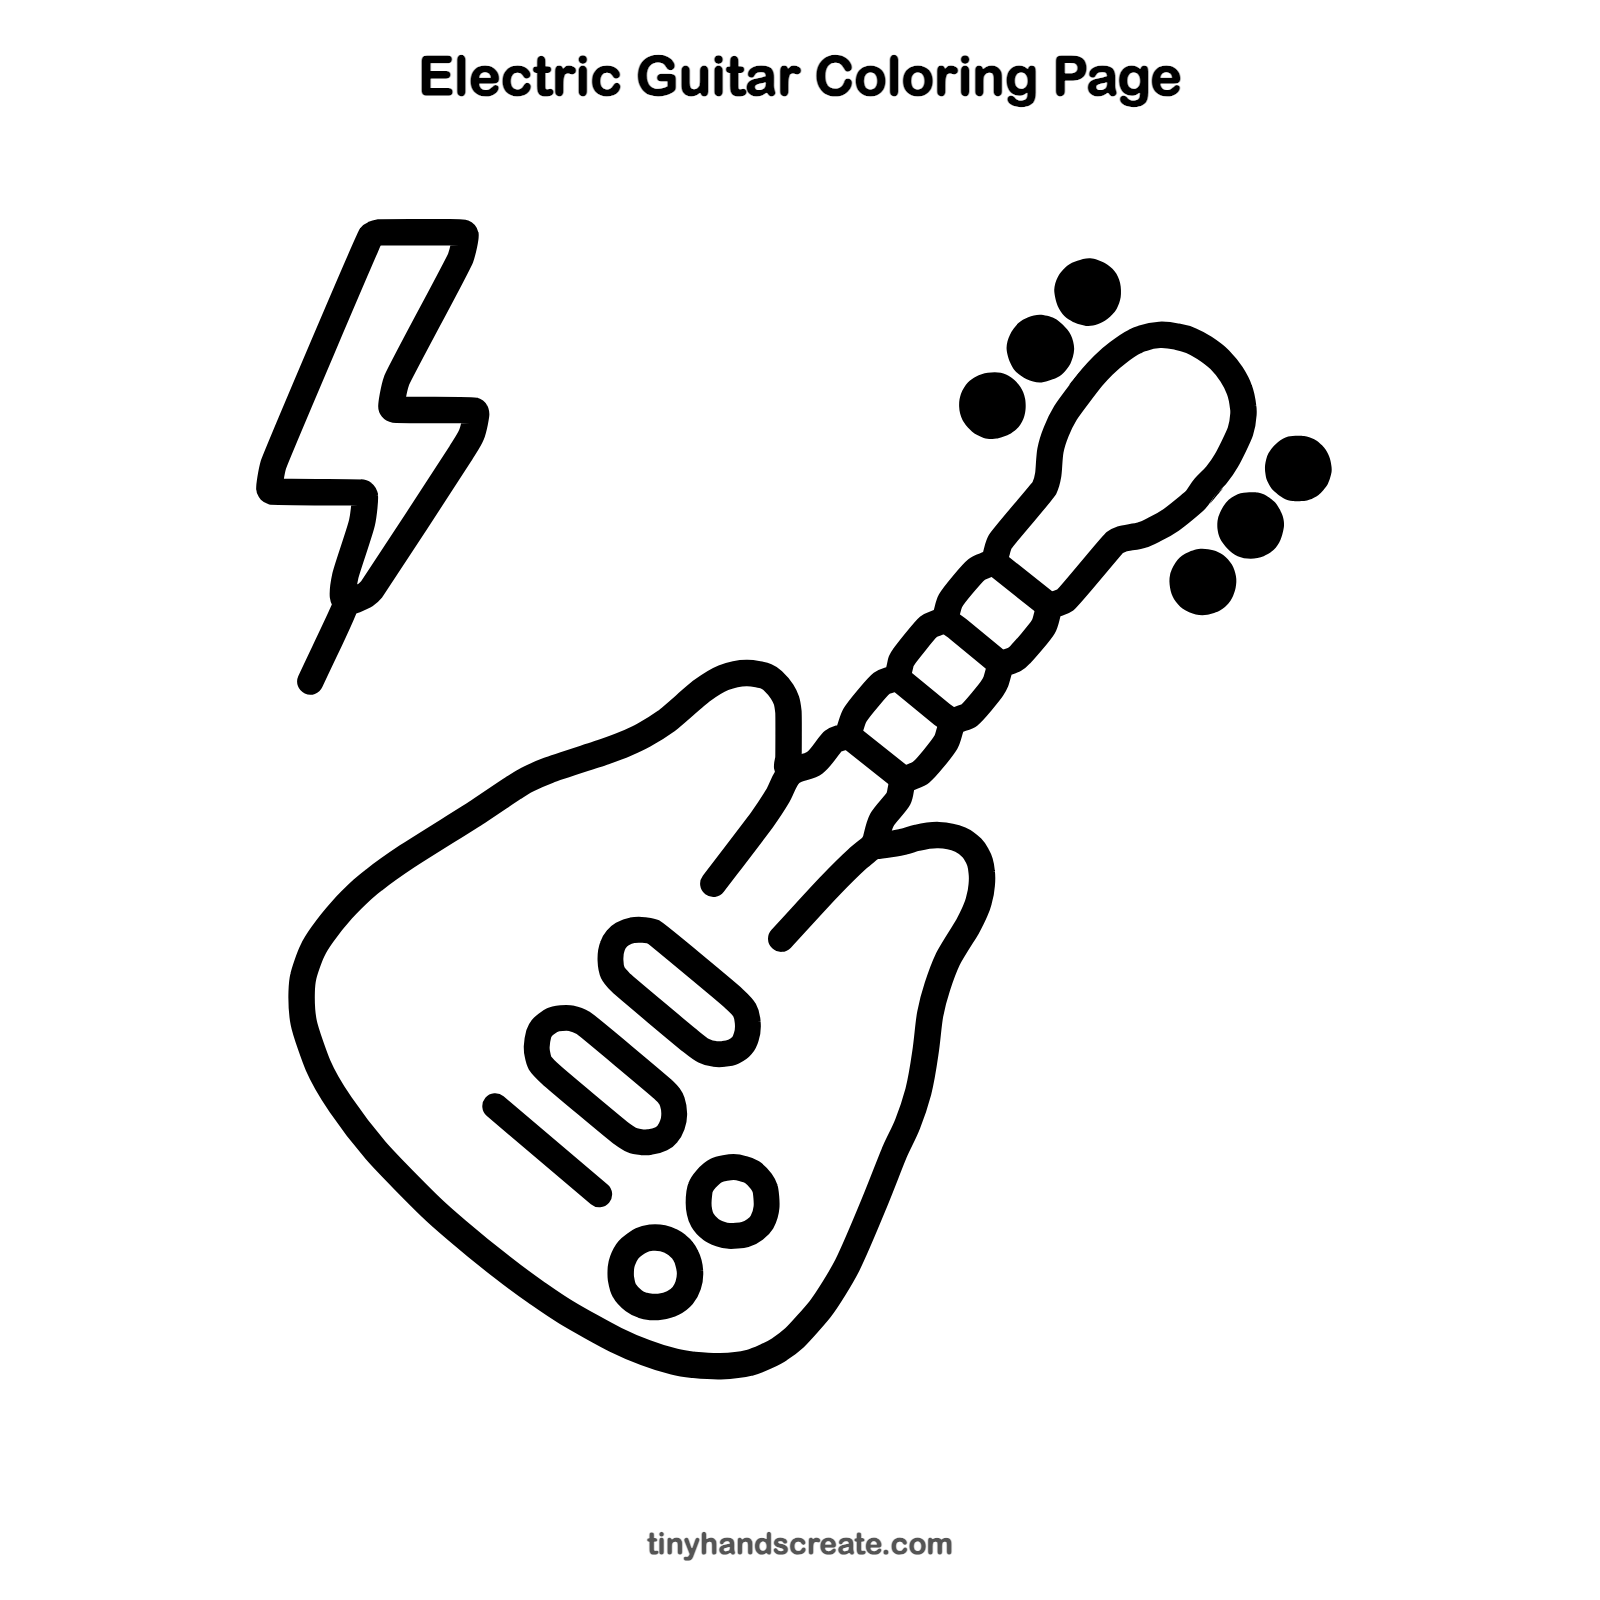
Want to go straight to coloring? Open this electric guitar coloring page at full size and print it. It is the same drawing you just learned, with clean lines ready for crayons or markers.
How to color your electric guitar drawing
Try a bright red or sunny yellow body with a dark neck, and color the pegs and knobs silver or gold. For a creative twist, color the lightning bolt in rainbow stripes.
Electric guitar fun fact for kids
Electric guitars make sound with pickups, which are magnets wrapped in thin wire. They turn the shaking of the metal strings into an electrical signal that an amplifier makes louder.
Questions about drawing an electric guitar
What shapes do I need to draw an electric guitar?
You need a rounded pear shape for the body, two long slanted lines for the neck, and a paddle shape for the top. Small circles and capsule shapes finish the pegs, pickups, and knobs.
How do I make the neck look straight?
Draw it lightly first with a ruler or the edge of a book, then trace over it with your marker. Make sure both lines tilt the same way.
How can I make my guitar look more exciting?
Add a lightning bolt, some music notes, or stars around it. You can also decorate the body with stripes, flames, or your favorite colors.