How to Draw a Dollhouse (Easy Step by Step)
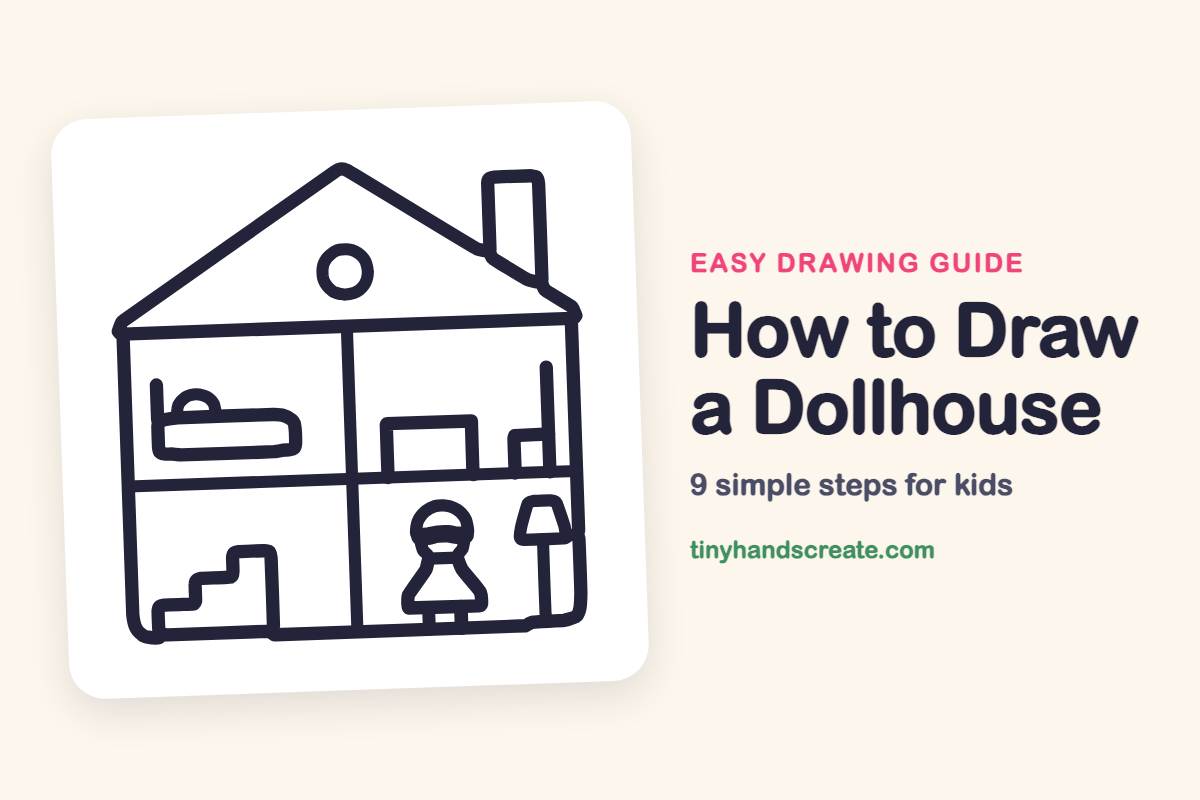
A dollhouse is fun to draw because you get to design every room yourself. This one is built from rectangles, a triangle roof, and a few circles. Once the box is drawn, you can fill the rooms with whatever furniture you like.
- Easy
- 15 minutes
- 9 steps
You need: paper, a pencil, an eraser, and crayons or markers for coloring.
Start drawingIn this article (7 sections)
How to draw a dollhouse step by step
How to Draw a Dollhouse · tinyhandscreate.com
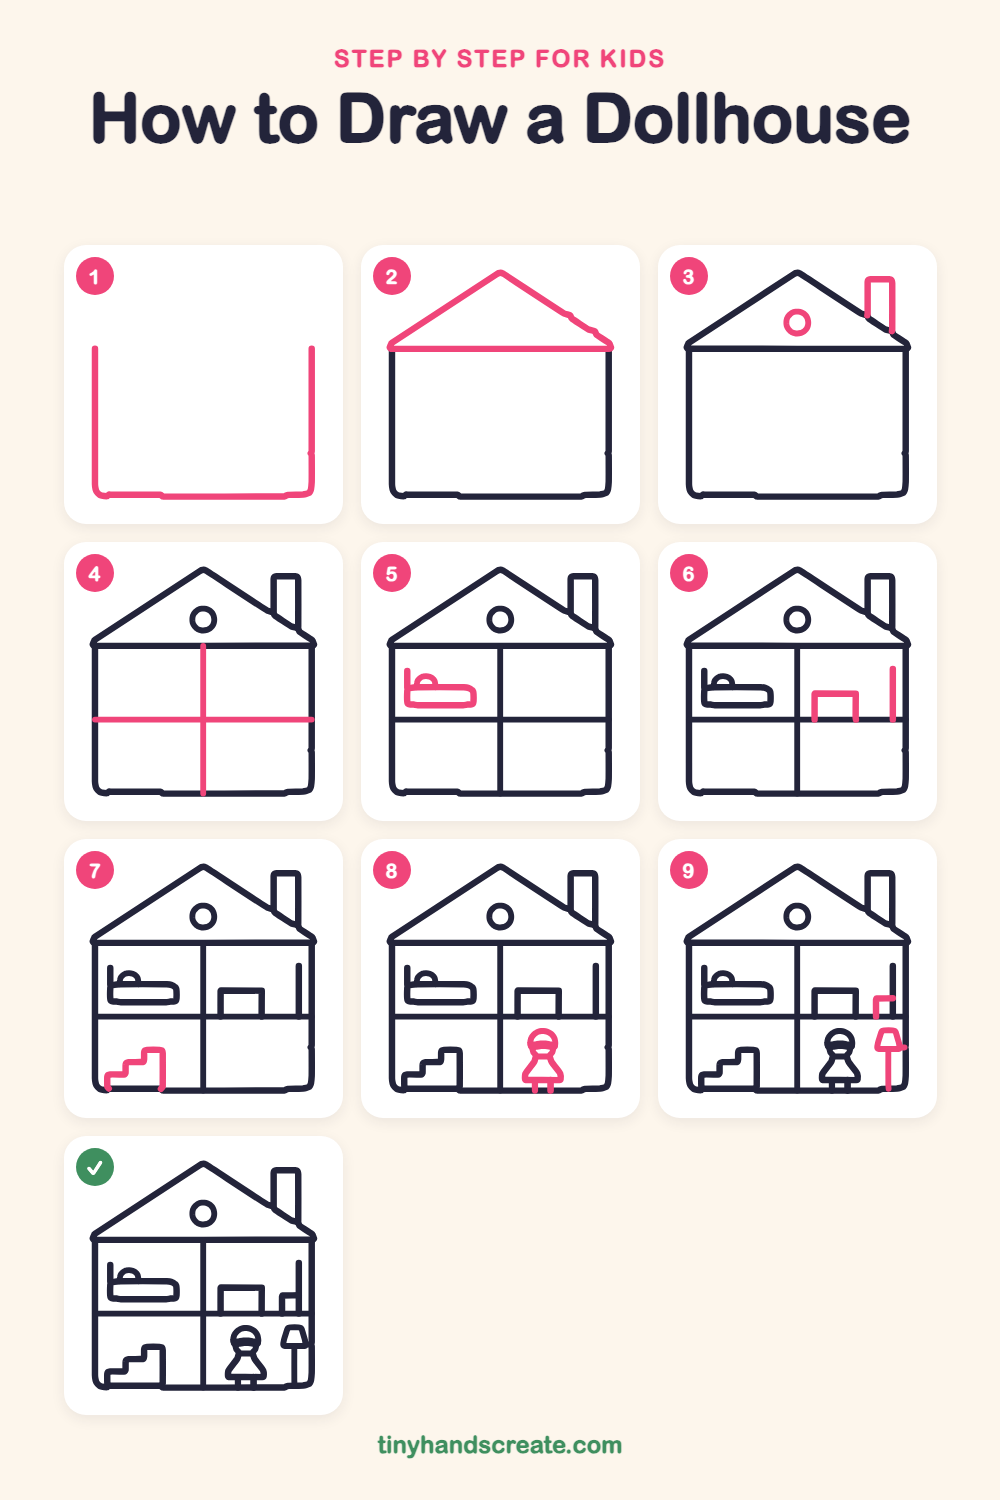
Step 1: Walls and floor
Draw two tall lines going down, then join them with a flat line at the bottom. Round the two bottom corners a little so it looks like a big tall U.
Step 2: Ceiling and roof
Draw a straight line across the top of the walls, a little wider than the walls on both sides. Then draw a big triangle on top of that line, with the point in the middle.
Step 3: Chimney and round window
On the right side of the roof, draw a tall thin rectangle with no bottom line for the chimney. Then draw a small circle in the middle of the roof triangle for the window.
Step 4: Dividing lines
Draw one straight line from the ceiling down to the floor in the middle of the house. Then draw one straight line across from the left wall to the right wall to make four rooms.
Step 5: The bed
In the top left room, draw a long rounded rectangle for the bed. Add a tall post at the left end and a small half circle on top for the pillow.
Step 6: Table and chair back
In the top right room, draw a table: a flat top with two legs that stand on the floor line. Then draw a tall straight line near the right wall for the back of a chair.
Step 7: The stairs
In the bottom left room, draw steps going up like a staircase. Start at the bottom left and make each step a little higher, ending with a tall line down to the floor.
Step 8: The doll
In the bottom right room, draw a small circle for the doll's head with a short line across it for a headband. Add a triangle dress below it and two little legs at the bottom.
Step 9: Lamp and chair seat
Next to the doll, draw a small shade that is narrow at the top and wider at the bottom, then a tall thin pole down to the floor. In the room above, add a small seat sticking out from the chair back.
All done!
Go over your lines with a marker, then color it in.
Finished your dollhouse? Keep the pencils out and learn how to draw a puzzle cube or how to draw a fidget spinner next.
Tips for drawing a dollhouse
- Draw the two middle lines after the walls and roof are done, so the four rooms come out as nice even boxes.
- The stairs are the trickiest part. Make each step the same width and a little higher than the last, like a staircase going up.
- Draw the doll's head first, then the triangle dress right underneath it so they line up.
Free dollhouse coloring page
Want to go straight to coloring? Open this dollhouse coloring page at full size and print it. It is the same drawing you just learned, with clean lines ready for crayons or markers.
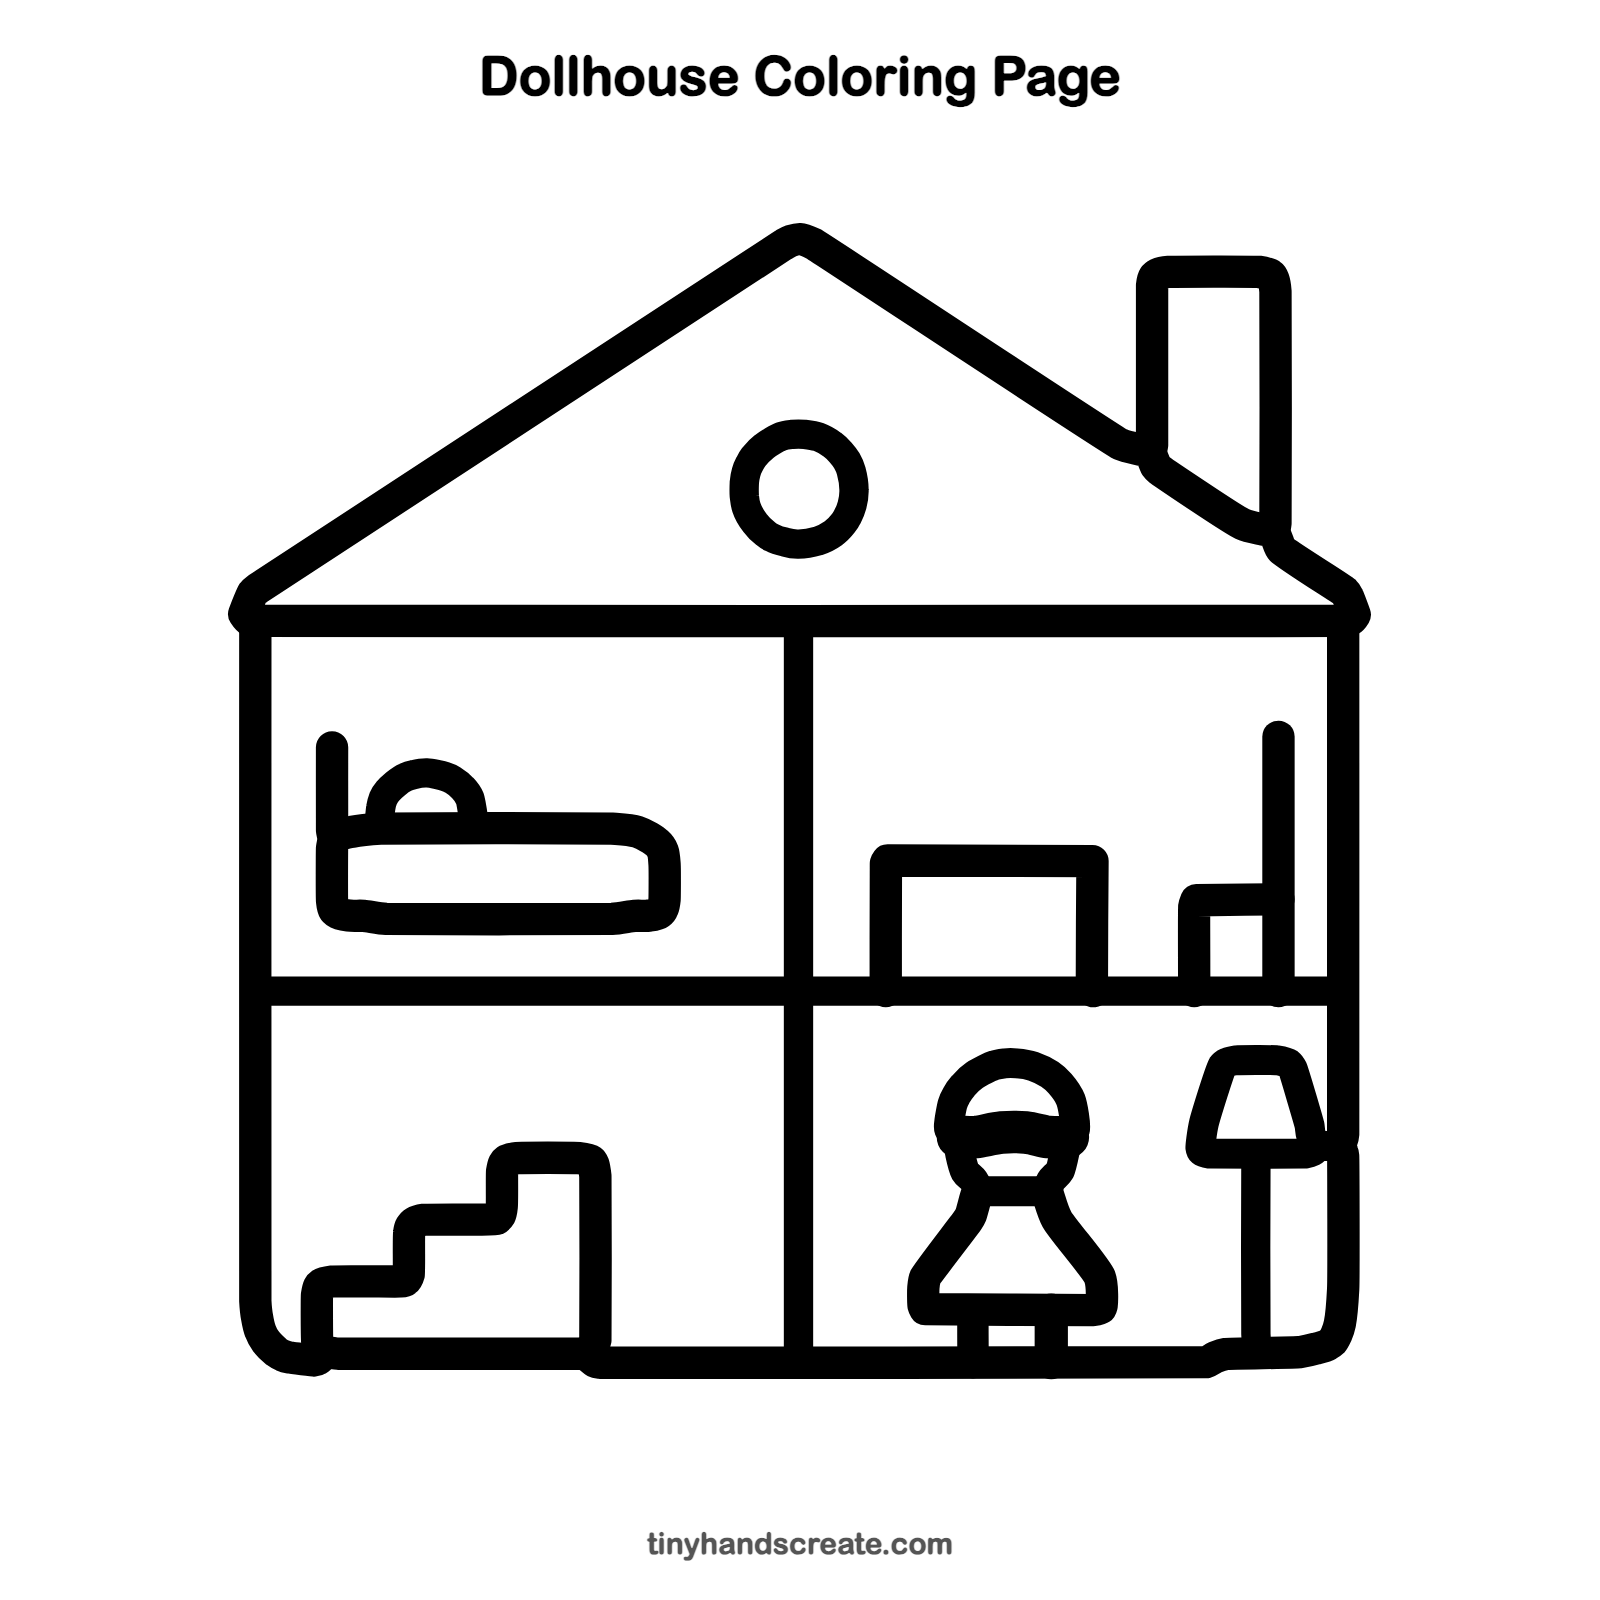
How to color your dollhouse drawing
Try a red roof, blue walls, and a different color for each room. For a creative twist, draw a pet cat sleeping on the bed or on the stairs.
Dollhouse fun fact for kids
People have been making dollhouses for hundreds of years. The first ones in Europe were called baby houses, and they were built to show off fancy furniture, not just for playing.
Questions about drawing a dollhouse
What shapes do I need to draw a dollhouse?
You need a tall rectangle shape for the walls, a triangle for the roof, and a thin rectangle for the chimney. Circles make the window and the doll's head, and a few more rectangles make the furniture.
How do I make my dollhouse look cuter?
Add little details like a rug, a picture on the wall, or smoke curling out of the chimney. Coloring each room a different color also makes the whole house feel friendly.
How can I show the rooms inside the house?
Draw the house as if the front wall has been taken away. Add a line down the middle and one across, and you get four rooms you can fill with furniture.