How to Draw a Peace Sign (Easy Step by Step)
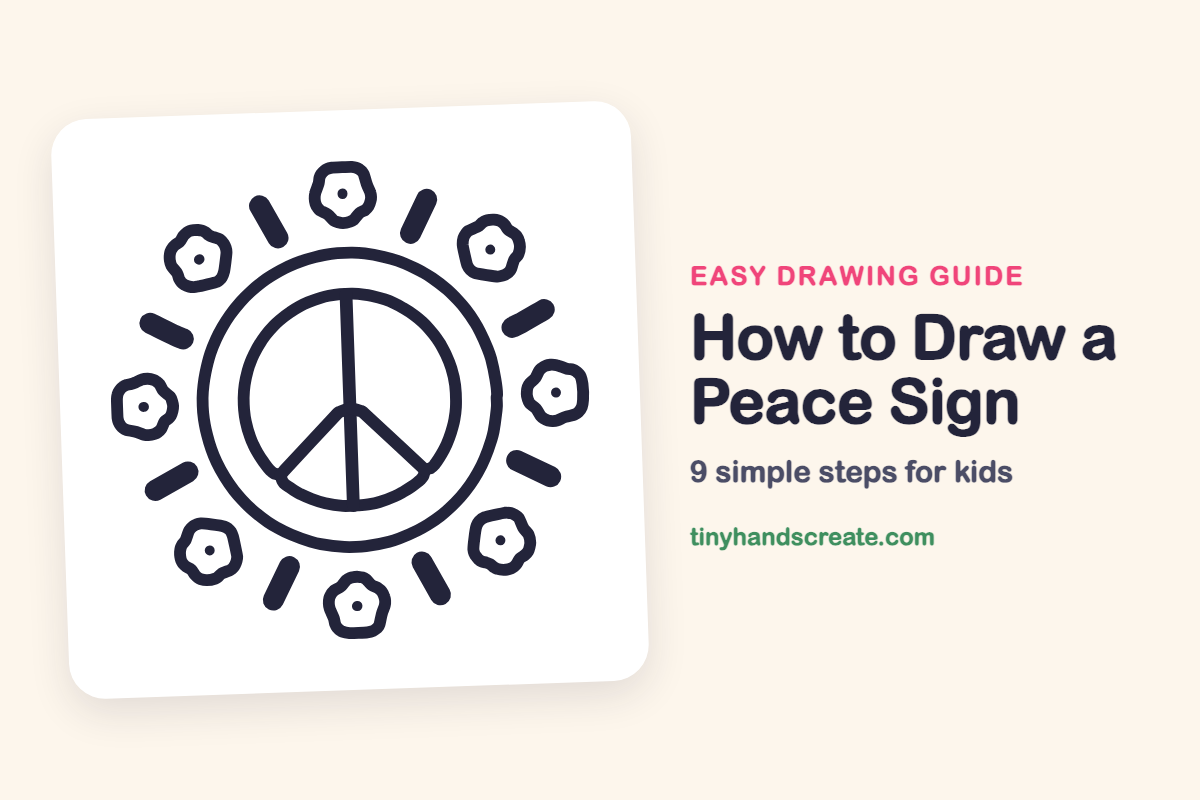
This peace sign is built from two circles, three straight lines, and a ring of little flowers and short dashes. It looks fancy, but every part is a simple shape you already know. Drawing it slowly is a calm, happy way to spend a rainy afternoon.
- Easy
- 15 minutes
- 9 steps
You need: paper, a pencil, an eraser, and crayons or markers for coloring.
Start drawingIn this article (7 sections)
How to draw a peace sign step by step
How to Draw a Peace Sign · tinyhandscreate.com
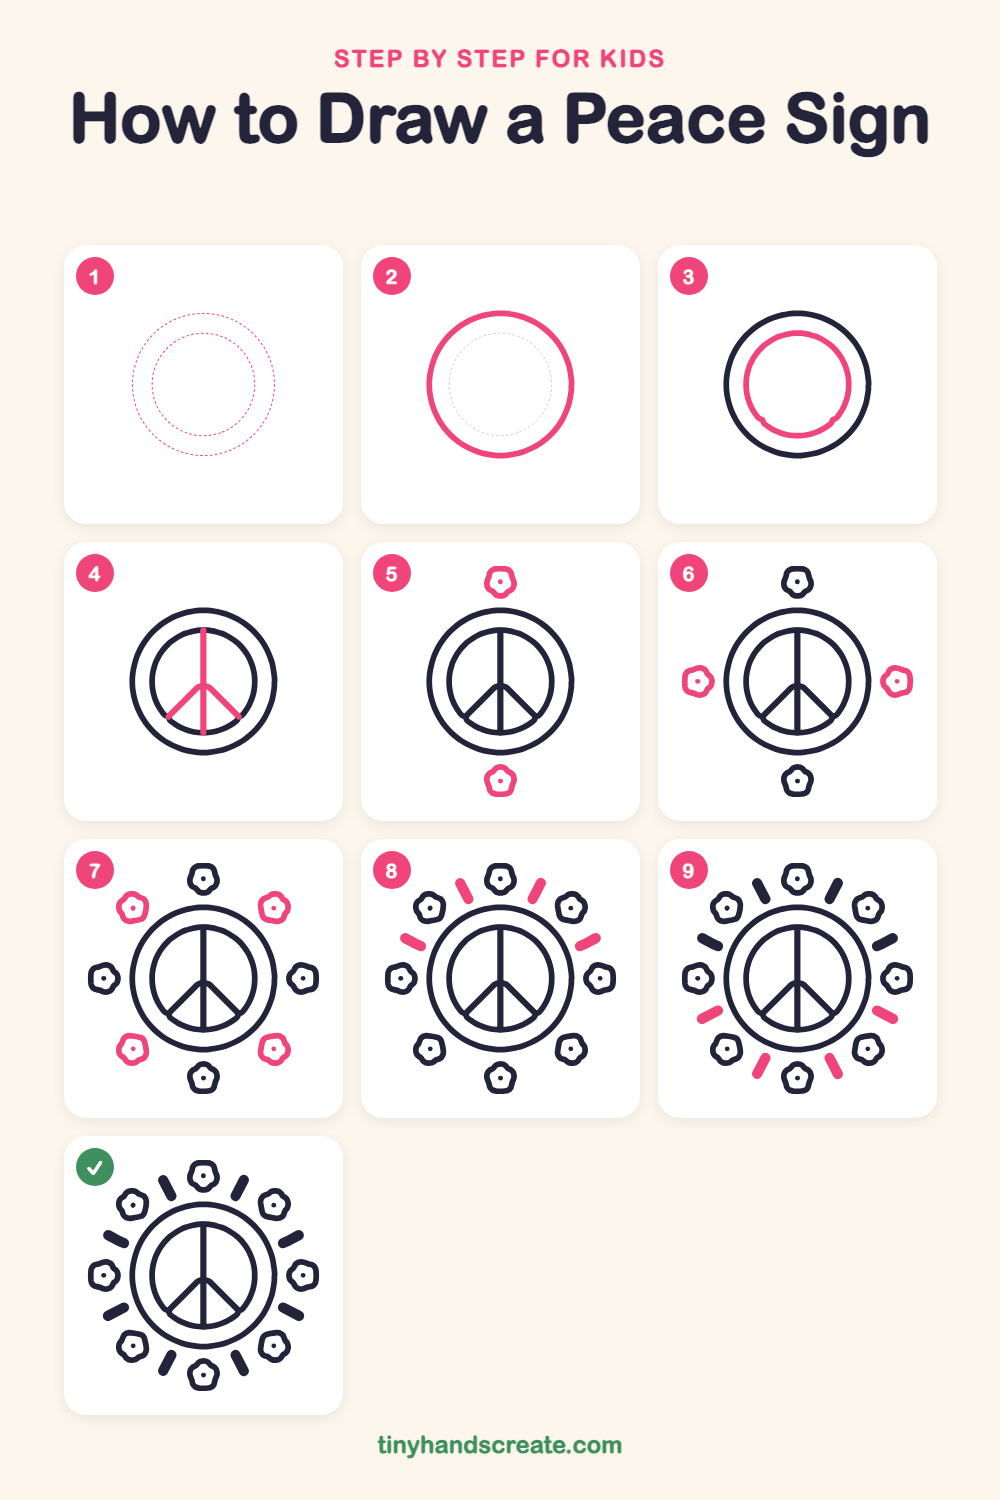
Step 1: Guide shapes
Lightly sketch these 2 ovals. They only show where the big parts go, so press softly. You will erase them at the end.
Step 2: The big outer ring
Draw a large circle in the middle of your page. Take your time and go all the way around until the ends meet.
Step 3: The inner circle
Draw a smaller circle inside the big ring, leaving an even gap all the way around, like a bagel.
Step 4: The peace lines
Draw one straight line from the top of the inner circle down to the bottom. Then draw two slanted lines that start in the middle of that line and go down to the left and the right, ending at the circle.
Step 5: Top and bottom flowers
Draw a small bumpy flower shape like a rounded cloud with five bumps above the ring and another below it. Add a small dot in the center of each.
Step 6: Side flowers
Draw two more small bumpy flowers, one on the far left and one on the far right of the ring. Put a little dot in the middle of each one.
Step 7: Corner flowers
Draw four flowers in the corners, up top left and right and down below left and right. Give each one five soft bumps and a dot in the center.
Step 8: Upper dashes
Draw four short, slanted dashes in the gaps between the flowers on the top half of the ring. Tilt each one so it points toward the center of the ring.
Step 9: Lower dashes
Draw four more short, slanted dashes in the gaps between the flowers on the bottom half. Tilt them to match the dashes above.
All done!
Erase the guide shapes, go over your lines, then color it in.
Finished your peace sign? Keep the pencils out and learn how to draw a thumbs up or how to draw a ball of yarn next.
Tips for drawing a peace sign
- Draw the two circles lightly first. If the outer ring wobbles, the inner circle can still look neat when it sits in the middle.
- The slanted lines are the trickiest part. Start each one at the middle of the long line and draw outward, so both sides match.
- Place the flowers like clock numbers: one at the top, one at the bottom, one on each side. Then fill the four corners and add the dashes in the gaps.
Free peace sign coloring page
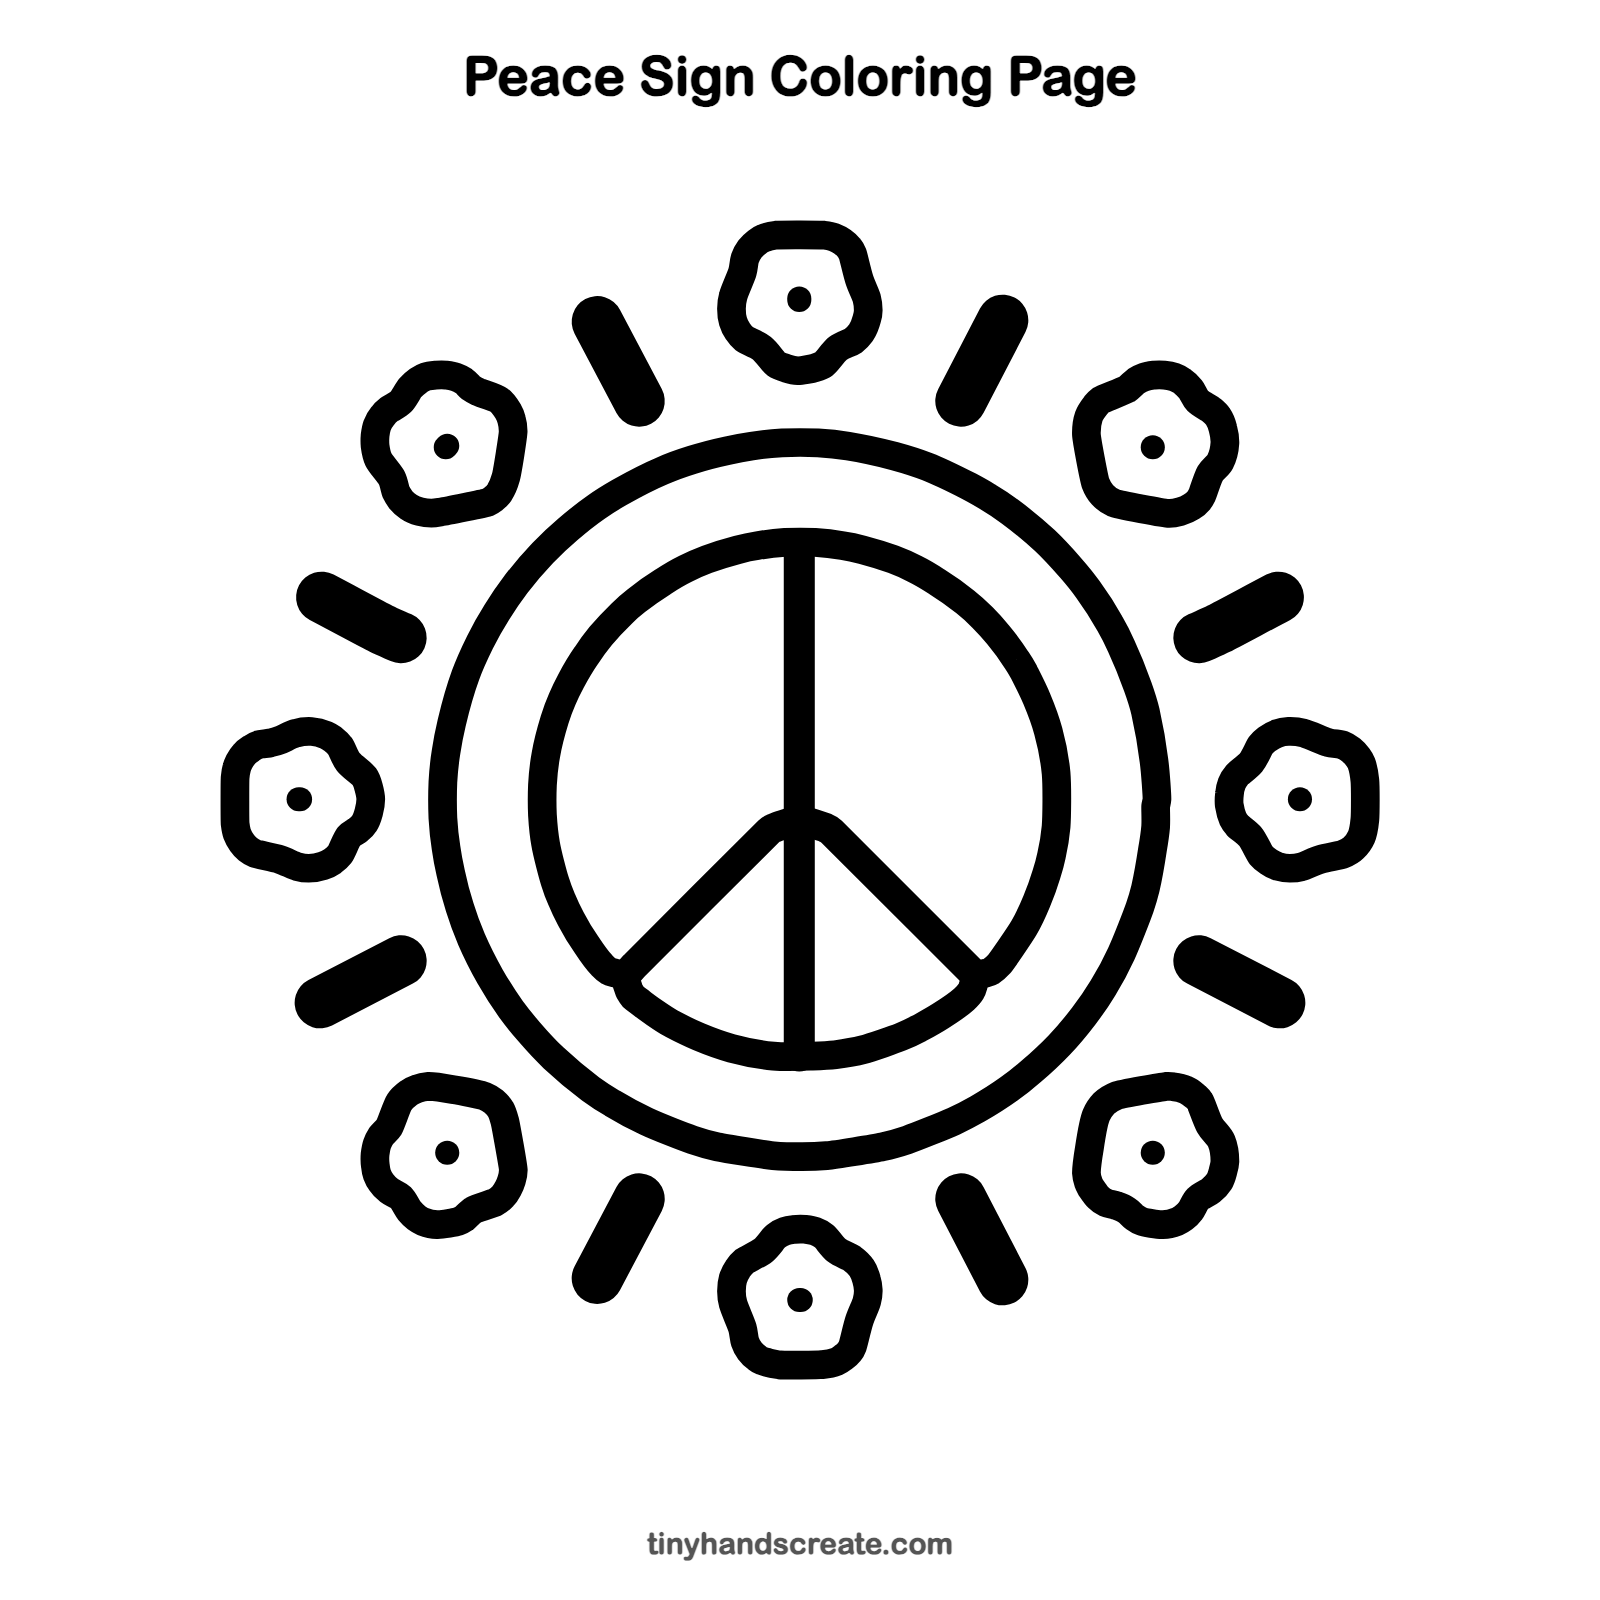
Want to go straight to coloring? Open this peace sign coloring page at full size and print it. It is the same drawing you just learned, with clean lines ready for crayons or markers.
How to color your peace sign drawing
Try a rainbow in the flowers, with a calm blue or green for the circles. For a creative twist, give every flower a different color center and make the dashes green.
Peace sign fun fact for kids
The peace symbol was designed in 1958 for a peace march in England. Its shape combines the flag signals for the letters N and D, which stand for nuclear disarmament.
Questions about drawing a peace sign
What shapes do I need to draw a peace sign?
You need two circles and three straight lines. The flowers are small rounded blobs with five bumps and a dot, and the dashes are short slanted lines.
How do I draw a perfect circle?
Trace around a cup or a lid with a pencil. You can also draw a light oval first and fix the shape as you go.
How do I make my peace sign look cuter?
Add more flowers and dashes around the ring, and color each one in bright, happy colors. Little dots in the flower centers make it look extra sweet.