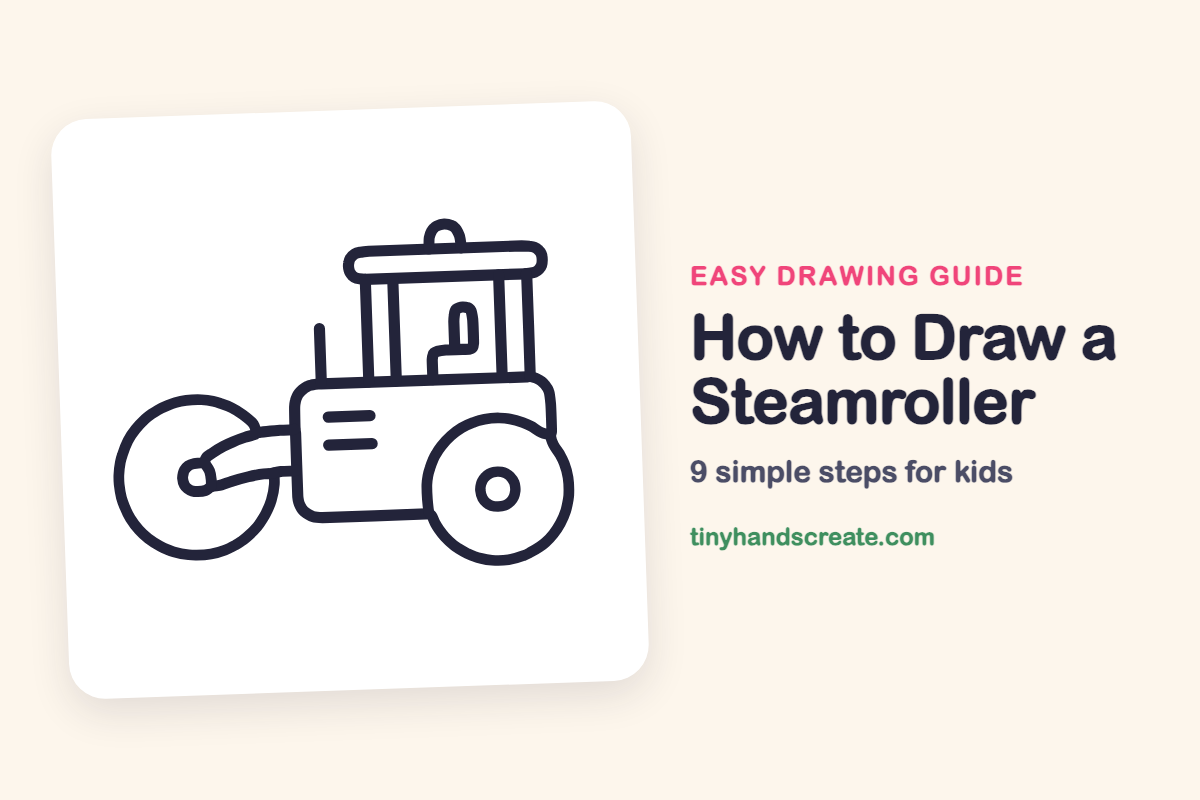
How to Draw a Steamroller (Easy Step by Step)
A steamroller is a friendly machine that is easy to build from basic shapes. You will use two circles for the wheels, a rounded rectangle for the body, and a few straight lines for the cab. It is a great drawing for practicing round shapes and steady lines.
- Medium
- 15 minutes
- 9 steps
You need: paper, a pencil, an eraser, and crayons or markers for coloring.
Start drawingIn this article (7 sections)
How to draw a steamroller step by step
How to Draw a Steamroller · tinyhandscreate.com
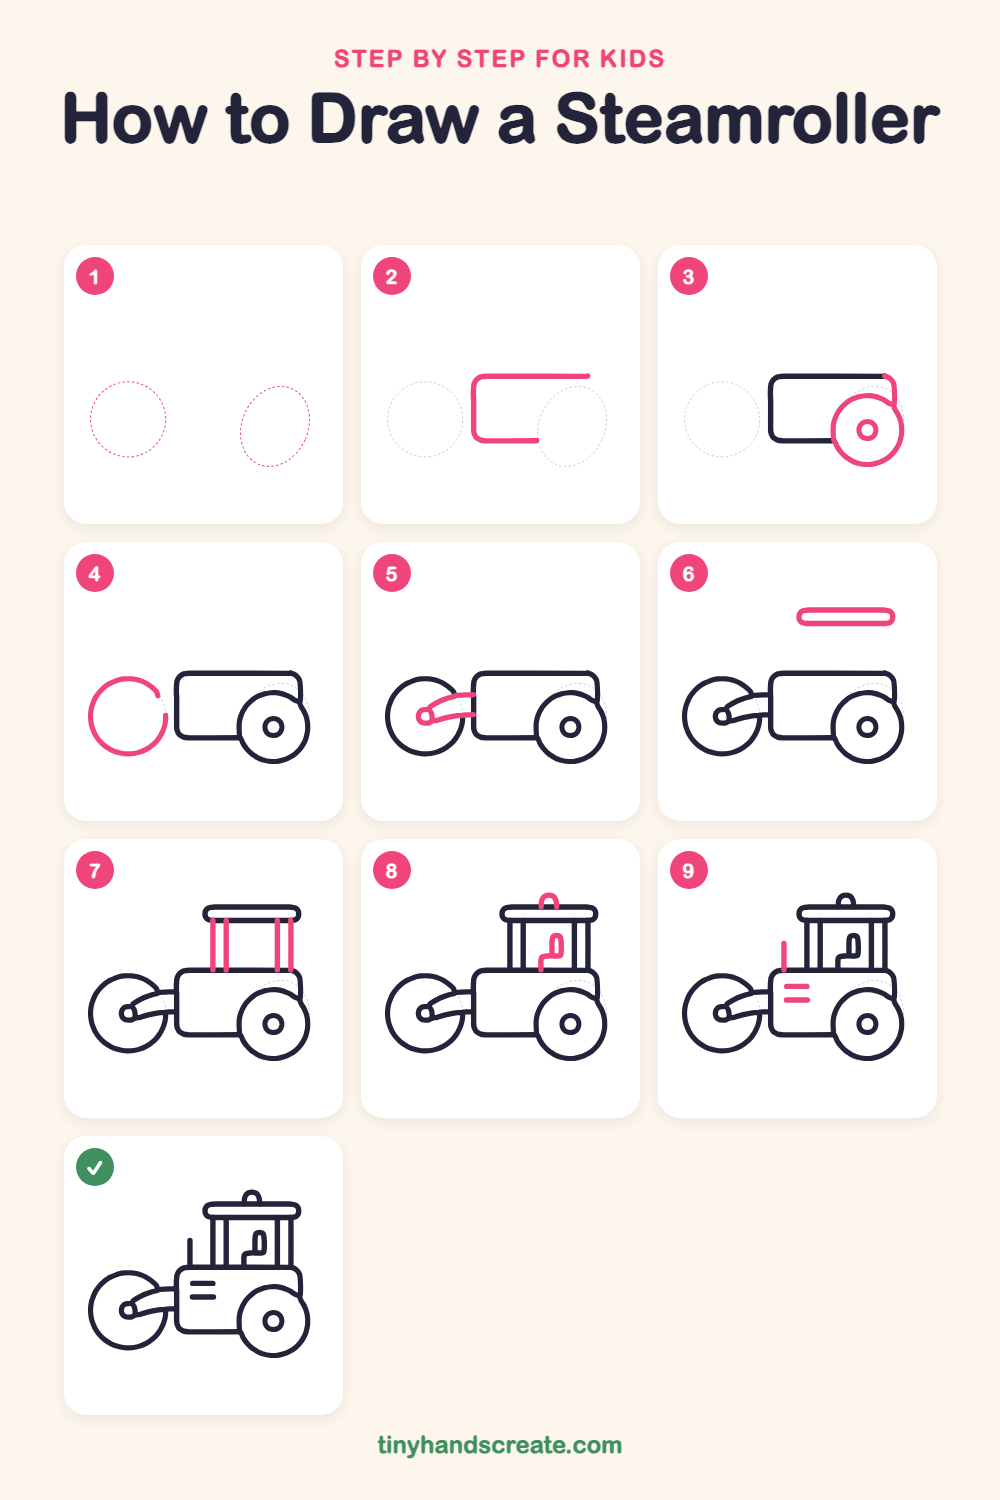
Step 1: Guide shapes
Lightly sketch these 2 ovals. They only show where the big parts go, so press softly. You will erase them at the end.
Step 2: The body
Draw a big rounded rectangle for the main body of the steamroller, with softly curved corners. Leave the right side open for the big wheel to tuck in.
Step 3: The big back wheel
Draw a large circle overlapping the right end of the body. Add a small circle in its middle for the hub, then finish the top right corner of the body behind the wheel.
Step 4: The front roller
On the left, draw a big circle for the heavy roller that flattens the road. Make it about the same size as the back wheel, and leave a small gap on its right side.
Step 5: The roller arm
Draw two curved lines from the left side of the body out to the middle of the roller. Join them at the end with a small loop for the axle.
Step 6: The cab roof
Above the body, draw a long, flat pill shape for the roof, like a stretched rounded rectangle.
Step 7: The cab posts
Draw four tall straight lines from the roof down to the top of the body, two near each end. They hold the roof up and make the cab frame.
Step 8: Seat and light
Inside the cab, draw a seat shaped like a tall letter L with a rounded back. On top of the roof, add a small half circle for the flashing light.
Step 9: Lever and body lines
Draw a tall thin straight line rising from the top of the body, left of the cab, for the steering lever. Then add two short, straight dashes with rounded ends on the side of the body.
All done!
Erase the guide shapes, go over your lines, then color it in.
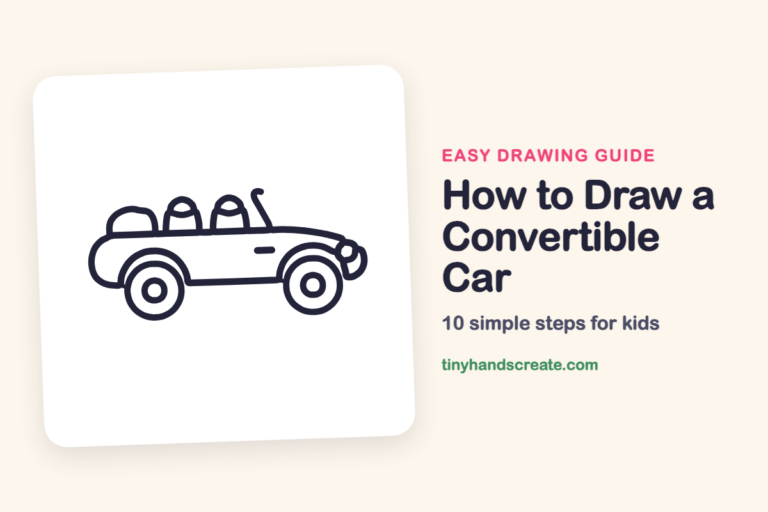
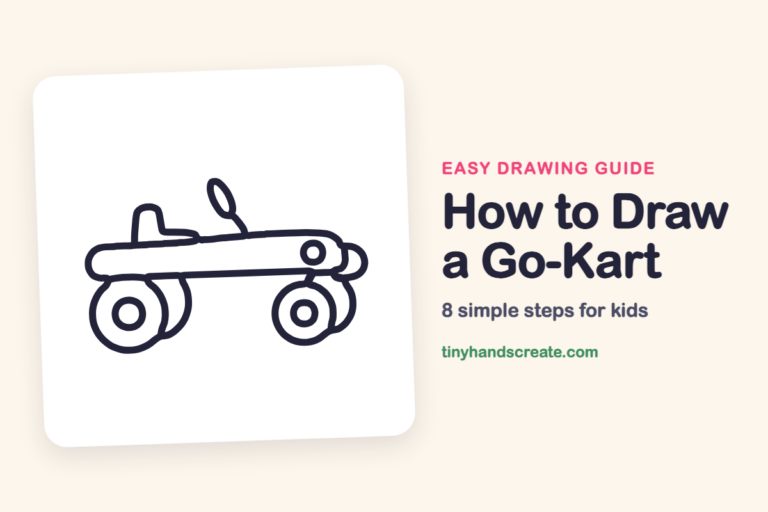
Finished your steamroller? Keep the pencils out and learn how to draw a convertible car or how to draw a go-kart next.
Tips for drawing a steamroller
- Draw both wheels before the cab. The front roller is the trickiest part, so make it a big circle and then connect it to the body with the arm.
- Use a ruler or the edge of a card for the four cab posts so they stand straight and match in height.
- Draw the roof as a long pill shape, like a stretched oval with flat top and bottom, so the cab looks sturdy.
Free steamroller coloring page
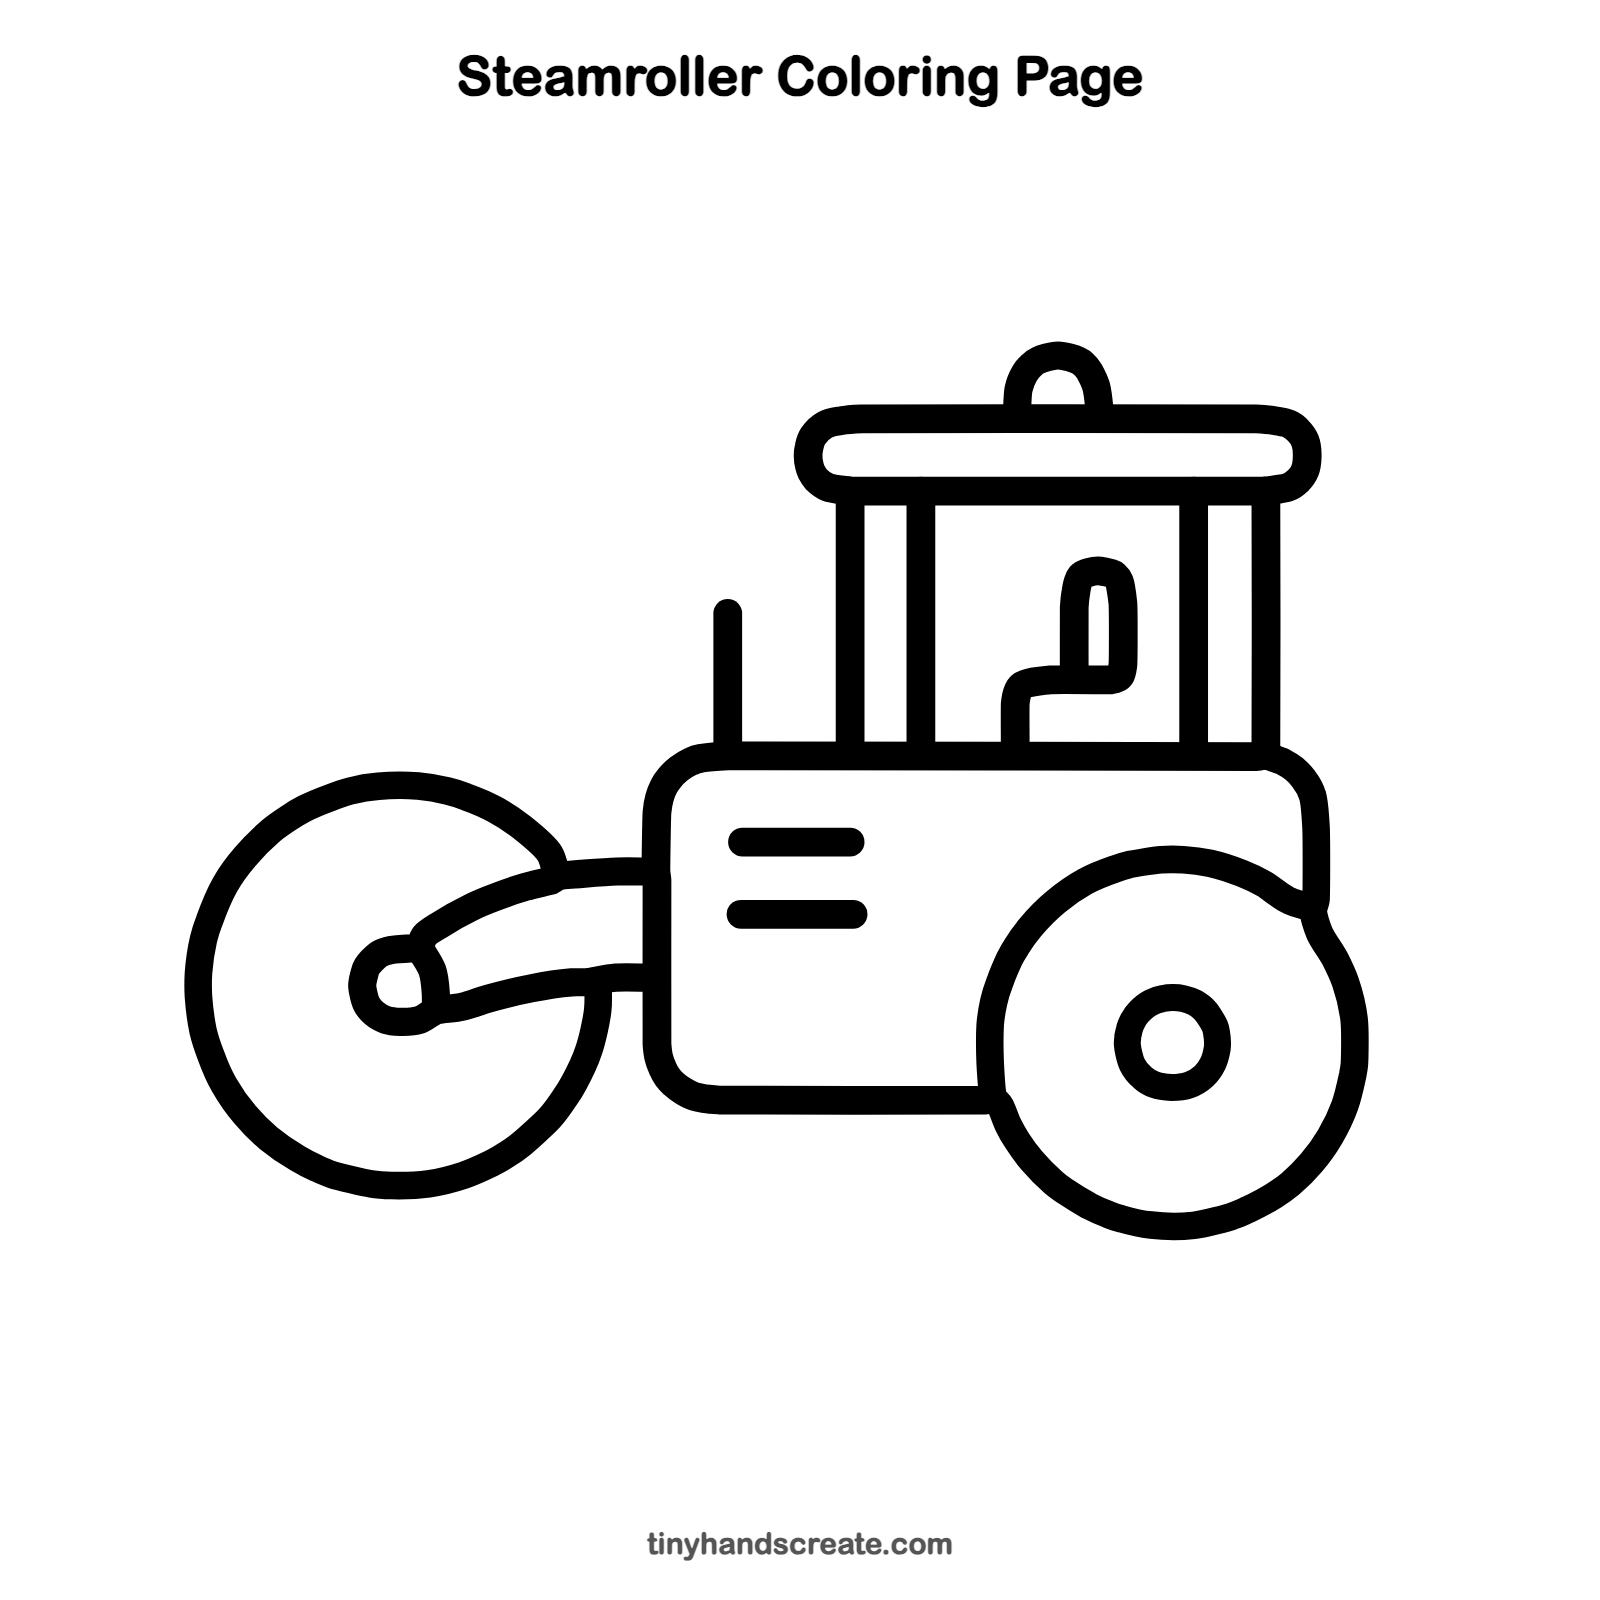
Want to go straight to coloring? Open this steamroller coloring page at full size and print it. It is the same drawing you just learned, with clean lines ready for crayons or markers.
How to color your steamroller drawing
Try bright yellow for the body and cab, with dark gray wheels and a red light on top. For a creative twist, draw a road under the wheels and color it smooth black.
Steamroller fun fact for kids
Steamrollers got their name because the first ones were powered by steam engines. Their heavy, smooth roller presses the road surface flat.
Questions about drawing a steamroller
What shapes do I need to draw a steamroller?
You need two circles for the wheels, a rounded rectangle for the body, a pill shape for the roof, and straight lines for the cab posts. A small half circle makes the light.
How do I make my steamroller wheels look round?
Sketch each wheel lightly first, turning the paper as you go if that helps. Trace over it when it looks round, or trace around a cup or lid.
How do I make my steamroller look like it is moving?
Draw a flat, straight road under the wheels, and a few short speed lines behind the machine. These extra lines are optional and not part of the steps.