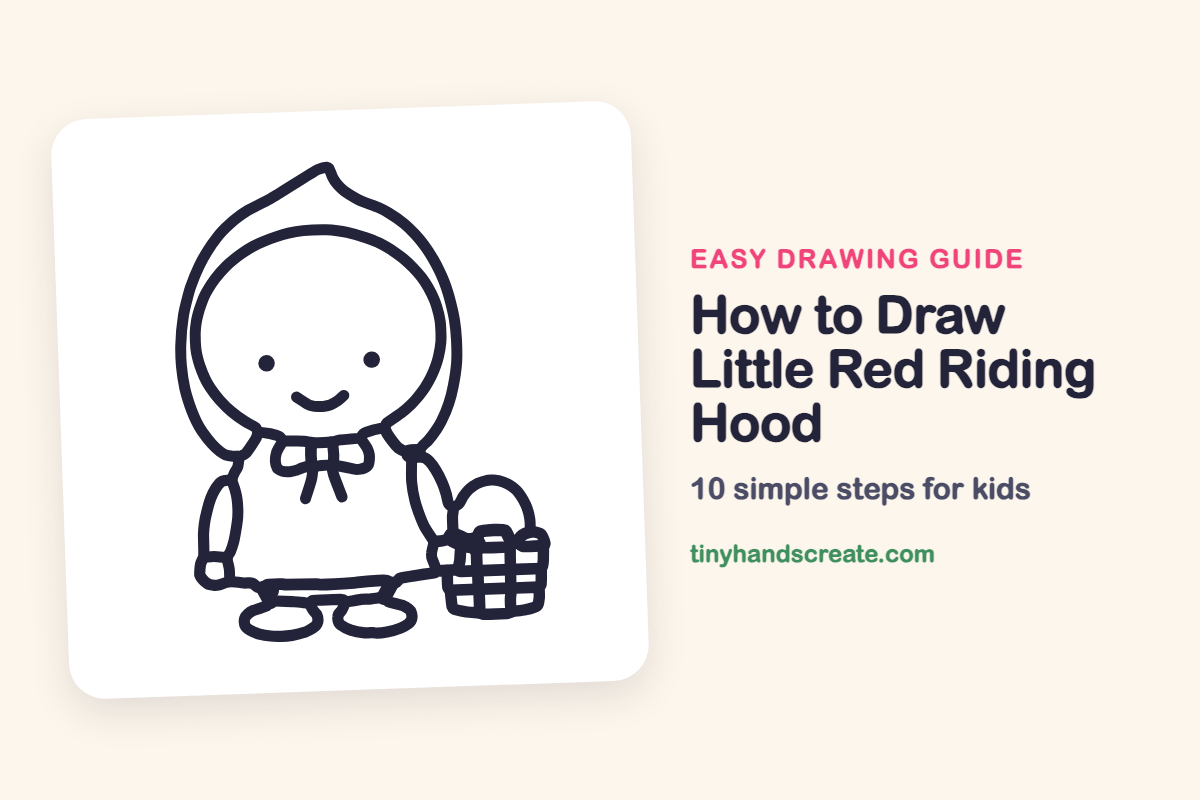
How to Draw Little Red Riding Hood (Easy Step by Step)
Little Red Riding Hood is a friendly character built from circles, ovals and a few simple curves. You start with a round face, wrap a pointed hood around it, add a bow and a dress hem, and finish with a little basket and shoes. Because the lines are simple and bold, it is a great first character for young artists.
- Easy
- 15 minutes
- 10 steps
You need: paper, a pencil, an eraser, and crayons or markers for coloring.
Start drawingIn this article (7 sections)
How to draw Little Red Riding Hood step by step
How to Draw Little Red Riding Hood · tinyhandscreate.com
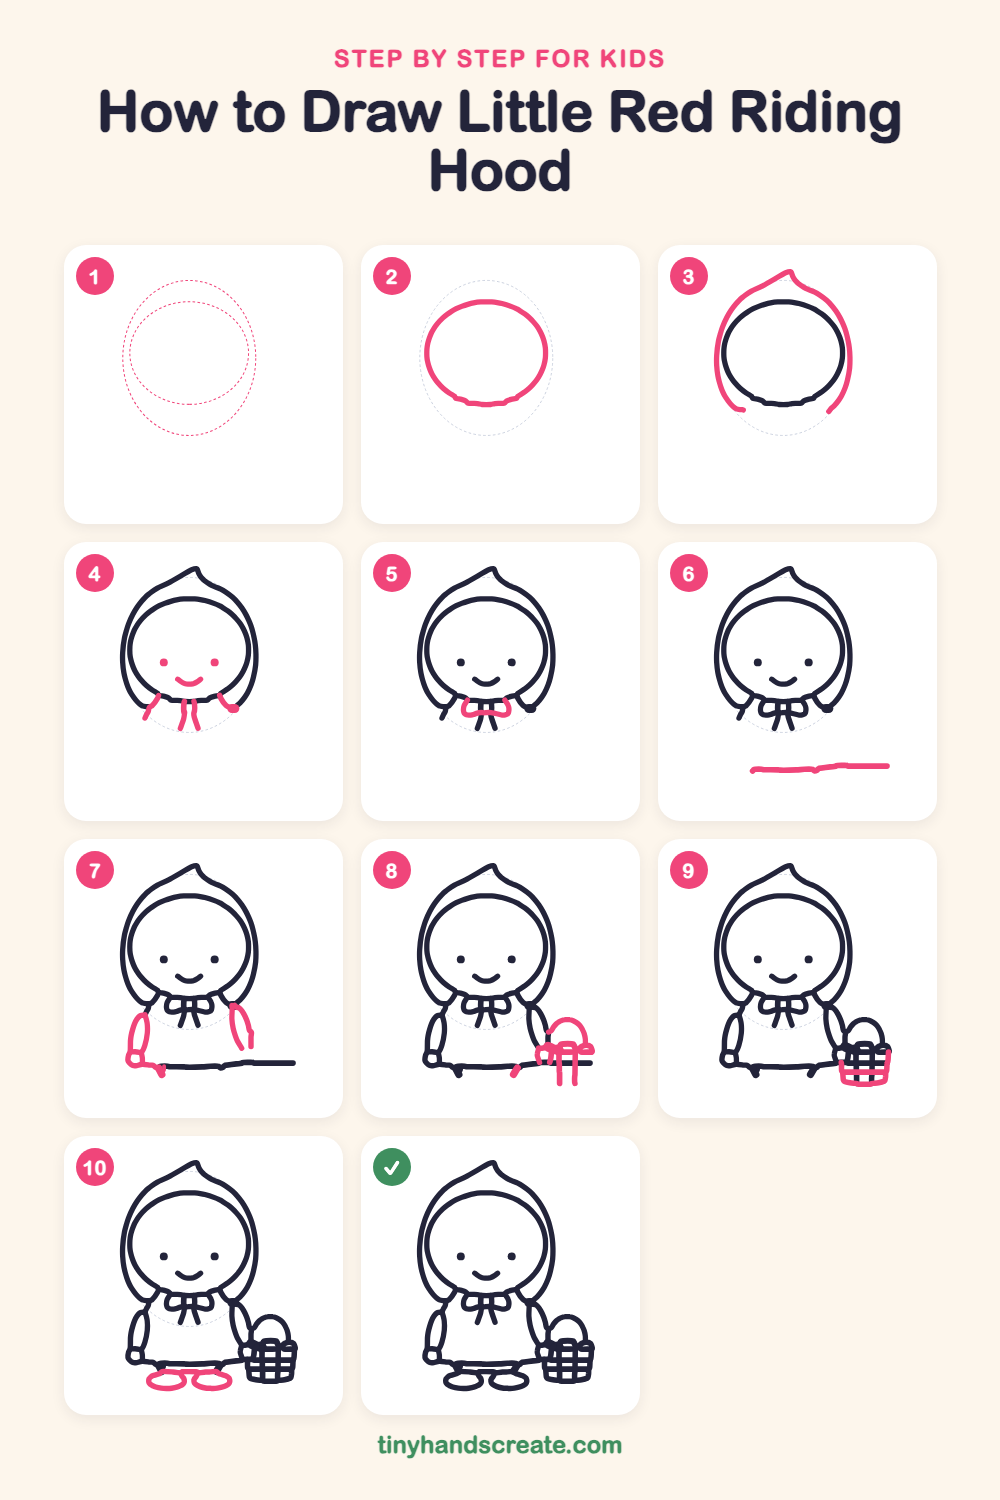
Step 1: Guide shapes
Lightly sketch these 2 ovals. They only show where the big parts go, so press softly. You will erase them at the end.
Step 2: The round face
Draw a big circle that is a little taller than it is wide. This is her face, so leave plenty of room around it for the hood.
Step 3: The pointed hood
Draw a big curve around the face that rises to a little point at the top. Let both sides sweep down past the cheeks and end near the bottom corners of the face.
Step 4: Face and bow tails
Add two small round dots for eyes in the middle of the face, and draw a little U-shaped smile below them. Then, under the chin, draw two short lines hanging down in the middle for ribbon tails and a short slanted line on each side for the collar.
Step 5: The bow
Right above the ribbon tails, draw a bow with two small loops, one on each side, that meet in the middle.
Step 6: The hem
Below the bow, draw one long, slightly wavy line going side to side. This is the bottom edge of her dress.
Step 7: Arms and hands
Draw a long, narrow oval hanging down on the left side, with a small circle at the bottom for a hand. On the right side, draw a narrower curved arm hanging down from the shoulder.
Step 8: Basket handle
Next to her right hand, draw a small arch for the basket handle. Draw a short wavy line across its bottom for the rim, and add a few short straight lines hanging down from it.
Step 9: Basket weave
Draw the basket's body as a box under the handle. Add a straight line across the middle and a few up-and-down lines to make the woven pattern.
Step 10: Little shoes
Under the dress, draw two flat ovals side by side for her shoes. Keep them about the same size.
All done!
Erase the guide shapes, go over your lines, then color it in.
Finished your Little Red Riding Hood? Keep the pencils out and learn how to draw Humpty Dumpty or how to draw a frog prince next.
Tips for drawing Little Red Riding Hood
- Draw the face circle first, then the hood around it. If you draw the hood first, it is hard to fit the face inside.
- The basket is the trickiest part. Draw the handle first, then the box, then add the straight lines for the weave one at a time.
- Keep the two shoes about the same size by drawing the first one, then matching the second one right beside it.
Free Little Red Riding Hood coloring page
Want to go straight to coloring? Open this Little Red Riding Hood coloring page at full size and print it. It is the same drawing you just learned, with clean lines ready for crayons or markers.
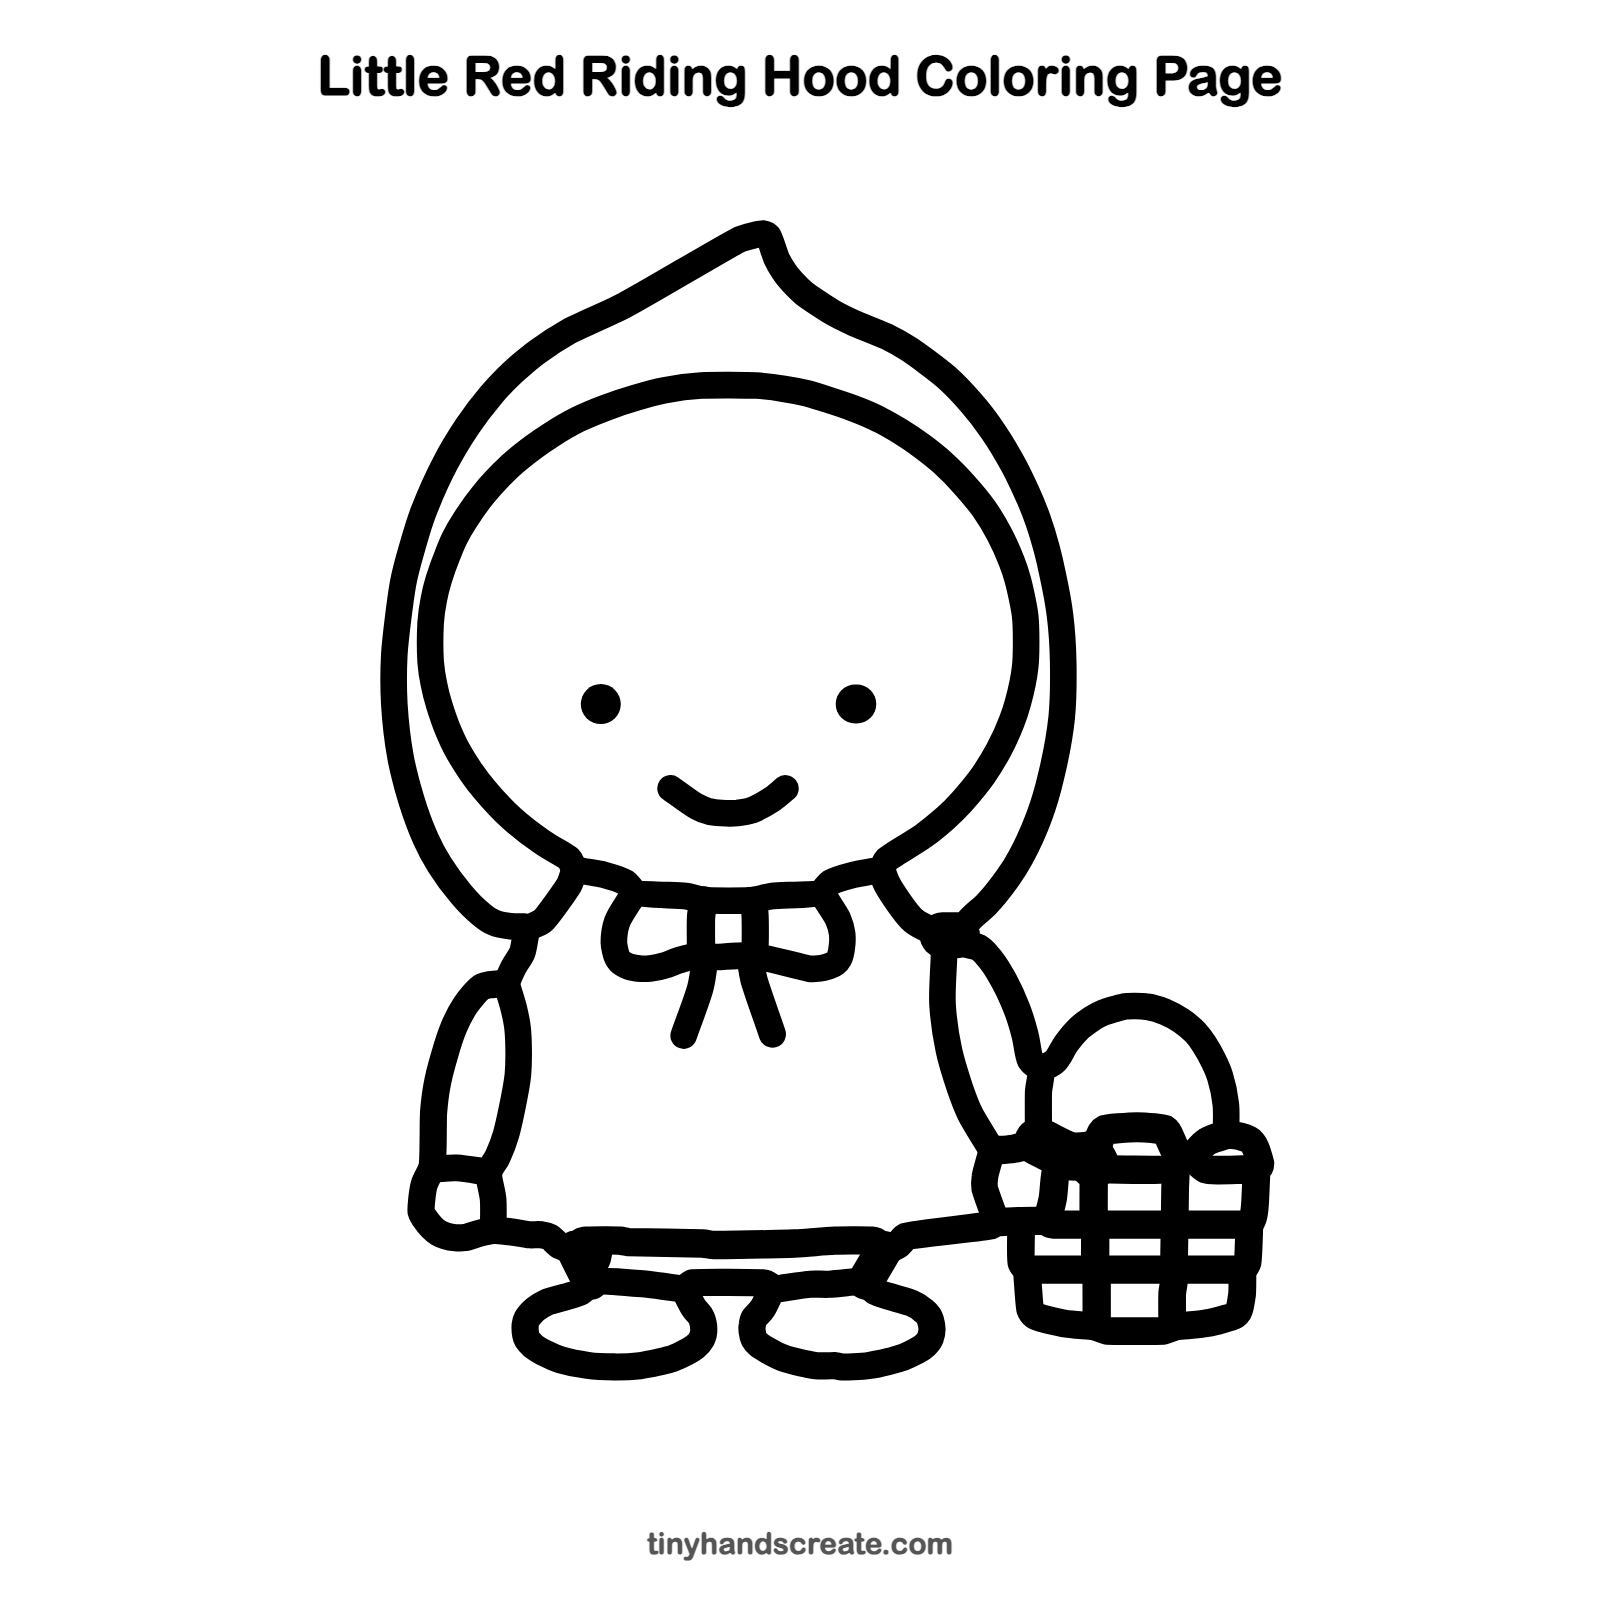
How to color your Little Red Riding Hood drawing
Color the hood a bright cherry red, the bow a deeper red, and the basket light brown. For a creative twist, color the dress white or blue and the shoes dark brown.
Little Red Riding Hood fun fact for kids
The story of Little Red Riding Hood is hundreds of years old. Charles Perrault published a version in France in 1697, and the Brothers Grimm included their version in a book of tales in 1812.
Questions about drawing Little Red Riding Hood
What shapes do I need to draw Little Red Riding Hood?
You need a big circle for the face, a pointed curve for the hood, long ovals for the arms, flat ovals for the shoes, and a box with an arch on top for the basket.
How do I make my Little Red Riding Hood look cuter?
Keep the eyes as small dots in the middle of the face and give her a gentle smile. A round face with a small bow makes her look extra sweet.
How do I draw the hood so it looks right?
Draw the face circle first, then draw a larger curve around it with a point at the top. Let both sides end near the bottom of the face so the hood looks wrapped around her.