How to Draw an Hourglass (Easy Step by Step)
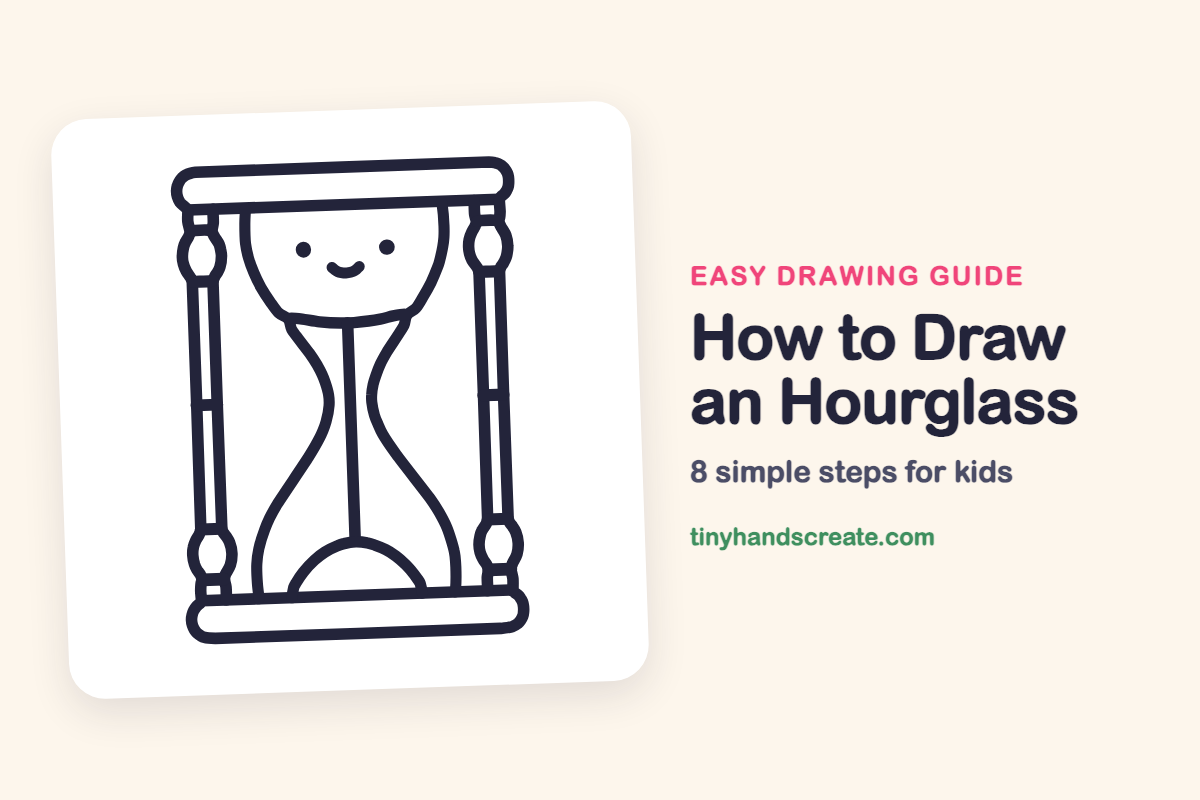
An hourglass is a great drawing for practicing matching shapes, because the left and right sides mirror each other. It is built from two flat bars, two curvy glass lines, and a few rounded beads on the side posts. This one has a smiling face, which makes it feel like a friendly clock.
- Medium
- 15 minutes
- 8 steps
You need: paper, a pencil, an eraser, and crayons or markers for coloring.
Start drawingIn this article (7 sections)
How to draw an hourglass step by step
How to Draw an Hourglass · tinyhandscreate.com
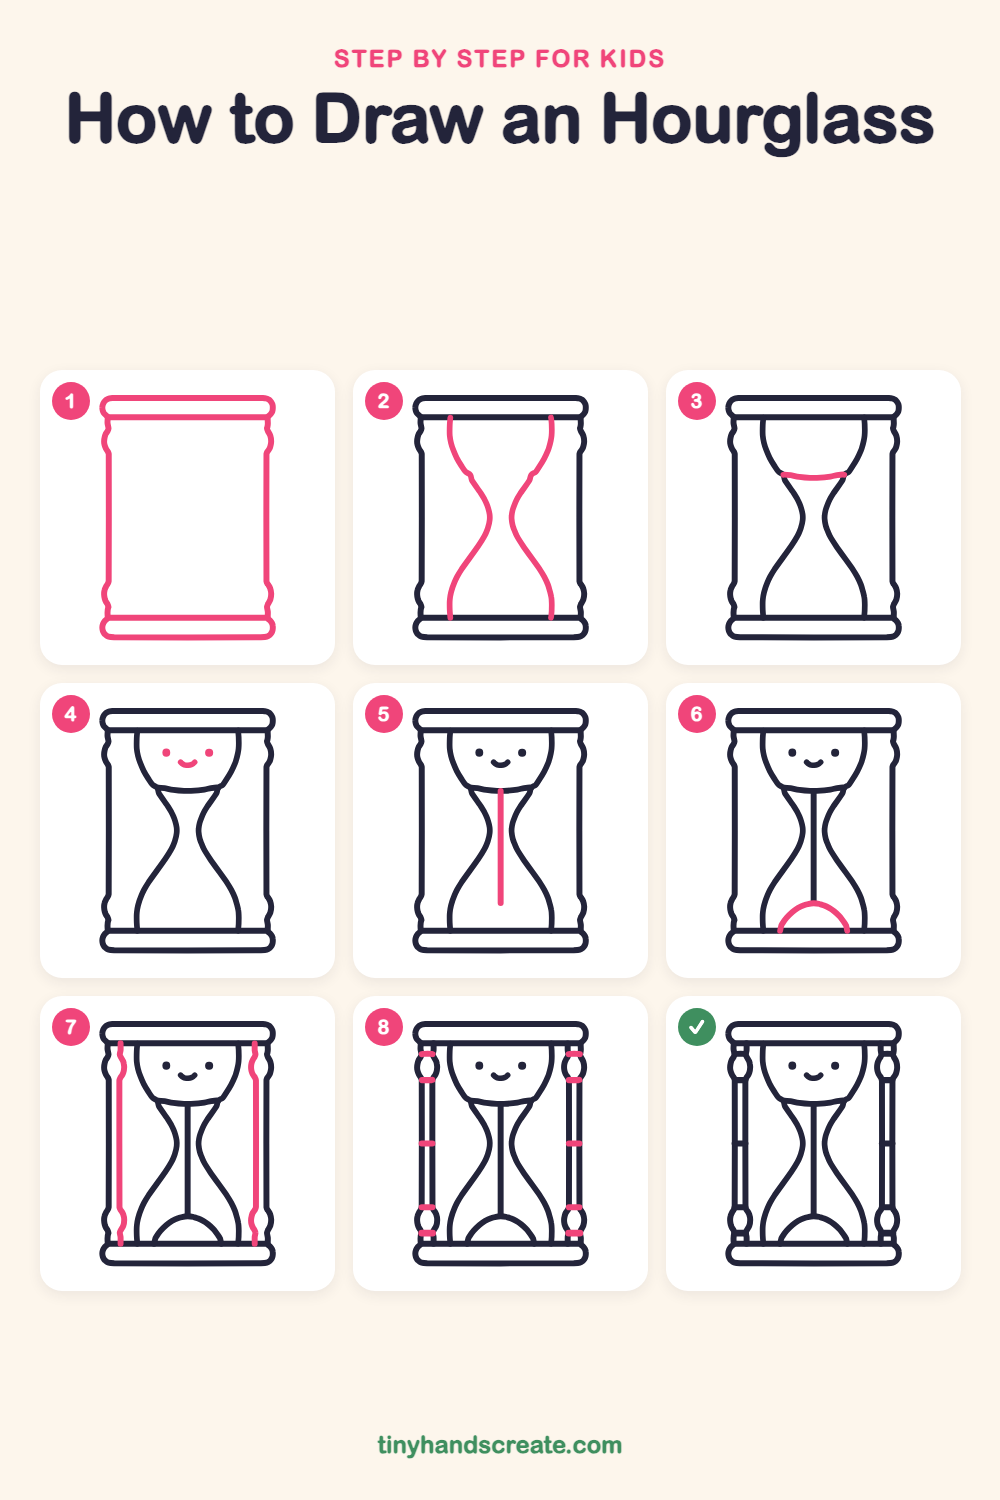
Step 1: Caps and frame sides
Draw a long rounded bar at the top and another at the bottom of your page, like two flat pills. Then connect them with a tall, slightly bumpy line down each side.
Step 2: The glass curves
Inside the frame, start near the top bar and draw a curve that bends in toward the middle, making a narrow waist, then bends back out to the bottom bar. Draw the other side the same way so both curves match.
Step 3: Top of the sand
Where the top part of the glass starts to narrow, draw a gentle curve straight across from one glass line to the other. It sags a tiny bit in the middle, like a soft smile.
Step 4: A happy face
In the top part of the glass, draw two small dots for eyes. Between and below them, add a little curved smile.
Step 5: Falling sand
Start in the middle of the sand curve and draw one straight line going down through the narrow waist and into the bottom part of the glass.
Step 6: Sand pile
In the bottom part of the glass, draw a hill shape, like a rainbow, that sits on the bottom bar. Make its top meet the end of the falling sand line.
Step 7: Bumpy side posts
Just inside each side of the frame, draw a tall line from the top bar to the bottom bar. Make it bulge out into a rounded bead shape near the top and again near the bottom.
Step 8: Bead details
Add a short little line across each post at the top and bottom of each bead. Then add one more short line across the middle of each post.
All done!
Go over your lines with a marker, then color it in.
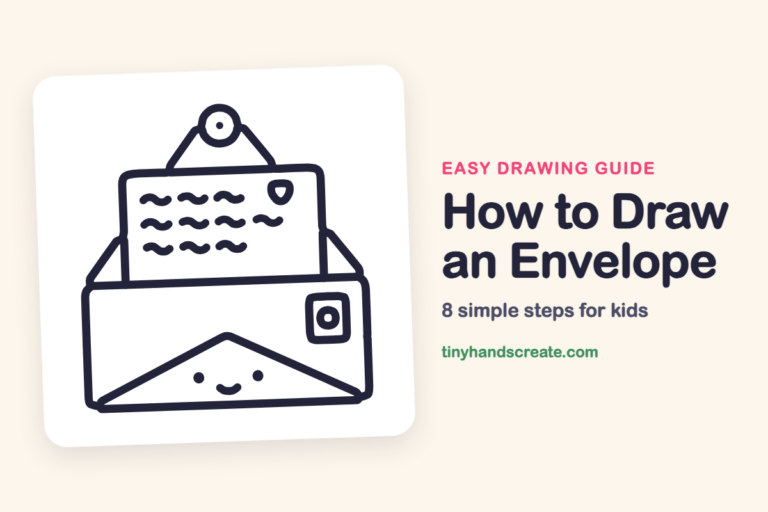
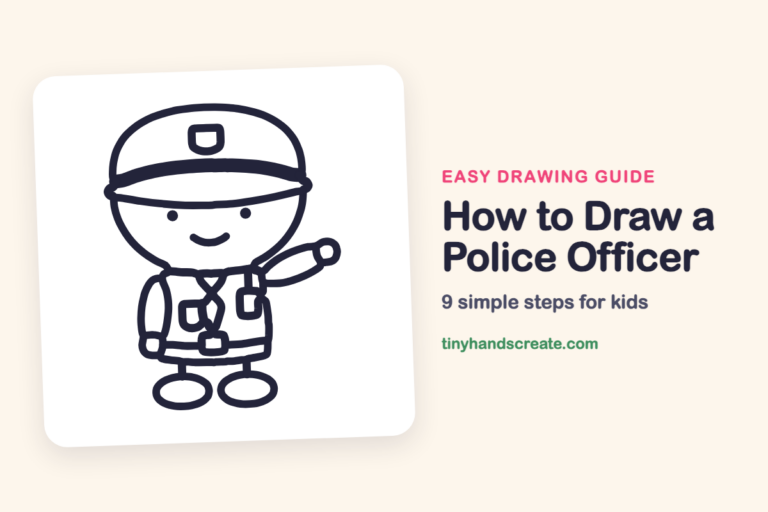
Finished your hourglass? Keep the pencils out and learn how to draw an envelope or how to draw a police officer next.
Tips for drawing an hourglass
- Draw the two glass curves one at a time and check that the narrow waist sits at the same height on both sides. A light dot in the middle can help you aim.
- Draw the falling sand line with a ruler or the edge of a card if your line wobbles. It should run straight down from the middle of the sand curve.
- The beads on the side posts are the trickiest part. Make each post bulge out gently near the top and bottom first, then add the short lines across.
Free hourglass coloring page
Want to go straight to coloring? Open this hourglass coloring page at full size and print it. It is the same drawing you just learned, with clean lines ready for crayons or markers.
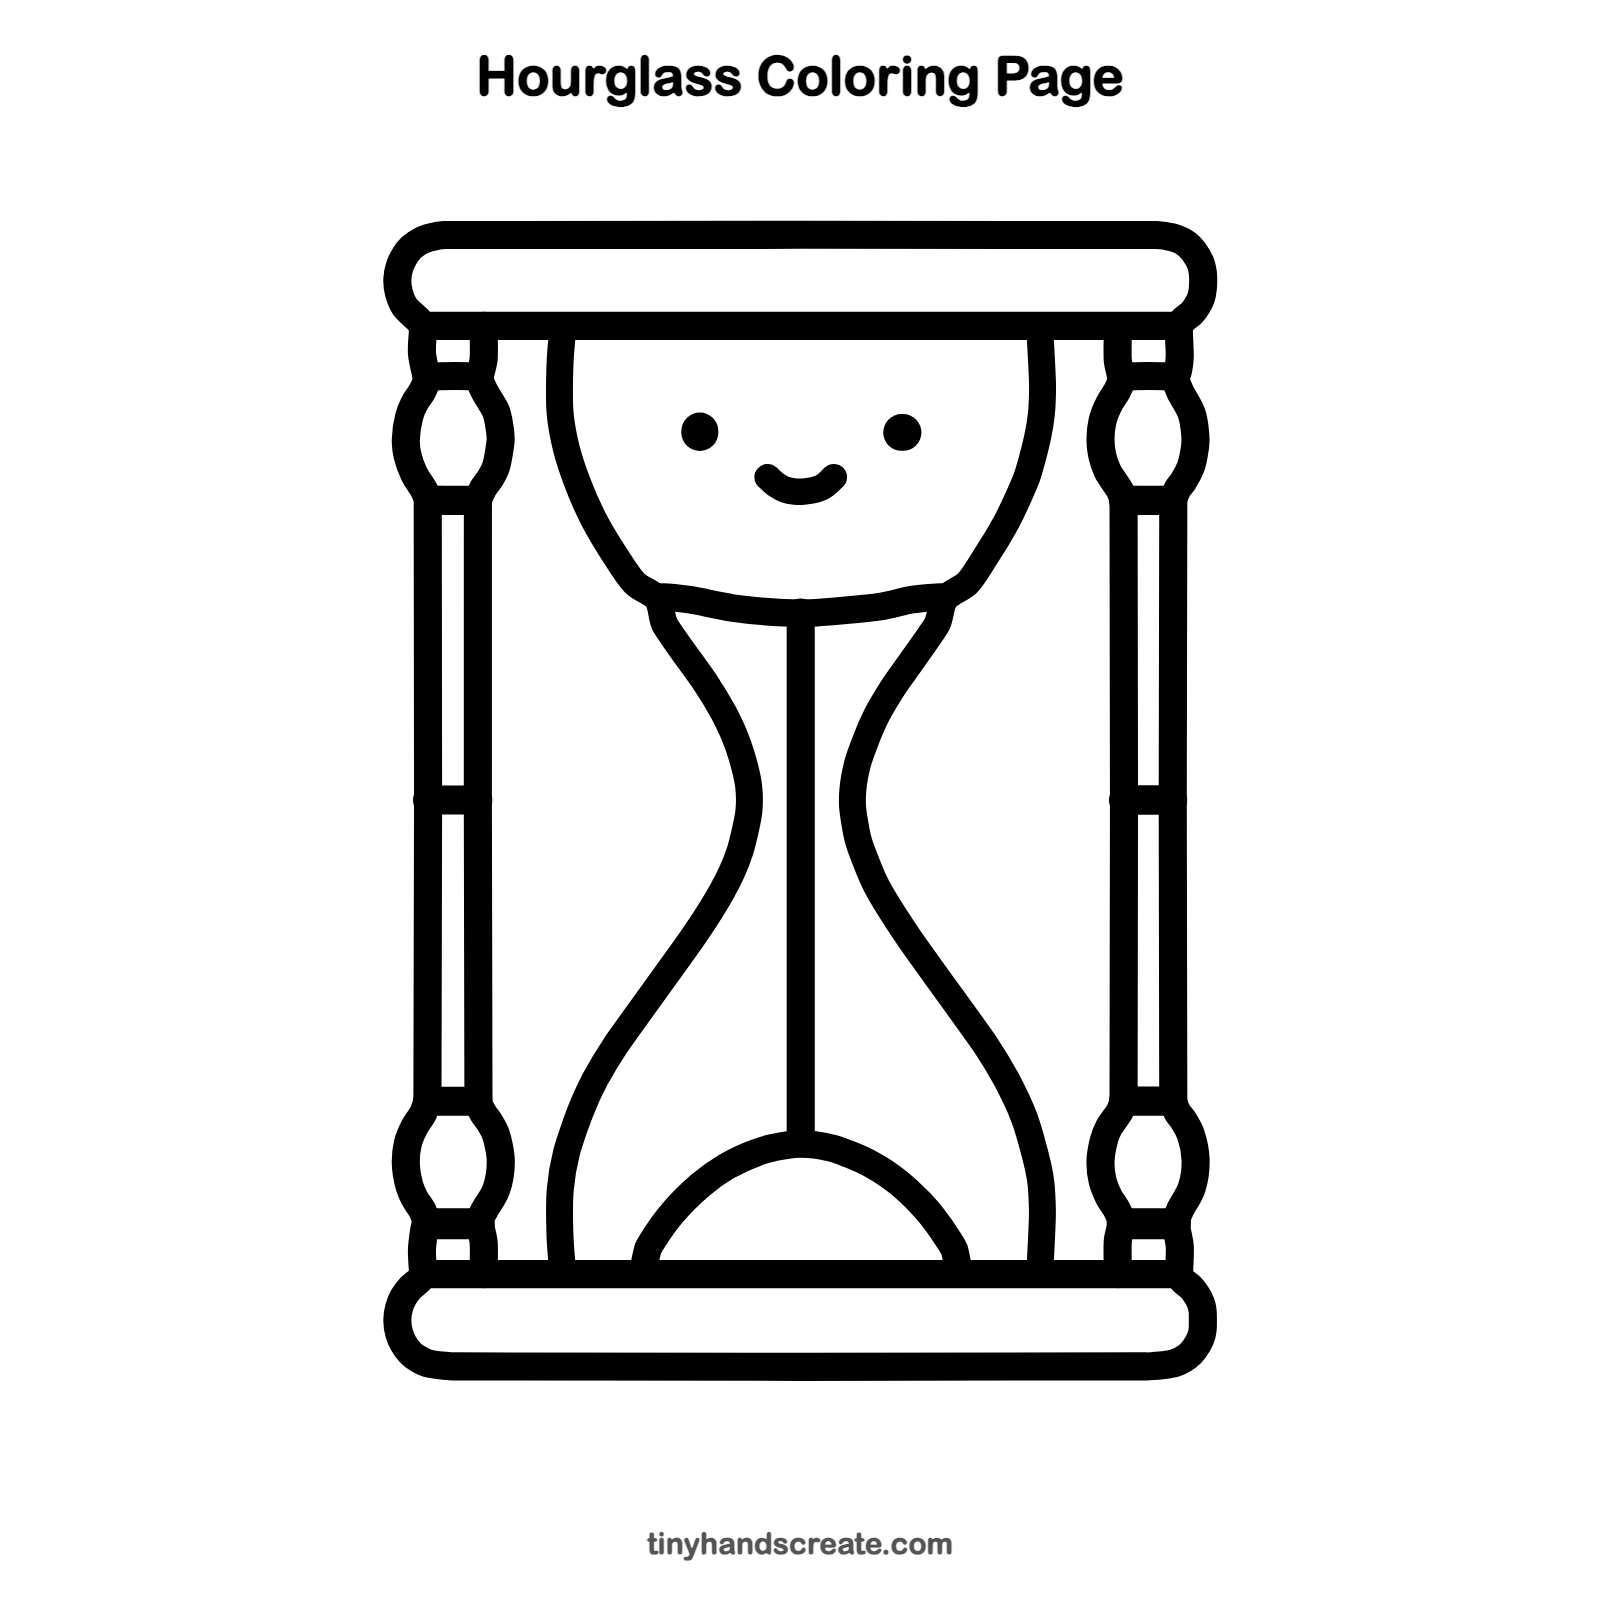
How to color your hourglass drawing
Try golden yellow for the sand, light blue for the glass, and brown for the wooden frame. For a creative twist, color the sand in rainbow stripes so each layer is a different color.
Hourglass fun fact for kids
Hourglasses were used on ships hundreds of years ago to measure time. Sailors turned the glass over each time the sand ran out, so they could tell how long a task or a watch had lasted.
Questions about drawing an hourglass
What shapes do I need to draw an hourglass?
You need two long rounded bars for the top and bottom, two curvy lines for the glass, a hill shape for the sand pile, and two tall bumpy posts with rounded beads on the sides.
How do I make my hourglass look symmetrical?
Draw a light line down the middle of your page first. Then copy each curve on the other side at the same height, and erase the guide line at the end.
How do I make my hourglass look cuter?
Add a smile and two round eyes in the top part of the glass, like in this guide. You can also add rosy cheeks or a tiny sparkle on the glass.