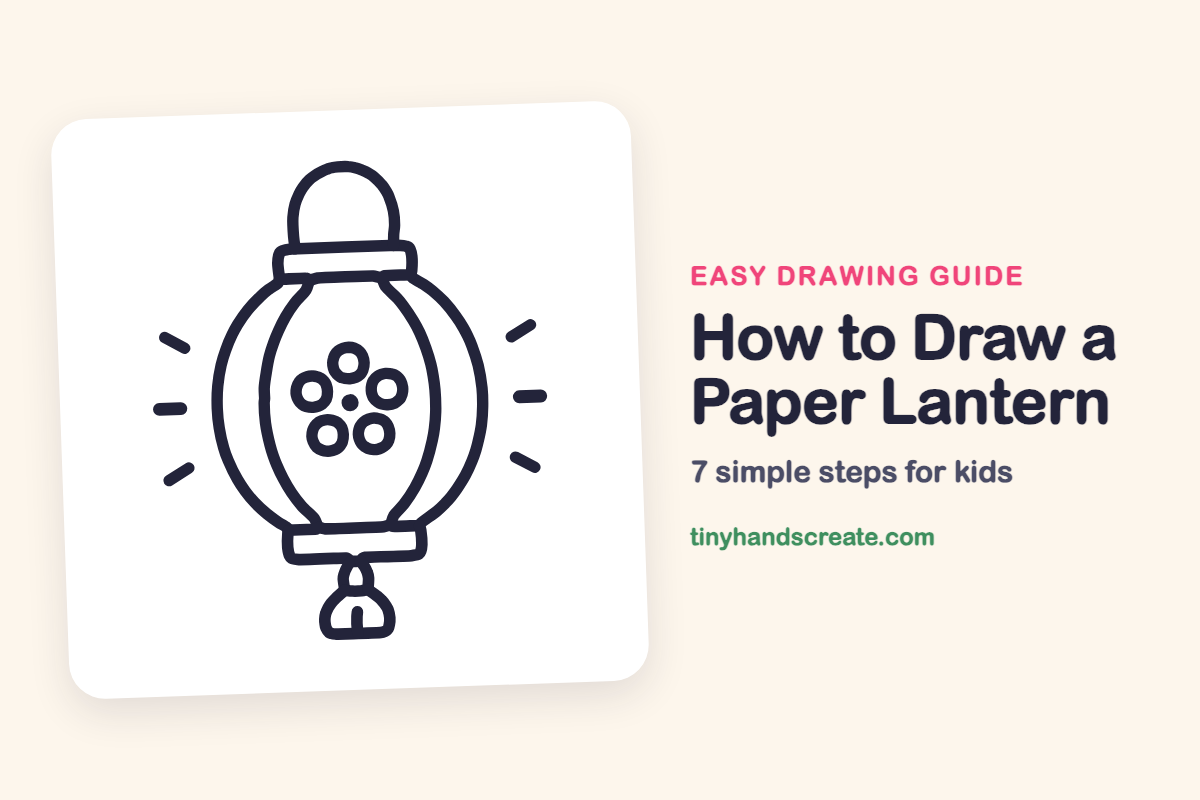
How to Draw a Paper Lantern (Easy Step by Step)
A paper lantern is a fun drawing because it is made from just a few simple shapes: curved ribs, two rectangles, an arch and a handful of circles. The flower pattern in the middle makes it feel special, and the little rays around it make it look like it is glowing.
- Easy
- 12 minutes
- 7 steps
You need: paper, a pencil, an eraser, and crayons or markers for coloring.
Start drawingIn this article (7 sections)
How to draw a paper lantern step by step
How to Draw a Paper Lantern · tinyhandscreate.com
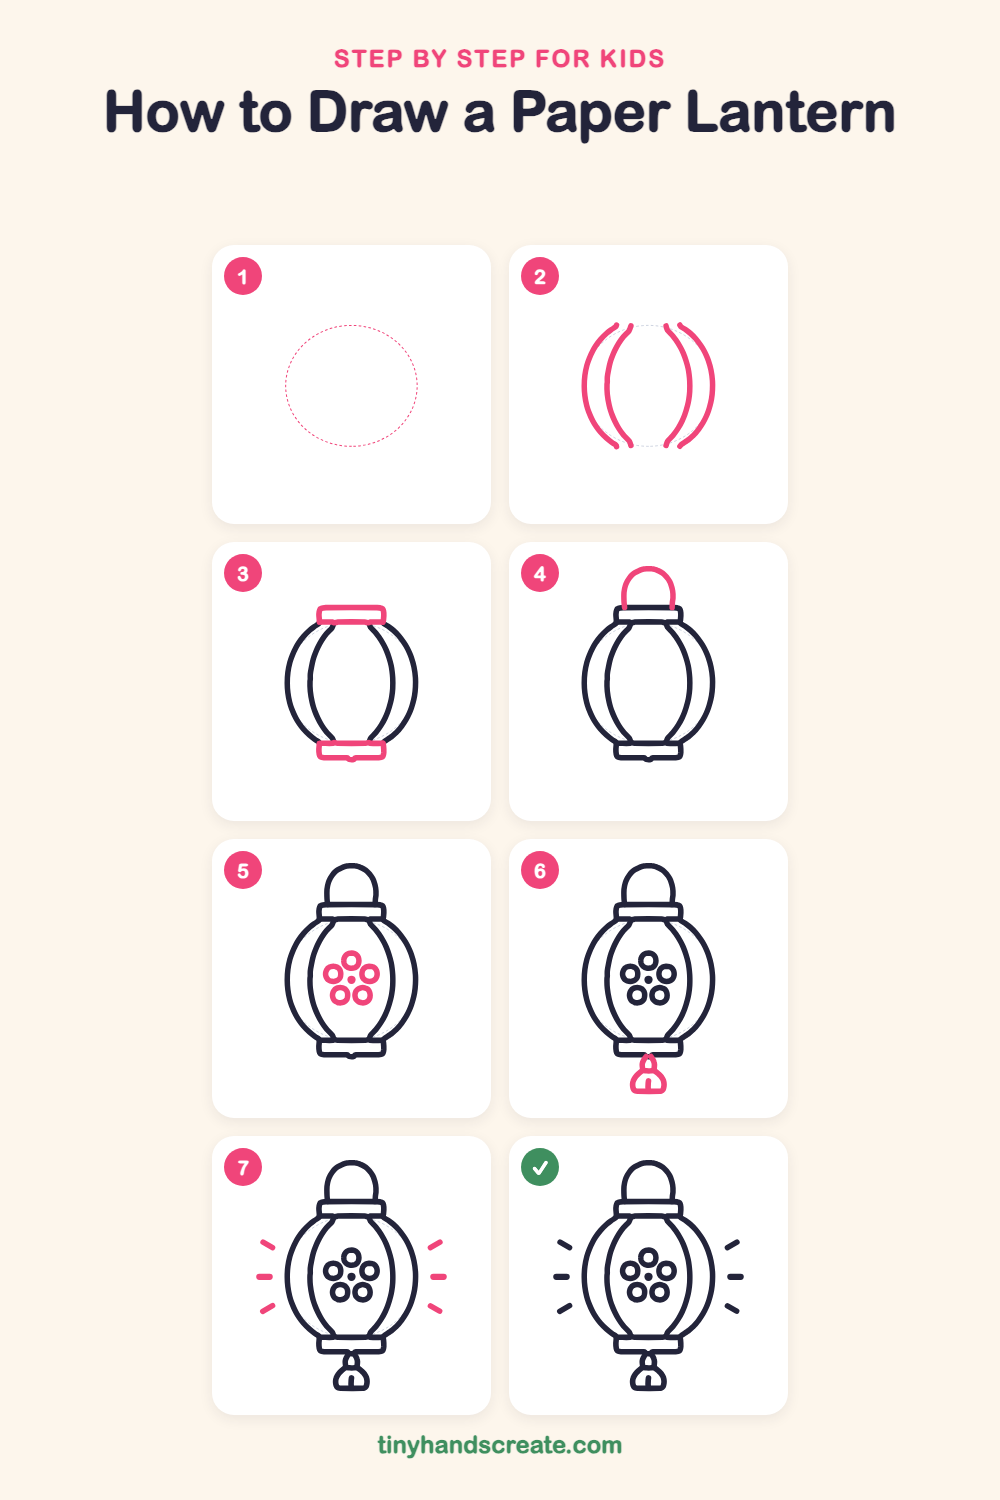
Step 1: Guide shapes
Lightly sketch this oval. It only shows where the big parts go, so press softly. You will erase it at the end.
Step 2: Curved side ribs
Draw two curved lines on the left side, one inside the other, bending out like the left side of a round ball. Do the same on the right side, so the four lines make a fat, round lantern body with a gap at the top and bottom.
Step 3: Top and bottom bars
Draw a flat rectangle with rounded corners across the gap at the top of the body. Draw another one across the gap at the bottom, so your lantern has a lid and a base.
Step 4: The hanging loop
On top of the upper rectangle, draw a tall arch like an upside-down U. The two ends sit right on the top of the lid.
Step 5: The flower pattern
In the middle of the lantern, draw five small circles in a ring, like the petals of a flower. Finish with a tiny dot in the center where the petals meet.
Step 6: The tassel
Under the bottom rectangle, draw a small rounded tassel shape that is narrow at the top and wider at the bottom, like a little bell. Add a short line down the middle of it.
Step 7: Glowing rays
Draw three short lines on the left side of the lantern: one slanting up, one straight across and one slanting down. Do the same on the right side so your lantern looks like it is shining.
All done!
Erase the guide shapes, go over your lines, then color it in.
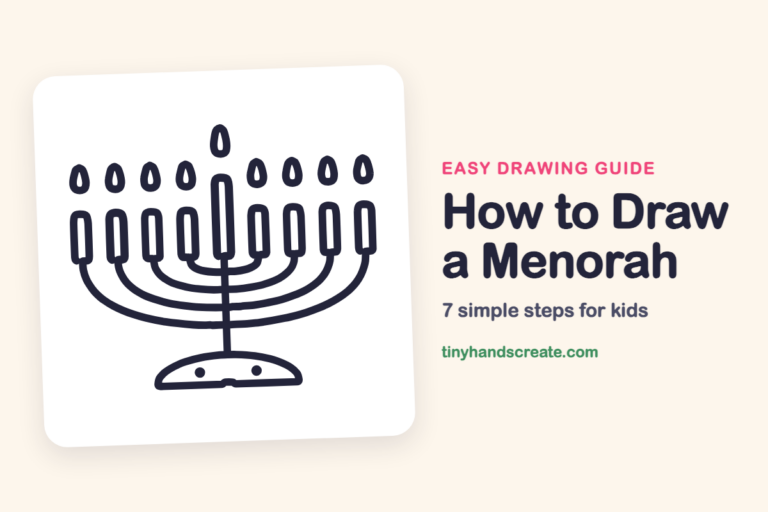
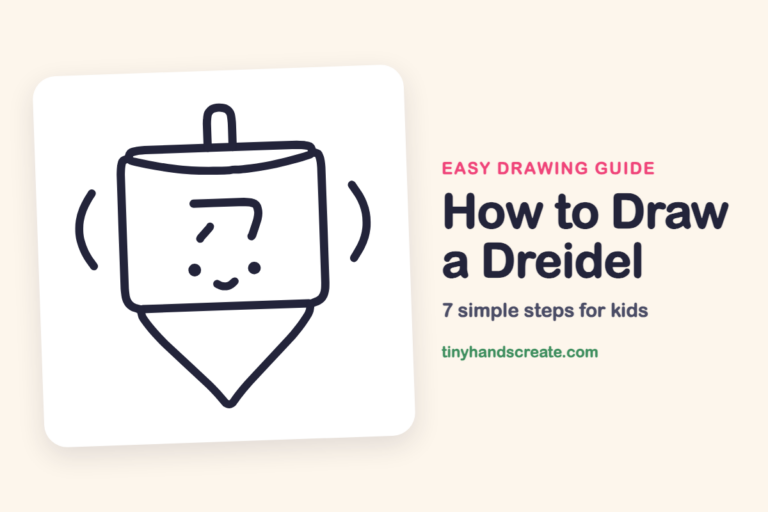
Finished your paper lantern? Keep the pencils out and learn how to draw a menorah or how to draw a dreidel next.
Tips for drawing a paper lantern
- Draw the two curved lines on each side so they bend the same amount, so the lantern looks round and even.
- Make the two bars at the top and bottom the same width so your lantern looks balanced.
- For the flower, start with the top circle, then add the other four around it, leaving a small gap in the middle for the dot.
Free paper lantern coloring page
Want to go straight to coloring? Open this paper lantern coloring page at full size and print it. It is the same drawing you just learned, with clean lines ready for crayons or markers.
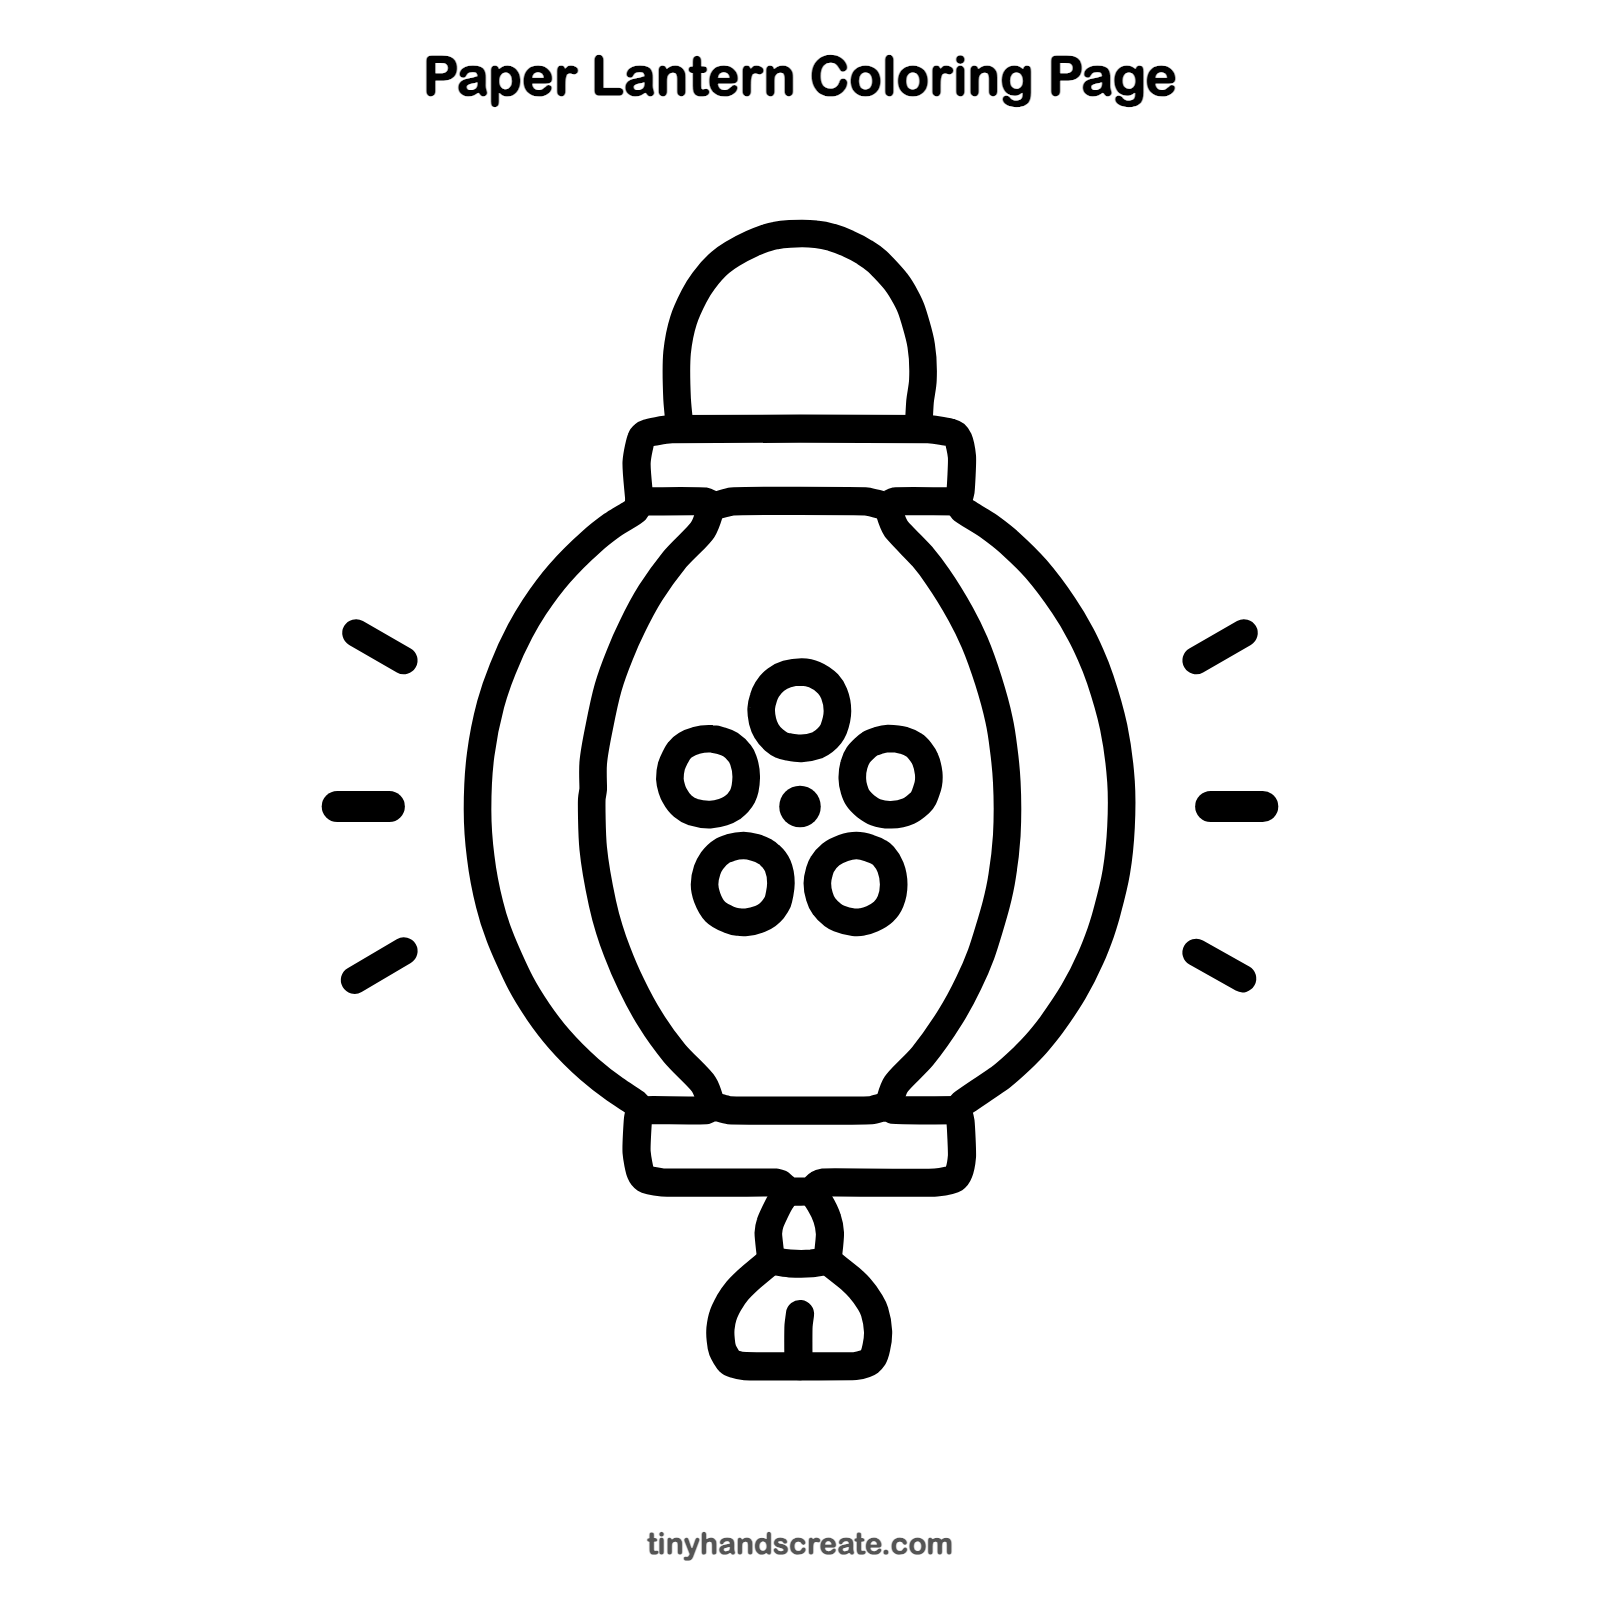
How to color your paper lantern drawing
Red and gold are the classic lantern colors, but pink, orange or yellow look lovely too. For a creative twist, color the rays in bright yellow and add a glowing circle of light around the whole lantern.
Paper lantern fun fact for kids
In China, the Lantern Festival ends the New Year celebrations, and people light up streets and parks with glowing paper lanterns.
Questions about drawing a paper lantern
What shapes do I need to draw a paper lantern?
You need curved lines for the round body, two rounded rectangles for the top and bottom, an arch for the handle, five small circles and a dot for the flower pattern, and a small bell shape for the tassel.
How do I make my paper lantern look like it is glowing?
Add three short lines on both sides, like the sun's rays, and color the lantern with bright yellow or orange. A soft yellow halo around it helps too.
How do I draw the curved lines on the lantern?
Start near the top and curve outward, then bend back in toward the bottom, like the side of a ball. Draw two lines on each side and keep both sides about the same shape.