How to Draw a Police Officer (Easy Step by Step)
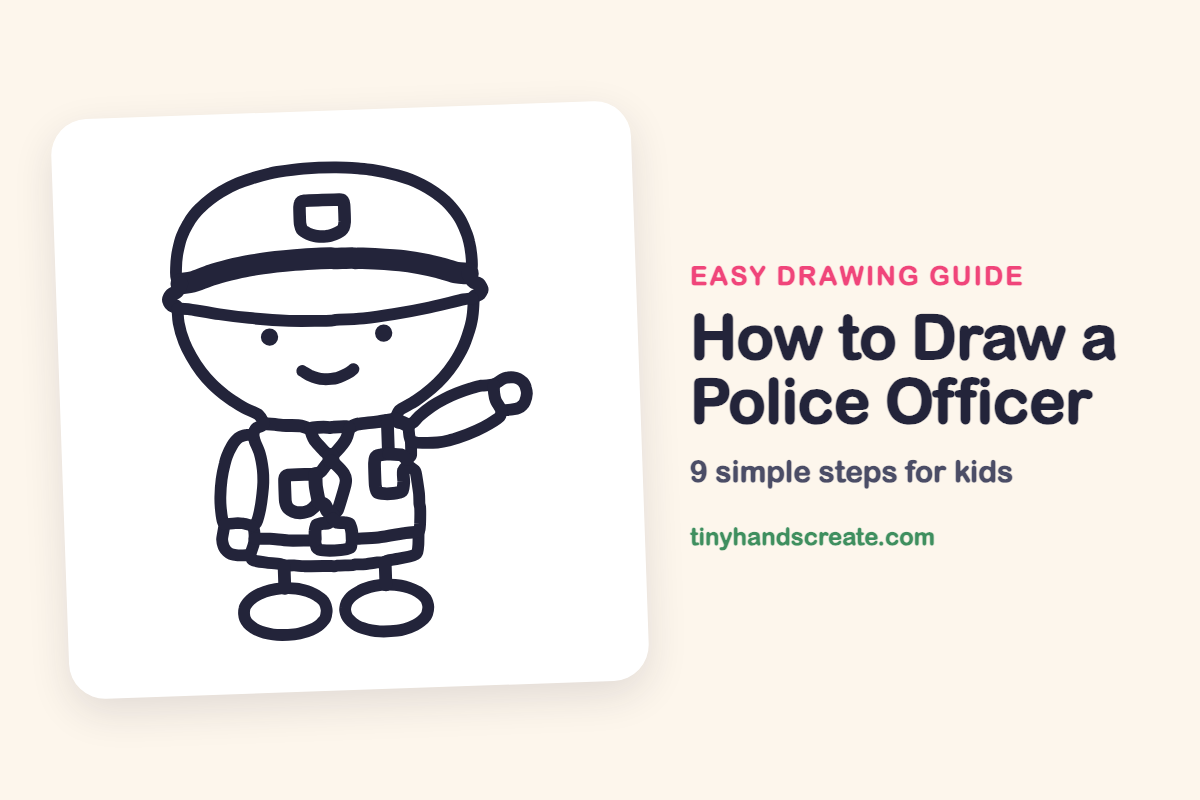
A police officer is a friendly character to draw because almost everything is a simple shape. You start with the sides of the face, add a dome for the cap, and build the body from rounded rectangles and ovals. The waving arm gives the drawing a cheerful, helpful feel.
- Easy
- 15 minutes
- 9 steps
You need: paper, a pencil, an eraser, and crayons or markers for coloring.
Start drawingIn this article (7 sections)
How to draw a police officer step by step
How to Draw a Police Officer · tinyhandscreate.com
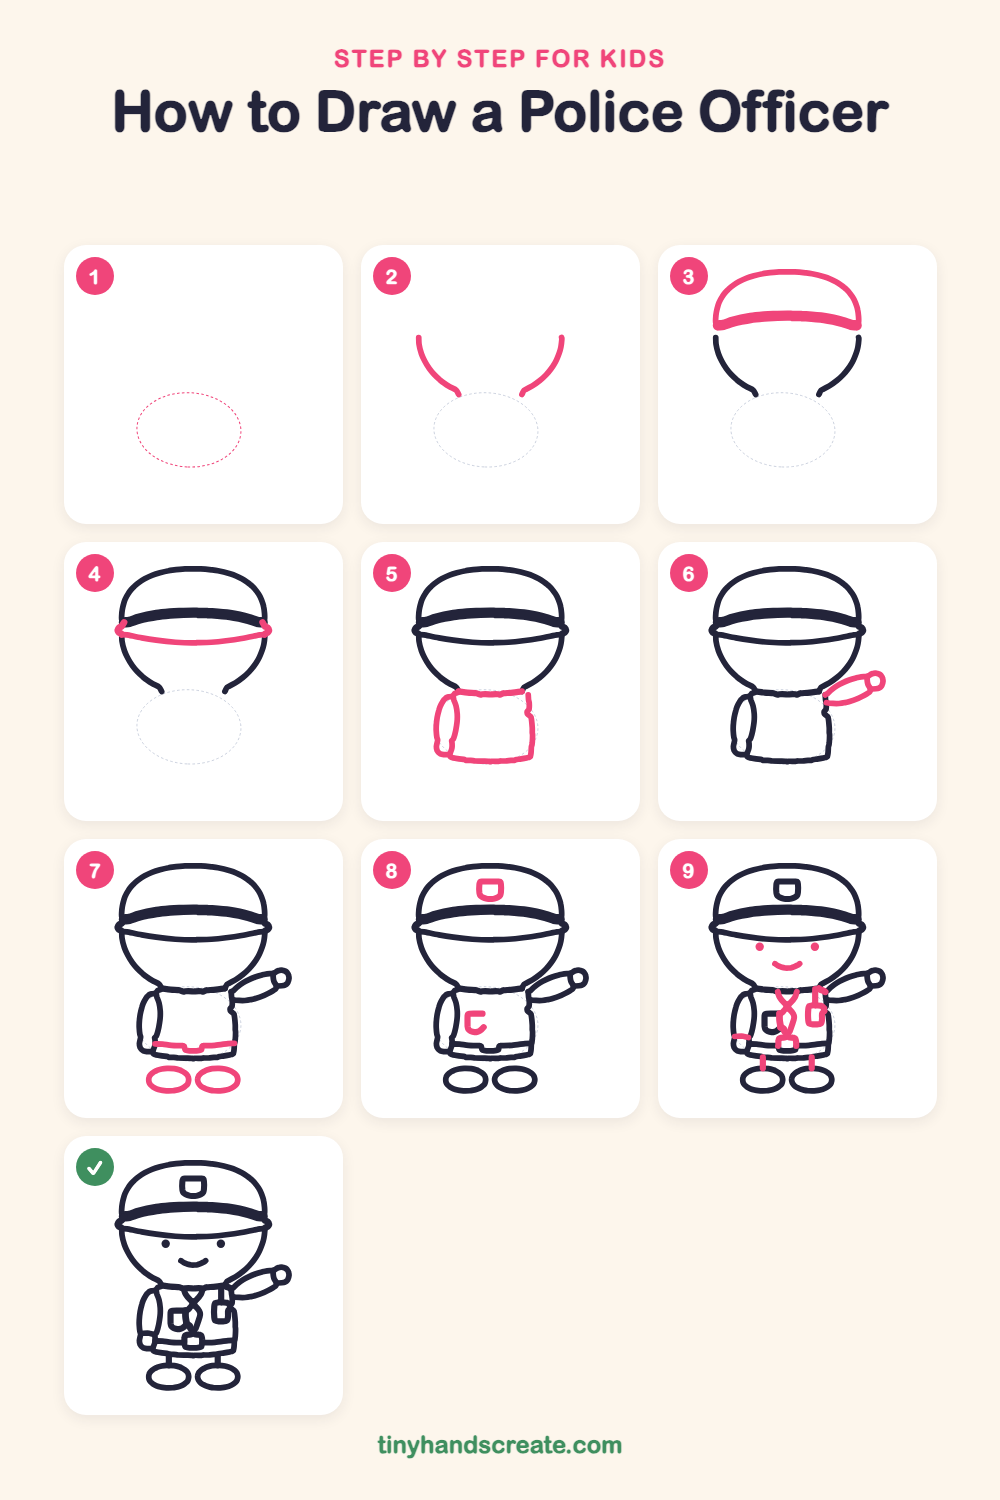
Step 1: Guide shapes
Lightly sketch this oval. It only shows where the big parts go, so press softly. You will erase it at the end.
Step 2: Sides of the face
Draw two curved lines that look like the left and right sides of a round face. Leave a big gap at the top and a gap at the bottom between them.
Step 3: The cap
Draw a tall dome across the top of the face, like half a ball. Add a thick curved band along the bottom of the dome.
Step 4: The brim
Draw a long, curved line under the band for the brim. Let it stick out a little past each side of the head and end in a small pointed tip.
Step 5: Shirt and left arm
Under the head, draw a rounded rectangle for the shirt, starting with a short line for the collar. Add a long loop on the left side for the arm that hangs down.
Step 6: The waving arm
On the right side, draw a short bendy tube that goes up and out from the shoulder. Finish it with a small circle hand at the end.
Step 7: Belt and shoes
Draw a straight line across the bottom of the shirt for the belt. Under the body, add two sideways ovals for shoes.
Step 8: Cap badge and pocket
Draw a small shield on the front of the cap, like a square with a rounded bottom. Then draw the start of a matching shield on the left side of the chest.
Step 9: Face, radio and legs
Under the brim, add two small dot eyes and a curved smile. On the chest, draw a tall rectangle for the radio on the right, a big X with a small box below it in the middle, and a short line joining each shoe to the body.
All done!
Erase the guide shapes, go over your lines, then color it in.
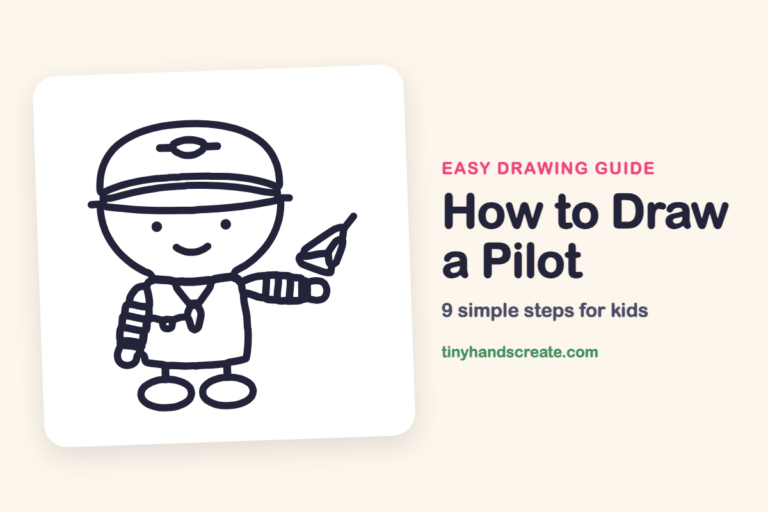
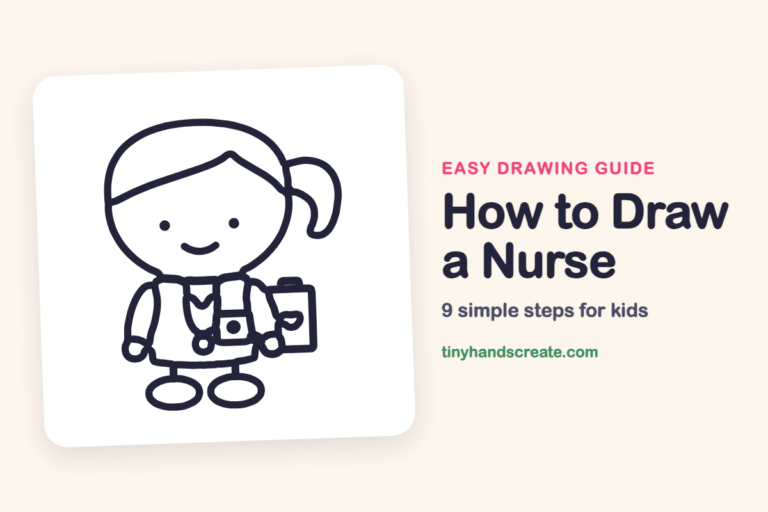
Finished your police officer? Keep the pencils out and learn how to draw a pilot or how to draw a nurse next.
Tips for drawing a police officer
- Draw the cap dome first and the brim second. The brim should stick out a little past each side of the head, which makes the cap look real.
- The waving arm is the trickiest part. Draw two curved lines that stay about the same distance apart, like a bent sausage, and add the round hand last.
- Keep the two shoes the same size by drawing the first one, then making the second one about as wide as the first.
Free police officer coloring page
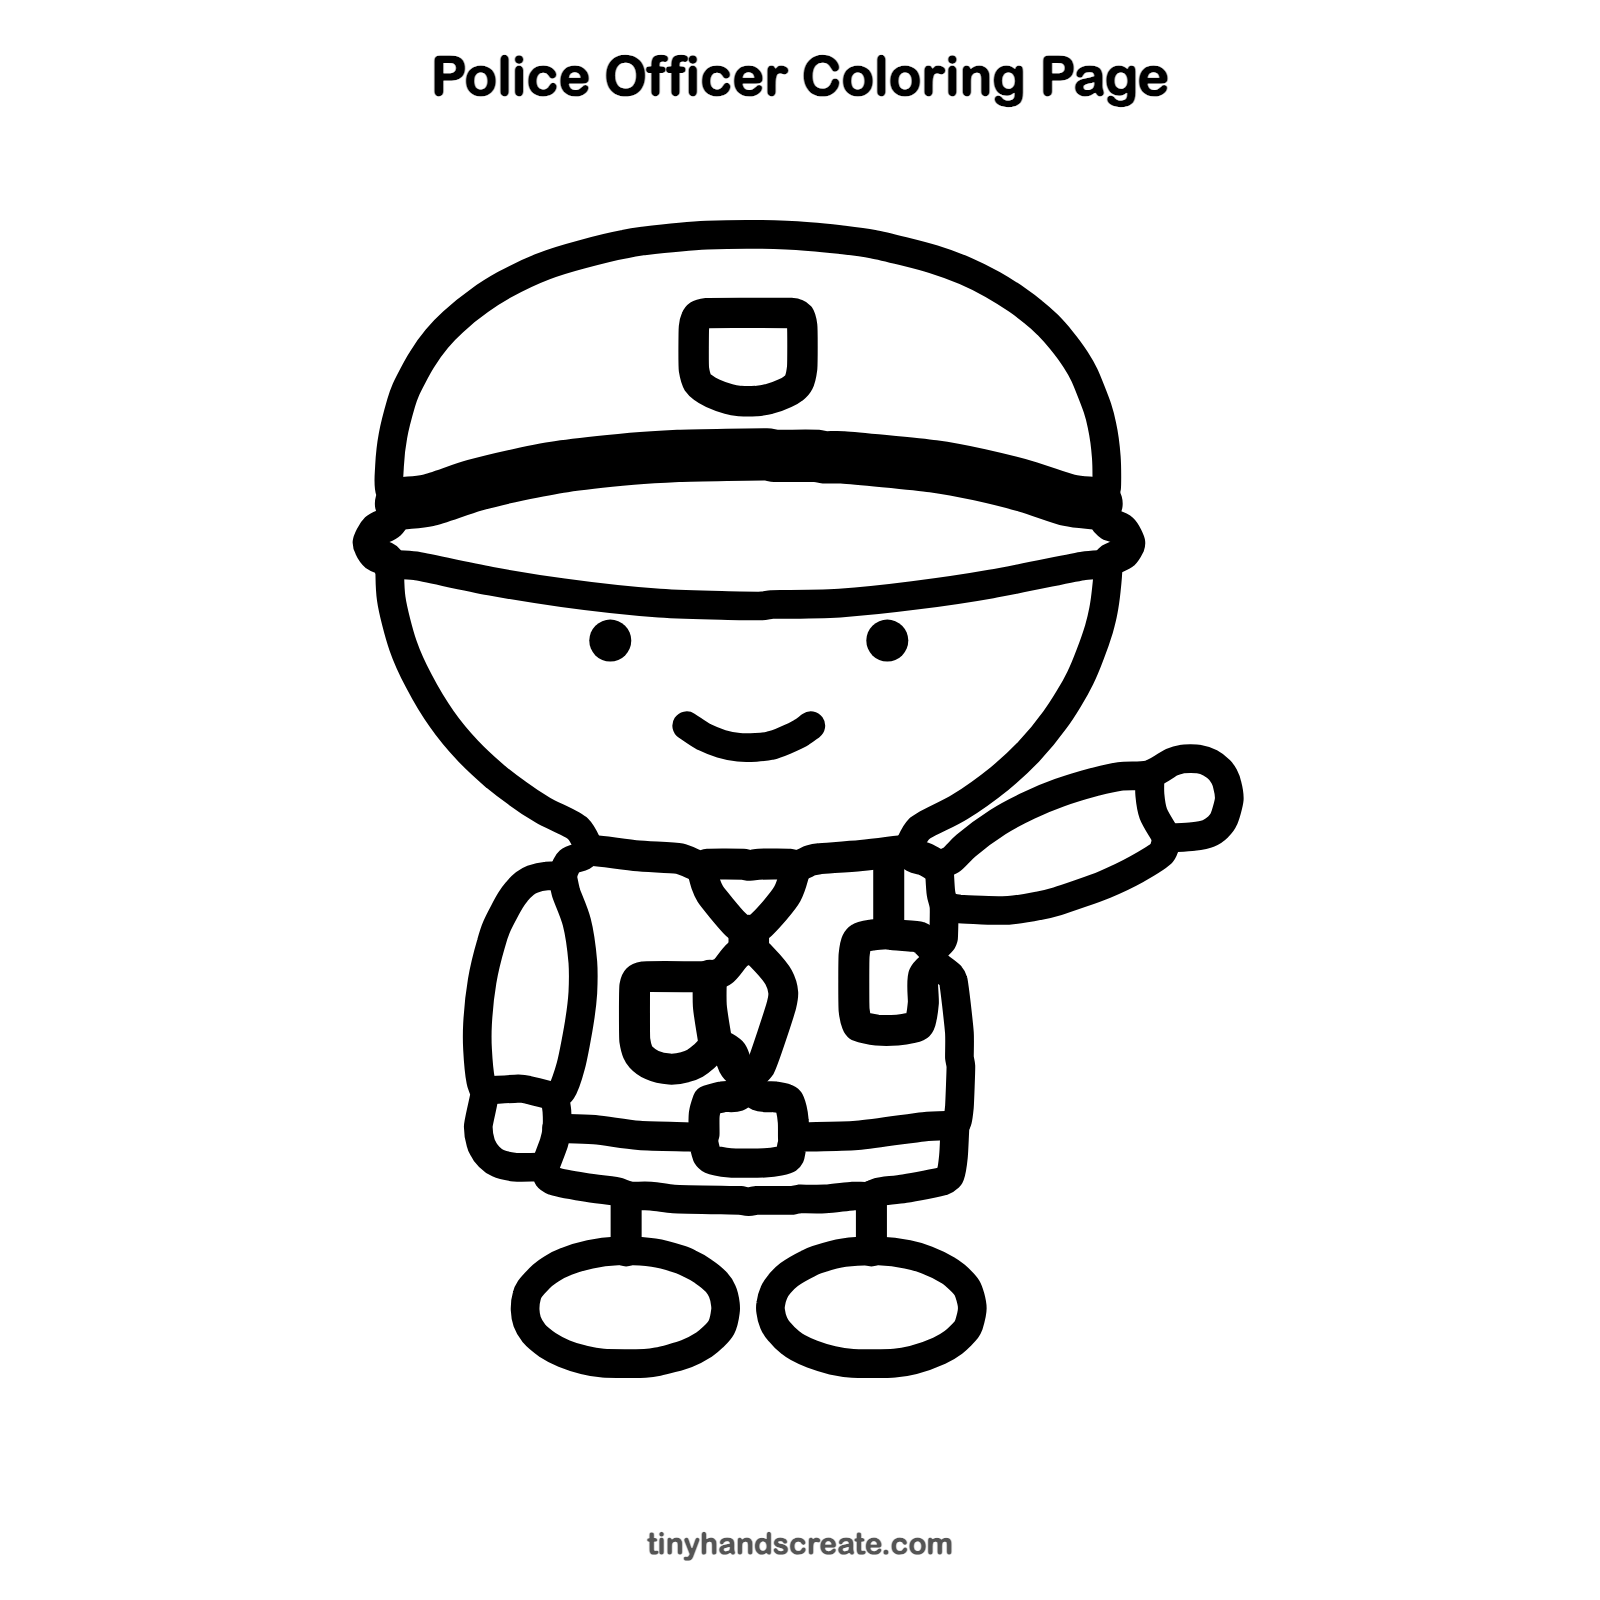
Want to go straight to coloring? Open this police officer coloring page at full size and print it. It is the same drawing you just learned, with clean lines ready for crayons or markers.
How to color your police officer drawing
Try dark blue for the cap and shirt, gold for the badges, and black for the belt and shoes. For a creative twist, add a speech bubble next to the waving hand with a friendly message like 'Cross safely!'
Police officer fun fact for kids
The first modern city police force was started in London in 1829 by Sir Robert Peel, and British police officers were nicknamed "bobbies" after him.
Questions about drawing a police officer
What shapes do I need to draw a police officer?
You need two curved lines for the face, a dome for the cap, a rounded rectangle for the shirt, a small rectangle for the radio, and two ovals for the shoes. A small shield shape makes the badges.
How do I make my police officer look friendly?
Give the officer a wide, curved smile and two round dot eyes. A waving hand also makes the character look welcoming.
How do I draw a police hat?
Draw a dome on top of the head, then a thick band across its bottom. Add a long, curved brim below the band that sticks out past both sides of the head.