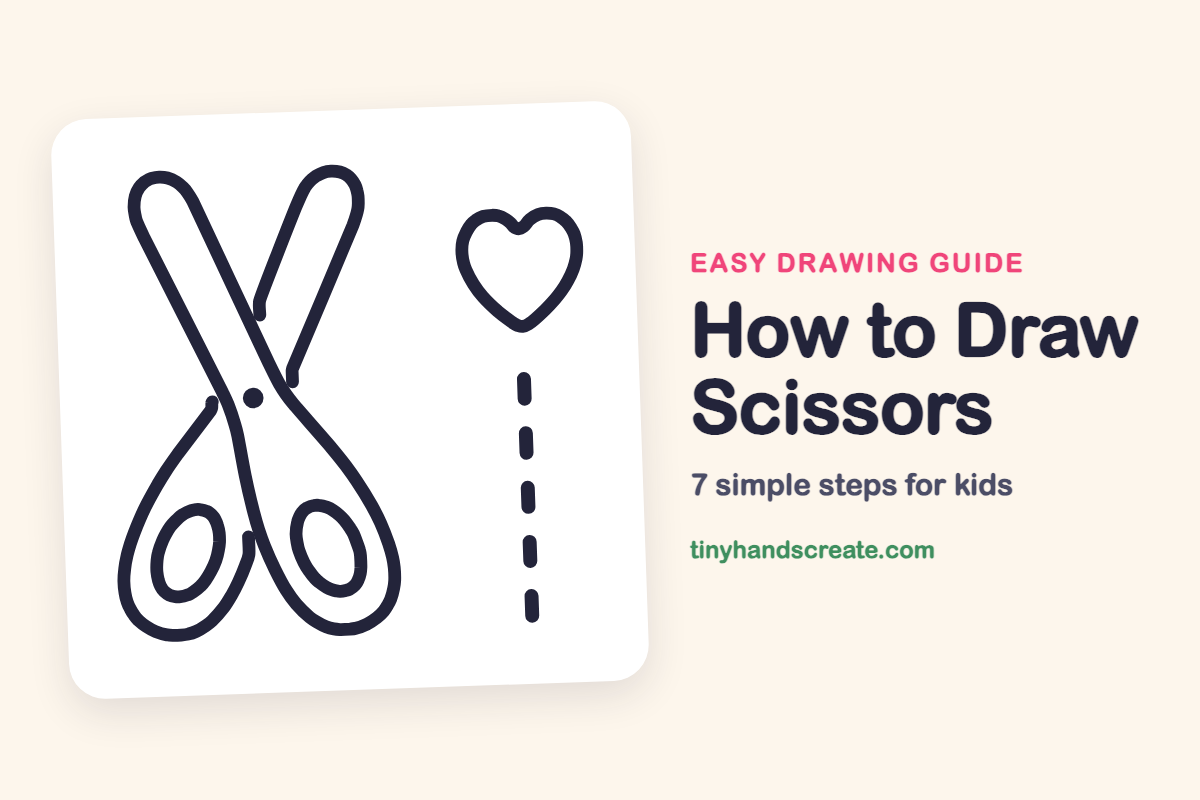
How to Draw Scissors (Easy Step by Step)
Scissors are a fun first drawing because they are built from long skinny shapes and a few ovals. This guide adds a little heart and a dashed cutting line, so your page looks like something has just been snipped out. Take your time with the crossing blades, and the rest falls into place.
- Medium
- 15 minutes
- 7 steps
You need: paper, a pencil, an eraser, and crayons or markers for coloring.
Start drawingIn this article (7 sections)
How to draw scissors step by step
How to Draw Scissors · tinyhandscreate.com
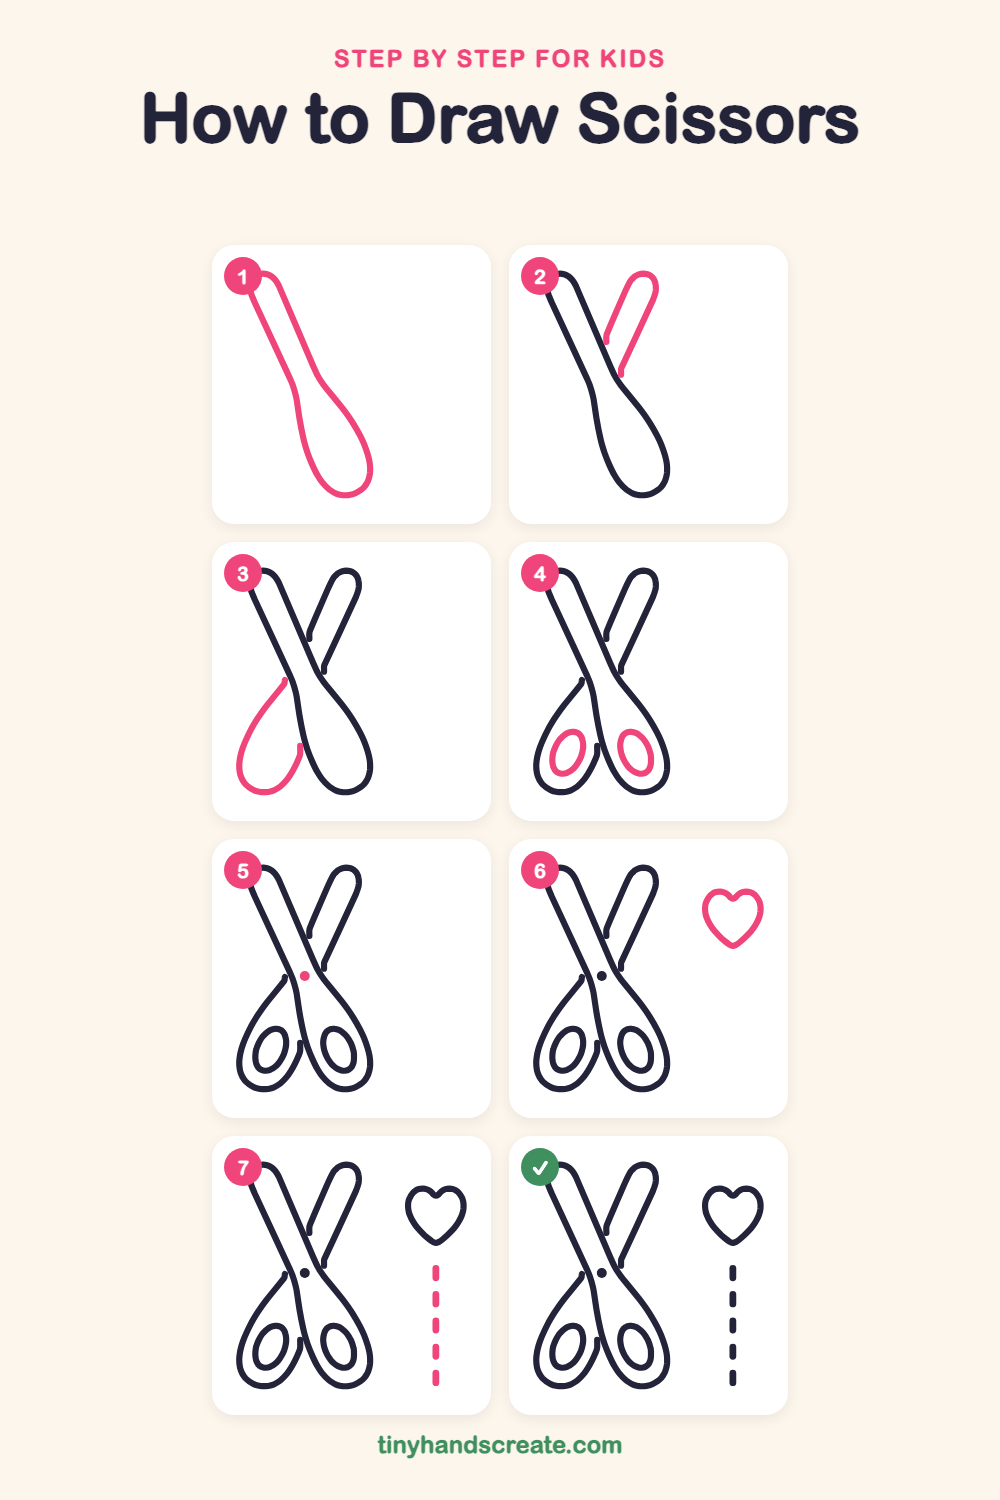
Step 1: The front blade and handle
Draw one long, skinny shape that starts narrow and rounded at the top. Let its sides slant down and spread wide, then curve around into a big rounded loop at the bottom.
Step 2: The back blade
Draw a second, shorter blade peeking out at the top right, slanting the other way. Start each line on the edge of the first blade and curve them up to meet in a rounded tip.
Step 3: The back handle
Draw a big, rounded teardrop loop at the bottom left. Start the line at the left edge of the first shape, sweep it down and around, and end where it touches the first handle.
Step 4: The finger holes
Draw a tilted oval inside each big handle. Make the two ovals about the same size so they match.
Step 5: The screw
Add a small solid dot right where the two blades cross. This is the screw that holds the scissors together.
Step 6: The little heart
On the right side, draw a heart. Start with two small bumps side by side, then curve the lines down to meet at a point.
Step 7: The cutting line
Under the heart, draw a column of short dashes going straight down. Keep them about the same length with small gaps between.
All done!
Go over your lines with a marker, then color it in.
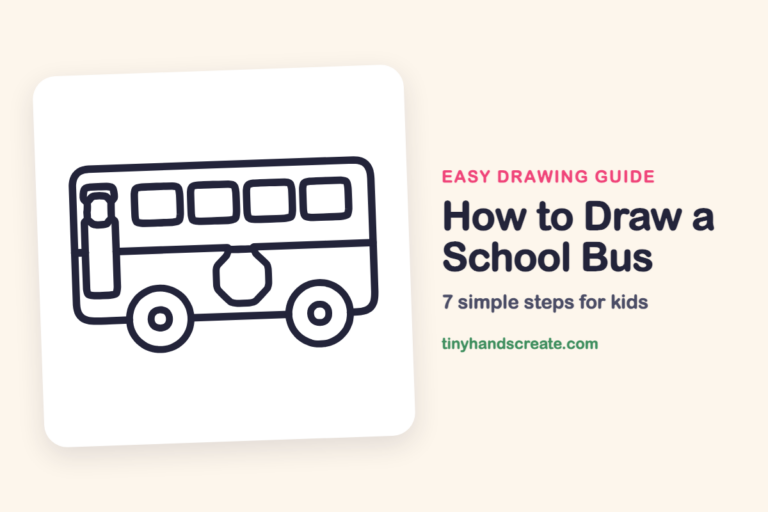
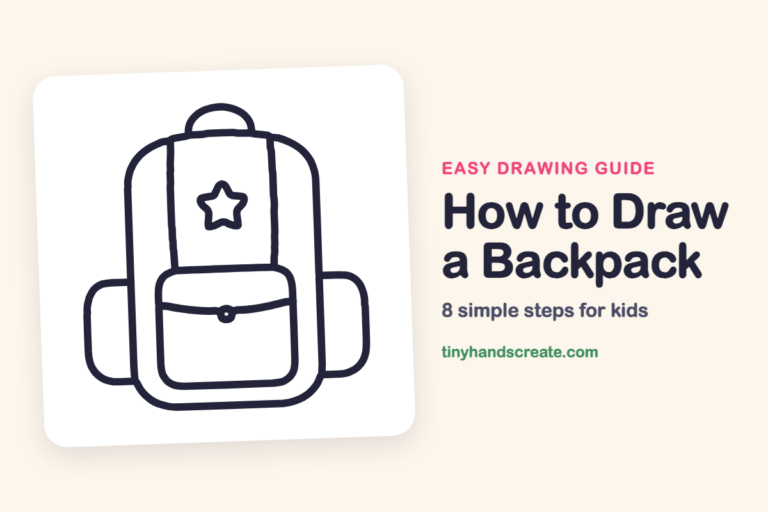
Finished your scissors? Keep the pencils out and learn how to draw a school bus or how to draw a backpack next.
Tips for drawing scissors
- The crossing blades are the trickiest part. Draw the first blade and handle first, then stop the second blade's lines where they meet it, so it looks like it goes behind.
- Draw the two finger holes as tilted ovals and make them lean the same way so they look like a matched pair.
- For the dashed line, make each dash about the same length. Marking the top and bottom first can help you space them evenly.
Free scissors coloring page
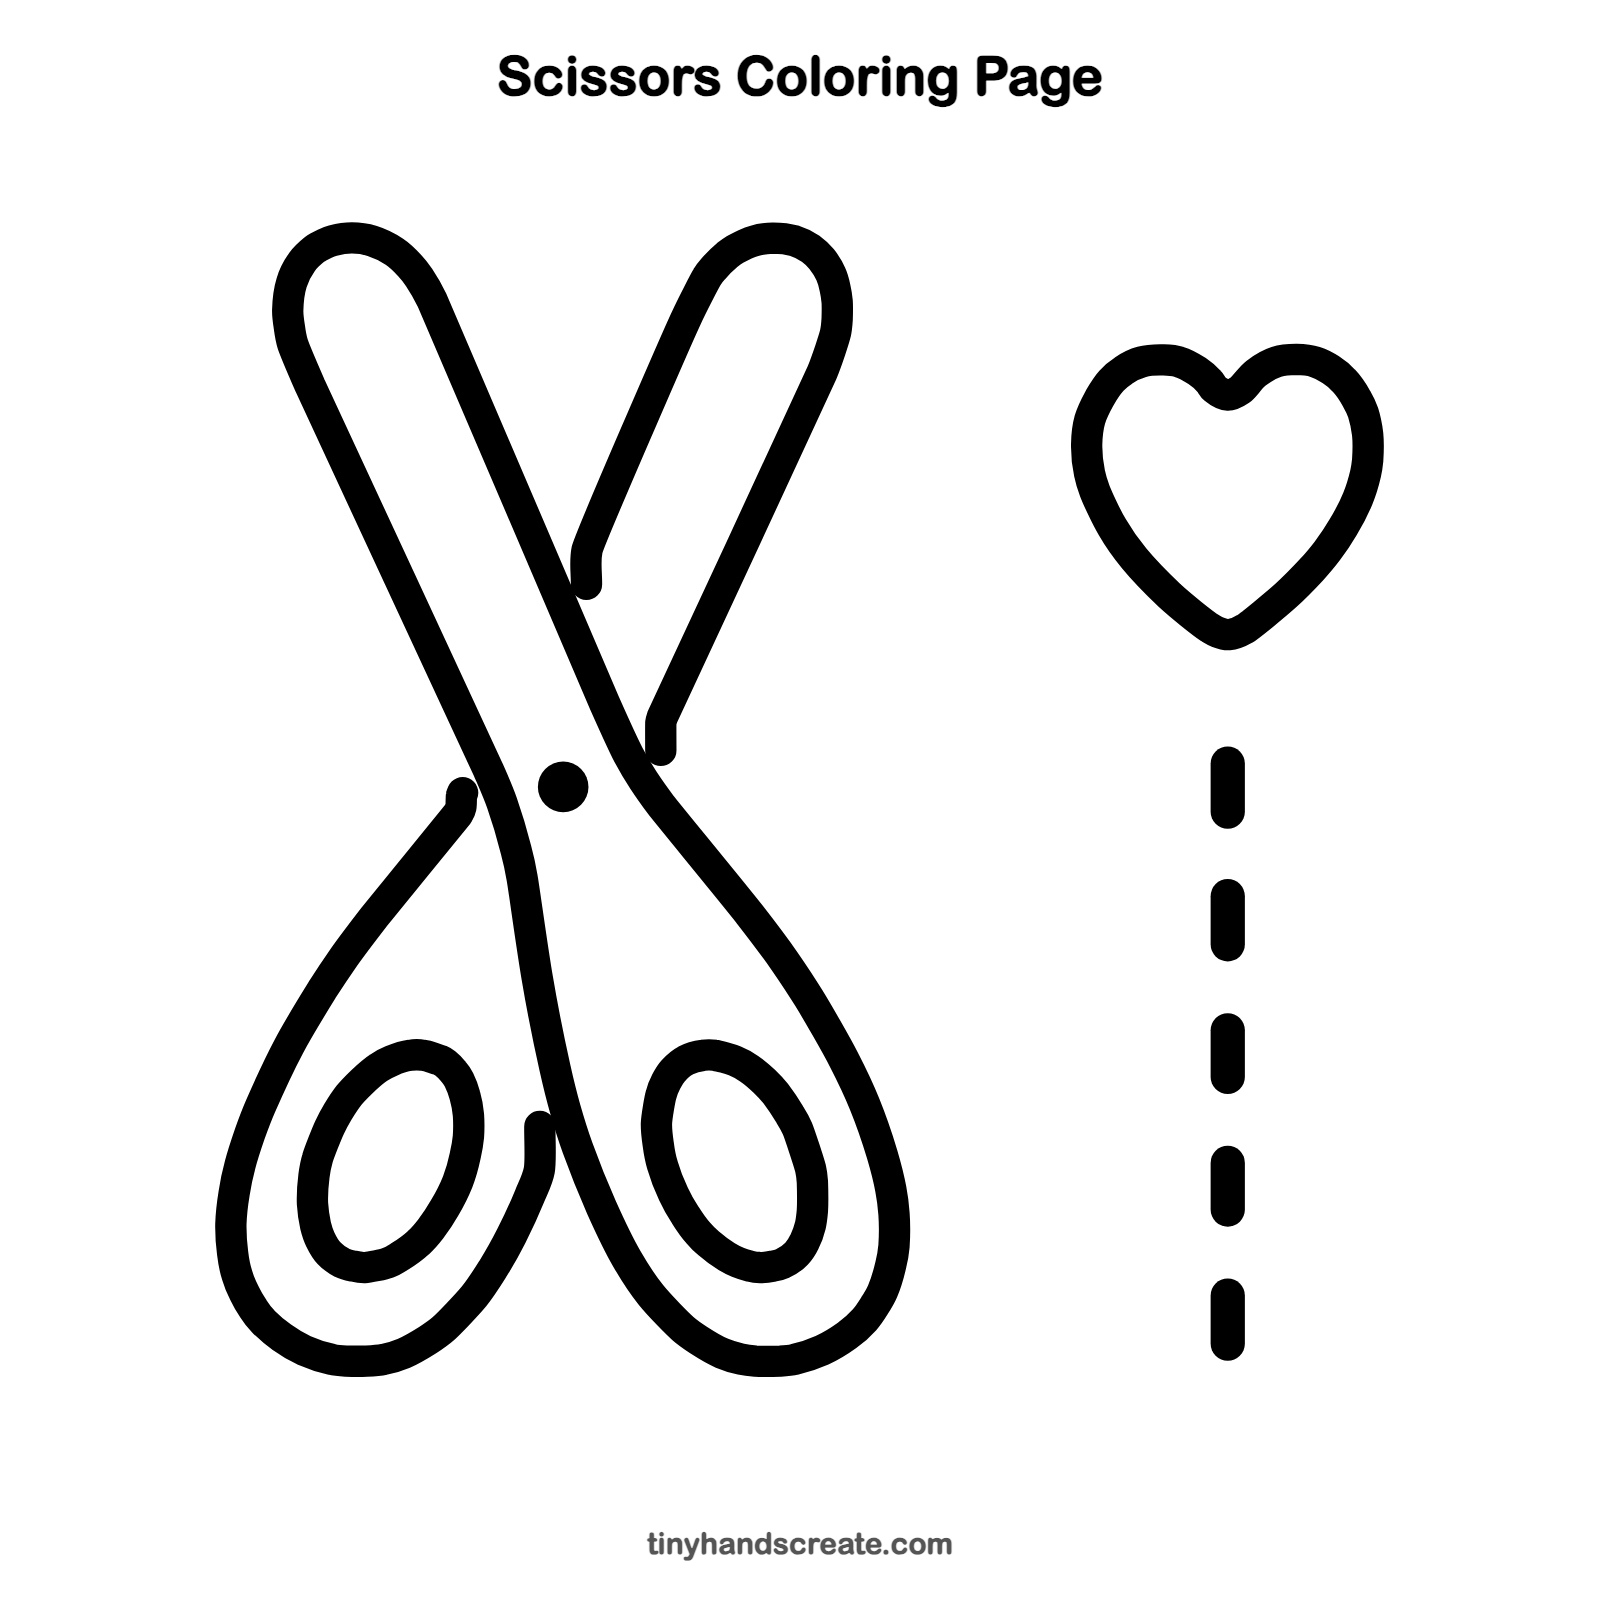
Want to go straight to coloring? Open this scissors coloring page at full size and print it. It is the same drawing you just learned, with clean lines ready for crayons or markers.
How to color your scissors drawing
Try bright red or blue for the handles and gray for the blades, with a pink or red heart. For a creative twist, color the heart with polka dots or stripes, as if it were cut from patterned paper.
Scissors fun fact for kids
Scissors are more than 2,000 years old. The first ones were made from a single piece of bent metal, like a spring, and you squeezed them to cut.
Questions about drawing scissors
What shapes do I need to draw scissors?
You need two long skinny rounded shapes for the blades, two big teardrop loops for the handles, and two ovals for the finger holes. A small dot in the middle is the screw.
How do I make the scissors look like they are crossing?
Draw the first blade and handle as one complete shape. Then draw the second blade so its lines stop when they touch the first one, and it will look like it is tucked behind.
How do I make my scissors look more real?
Add the little screw dot where the blades cross and keep the finger holes matching. Coloring the handles a different color from the blades also helps a lot.