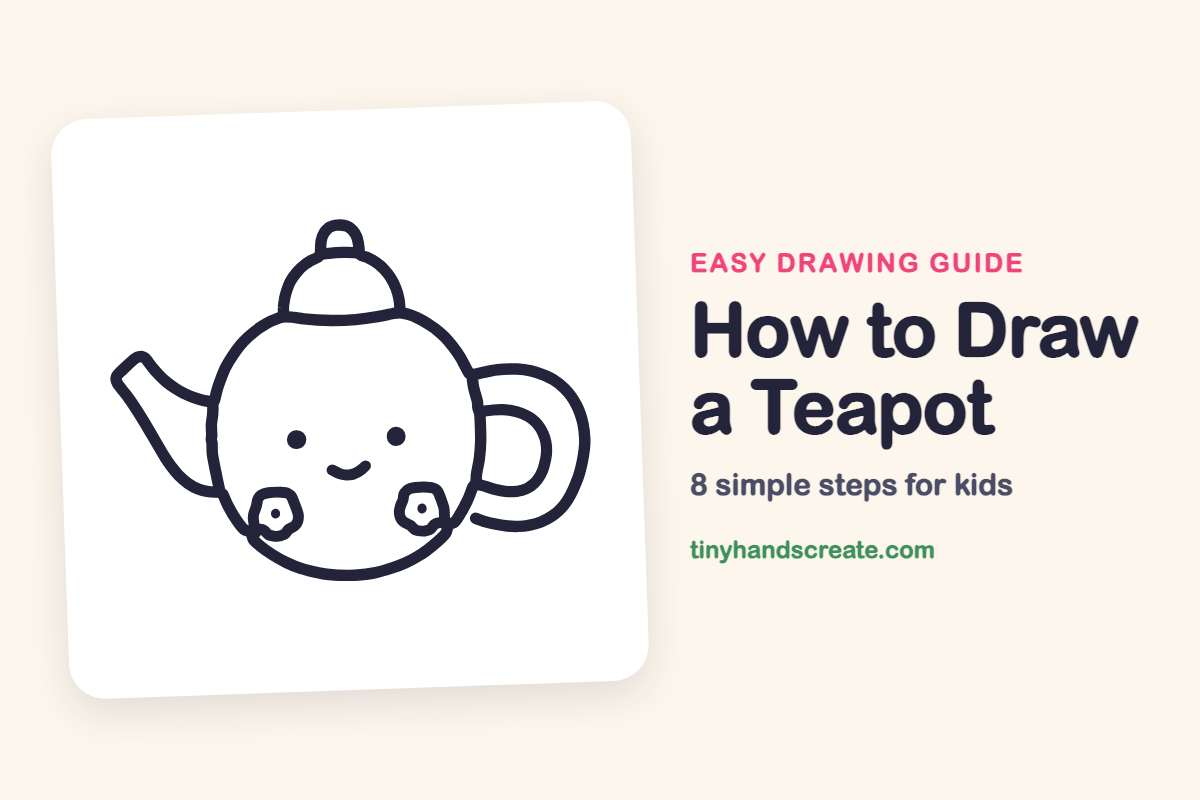
How to Draw a Teapot (Easy Step by Step)
This smiling teapot is a fun first drawing because it is mostly circles and curves. You build it from one big round body, a small dome for the lid, and curvy shapes for the spout and handle. Adding a face and flower cheeks makes it feel like a friend ready for a tea party.
- Easy
- 10 minutes
- 8 steps
You need: paper, a pencil, an eraser, and crayons or markers for coloring.
Start drawingIn this article (7 sections)
How to draw a teapot step by step
How to Draw a Teapot · tinyhandscreate.com
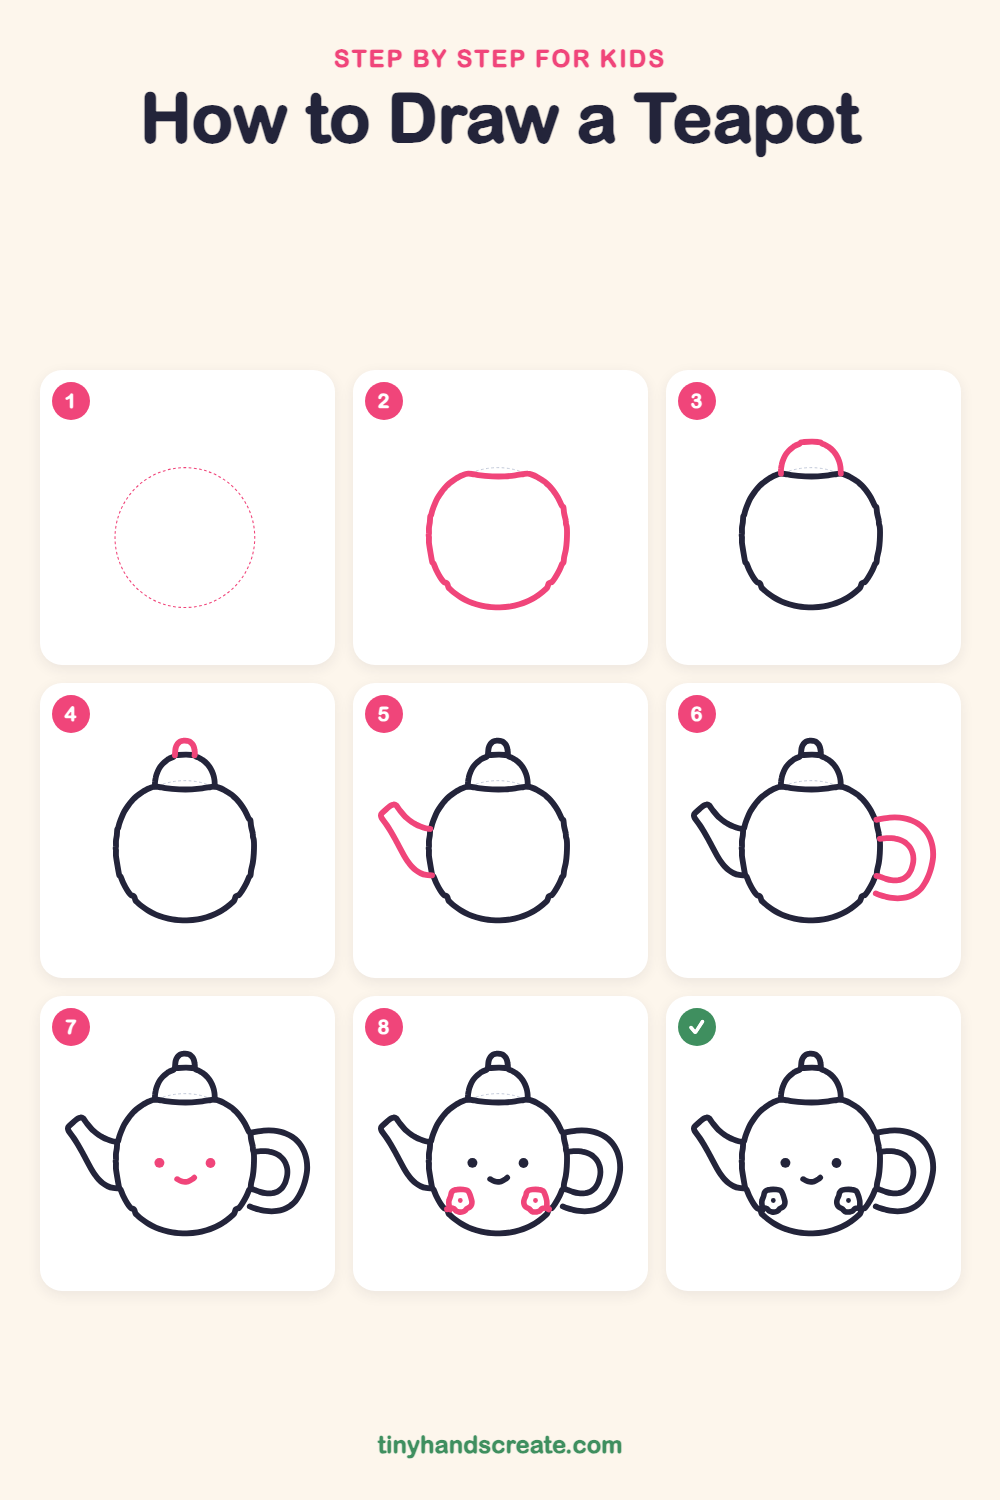
Step 1: Guide shapes
Lightly sketch this oval. It only shows where the big parts go, so press softly. You will erase it at the end.
Step 2: The round body
Draw a big round shape, a little wider than it is tall, in the middle of your page. Make the top a bit flat, because the lid will sit there.
Step 3: The lid
On top of the body, draw a small dome, like half of a circle. Start and end on the flat top of the body so the dome sits right on it.
Step 4: The lid knob
On top of the dome, draw a tiny upside-down U shape. It is the little handle you would grab to lift the lid.
Step 5: The spout
On the left side, start at the body and draw a curved line going up and out to a short slanted tip. Then draw a second curved line from the tip back down to the body to make the pouring tube.
Step 6: The handle
On the right side, draw a big backwards C that starts at the body and curves out and back in. Then draw a smaller C inside it, so the handle looks like a thick loop.
Step 7: The happy face
Add two small filled dots for eyes in the middle of the body. Between them and a little lower, draw a small smile like a tiny bowl.
Step 8: Flower cheeks
Near the bottom left and bottom right of the body, draw a small wobbly circle with bumpy edges, like a flower. Put a tiny dot in the middle of each one.
All done!
Erase the guide shapes, go over your lines, then color it in.
Finished your teapot? Keep the pencils out and learn how to draw a house or how to draw a tent next.
Tips for drawing a teapot
- Draw the body first and keep it light. Every other part attaches to it, so a good round shape makes the rest easy.
- The handle is the trickiest part. Draw the big outer C first, then tuck a smaller C inside it, and keep both ends touching the body.
- For the flower cheeks, draw a wobbly circle with a few soft bumps instead of trying to draw petals one at a time.
Free teapot coloring page
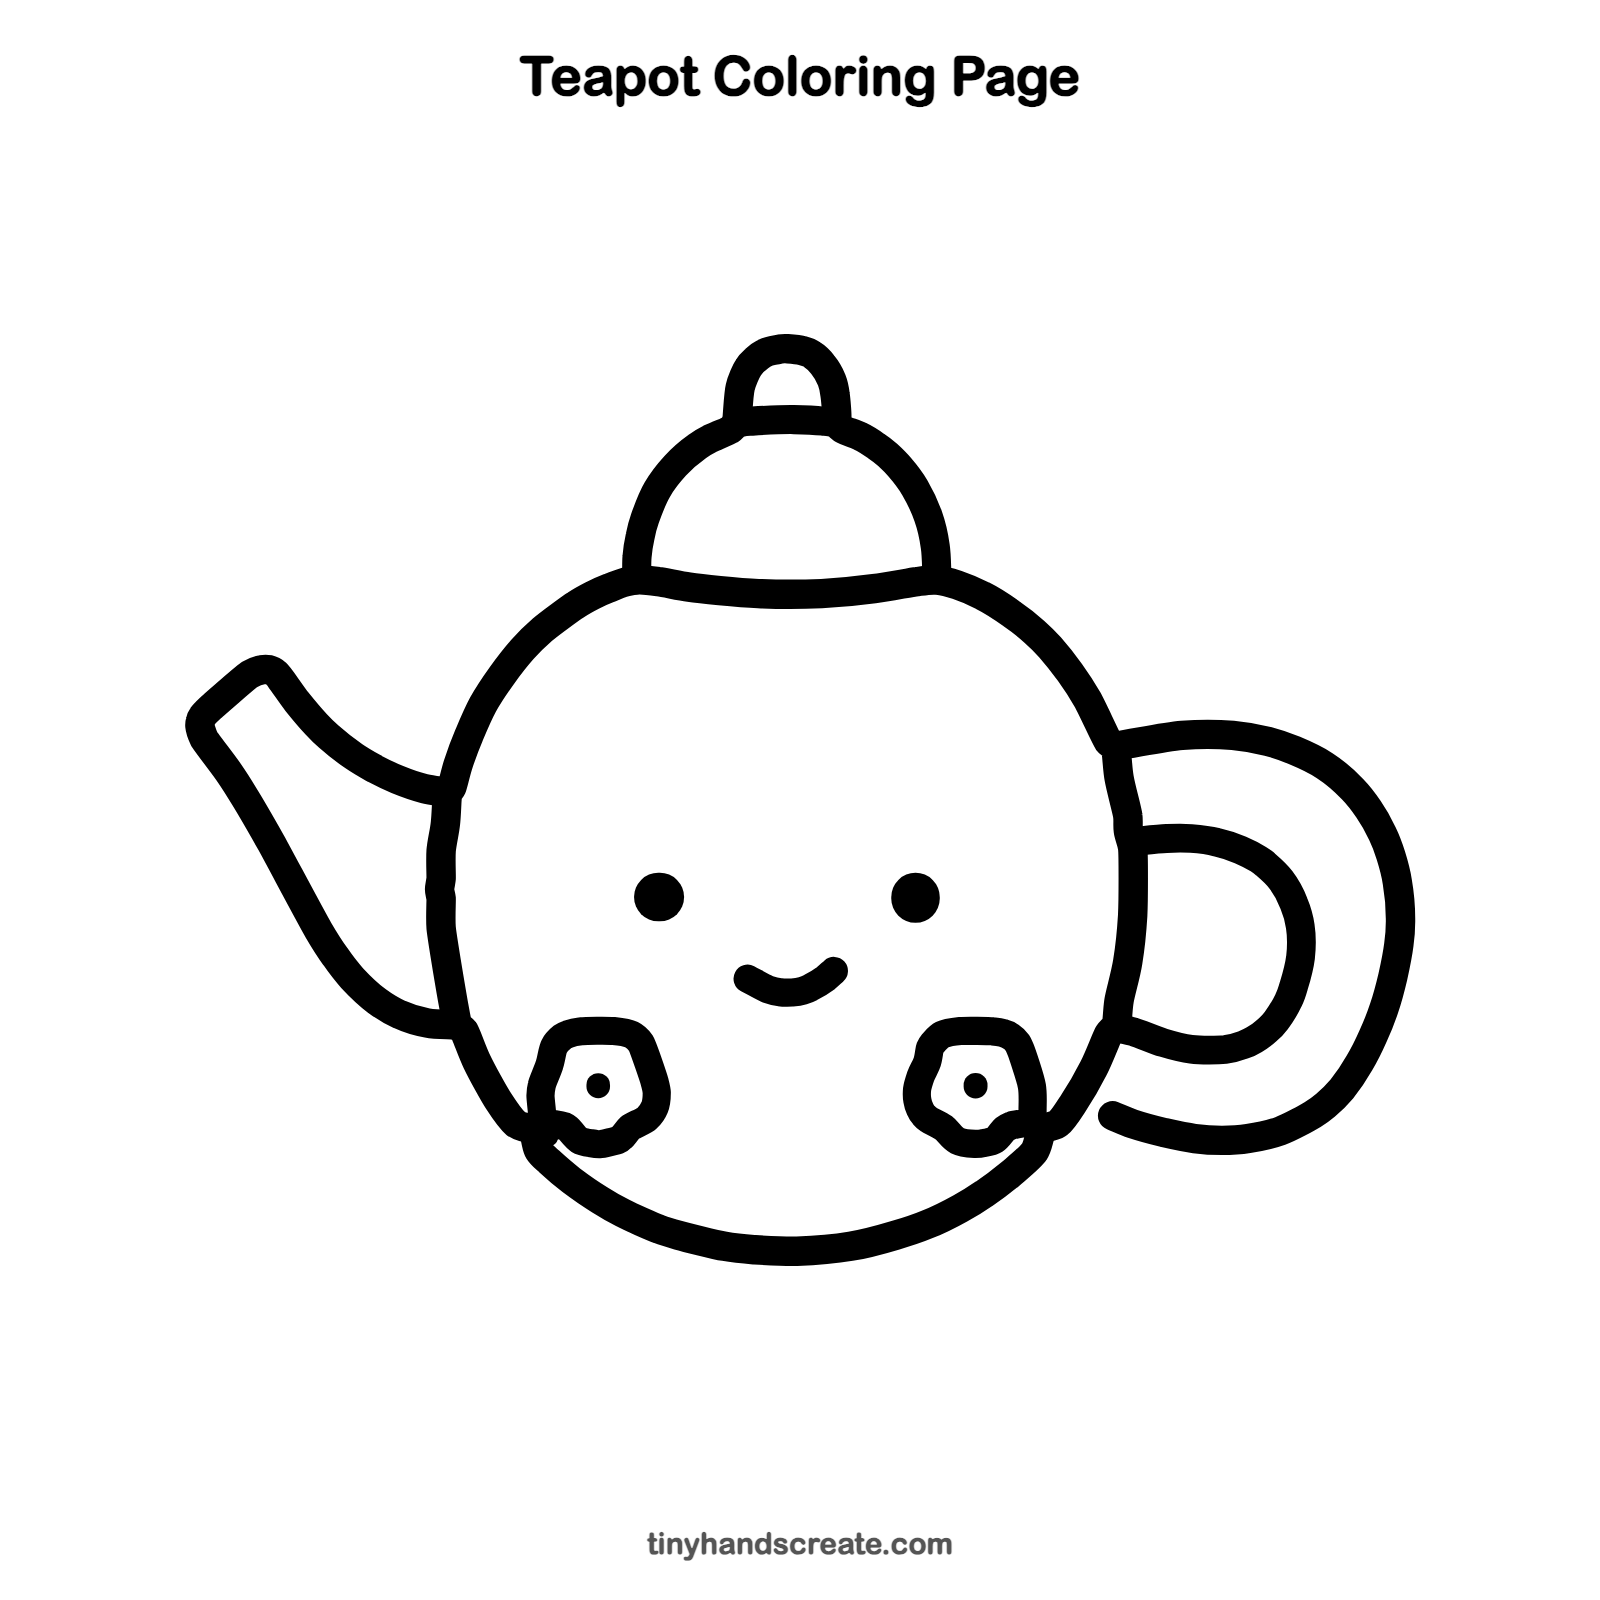
Want to go straight to coloring? Open this teapot coloring page at full size and print it. It is the same drawing you just learned, with clean lines ready for crayons or markers.
How to color your teapot drawing
Try a soft blue or pink for the body, a different color for the lid, and bright colors for the flower cheeks. For a creative twist, decorate the body with polka dots or stripes, like a fancy tea set.
Teapot fun fact for kids
Tea was first enjoyed in China thousands of years ago, and people there later began making teapots to keep tea warm and pour it neatly.
Questions about drawing a teapot
What shapes do I need to draw a teapot?
You need a big round shape for the body, a small dome for the lid, a tiny U for the knob, and curved lines for the spout and handle.
How do I make my teapot look cuter?
Put the eyes wide apart and the smile low and small, then add round flower cheeks on each side. Simple dots and curves make it look sweet.
How do I draw the handle so it looks right?
Start at the side of the body, curve out and around like a backwards C, then come back to the body. Add a smaller C inside to give it thickness.