How to Draw Robin Hood (Easy Step by Step)
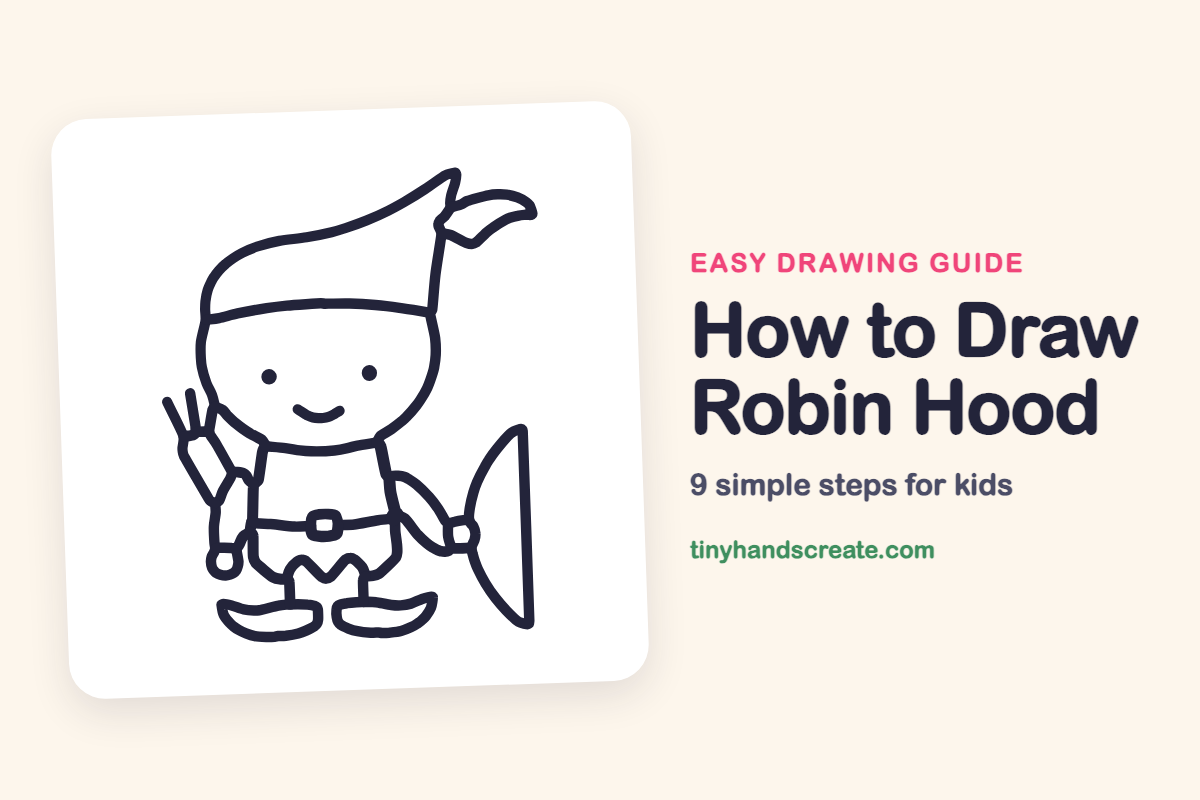
Robin Hood is a cute chibi hero with a big round head, a floppy pointed hat with a feather, and a bow at his side. He is built from simple shapes like curves, a bucket-shaped tunic, and a zigzag hem, so he is a good first character to draw.
- Medium
- 15 minutes
- 9 steps
You need: paper, a pencil, an eraser, and crayons or markers for coloring.
Start drawingIn this article (7 sections)
How to draw Robin Hood step by step
How to Draw Robin Hood · tinyhandscreate.com
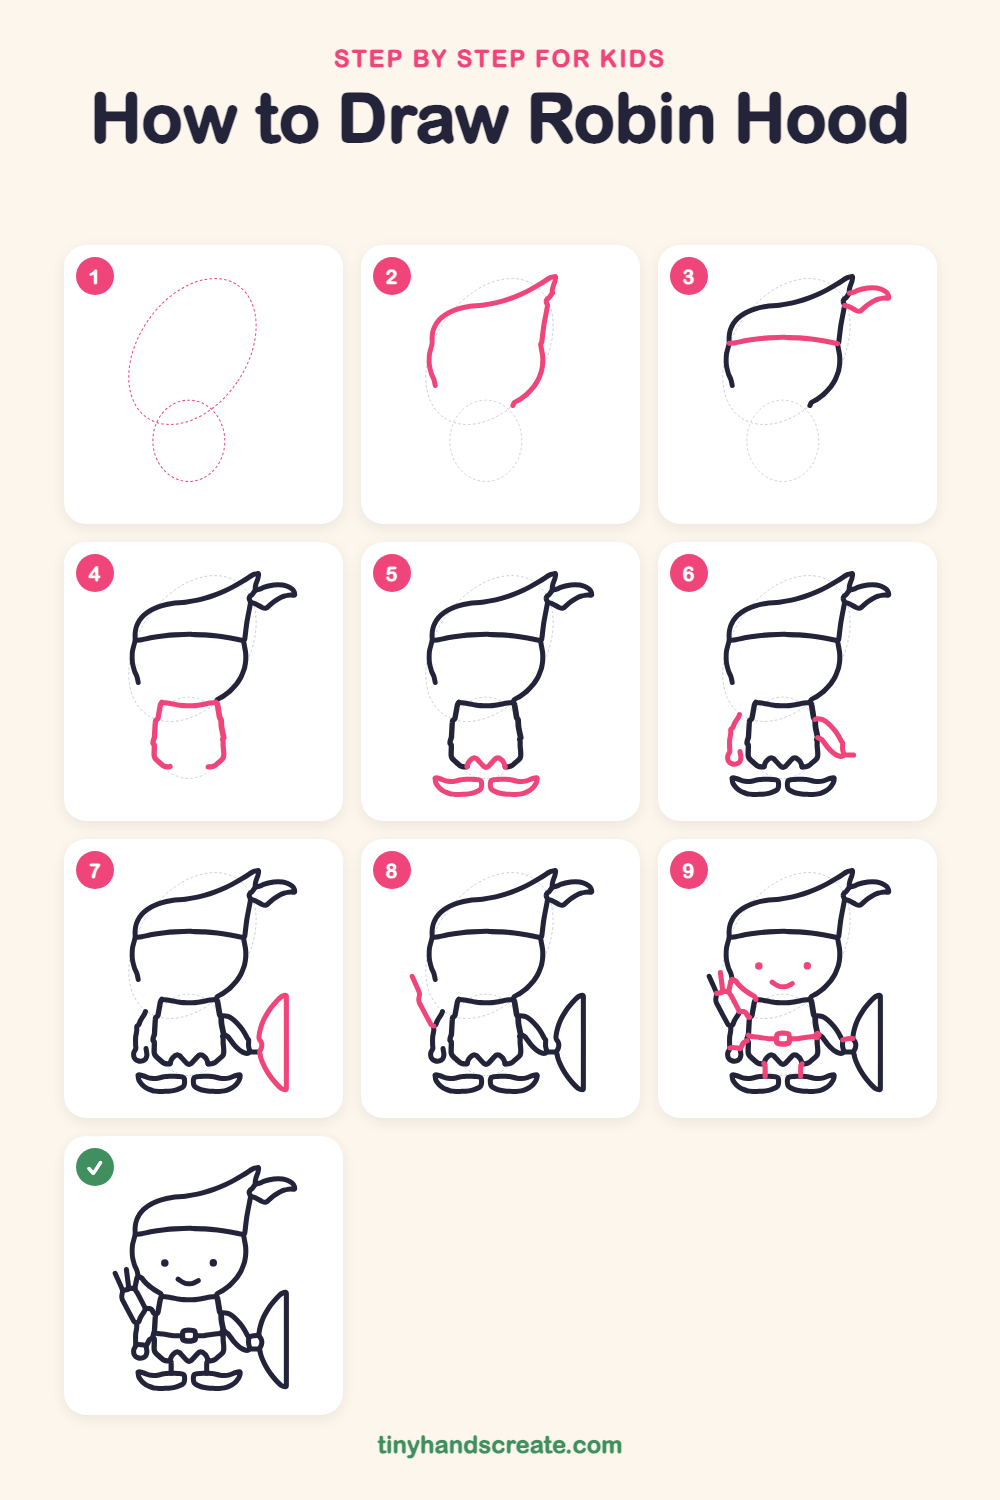
Step 1: Guide shapes
Lightly sketch these 2 ovals. They only show where the big parts go, so press softly. You will erase them at the end.
Step 2: Head and hat outline
Start at the lower left and draw a curve that swoops up and over to a sharp point on the right. Then come back down the right side in a round curve, like a big leaf, and leave the bottom open.
Step 3: Hat band and feather
Draw a gently curved line straight across the hat for the hat band. Then add a small curly feather sticking out at the pointy tip.
Step 4: Neck and tunic
Under the head, draw a short line for the neck, then two sides going down to make a wide bucket shape for the tunic. Curl the bottom corners in a little and leave the bottom open.
Step 5: Zigzag hem and boots
Draw a wiggly zigzag line along the bottom of the tunic, like little mountain peaks. Then add two curvy, pointed boots underneath.
Step 6: Arms
On the left, draw a short curved line down from the shoulder and finish it with a tiny curl for the hand. On the right, draw a swooping curved arm that ends in a small flick.
Step 7: The bow
Next to the right hand, draw a big curve shaped like half a moon. Close it with a straight line down its right side.
Step 8: Quiver strap
Near the left side, draw one long slanted line that runs from above the shoulder down toward the left hand. This is the start of the arrow holder.
Step 9: Face, quiver and belt
Add two dots for eyes and a small smile. Finish the arrow holder with a short tube and two or three little lines poking out the top for arrows. Then draw a belt across the tunic with a small square buckle, add two short lines for legs above the boots, and a tiny grip where the hand holds the bow.
All done!
Erase the guide shapes, go over your lines, then color it in.
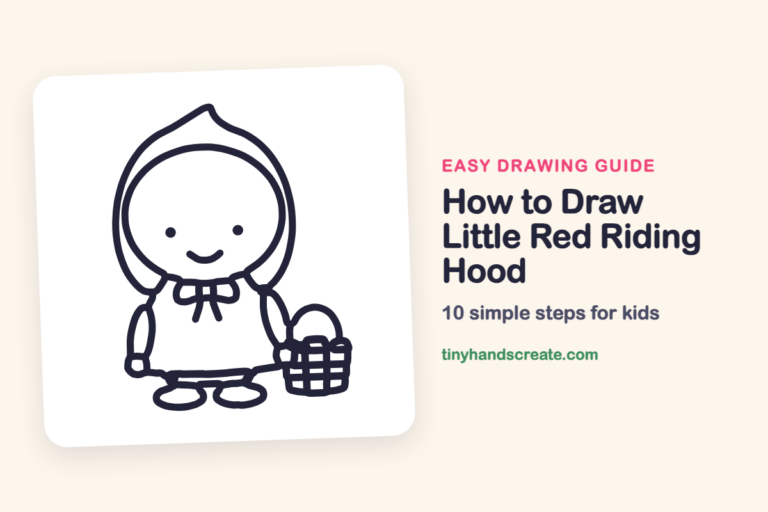
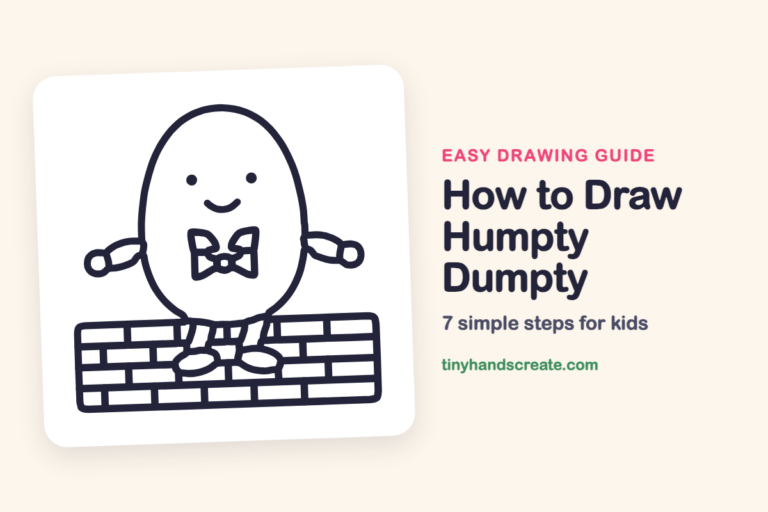
Finished your Robin Hood? Keep the pencils out and learn how to draw Little Red Riding Hood or how to draw Humpty Dumpty next.
Tips for drawing Robin Hood
- Start with the big leaf-like shape for the head and hat, and leave the bottom open so the face has room.
- The zigzag hem is the trickiest part, so make a few light dots where the points go and then join them.
- Draw the bow as a gentle curve, then close it with one straight line so it looks like half a moon.
Free Robin Hood coloring page
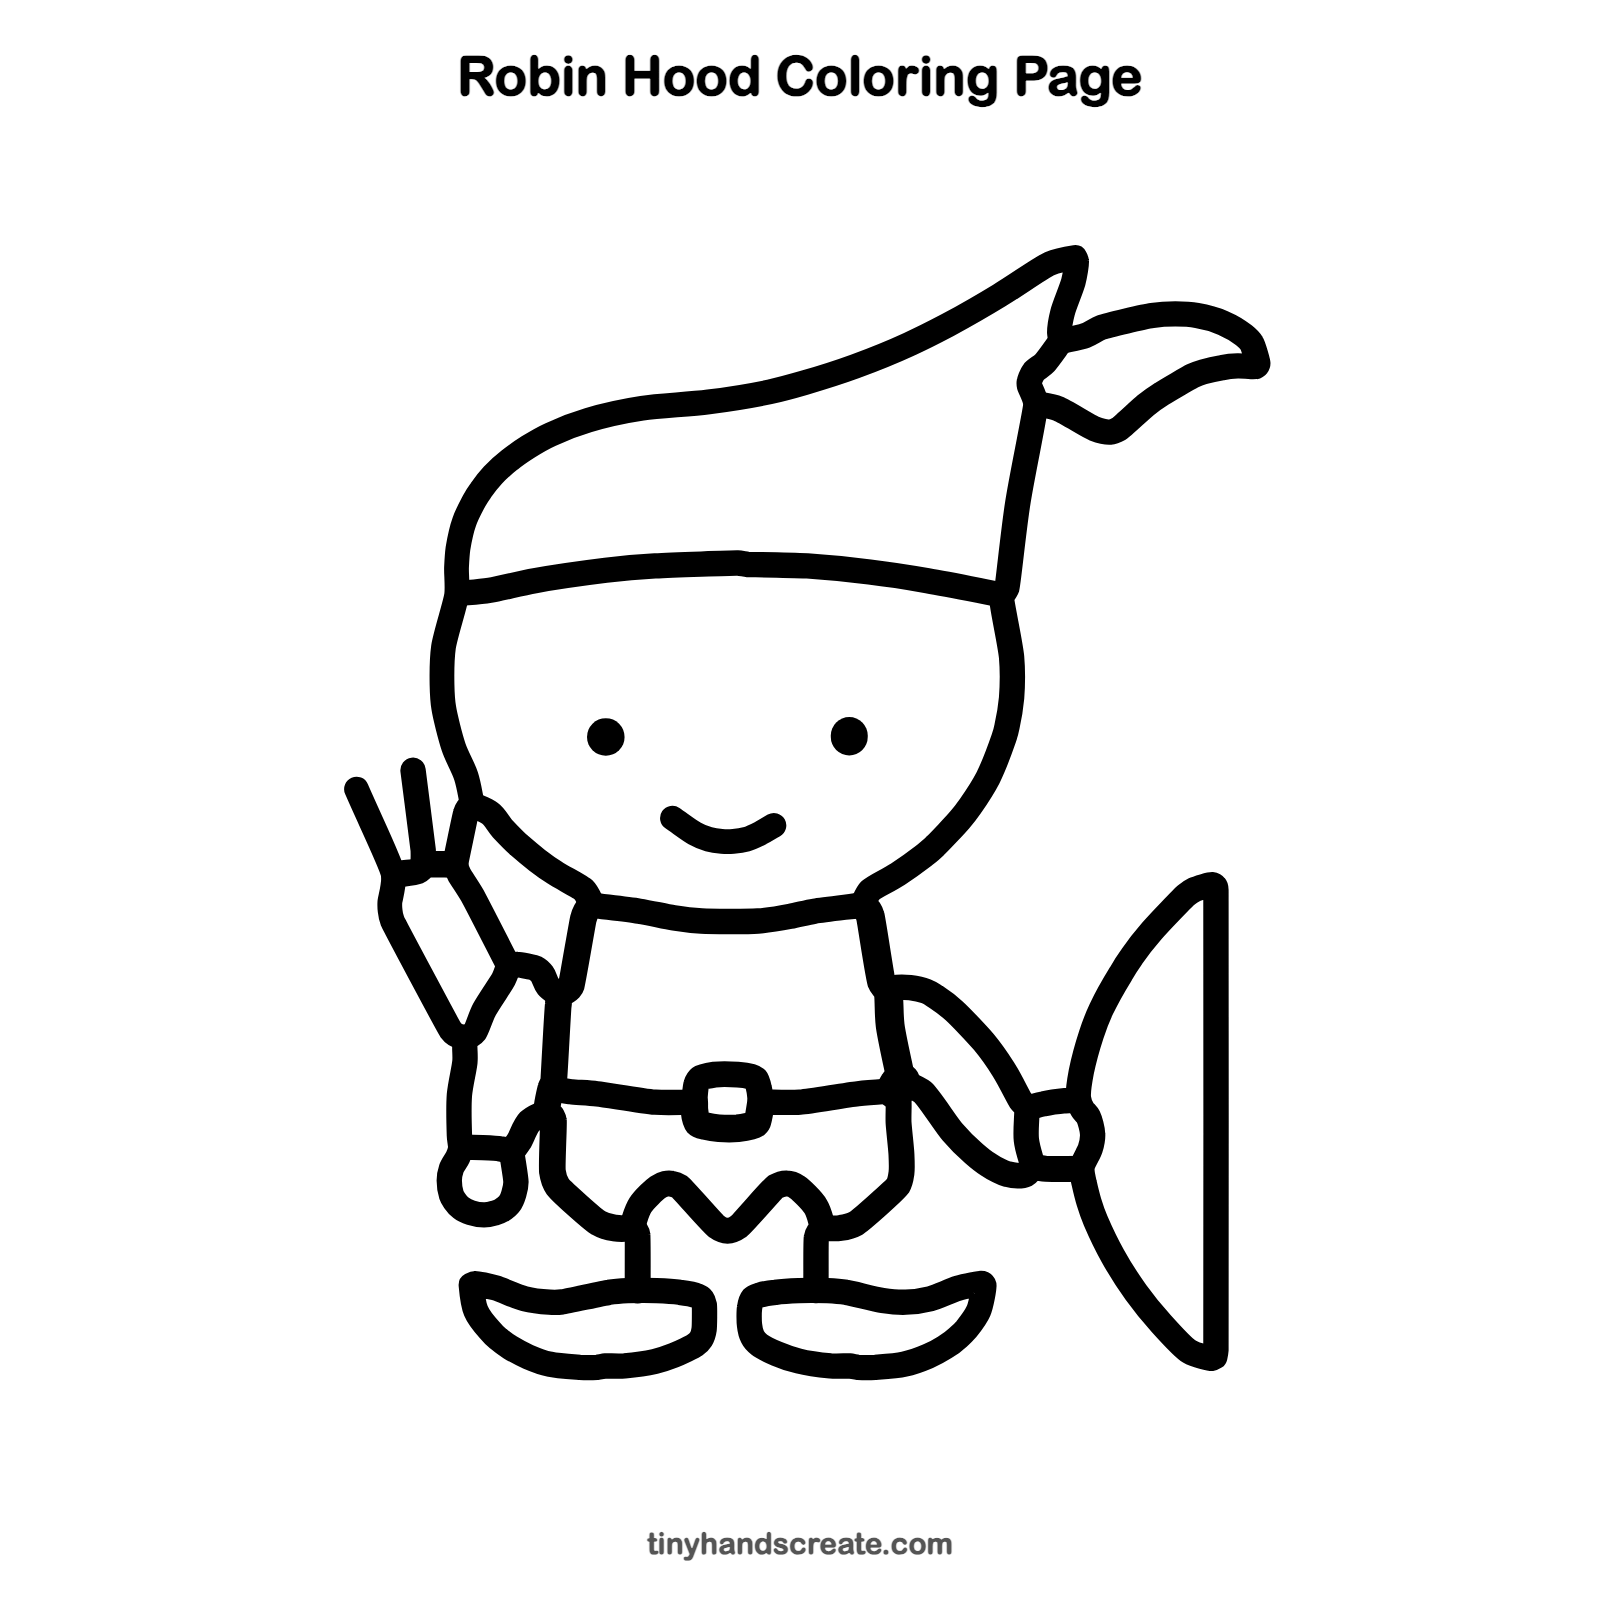
Want to go straight to coloring? Open this Robin Hood coloring page at full size and print it. It is the same drawing you just learned, with clean lines ready for crayons or markers.
How to color your Robin Hood drawing
Try a green hat and tunic with brown boots and a bright red feather. For a twist, give Robin a rainbow feather or color the bow gold.
Robin Hood fun fact for kids
The legend of Robin Hood is very old. A poem written in England around 1377 mentions people singing rhymes about him.
Questions about drawing Robin Hood
What shapes do I need to draw Robin Hood?
You need a big rounded shape for the head and hat, a bucket shape for the tunic, and curved lines for the arms and bow. A zigzag line makes the tunic hem.
How do I make my Robin Hood look cuter?
Keep the head big and the body small. Put the eyes wide apart and add a little smile.
How do I draw the bow so it looks right?
Start with a smooth curve like the edge of a half moon. Then close it with a straight line down the side.