How to Draw a Kid with a Snowman (Easy Step by Step)
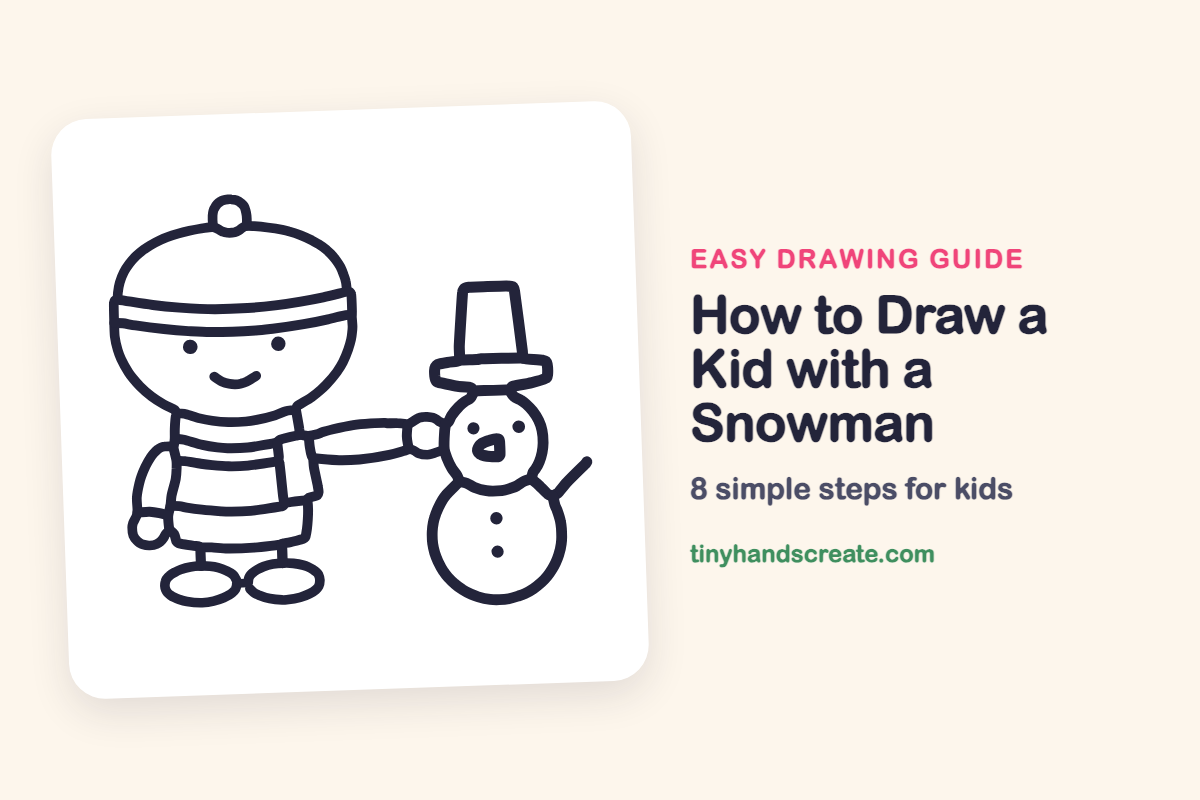
A kid and a snowman standing side by side is a cozy winter scene, and it is made almost entirely from circles and ovals. The kid has a round head, a boxy body and oval shoes, while the snowman is just two stacked circles with a tall hat. It is a good first drawing for beginners because every part is a simple shape.
- Easy
- 15 minutes
- 8 steps
You need: paper, a pencil, an eraser, and crayons or markers for coloring.
Start drawingIn this article (7 sections)
How to draw a kid with a snowman step by step
How to Draw a Kid with a Snowman · tinyhandscreate.com
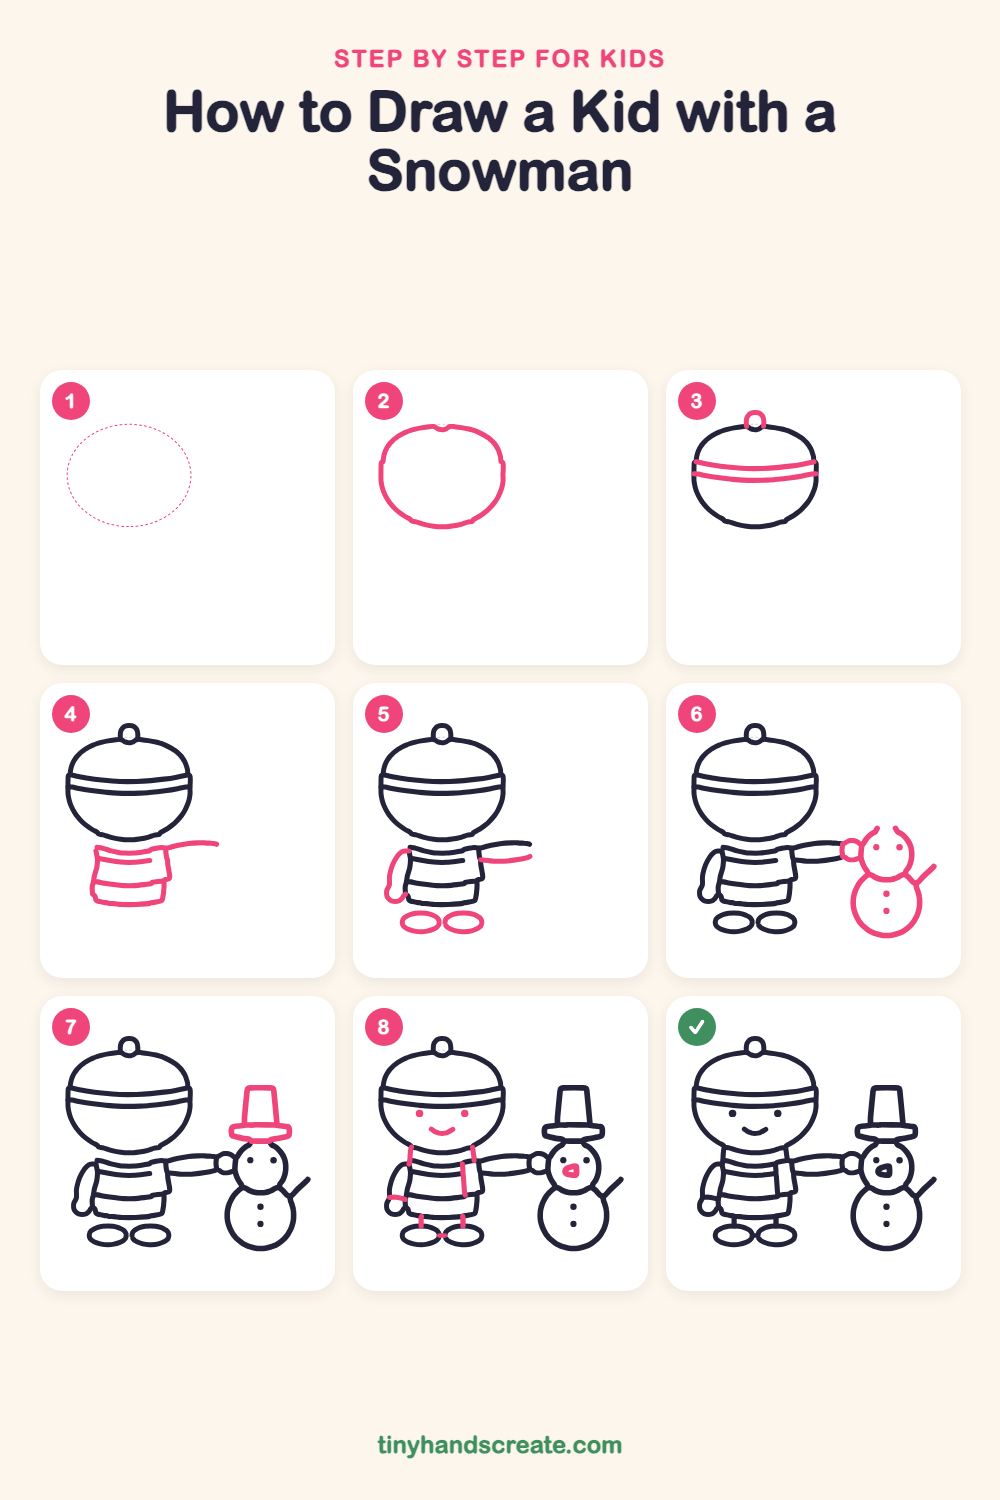
Step 1: Guide shapes
Lightly sketch this oval. It only shows where the big parts go, so press softly. You will erase it at the end.
Step 2: The big head
Draw a big round circle for the head, a little flat on the bottom like a gumdrop. Make it the biggest shape on the left side of your paper.
Step 3: Hat band and pom-pom
Draw two gently curved lines across the top part of the head to make the band of the winter hat. Then add a small circle on top for the pom-pom.
Step 4: Body and scarf
Under the head, draw a short wide rectangle for the body. Add a stripe across the middle and another curvy line near the bottom, then draw one long line stretching out to the right from the top of the body.
Step 5: Arms and shoes
Draw a second curved line under the long line to close it into a long skinny arm reaching out to the right. Add a smaller arm hanging down on the left with a little rounded mitten at the end, then two flat ovals at the bottom for shoes.
Step 6: The snowman
Draw a big circle for the snowman's bottom, then a smaller circle on top for his head, touching it. Add a small circle mitten where the kid's long arm meets him, two dot eyes, two dot buttons, and a short stick arm on the right.
Step 7: Snowman's tall hat
On top of the snowman's head, draw a flat wide oval for the brim. Then draw a tall box that gets a little wider at the top for the hat.
Step 8: Faces and finishing lines
Give the kid two dot eyes and a happy smile. Add a few short lines for the scarf tail, the neck and the legs, and draw a little triangle carrot nose on the snowman.
All done!
Erase the guide shapes, go over your lines, then color it in.
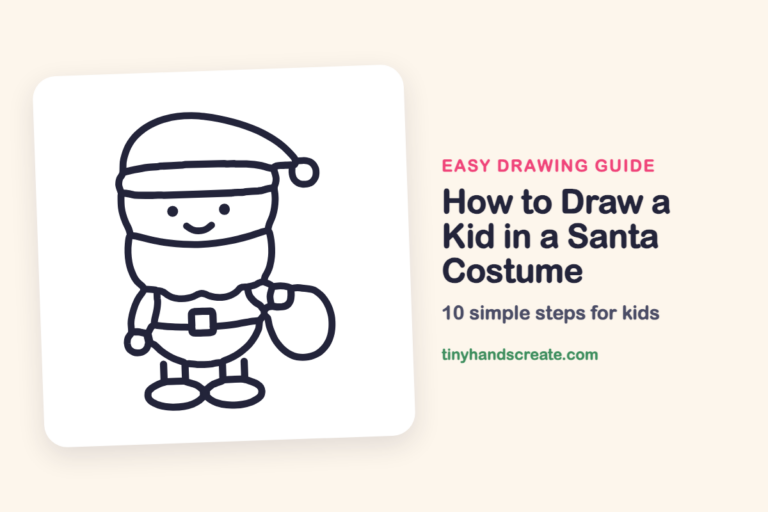
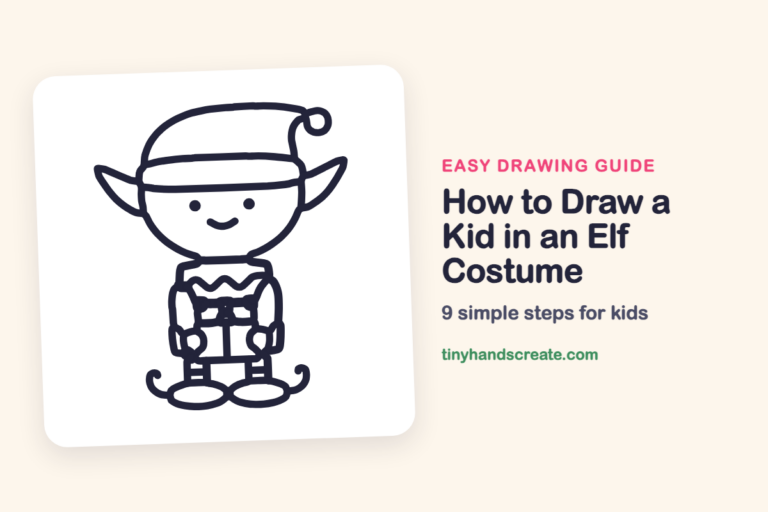
Finished your kid with a snowman? Keep the pencils out and learn how to draw a kid in a Santa costume or how to draw a kid in an elf costume next.
Tips for drawing a kid with a snowman
- Draw the kid's head big and round first, then curve the hat band lines the same way as the top of the head.
- The long arm is the trickiest part. Draw one long line out from the top of the body toward the snowman, then draw a second curve under it to close the shape.
- Make the snowman's bottom circle bigger than his head circle, and let the two touch, so he looks sturdy and the hat sits in the right place.
Free kid with a snowman coloring page
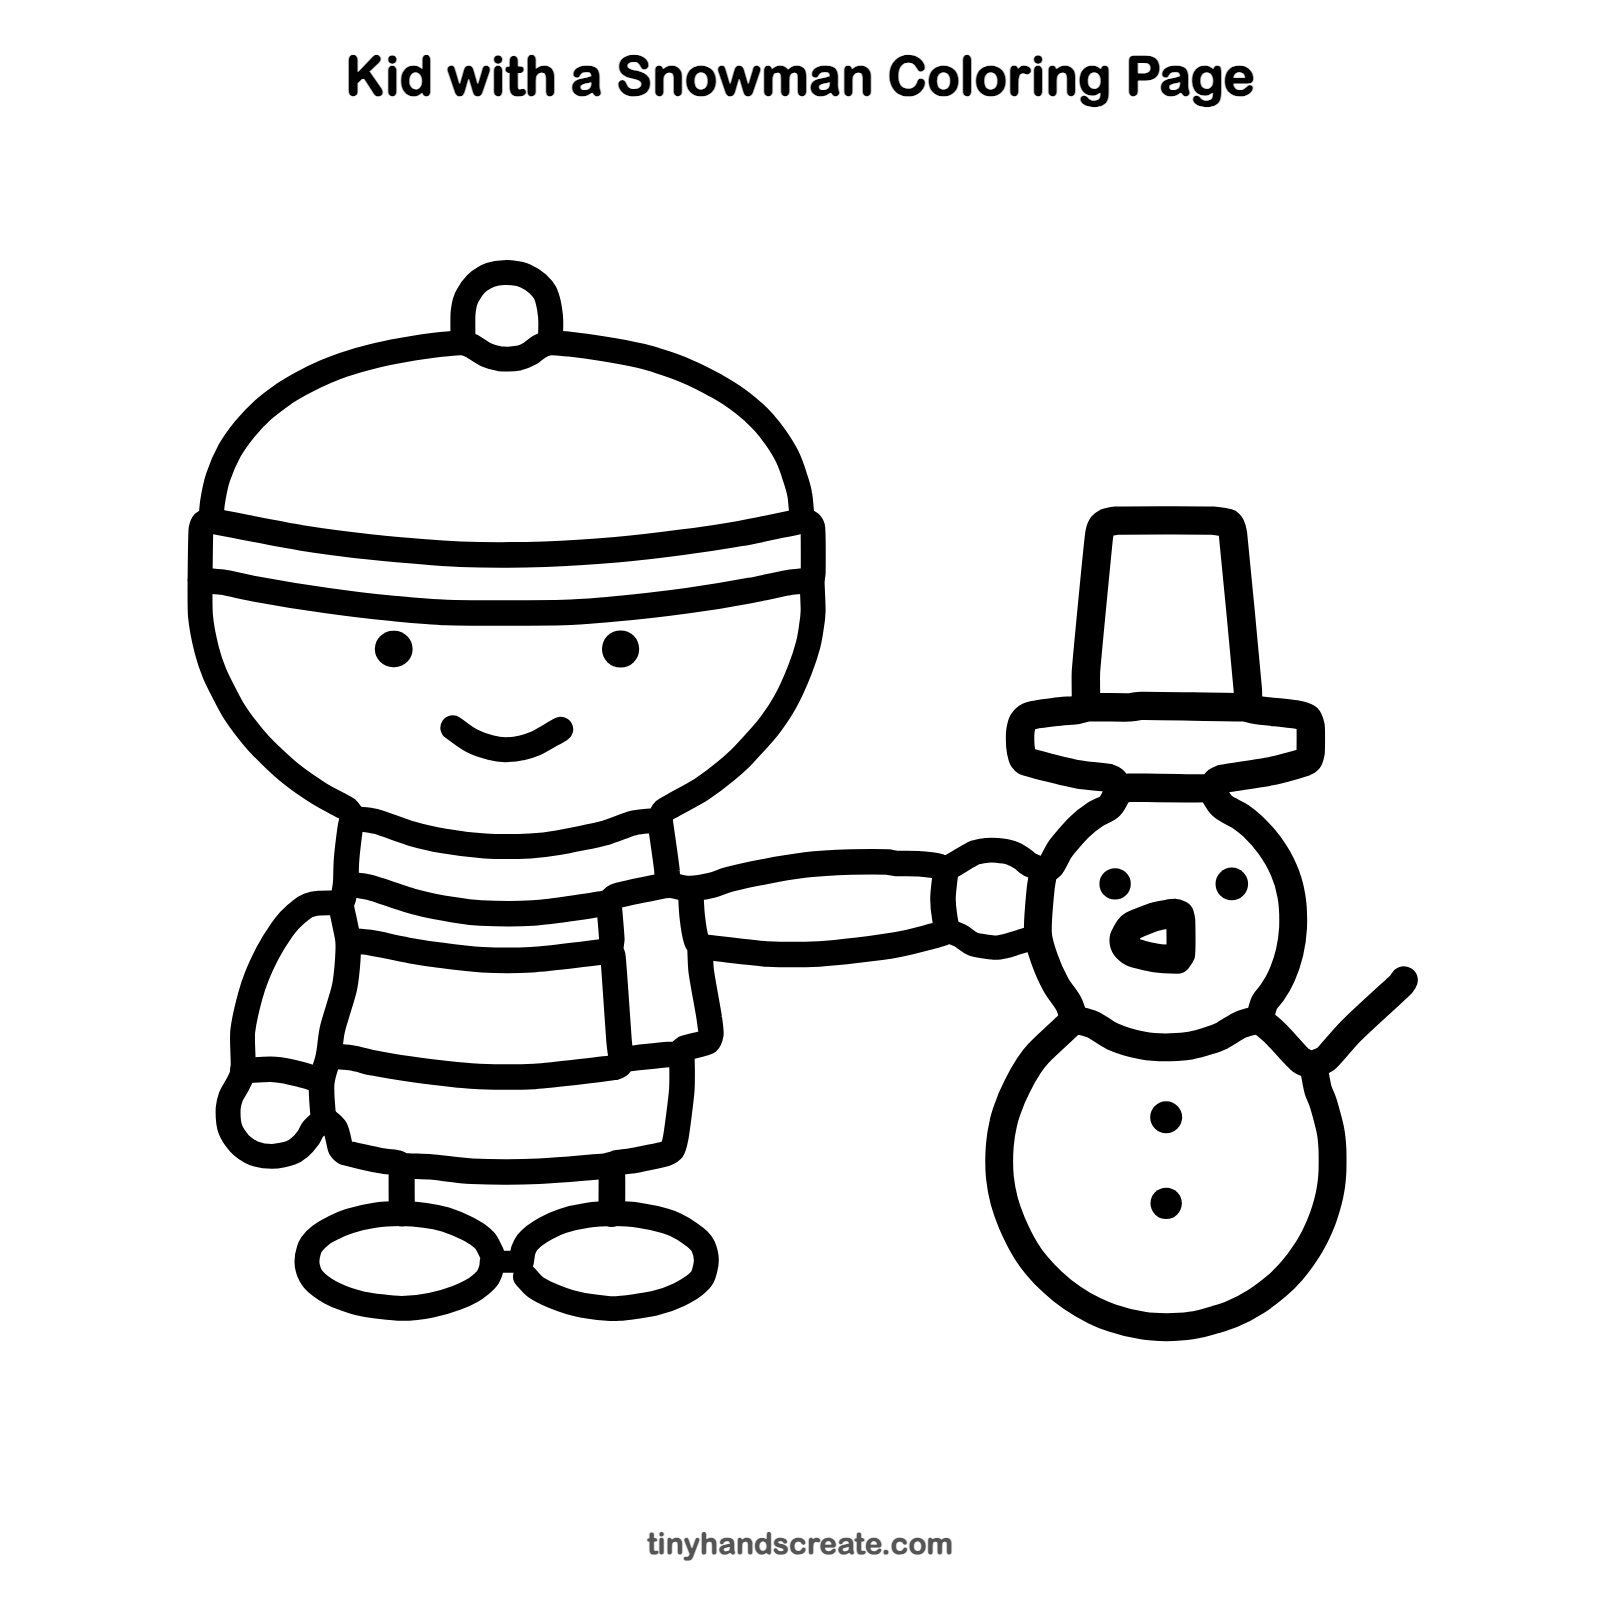
Want to go straight to coloring? Open this kid with a snowman coloring page at full size and print it. It is the same drawing you just learned, with clean lines ready for crayons or markers.
How to color your kid with a snowman drawing
Try a red hat and scarf for the kid, with blue mittens and shoes, and an orange carrot nose for the snowman. For a creative twist, add snowflakes in the sky with white crayon on blue paper.
Kid with a snowman fun fact for kids
Every snowflake has six sides or six points, because of the way water molecules line up when they freeze into ice crystals.
Questions about drawing a kid with a snowman
What shapes do I need to draw a kid with a snowman?
You need circles for the kid's head, the pom-pom, the mittens and the snowman's body, ovals for the arms and shoes, and a rectangle for the kid's body. A tall box and a flat oval make the snowman's hat.
How do I make my snowman look cuter?
Keep the eyes as small dots, make the nose a small triangle, and add a little stick arm. Drawing the hat a bit bigger also adds charm.
How do I draw the kid's arm reaching to the snowman?
Draw a long line from the top of the body out toward the snowman, then add a second curve under it to make a long, skinny oval. A small circle at the end makes the mitten.