How to Draw Sushi (Easy Step by Step)
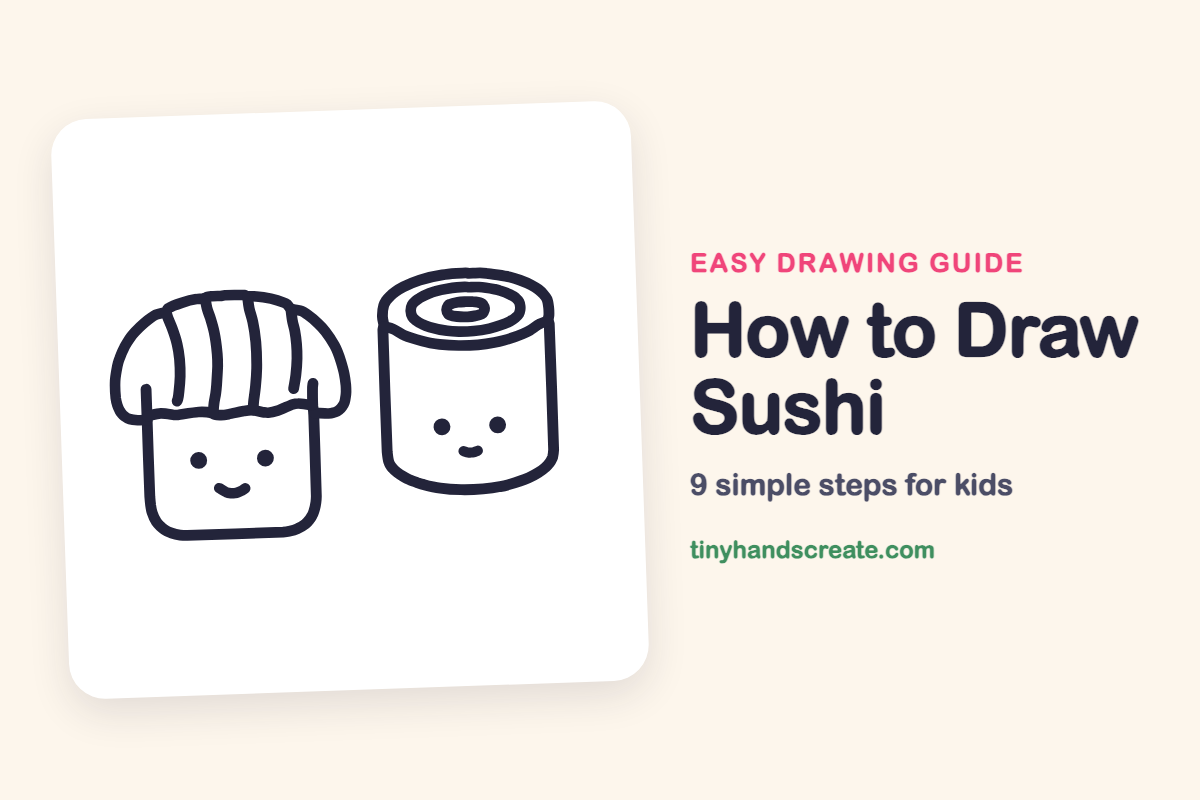
Sushi makes a great cute drawing because it is just a few simple shapes. The fish piece is a dome sitting on a rice block, and the roll is a can shape with ovals on top. Give each one a tiny smiling face and they turn into friends.
- Easy
- 15 minutes
- 9 steps
You need: paper, a pencil, an eraser, and crayons or markers for coloring.
Start drawingIn this article (7 sections)
How to draw sushi step by step
How to Draw Sushi · tinyhandscreate.com
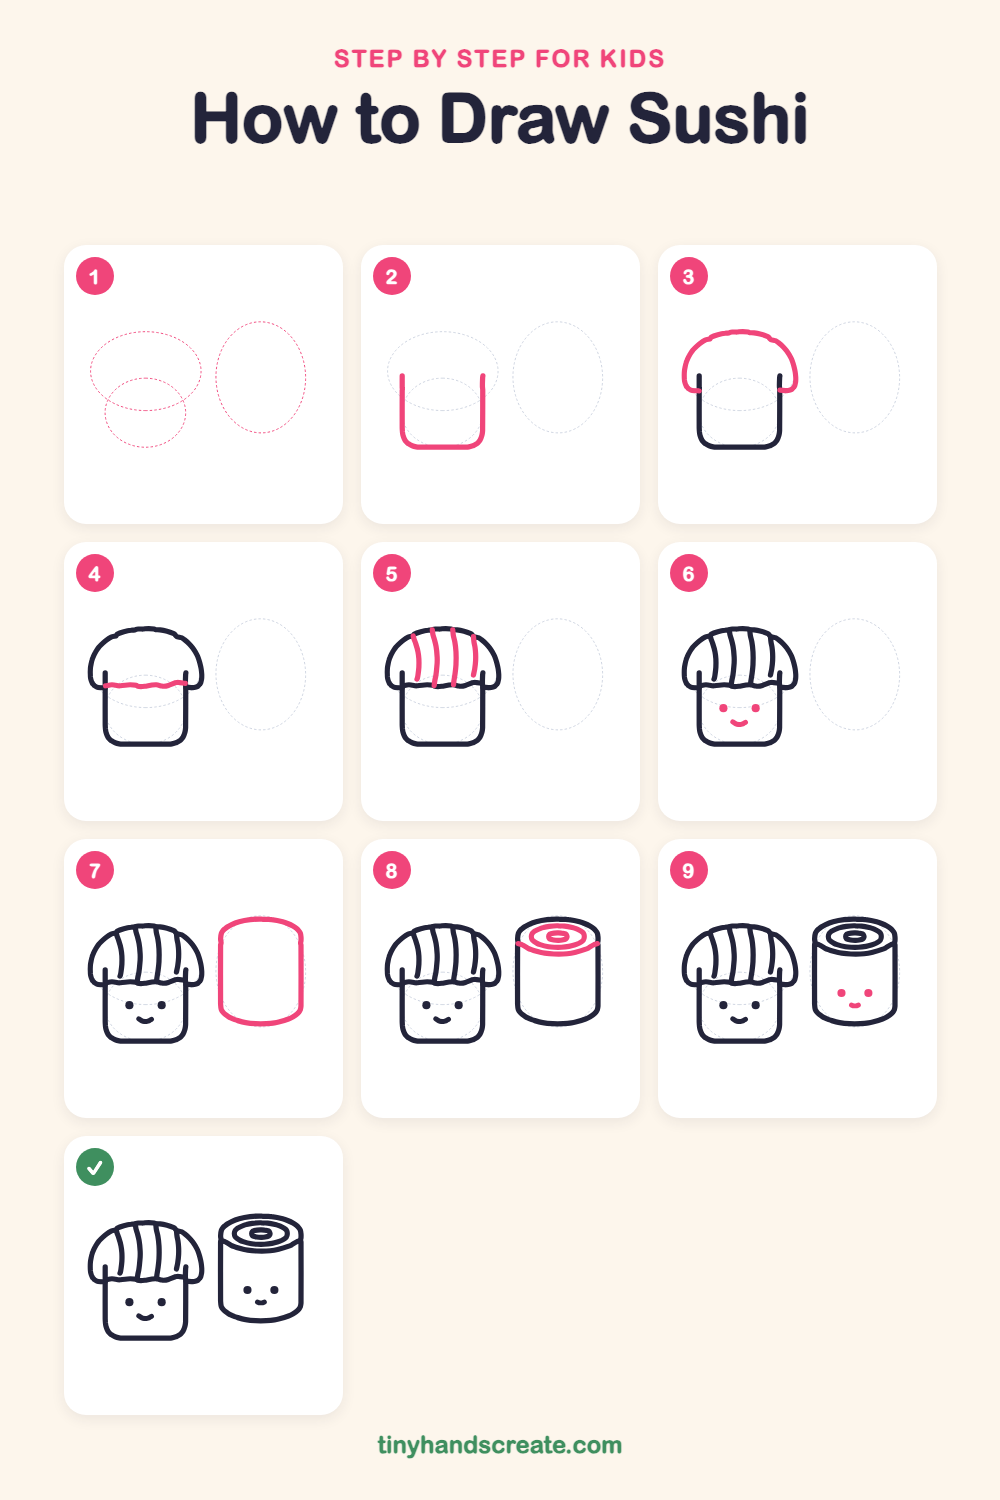
Step 1: Guide shapes
Lightly sketch these 3 ovals. They only show where the big parts go, so press softly. You will erase them at the end.
Step 2: The rice block
Draw a tall U shape with two straight sides and soft, rounded bottom corners. Leave the top open for now, because the fish will sit there.
Step 3: The fish topping
Draw a big dome like a mushroom cap over the top of the rice. Start at one side of the rice, curve up and over, and finish on the other side with a little hook at each end.
Step 4: The wavy rice edge
Draw a wiggly line across the rice just under the dome, from one side to the other. Make it gently wavy, like a small ripple.
Step 5: Fish stripes
Draw four curved lines from the top of the dome down toward the wavy line. Bend them a little like the ribs of an umbrella.
Step 6: Sushi smile
Add two small round dots for eyes in the middle of the rice. Draw a small curved smile below them.
Step 7: The roll tube
Draw a wide oval for the top. Then draw two straight lines down from its sides and join them with a curved line at the bottom, like a can.
Step 8: Rings on top
Inside the top oval, draw a smaller oval, then a tiny oval in the middle. Add a curved line across the front of the top, from one side to the other, to show where the top meets the side.
Step 9: Roll face
Draw two small round dots for eyes on the front of the roll. Add a tiny curved smile between and below them.
All done!
Erase the guide shapes, go over your lines, then color it in.
Finished your sushi? Keep the pencils out and learn how to draw a bowl of ramen or how to draw pancakes next.
Tips for drawing sushi
- Draw the rice block first and keep it big. The fish dome is much easier to fit over the top of a finished block.
- For the fish stripes, start each curved line at the top of the dome and pull down toward the wavy line. Keep them roughly the same distance apart.
- The roll's top is the trickiest part. Draw the big oval first, then the smaller ovals inside it, one at a time, so the rings stay neat.
Free sushi coloring page
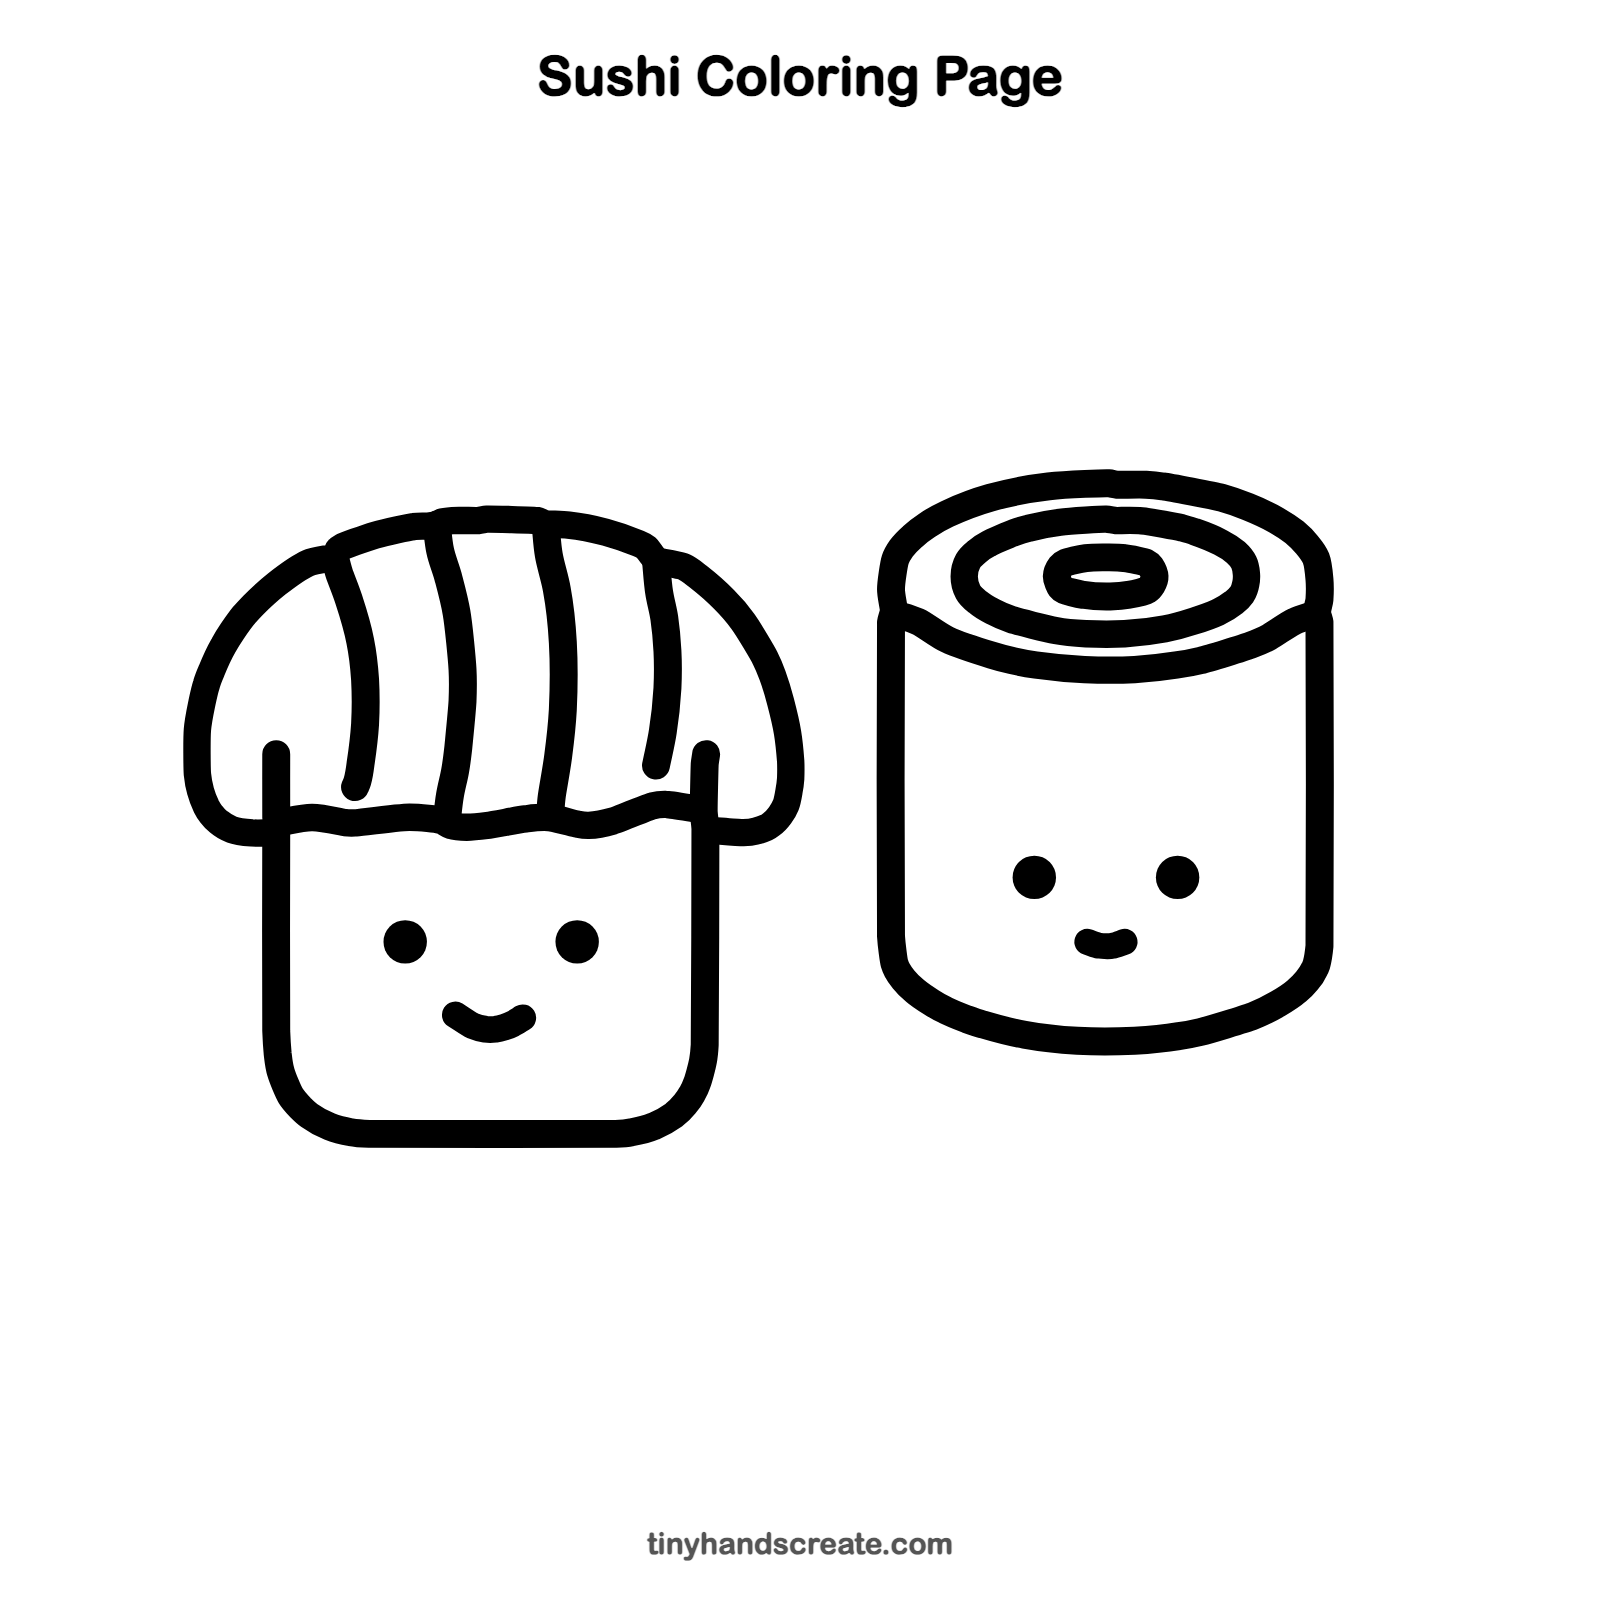
Want to go straight to coloring? Open this sushi coloring page at full size and print it. It is the same drawing you just learned, with clean lines ready for crayons or markers.
How to color your sushi drawing
Color the fish pink or orange and the rice white or very light gray. Make the roll's side dark green or black like seaweed. For a creative twist, give the roll's center a bright color.
Sushi fun fact for kids
The word sushi refers to the rice, not the fish. The rice is seasoned with vinegar, and a sushi roll is wrapped in a sheet of dried seaweed called nori.
Questions about drawing sushi
What shapes do I need to draw sushi?
You need a U shape for the rice, a dome for the fish, and ovals and a can shape for the roll. The faces are just dots and small curves.
How do I make my sushi look cuter?
Place the eyes wide apart and low on the body, and keep the smile small. A tiny smile looks sweeter than a big one.
How do I draw the rings on top of the sushi roll?
Draw one big oval, then a smaller oval inside it, then a tiny one in the middle. Think of ripples spreading out in a puddle.