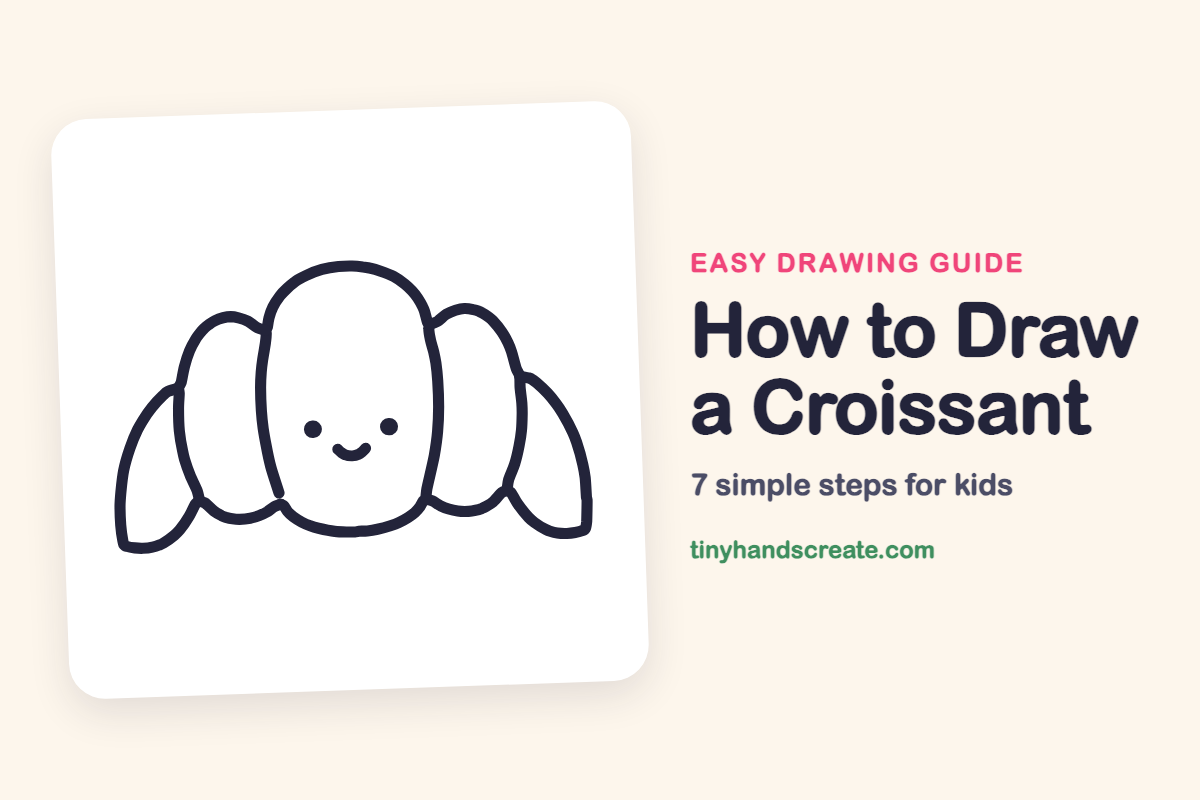
How to Draw a Croissant (Easy Step by Step)
A croissant is a fun thing to draw because it is made from just a few soft shapes. You will draw one big rounded shape in the middle, a curved bump on each side, and two leaf-shaped tips. Add a tiny smiling face and your pastry has a lot of personality.
- Easy
- 10 minutes
- 7 steps
You need: paper, a pencil, an eraser, and crayons or markers for coloring.
Start drawingIn this article (7 sections)
How to draw a croissant step by step
How to Draw a Croissant · tinyhandscreate.com
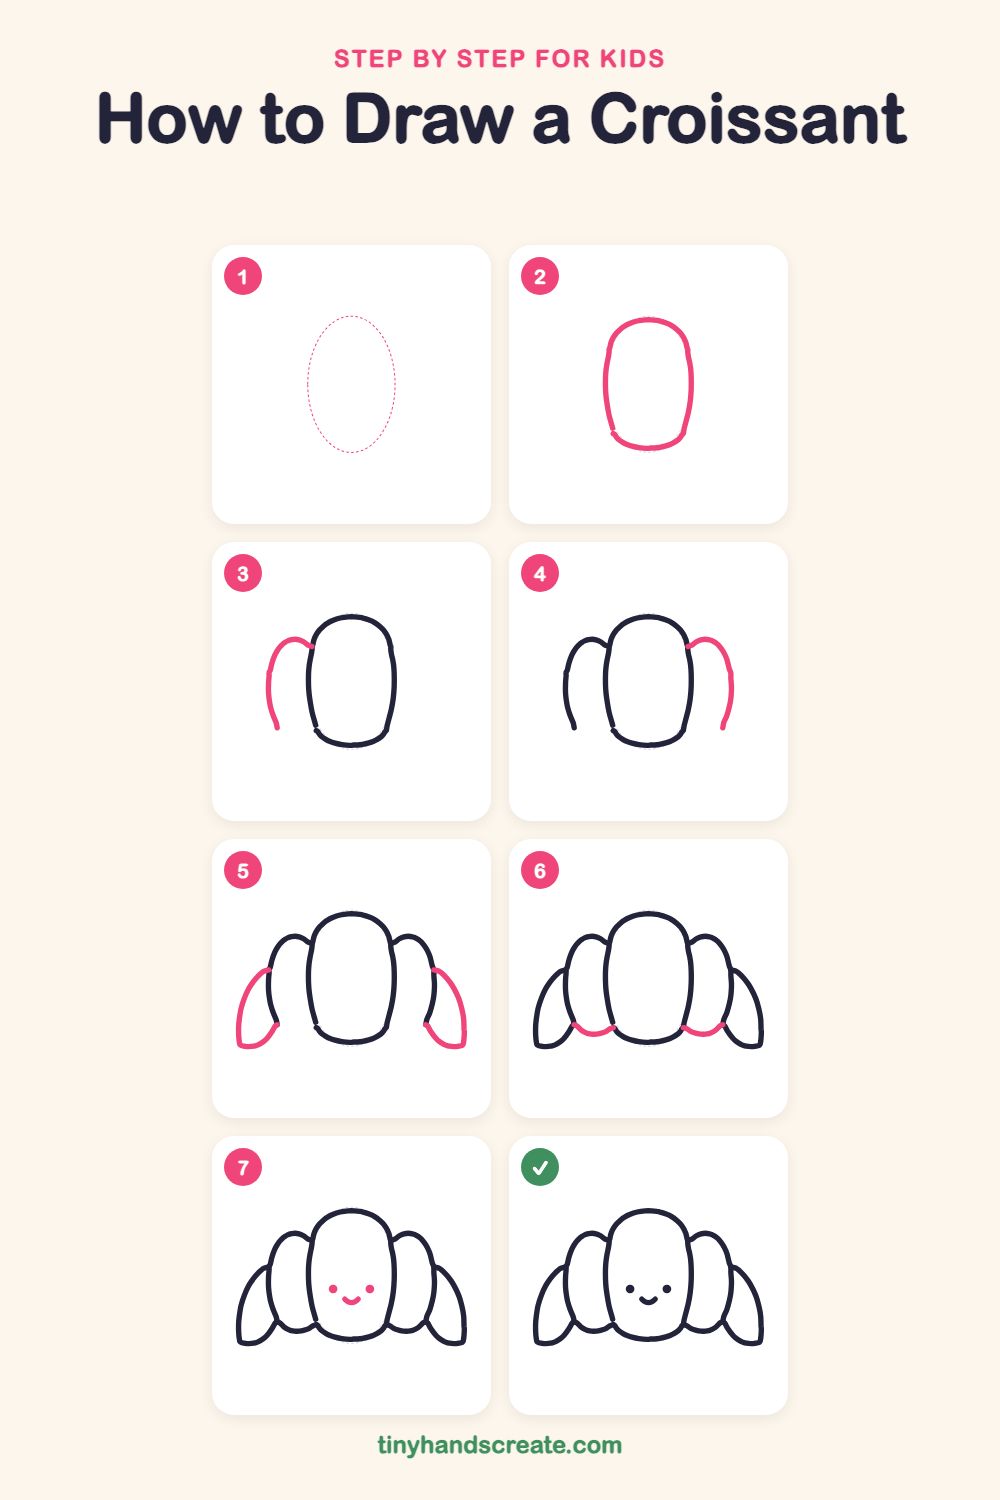
Step 1: Guide shapes
Lightly sketch this oval. It only shows where the big parts go, so press softly. You will erase it at the end.
Step 2: The big middle
Draw a tall rounded shape in the center, like a fat egg standing up with a flat-ish bottom. Make it about as tall as it is wide-and-a-half.
Step 3: The left bump
On the left, start at the upper left side of the middle shape. Curve out and then down in a long arc, ending a little below the middle of the shape.
Step 4: The right bump
Do the same on the right side. Start at the upper right of the middle shape and curve out and down so both sides match.
Step 5: The curved tips
On each side, draw a leaf-shaped curve below the bump. Start at the side of the bump, sweep out and down to a flat rounded point near the bottom, then curve back in toward the middle shape.
Step 6: The bottom folds
Draw two little smile-shaped curves along the bottom. Each one goes from the bottom of a side piece over to the bottom corner of the middle shape.
Step 7: A happy face
Add two small round dots for eyes in the middle of the big shape. Then draw a little curved smile below and between them.
All done!
Erase the guide shapes, go over your lines, then color it in.
Finished your croissant? Keep the pencils out and learn how to draw a pretzel or how to draw a milkshake next.
Tips for drawing a croissant
- Draw the big middle shape first and keep it light. The side bumps start at its upper sides, so leave room on both sides.
- The two side bumps should be about the same size. Look at one, then try to draw the other to match.
- The pointed tips are the trickiest part. Draw each one like a long leaf, starting at the bump and curving out and down to a flat rounded point.
Free croissant coloring page
Want to go straight to coloring? Open this croissant coloring page at full size and print it. It is the same drawing you just learned, with clean lines ready for crayons or markers.
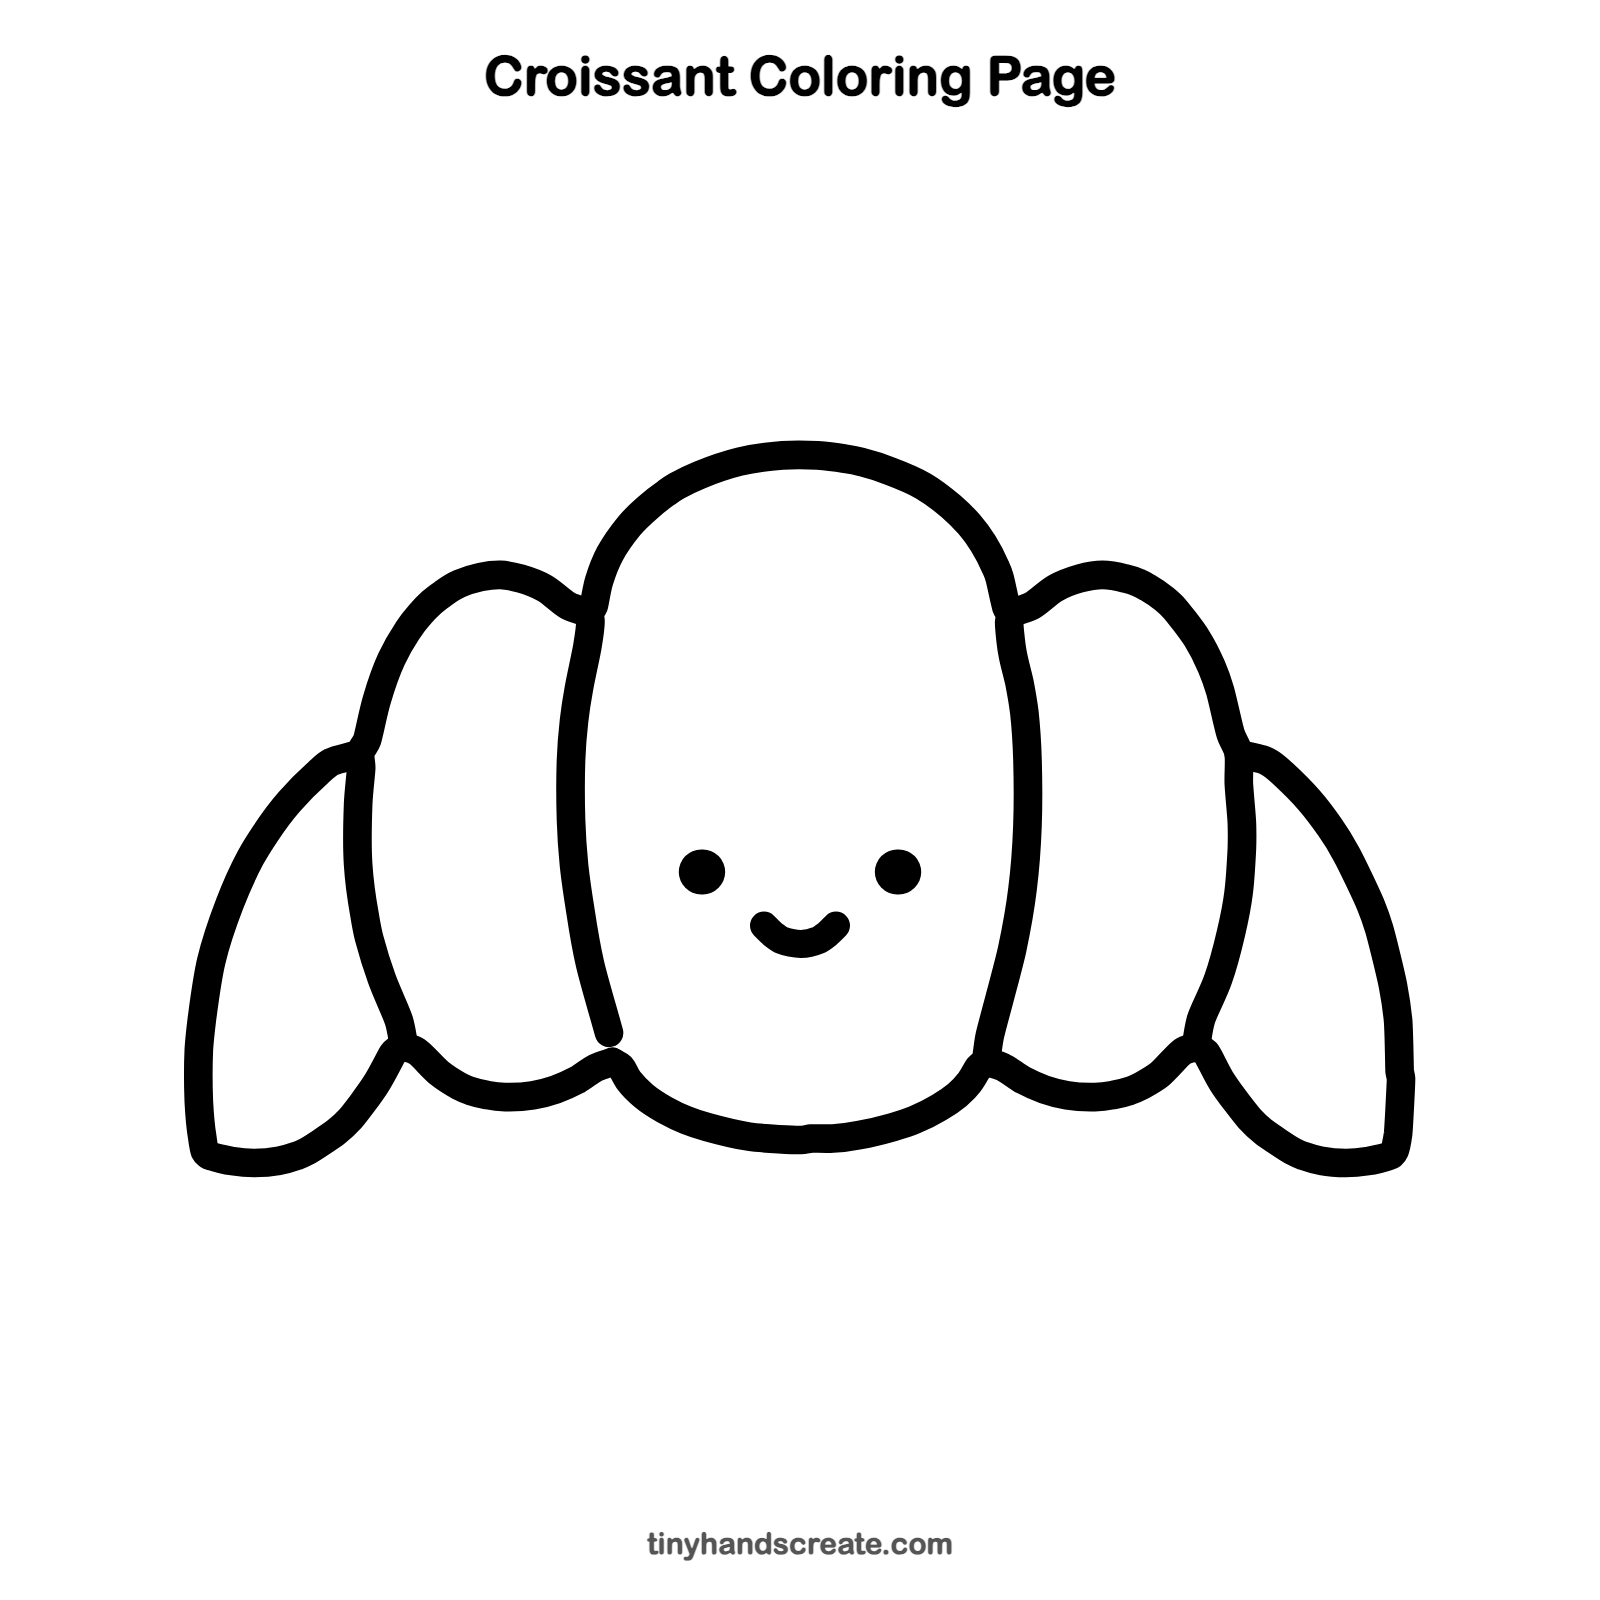
How to color your croissant drawing
Color the croissant golden brown, with a little darker orange along the edges so it looks freshly baked. For a creative twist, draw a plate and a cup of cocoa next to it.
Croissant fun fact for kids
The word croissant is French for crescent, which is the curved shape of a thin new moon. The pastry got its name from its curved shape.
Questions about drawing a croissant
What shapes do I need to draw a croissant?
You need a big rounded shape for the middle, two curved bumps for the sides, and two leaf-shaped tips. Two small curves along the bottom join the pieces together.
How do I make my croissant look cuter?
Give it a face. Two round dot eyes and a small smile on the big middle part make it look happy.
How do I make my croissant look puffy?
Make the shapes round and full, and let the side pieces curve out from the middle one. Rounded, overlapping shapes make it look soft and puffy.