How to Draw a Garlic Bulb (Easy Step by Step)
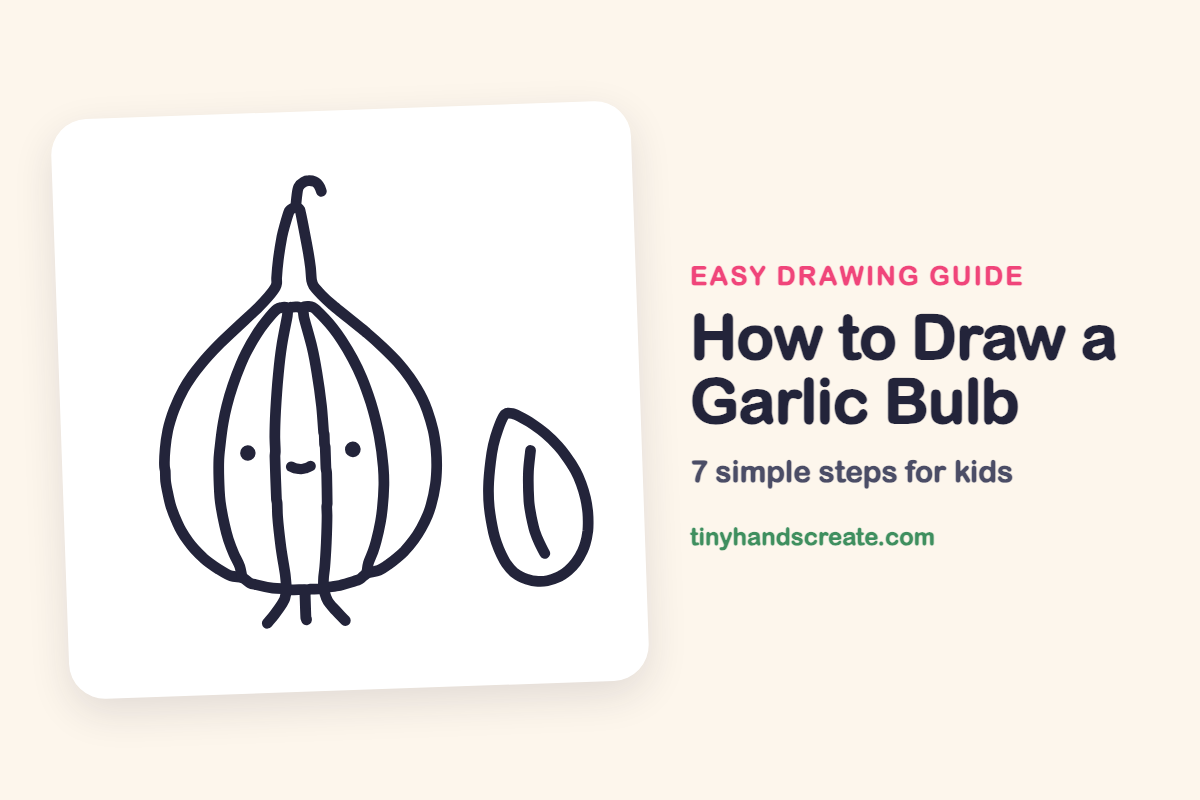
A garlic bulb is a fun one to draw because it is mostly smooth, curvy lines and a cute face. You build it from a round pear shape with a curly stem on top, a few long curves down the bulb, and a small teardrop for a single clove.
- Easy
- 10 minutes
- 7 steps
You need: paper, a pencil, an eraser, and crayons or markers for coloring.
Start drawingIn this article (7 sections)
How to draw a garlic bulb step by step
How to Draw a Garlic Bulb · tinyhandscreate.com
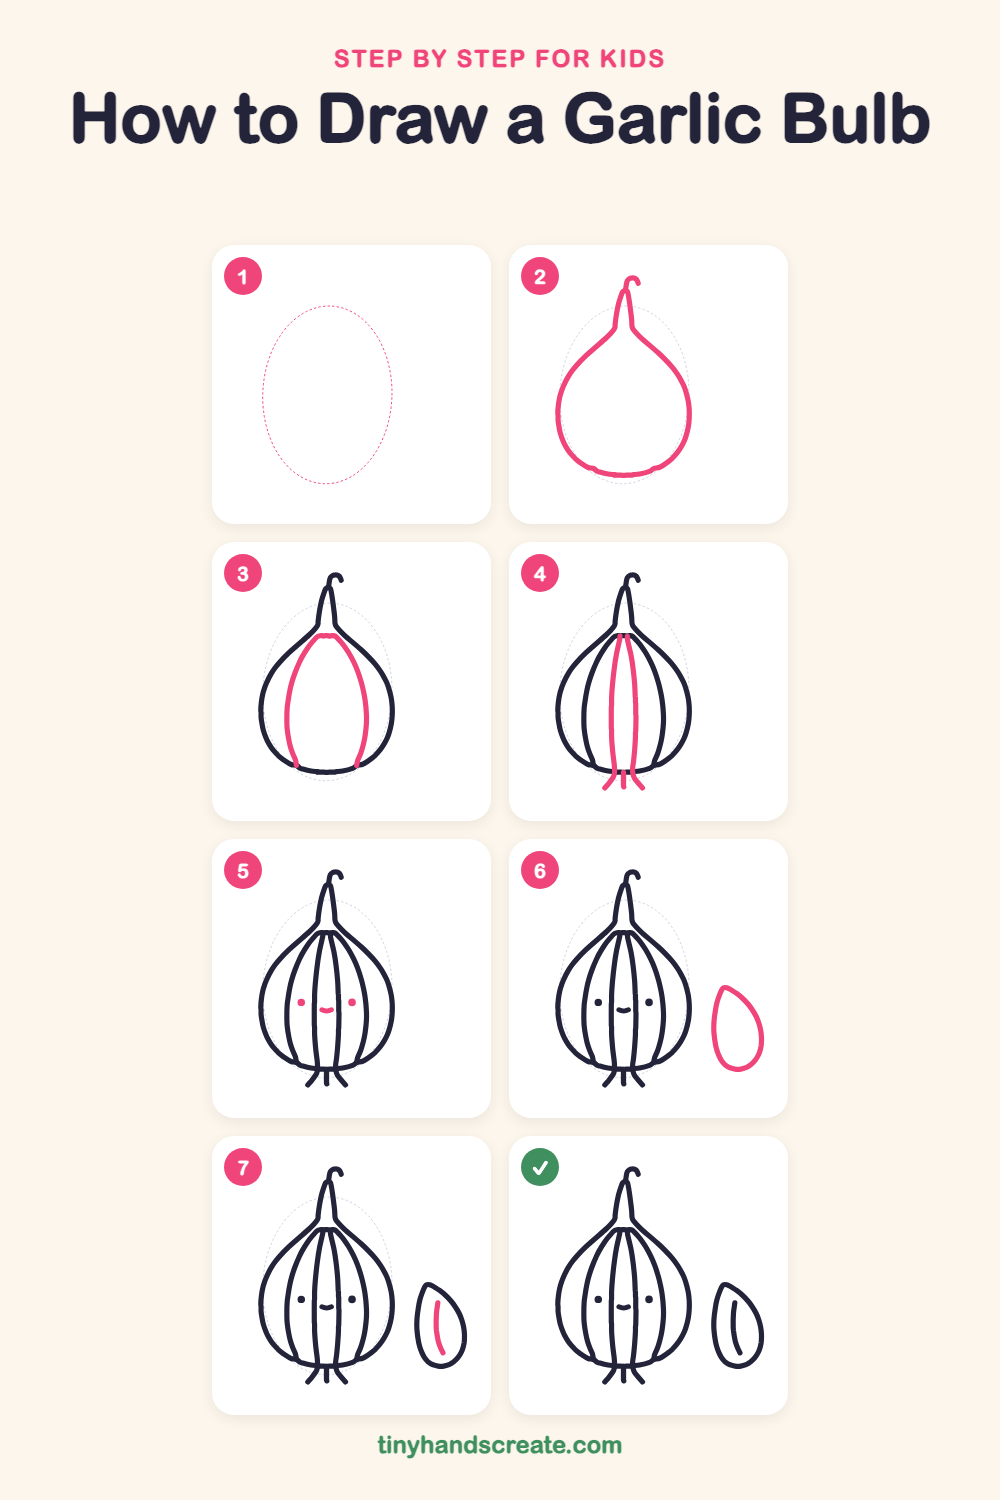
Step 1: Guide shapes
Lightly sketch this oval. It only shows where the big parts go, so press softly. You will erase it at the end.
Step 2: Bulb and stem
Draw a round pear shape that is wide and round at the bottom and pinches in at the top. Keep going up into a skinny neck, and end it with a little curl like a hook.
Step 3: Outer clove lines
Inside the bulb, draw a tall curved line down each side. Start both lines together just below the neck and curve them out and back in toward the bottom.
Step 4: Middle lines and roots
Between the two outer curves, draw two long lines that start close together near the top and stay almost straight down the middle. At the bottom, add three tiny root lines: one flaring left, one flaring right, and a short straight one between them.
Step 5: The sweet face
Draw two small round dots for eyes, one on each side of the middle lines. Between them, draw a tiny curved smile.
Step 6: A single clove
Next to the bulb, draw a clove shape like a teardrop. Make it pointy at the top and round at the bottom.
Step 7: Clove line
Inside the clove, draw one gentle curved line from near the top down toward the bottom.
All done!
Erase the guide shapes, go over your lines, then color it in.
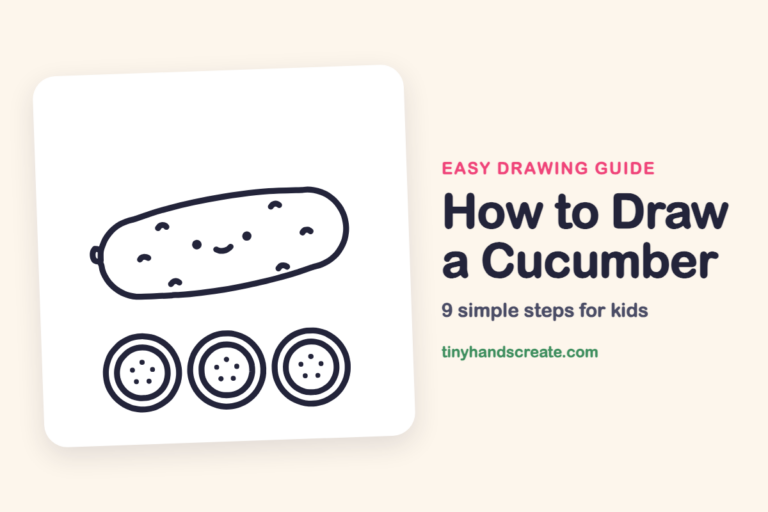
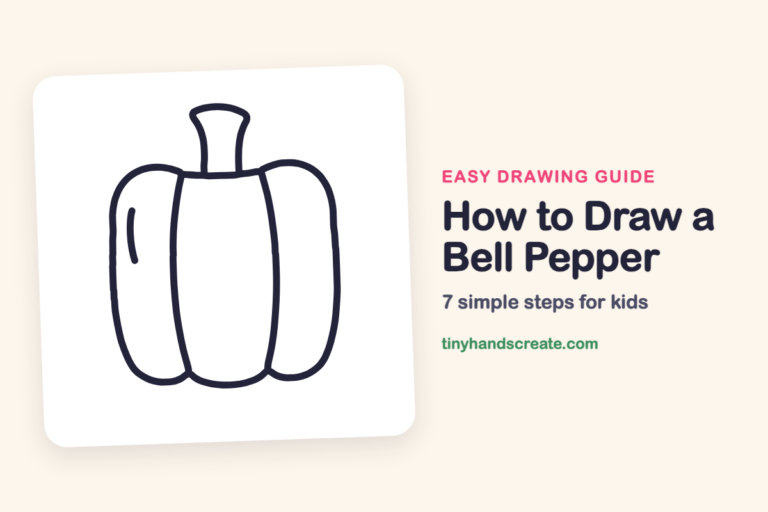
Finished your garlic bulb? Keep the pencils out and learn how to draw a cucumber or how to draw a bell pepper next.
Tips for drawing a garlic bulb
- Sketch a light oval first. It helps you get the width and height right before you draw the bulb.
- The curved lines down the bulb are the trickiest part. Start each one near the top and move your hand slowly so the curve stays smooth.
- Keep the two eyes at the same height and the smile small, with the smile on the middle strip, so the face looks tidy.
Free garlic bulb coloring page
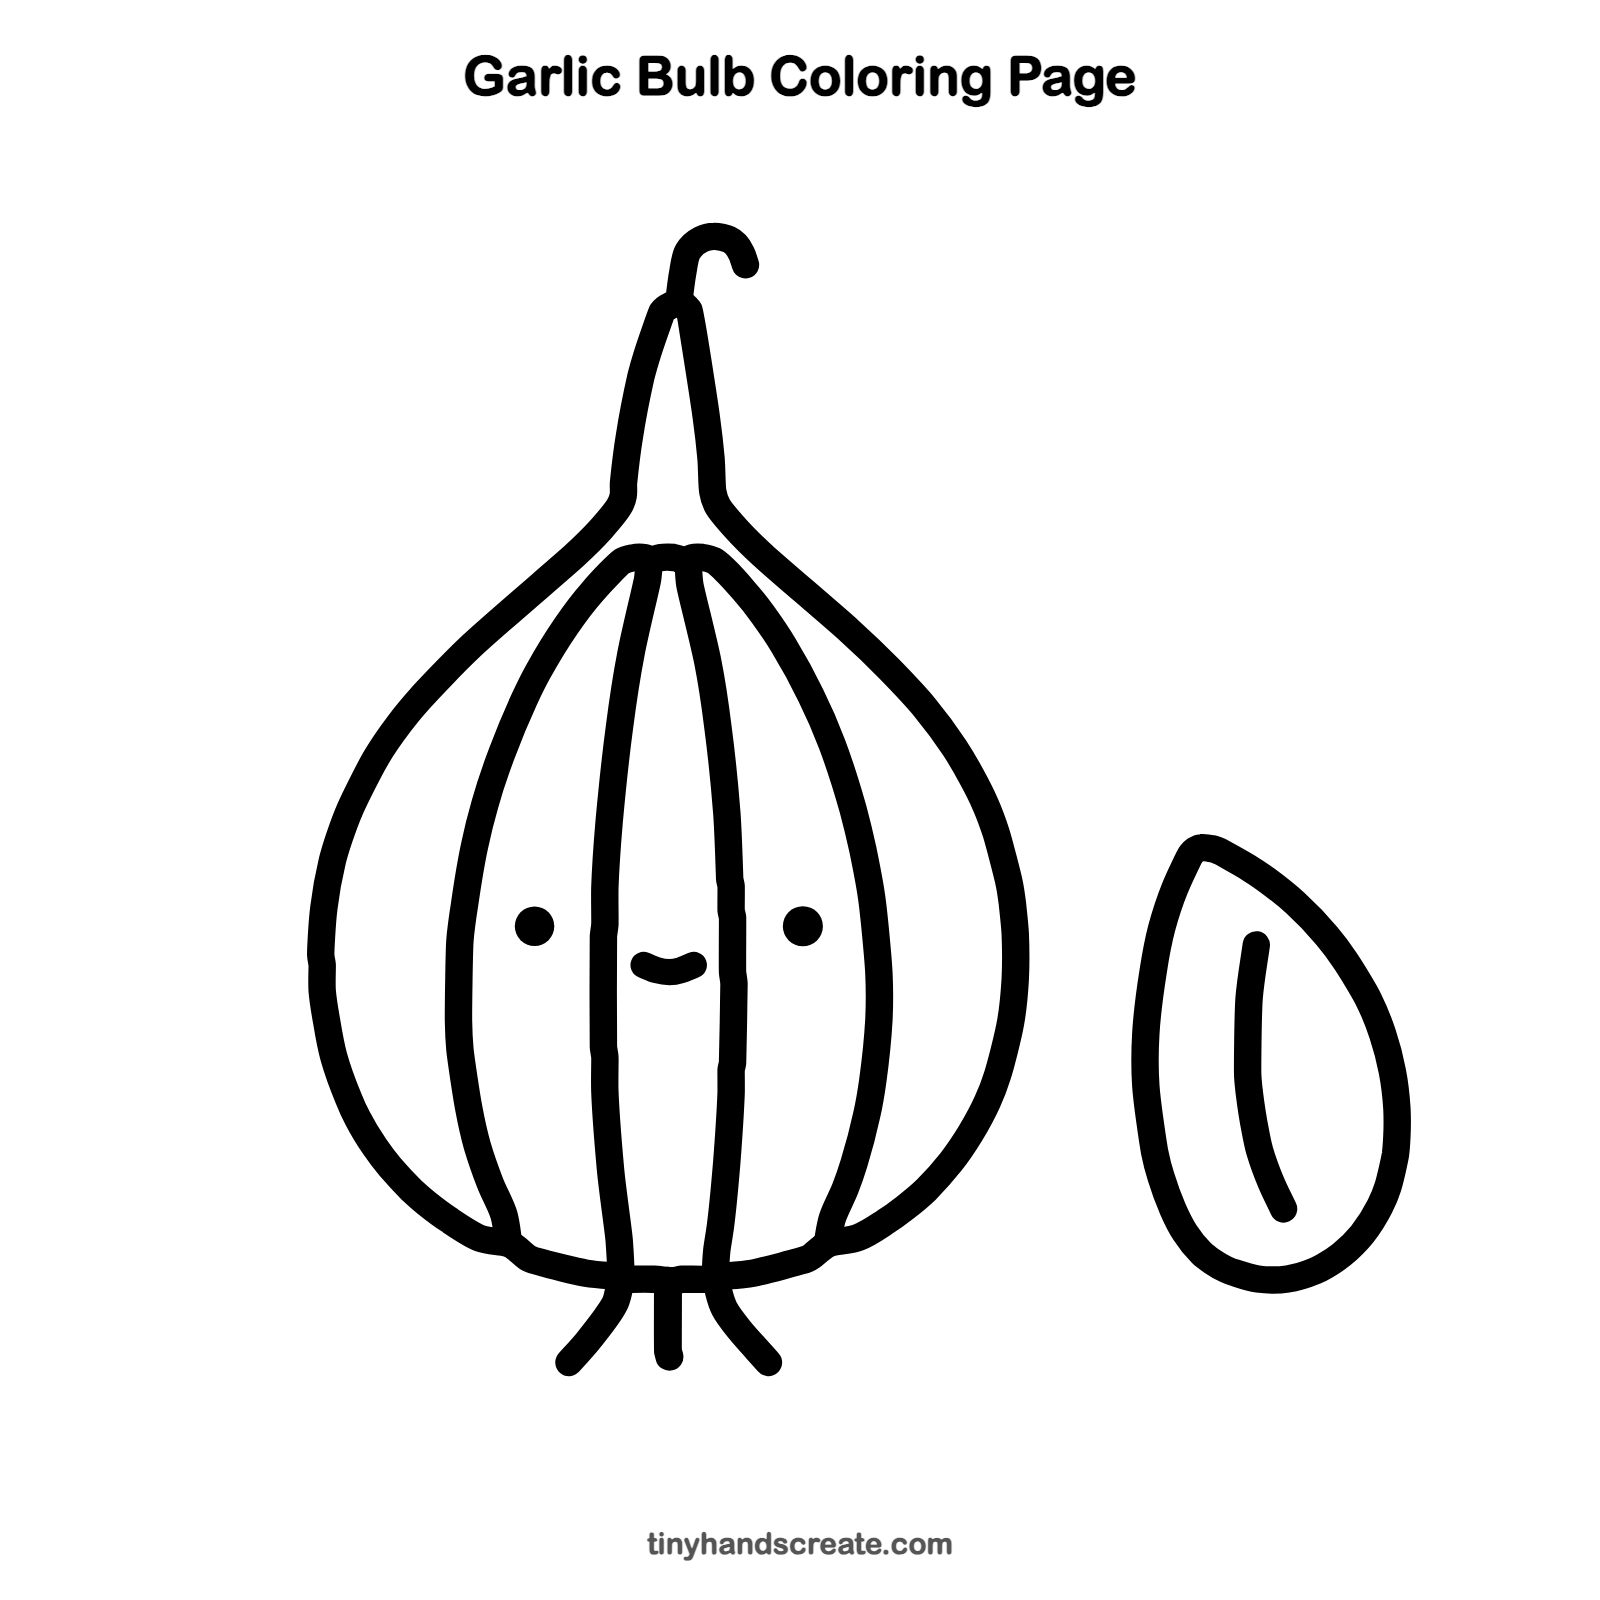
Want to go straight to coloring? Open this garlic bulb coloring page at full size and print it. It is the same drawing you just learned, with clean lines ready for crayons or markers.
How to color your garlic bulb drawing
Color the bulb a creamy white with soft pink or purple stripes along the curved lines, and make the curly stem pale green. For a creative twist, give the little clove a tiny face of its own, or draw a whole family of garlic bulbs in different sizes.
Garlic bulb fun fact for kids
A garlic bulb is made of separate pieces called cloves, and most bulbs hold about ten to twelve of them. If you plant a single clove in the ground, it can grow into a whole new bulb.
Questions about drawing a garlic bulb
What shapes do I need to draw a garlic bulb?
You need a round pear shape for the bulb, with a skinny neck and a little curl on top. Add curved lines for the cloves and a small teardrop for the single clove next to it.
How do I make my garlic look cuter?
Give it two round dot eyes and a tiny smile in the middle of the bulb. Keeping the face small makes it look extra sweet.
How do I draw the lines on a garlic bulb?
Start each line near the top of the bulb, just below the neck, then curve it down toward the bottom. The two outer lines bend out more, and the two middle lines stay close together and nearly straight.