How to Draw a Bell Pepper (Easy Step by Step)
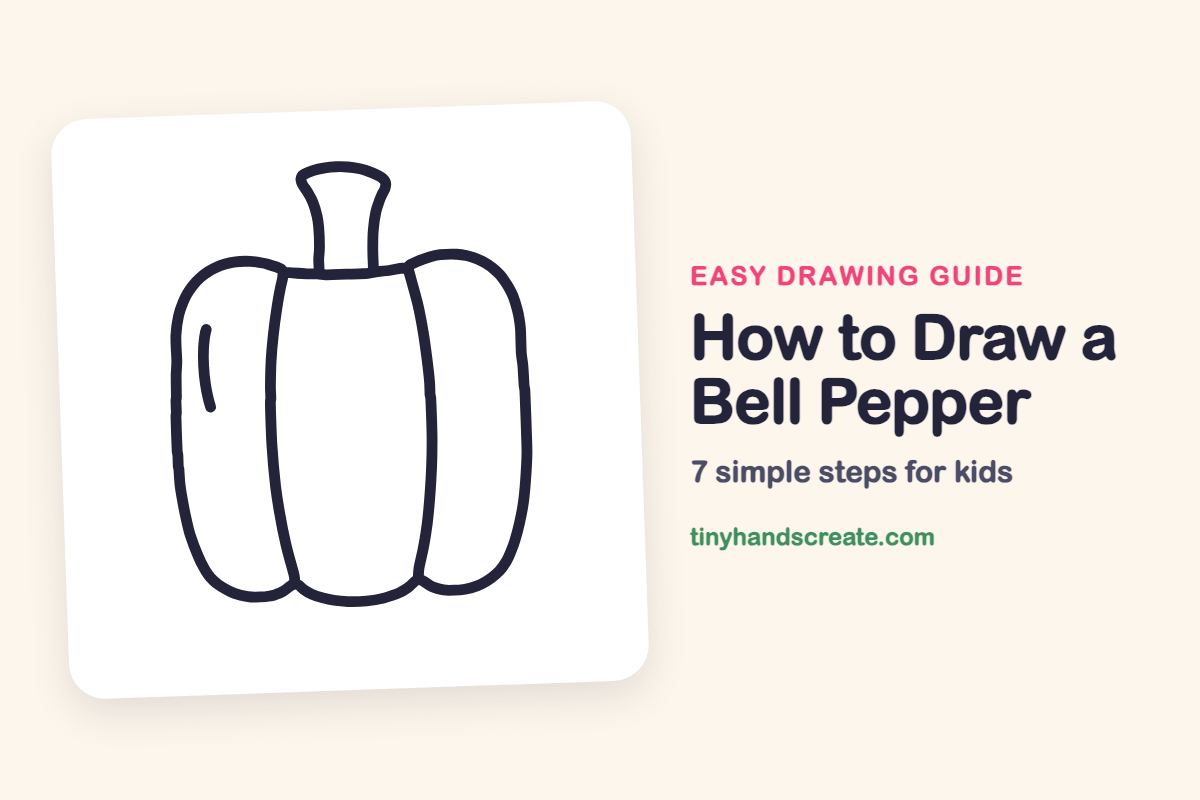
A bell pepper looks tricky, but it is built from a few friendly shapes: a puffy rounded body, two long curved lines that split it into three sections, and a small stem on top. Once you see those sections, the whole pepper comes together quickly. It is a great first vegetable drawing because every line is a simple curve.
- Easy
- 10 minutes
- 7 steps
You need: paper, a pencil, an eraser, and crayons or markers for coloring.
Start drawingIn this article (7 sections)
How to draw a bell pepper step by step
How to Draw a Bell Pepper · tinyhandscreate.com
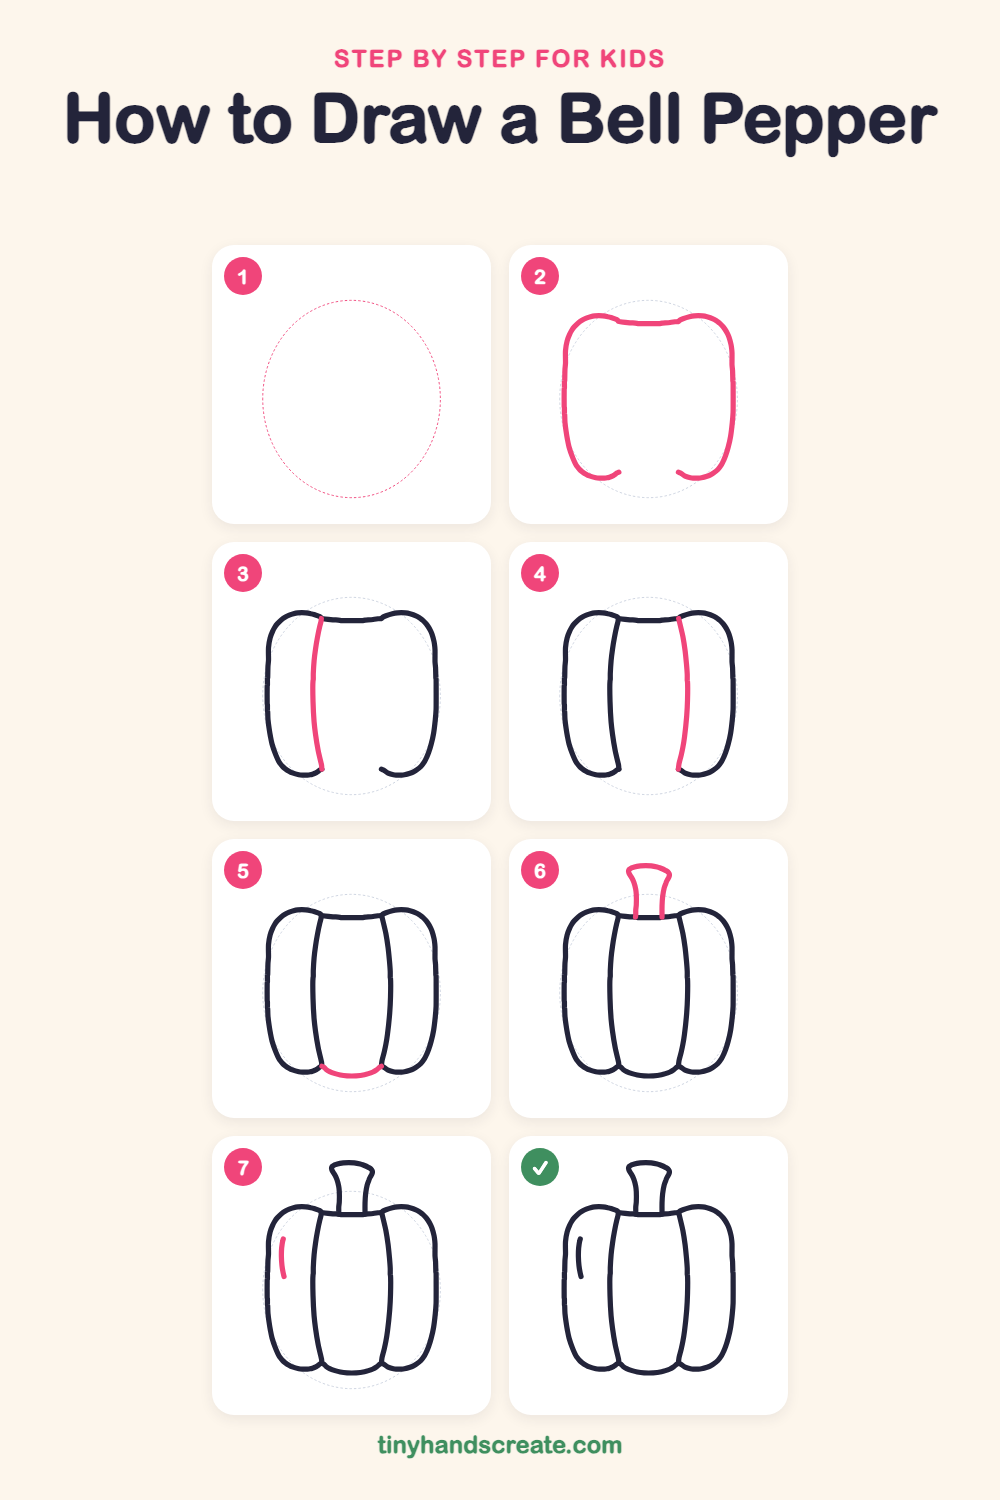
Step 1: Guide shapes
Lightly sketch this oval. It only shows where the big parts go, so press softly. You will erase it at the end.
Step 2: Outer body outline
Draw a wide rounded shape like a soft square. Start at the top with a short, gently dipping line in the middle, then curve out to a puffy bump on each side. Bring the sides down and curve them in toward the bottom, leaving a gap in the middle of the bottom.
Step 3: The left fold
Draw one long, gentle curve inside the pepper. Start at the top dip on the left and sweep down to the bottom left, where the outline curves in.
Step 4: The right fold
Draw another long, gentle curve on the right side. Start at the top dip on the right and sweep down to the bottom right, so it matches the left one.
Step 5: The bottom curve
Connect the bottoms of the two fold lines with a smooth, shallow smile-shaped curve. This closes the middle section of the pepper.
Step 6: The stem
On top of the pepper, draw two short lines that start at the top edge and curve up and a little outward. Join them at the top with a small wavy, slightly flared cap.
Step 7: The shiny spot
Draw one short, slightly curved line on the left side of the left section, near the top. It shows where light bounces off the shiny skin.
All done!
Erase the guide shapes, go over your lines, then color it in.
Finished your bell pepper? Keep the pencils out and learn how to draw a radish or how to draw a cauliflower next.
Tips for drawing a bell pepper
- Make the top edge dip in the middle, with a bump on each side. This helps the pepper look puffy instead of like a plain box.
- Draw the two fold lines so they curve gently and match each other. Draw the left one first, then copy its curve on the right.
- Keep the stem short and slightly wider at the top, like a tiny chimney. A stem that is too tall will change how the pepper looks.
Free bell pepper coloring page
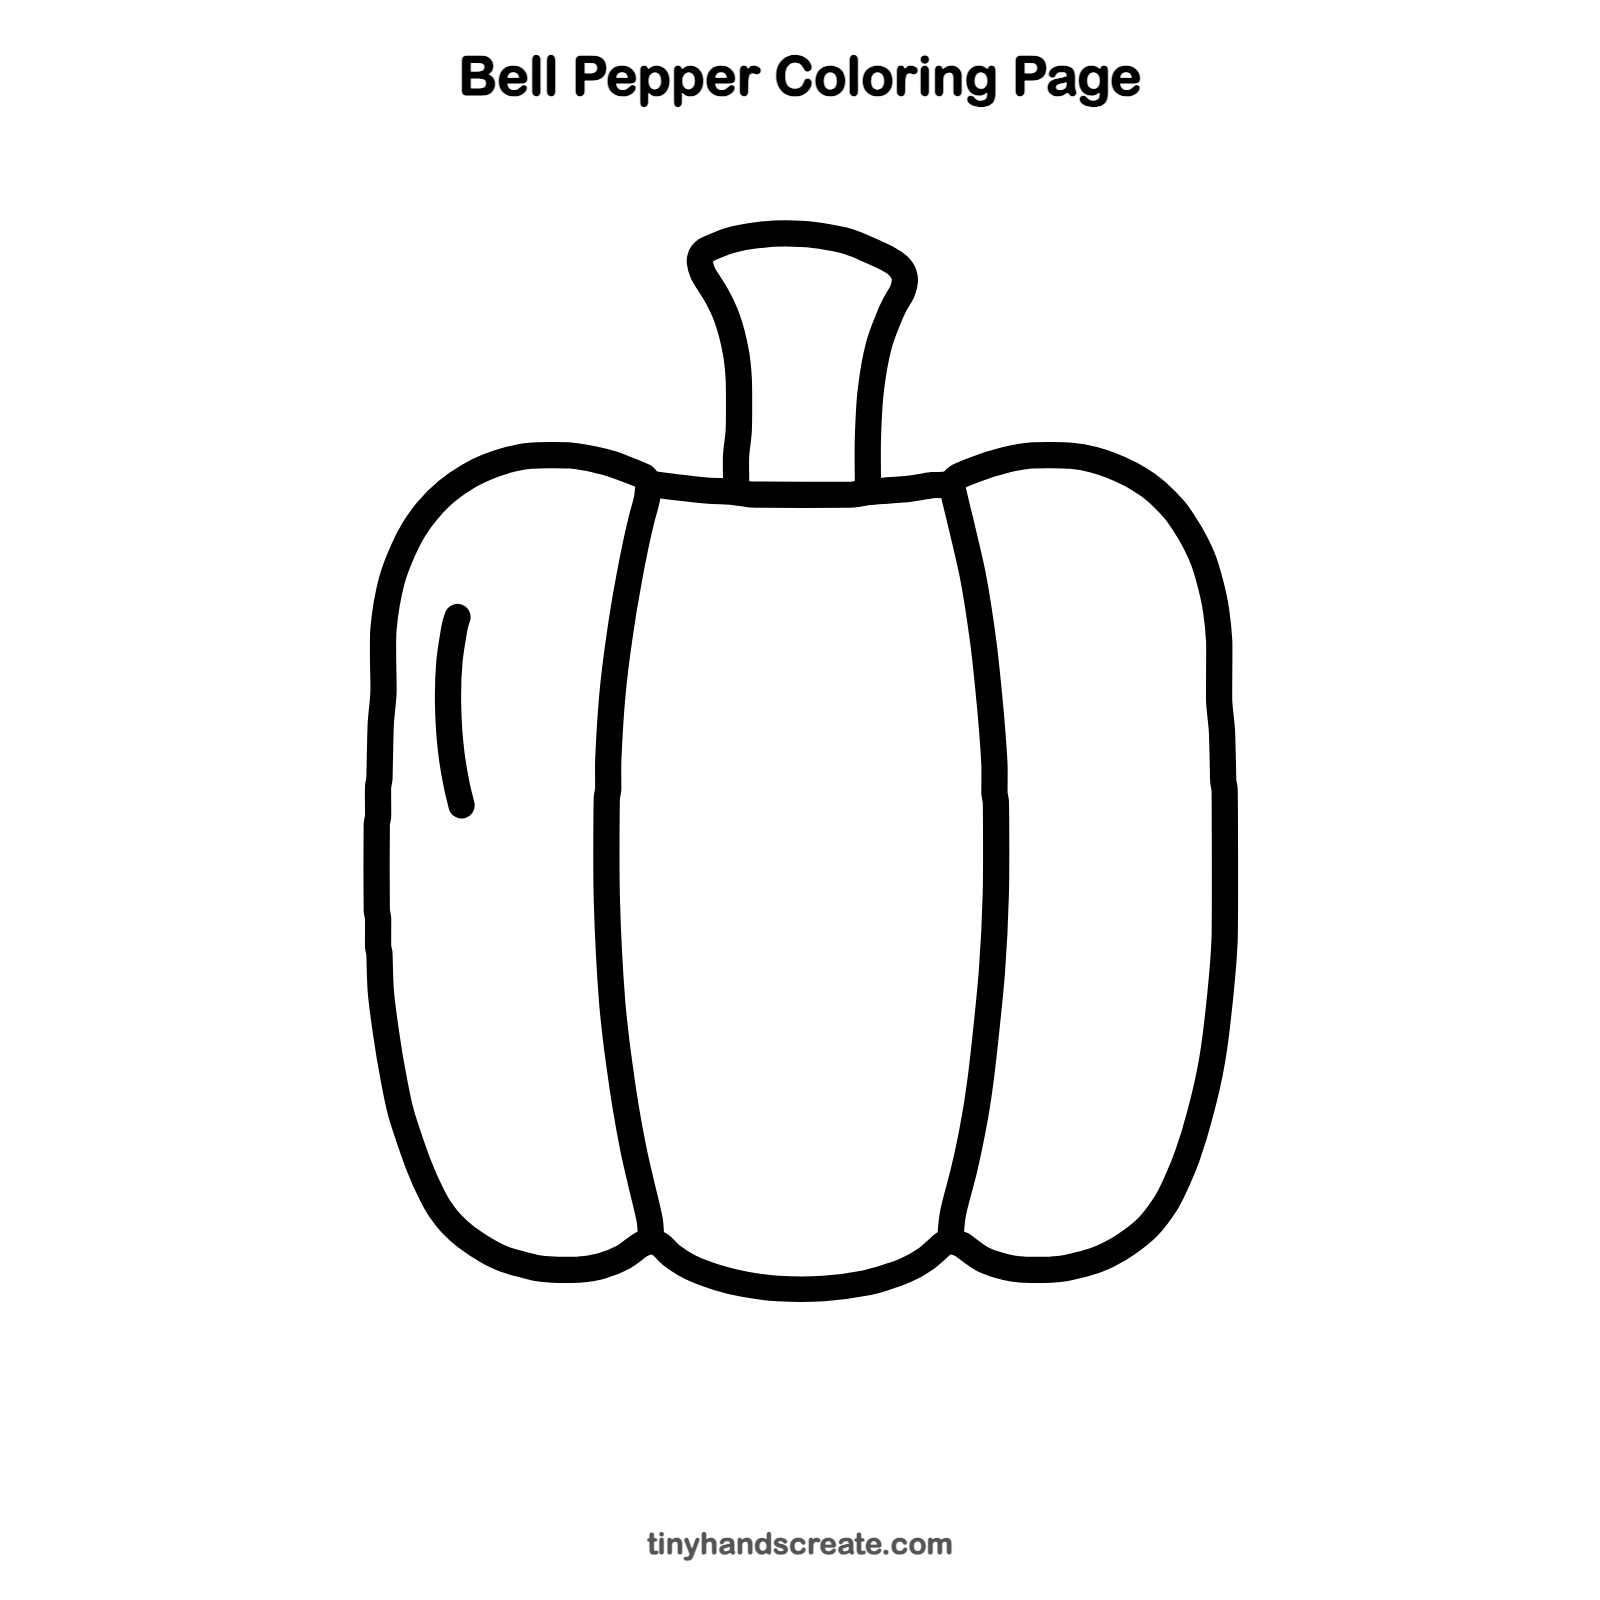
Want to go straight to coloring? Open this bell pepper coloring page at full size and print it. It is the same drawing you just learned, with clean lines ready for crayons or markers.
How to color your bell pepper drawing
Try bright red, yellow or green, with a darker shade near the fold lines and a bit of white left in the shiny spot. For a creative twist, color each of the three sections a different pepper color for a rainbow pepper.
Bell pepper fun fact for kids
Bell peppers come in green, red, yellow and orange, and a green pepper is just one that was picked before it finished ripening. If you leave it on the plant, it can turn red.
Questions about drawing a bell pepper
What shapes do I need to draw a bell pepper?
Start with a rounded shape like a soft square for the body, then add two long curves for the folds, a smile-shaped curve at the bottom and a small flared tube for the stem. That is all you need.
How do I make my bell pepper look shiny?
Add a short curved line on the left side of the pepper and leave a little of that area uncolored. The white gap looks like a reflection of light.
How is a bell pepper different from a pumpkin?
Pumpkins usually have many ribs and a curly stem. A bell pepper has just three sections here and a short, thick stem, so keep the folds to two lines.