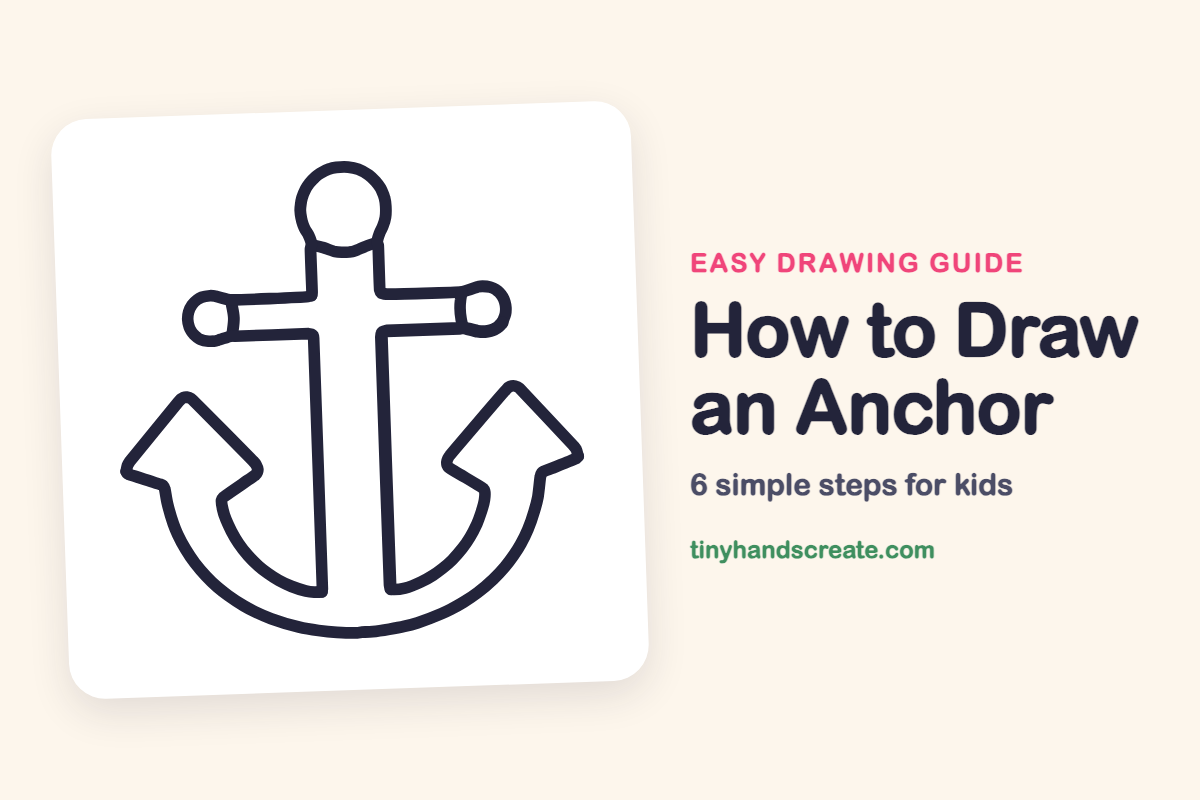
How to Draw an Anchor (Easy Step by Step)
An anchor looks tricky, but it is really just a few simple shapes. You will draw a circle for the ring, a long shaft with a bar across it that has a knob on each end, and one big curve that ends in two pointy arrow tips. Both sides match, so the second half is easy once the first is done.
- Easy
- 10 minutes
- 6 steps
You need: paper, a pencil, an eraser, and crayons or markers for coloring.
Start drawingIn this article (7 sections)
How to draw an anchor step by step
How to Draw an Anchor · tinyhandscreate.com
Step 1: Ring and top bar
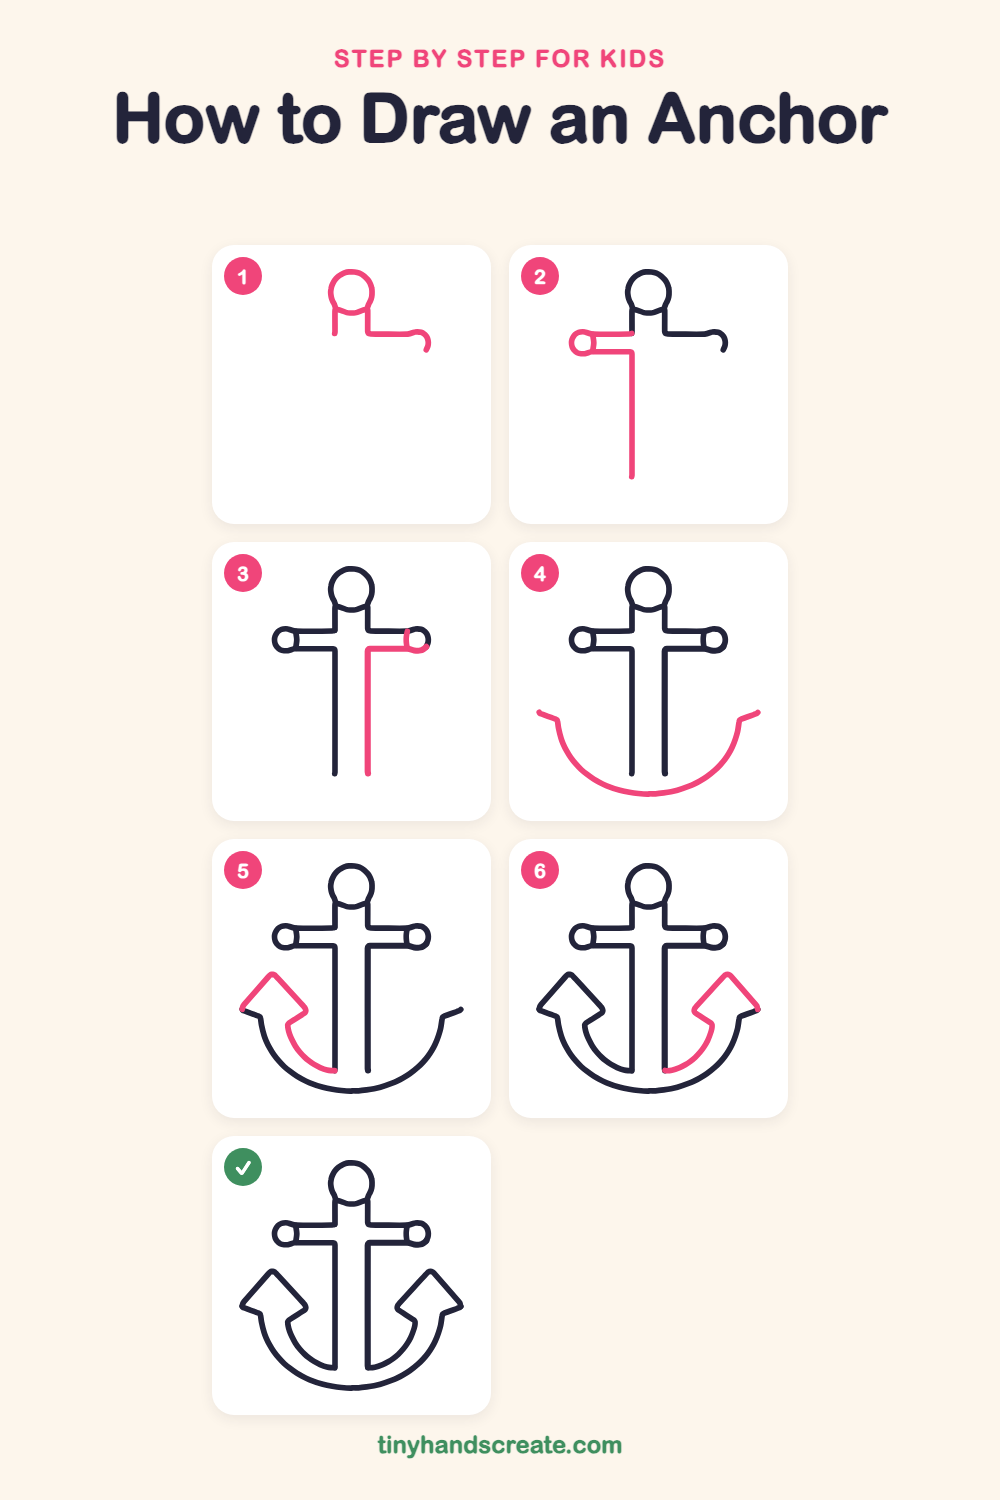
Draw a small circle near the top for the ring. Under it, draw two short lines going down from the sides of the ring, with a little curve across the bottom of the ring between them. Then, from the bottom of the right line, draw a short sideways line to the right that curls down at the end.
Step 2: Left bar and shaft
On the left, draw a sideways line out from the left side of the shaft. At its end, draw a small circle for a knob, then draw a second sideways line back toward the shaft. Now draw a long straight line down from that bottom bar to make the left side of the shaft.
Step 3: Right knob and shaft
On the right, finish the bar by drawing a small circle at the end of the curl to make a knob. Draw a sideways line from that knob back toward the shaft, then a long straight line down to make the right side of the shaft.
Step 4: The big curve
Below the shaft, draw a wide smile-shaped curve. Start low on the left, swoop down under the shaft, and sweep back up on the right. Add a tiny flick at each end.
Step 5: Left arrow tip
At the left end of the big curve, draw a pointy arrow tip shaped like a triangle. Then draw a curved line from the tip down and across to meet the left side of the shaft near the bottom.
Step 6: Right arrow tip
Do the same on the right side. Draw a pointy arrow tip at the right end of the curve, then a curved line from the tip down to the right side of the shaft. Look at the left side to match it.
All done!
Go over your lines with a marker, then color it in.
Finished your anchor? Keep the pencils out and learn how to draw a squid or how to draw a sea otter next.
Tips for drawing an anchor
- Draw a light straight line down the middle first. It helps the ring, shaft, and both arrow tips line up evenly.
- The bar knobs are the trickiest part. Make each one a small round circle at the end of the bar.
- Draw the big curve slowly in one go. If it comes out wobbly, try again lightly with a pencil before tracing it darker.
Free anchor coloring page
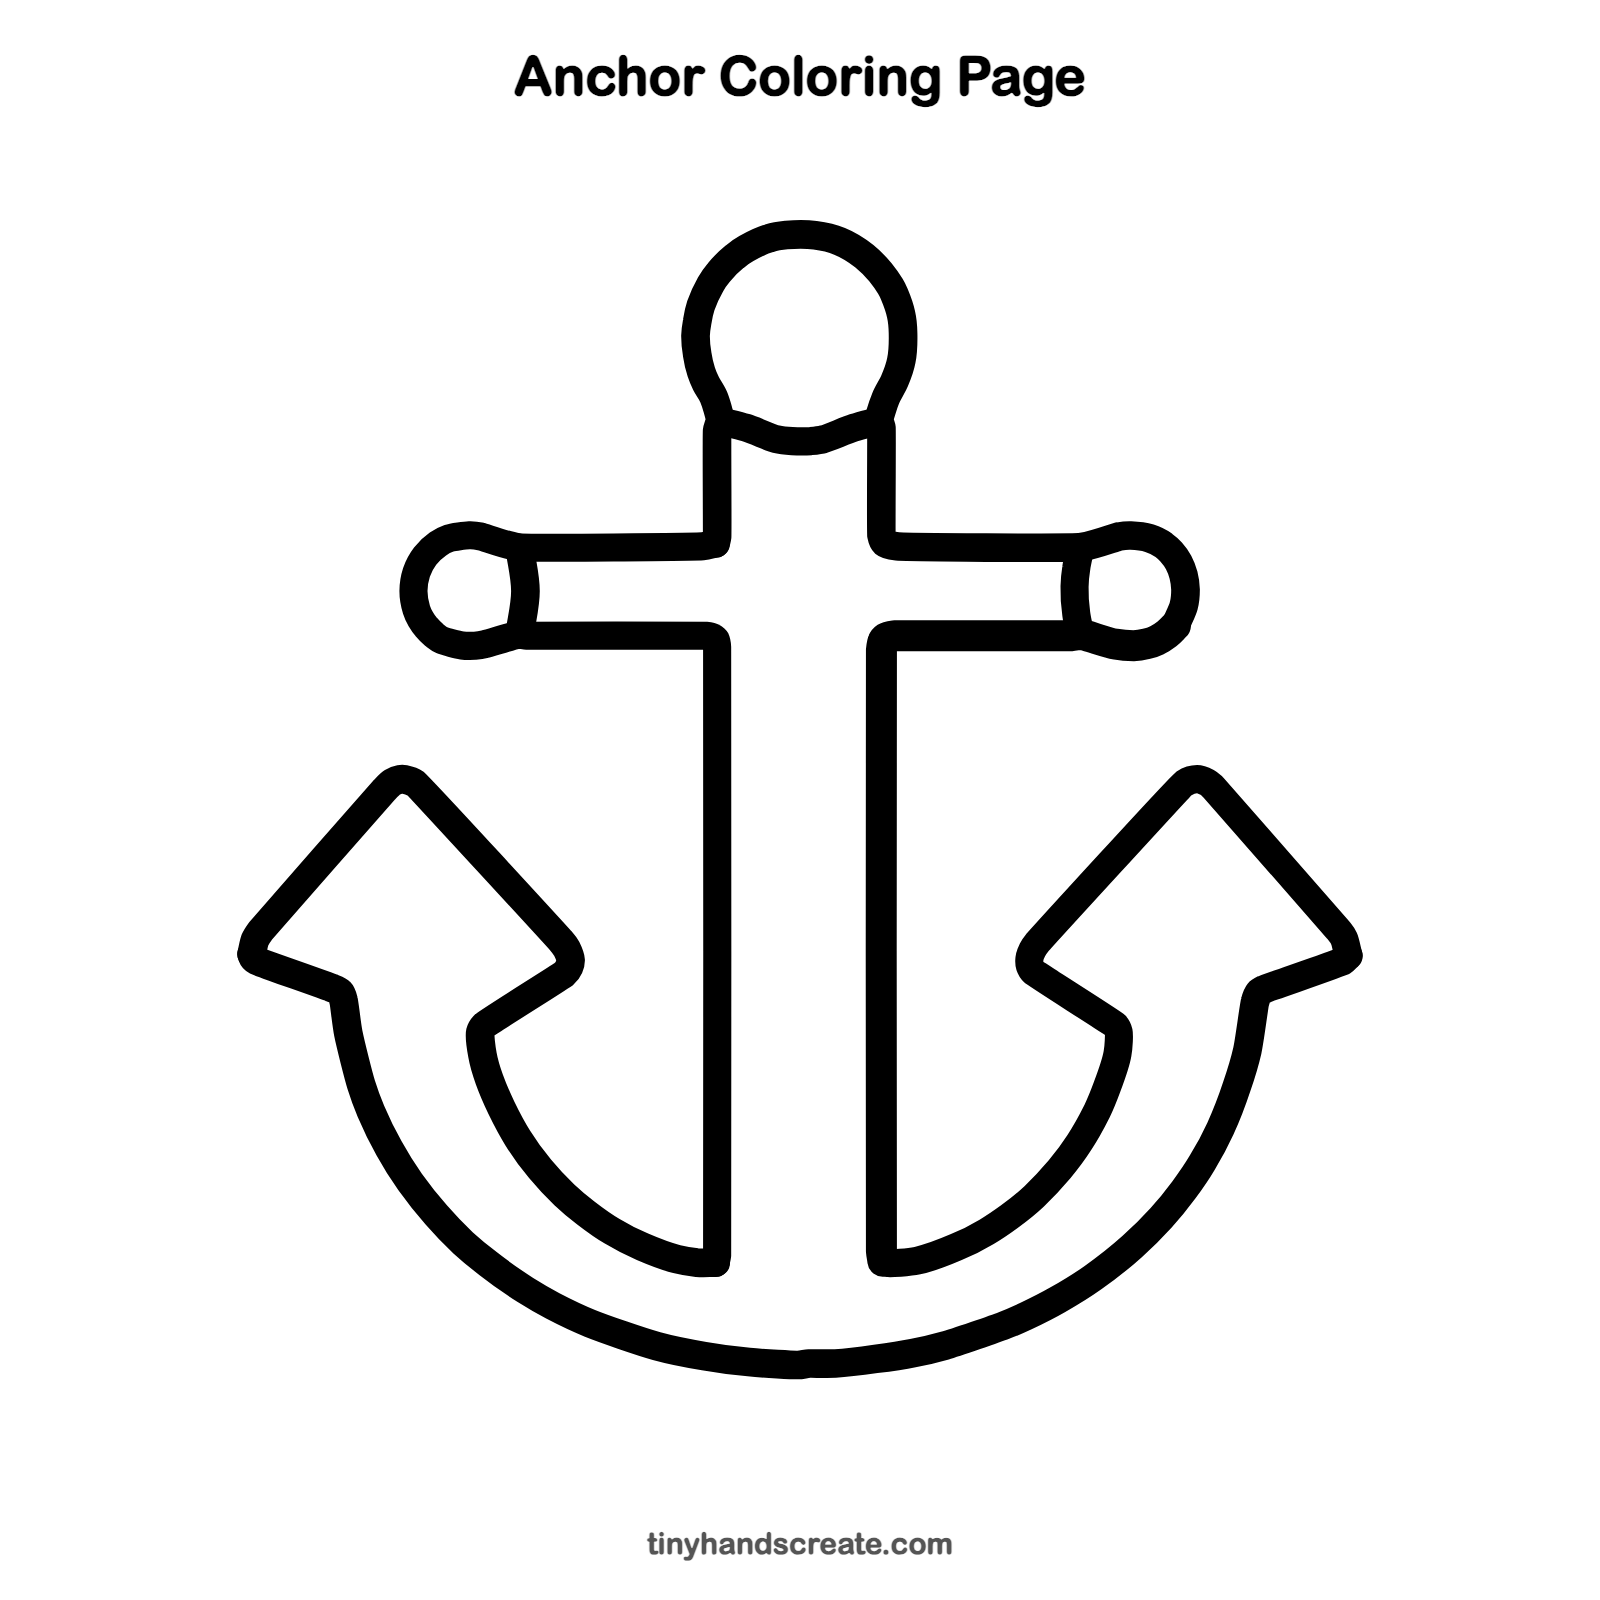
Want to go straight to coloring? Open this anchor coloring page at full size and print it. It is the same drawing you just learned, with clean lines ready for crayons or markers.
How to color your anchor drawing
Navy blue, black, or gray looks like a real anchor, but silver, gold, or rainbow stripes are fun too. Try a different color for each arrow tip.
Anchor fun fact for kids
A ship's anchor holds the ship in place because its pointed tips, called flukes, dig into the sea floor.
Questions about drawing an anchor
What shapes do I need to draw an anchor?
You need a circle for the top ring, tall straight lines for the shaft, a sideways bar with a small circle on each end, and a big curve with two triangle tips at the ends.
How do I make both sides of my anchor match?
Draw a light line down the center and compare each side to the other as you go. You can also fold your paper in half and hold it up to the light to check.
How do I make my anchor look cuter?
Make the lines thick and round, and make the ring and the knobs a little bigger.