How to Draw a Tricycle (Easy Step by Step)
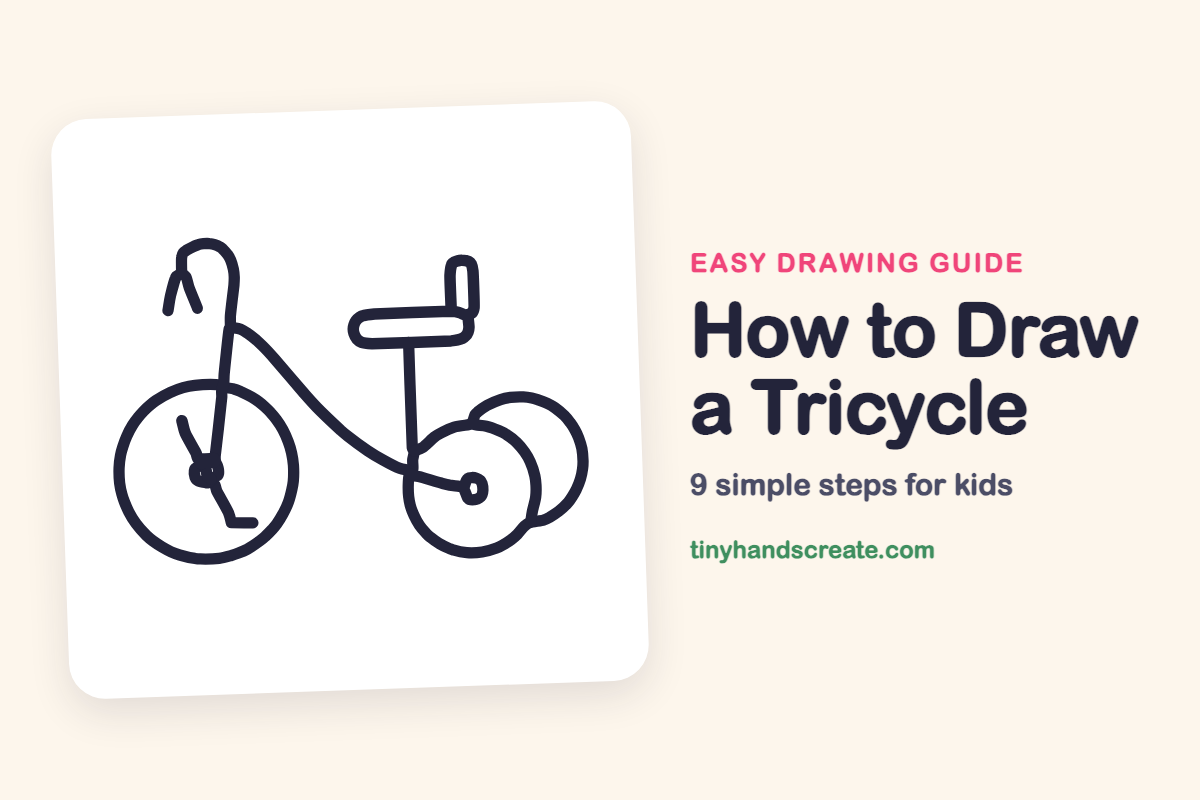
A tricycle is a fun drawing because it is built mostly from circles and curved lines. You will start with a big front wheel, add a back wheel and a curvy frame, and finish with a seat and a pedal. By the end it looks ready to roll down the sidewalk.
- Medium
- 15 minutes
- 9 steps
You need: paper, a pencil, an eraser, and crayons or markers for coloring.
Start drawingIn this article (7 sections)
How to draw a tricycle step by step
How to Draw a Tricycle · tinyhandscreate.com
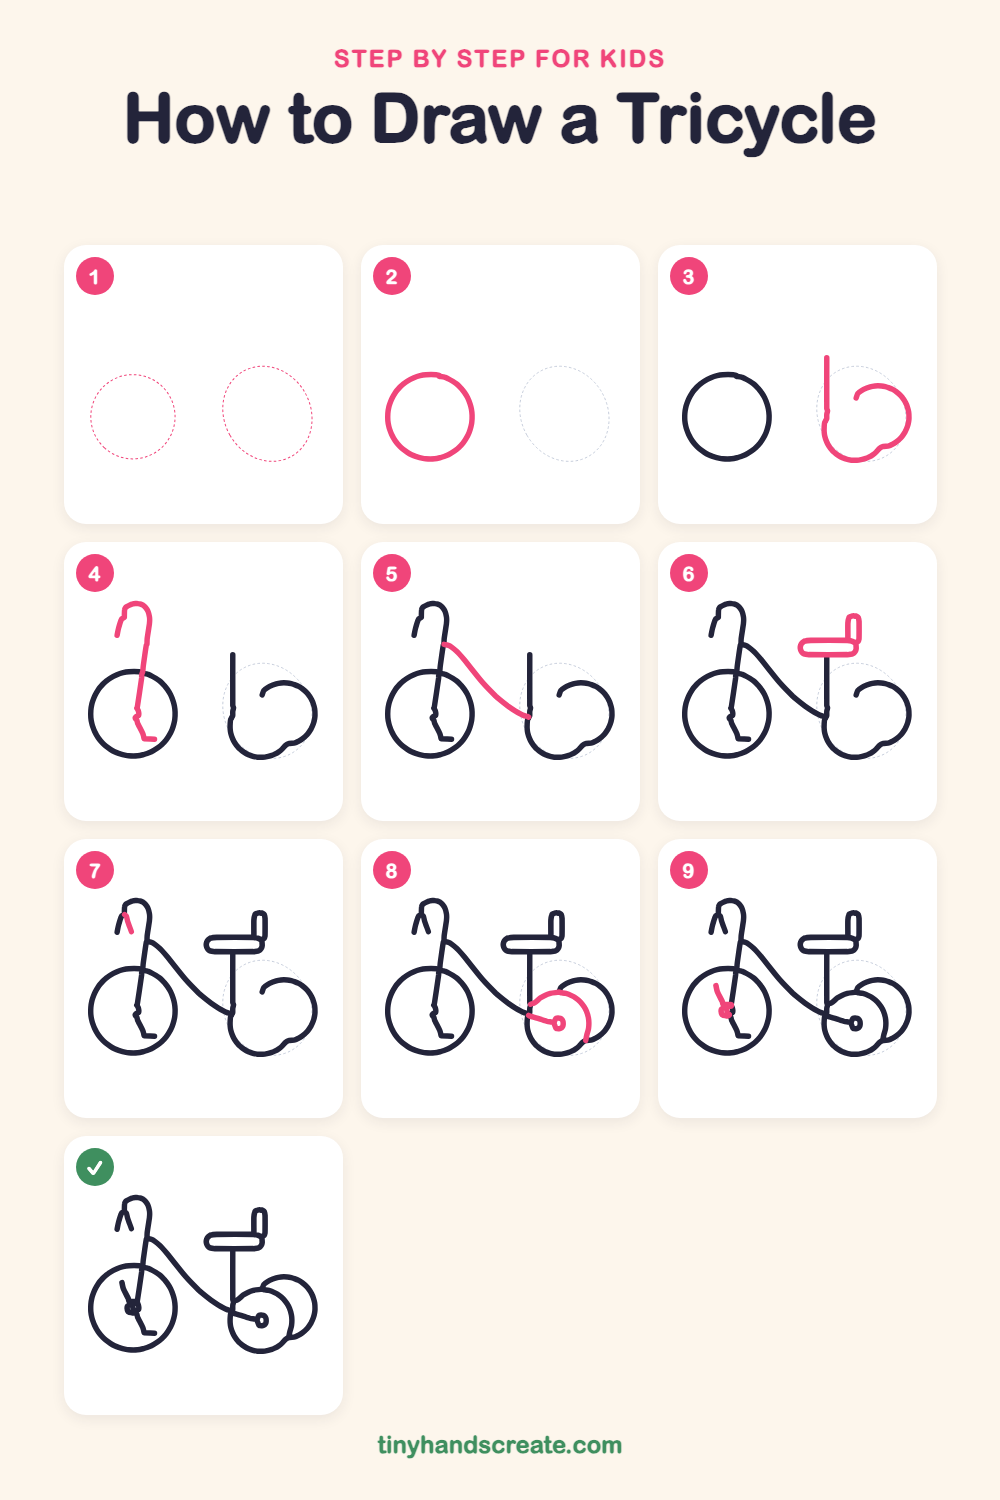
Step 1: Guide shapes
Lightly sketch these 2 ovals. They only show where the big parts go, so press softly. You will erase them at the end.
Step 2: The big front wheel
Draw a big circle on the left side of the page. This is the front wheel, so make it nice and round.
Step 3: Seat post and back wheel
On the right side, draw a straight line standing up for the seat post. From the bottom of the line, curve around to the right and back up in a round wheel shape, and stop with a small gap near the top.
Step 4: The steering post
Start inside the front wheel and draw a long, slightly slanted line going up. At the top, curve it over like the top of a candy cane. Add a tiny flat foot at the bottom of the line.
Step 5: The curvy frame
Start near the steering post and draw a long, smooth curve sweeping down and to the right until it meets the bottom of the seat post.
Step 6: The seat
Draw a long, flat rounded rectangle on top of the seat post. Add a small tall rounded rectangle standing up at its right end for the back rest.
Step 7: The handlebar grip
Near the curved top of the steering post, draw a short line hanging down like a little handle.
Step 8: Back hub and wheel arc
Draw a small circle inside the back wheel and join it to the frame with a short line. Then draw a curved line that arches over the top of the small circle and down the right side, to make a round wheel in front.
Step 9: The pedal
Draw a tiny circle in the center of the front wheel. From it, draw a short slanted line going up and to the left for the pedal arm.
All done!
Erase the guide shapes, go over your lines, then color it in.
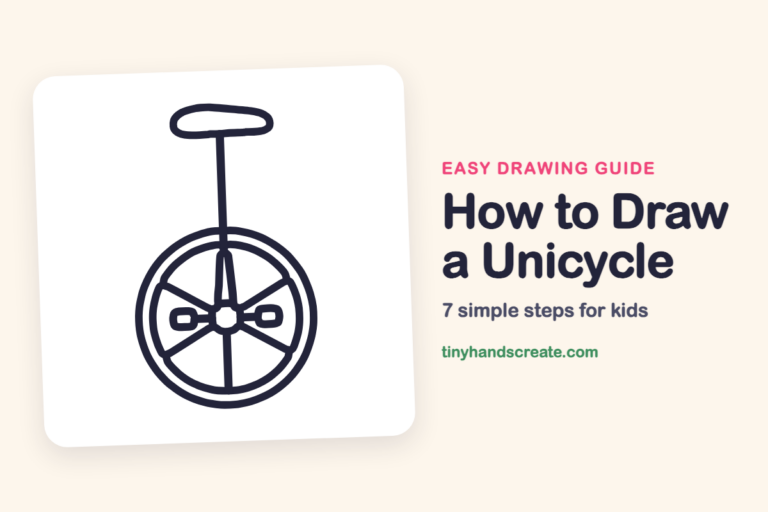
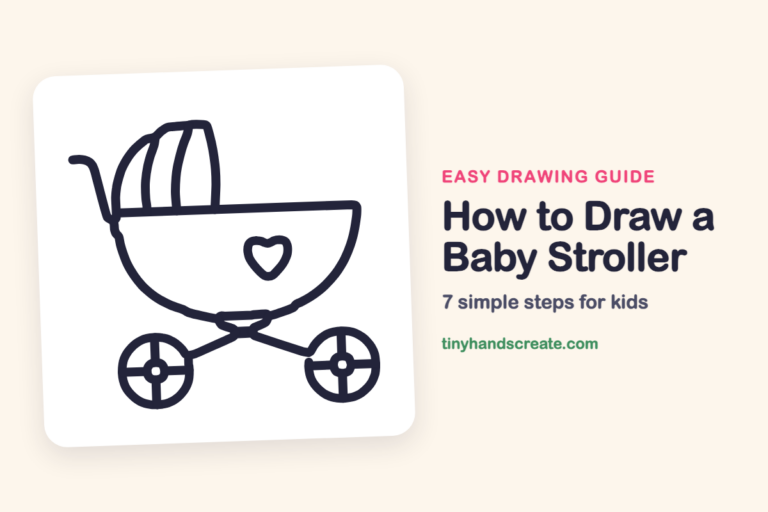
Finished your tricycle? Keep the pencils out and learn how to draw a unicycle or how to draw a baby stroller next.
Tips for drawing a tricycle
- Draw the front wheel first and make it nice and round, so you have a clear spot to start the steering post.
- The back wheel in step 2 is a rounded shape that stays open at the top. Go slowly and let the curve finish later with the arc in step 7.
- Make the frame one smooth, gentle curve. Try tracing it in the air with your finger before you draw it.
Free tricycle coloring page
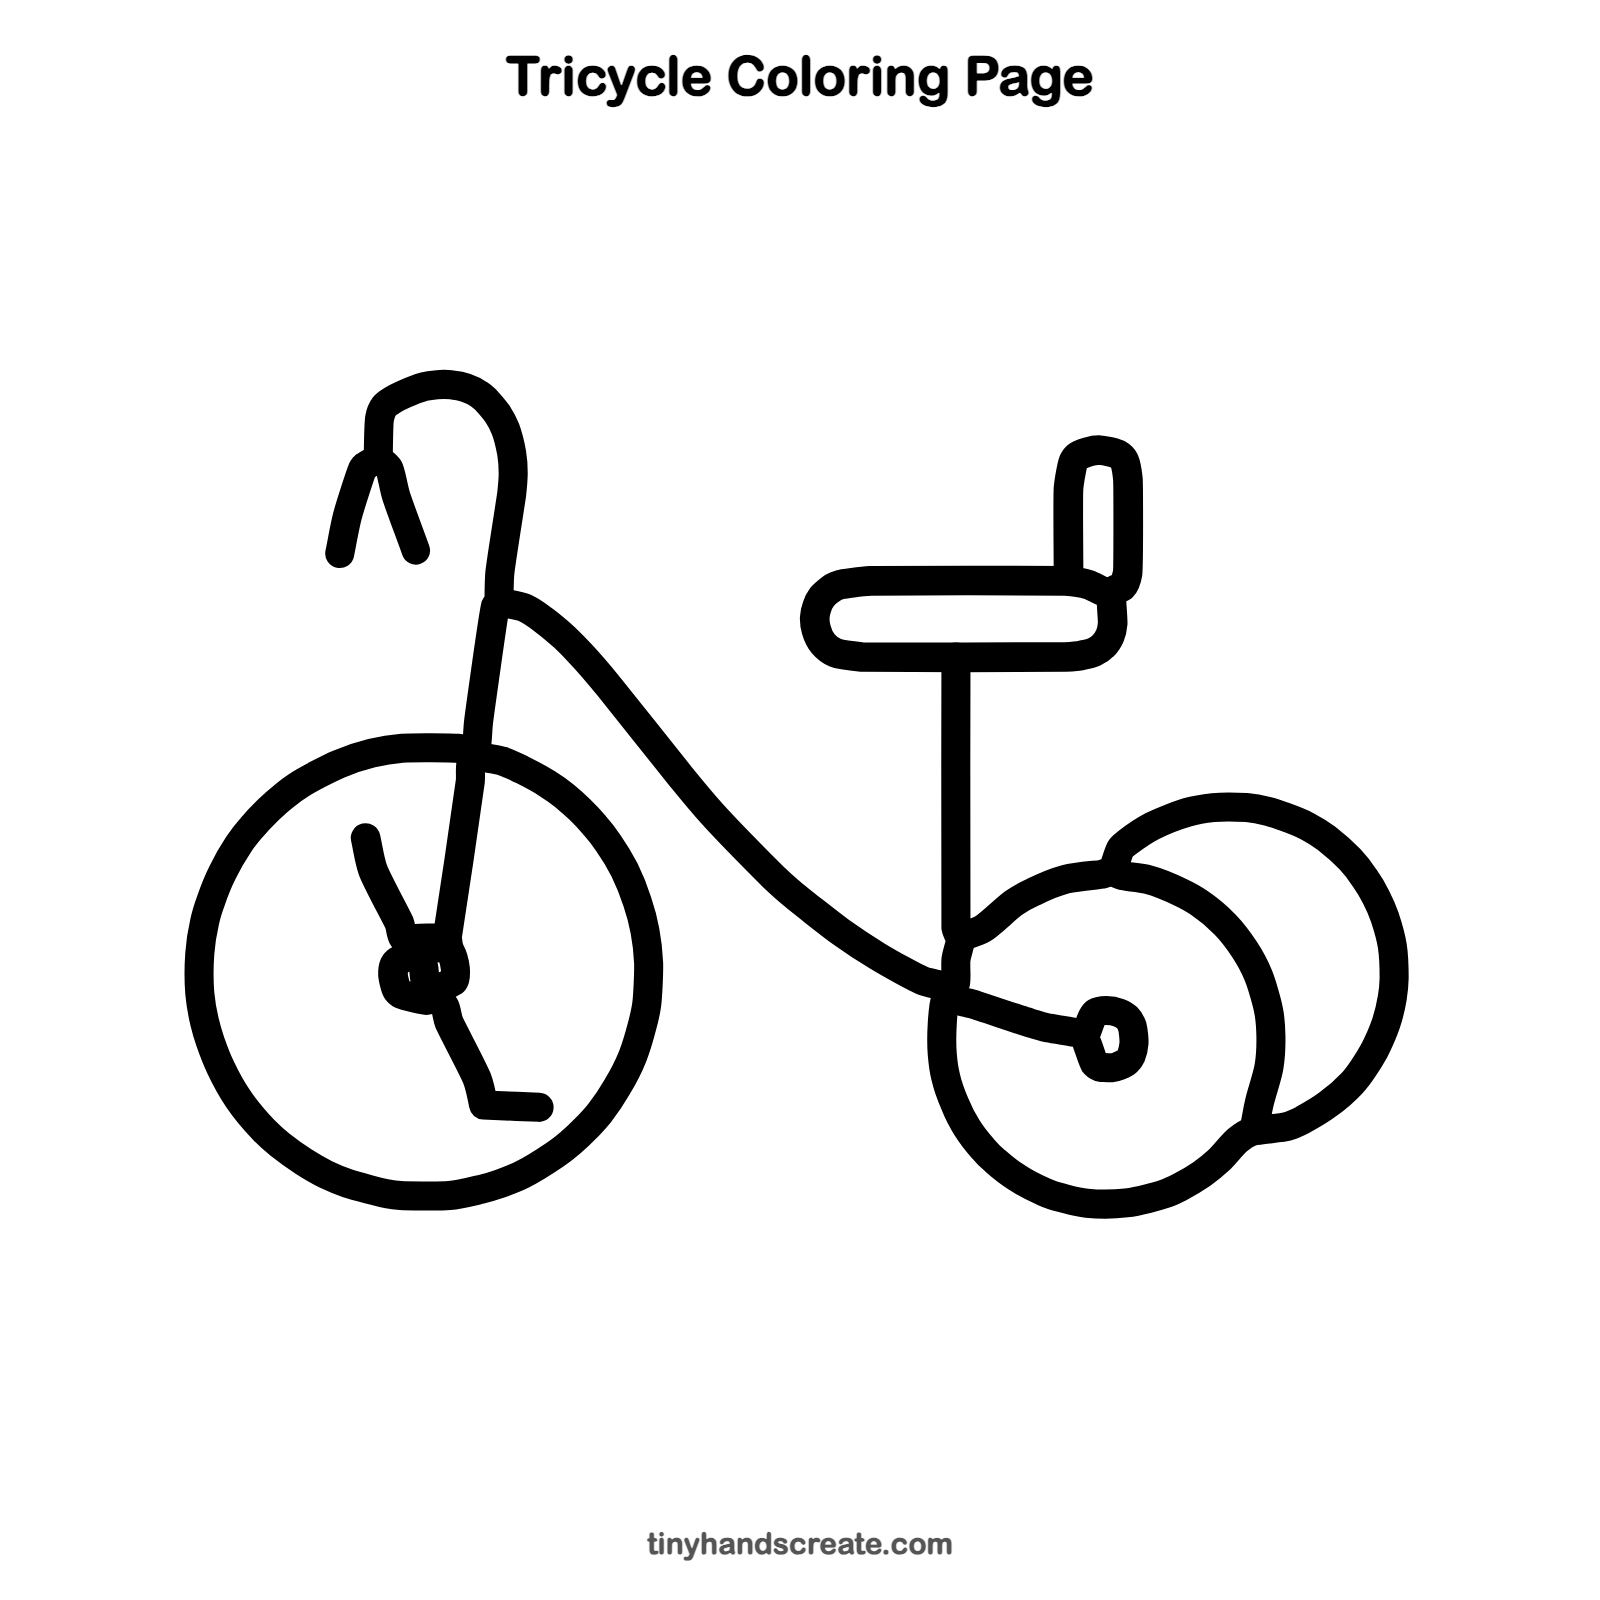
Want to go straight to coloring? Open this tricycle coloring page at full size and print it. It is the same drawing you just learned, with clean lines ready for crayons or markers.
How to color your tricycle drawing
Try a bright red frame with gray wheels and a yellow seat. For a creative twist, color the back rest in a different color than the seat.
Tricycle fun fact for kids
Many tricycles have the pedals attached right to the front wheel, so when your feet push the pedals, the front wheel turns around with them.
Questions about drawing a tricycle
What shapes do I need to draw a tricycle?
You need circles for the wheels, a long curved line for the frame, and rounded rectangles for the seat and back rest. Straight lines make the seat post and the steering post.
How do I draw the back wheels so they look right?
Start with the round back wheel shape beside the seat post and leave a small gap at the top. Later, draw the small circle and the arc over it, so a second wheel appears in front and the first one peeks out behind.
How do I make my tricycle look more fun?
Color the wheels, frame and seat in bright colors, or add stripes and dots on the seat. Colorful wheels also make it look cheerful.