How to Draw a Shopping Cart (Easy Step by Step)
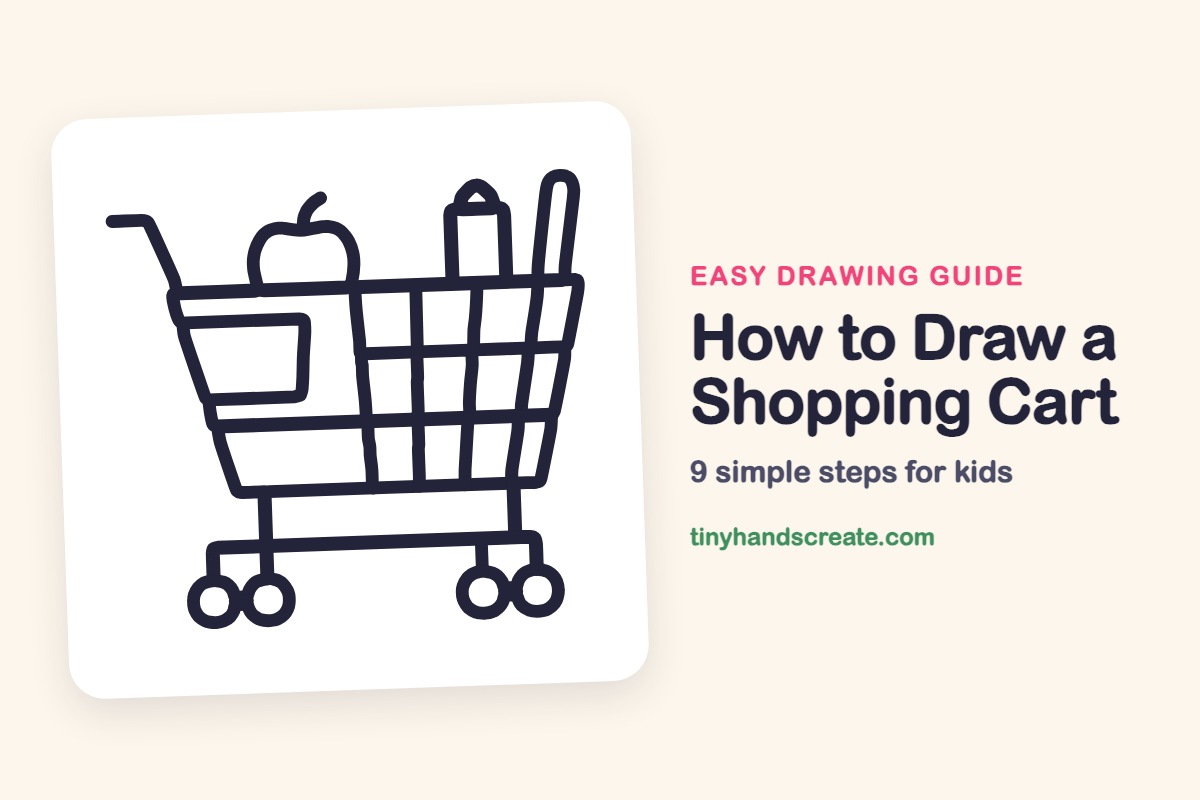
A shopping cart looks tricky, but it is mostly straight lines, a few circles, and one wide basket shape. This one comes loaded with an apple, a bottle, and a loaf of bread, so you also get to practice rounds and rectangles. Take it one part at a time and the wire grid fills in quickly.
- Medium
- 15 minutes
- 9 steps
You need: paper, a pencil, an eraser, and crayons or markers for coloring.
Start drawingIn this article (7 sections)
How to draw a shopping cart step by step
How to Draw a Shopping Cart · tinyhandscreate.com
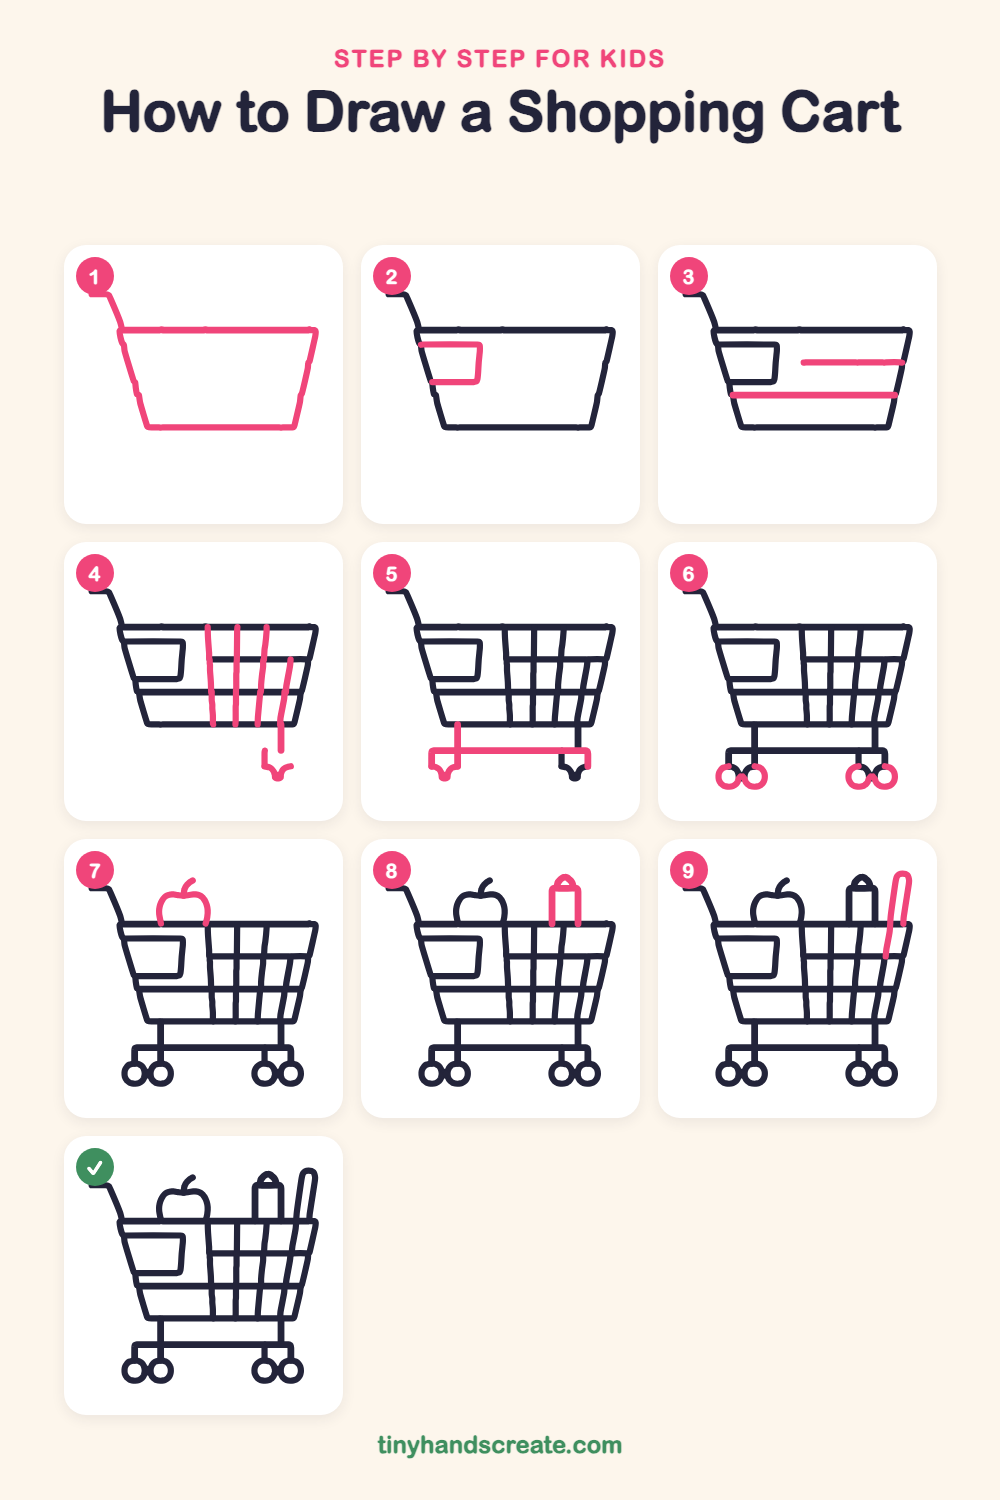
Step 1: Basket and handle
Draw a wide basket that is wider at the top and narrower at the bottom, with a straight line across the top for the rim. Then start a handle at the top left corner, going out to the left and bending up.
Step 2: The side box
Inside the left side of the basket, just under the rim, draw a small box with rounded corners. Let its left side touch the slanted side of the basket.
Step 3: Long cross wires
Draw two straight sideways lines inside the basket. Make a short one on the right, higher up, and a long one lower down that goes all the way across.
Step 4: Up and down wires
On the right side of the basket, draw four slightly slanted lines from the rim down to the bottom. The last one on the right keeps going a little below the basket.
Step 5: Leg and bottom bar
Draw a short straight leg going down from the left bottom of the basket. Then draw a long sideways bar that starts at the leg and goes across to the right, with a small hook pointing down at each end.
Step 6: Four wheels
Draw two small circles side by side under the left end of the bar. Then draw two more circles side by side under the right end.
Step 7: A round apple
Sitting on the rim, draw a round apple with a little dip at the top. Add a short curved stem.
Step 8: A bottle
Draw a tall rectangle standing on the rim on the right side. Put a small pointed cap on top.
Step 9: A long loaf
Next to the bottle, draw a long, thin loaf of bread leaning against the right side of the basket. Draw two lines that curve together into a rounded top.
All done!
Go over your lines with a marker, then color it in.
Finished your shopping cart? Keep the pencils out and learn how to draw a snowmobile or how to draw a food truck next.
Tips for drawing a shopping cart
- Draw the basket first, with the top wider than the bottom, and the rest of the cart will line up around it.
- For the wire grid, draw the two long sideways lines first, then add the up and down lines. Try to space them about the same distance apart.
- Wheels are easiest when you trace around a coin or a bottle cap, then draw them as pairs next to each other.
Free shopping cart coloring page
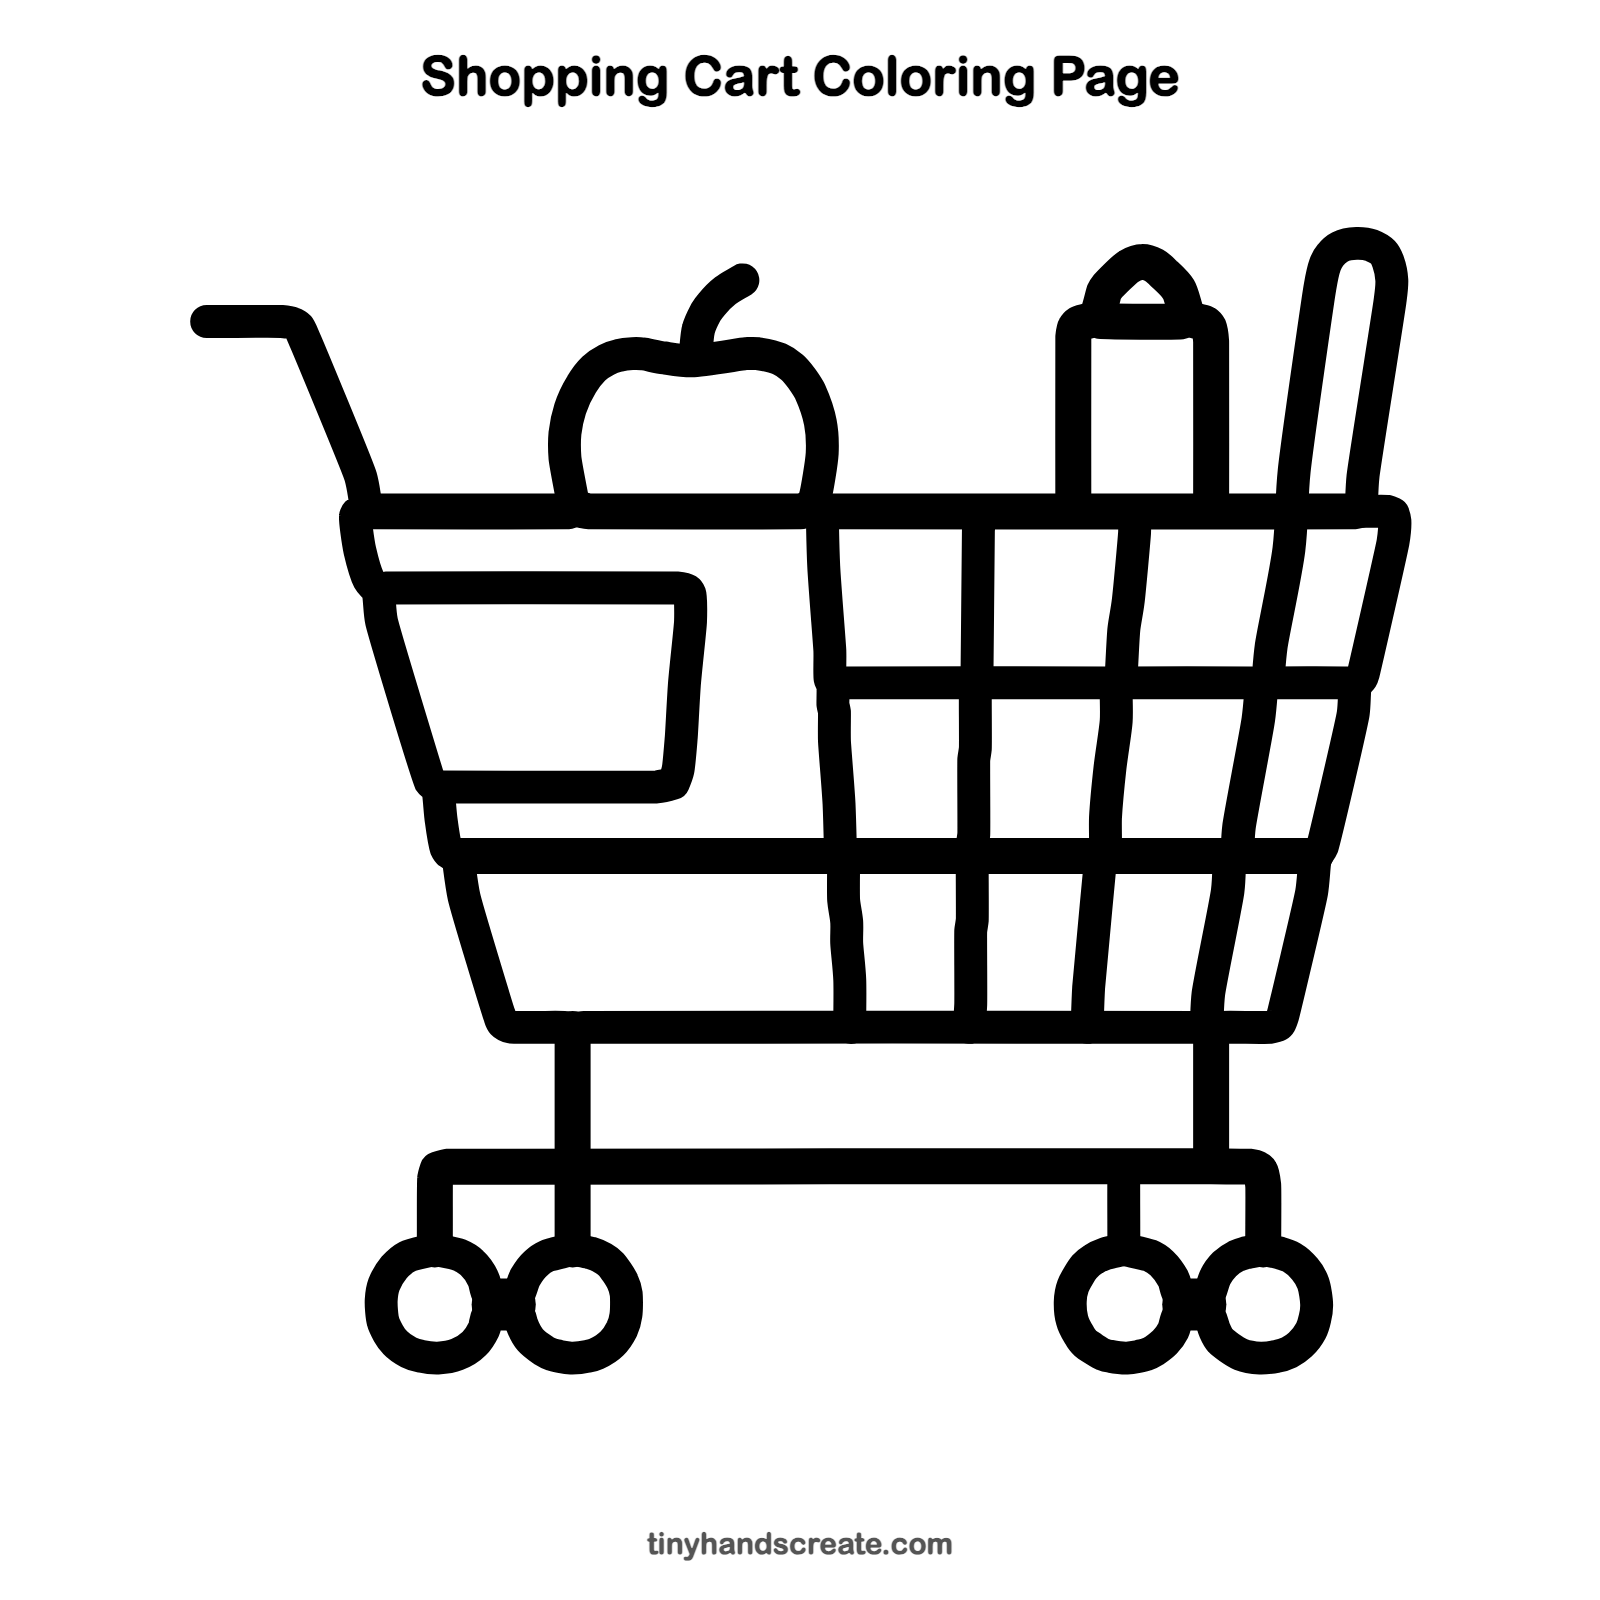
Want to go straight to coloring? Open this shopping cart coloring page at full size and print it. It is the same drawing you just learned, with clean lines ready for crayons or markers.
How to color your shopping cart drawing
Try a silver or gray cart with a bright red apple, a green bottle, and a golden brown loaf. For a twist, color the little box on the side a bright color too.
Shopping cart fun fact for kids
The first shopping cart was invented in 1937 by Sylvan Goldman, a grocery store owner in Oklahoma City. His first carts were folding chairs with baskets and wheels added.
Questions about drawing a shopping cart
What shapes do I need to draw a shopping cart?
You need a wide basket shape, straight lines for the wires, legs and bar, and four small circles for the wheels. The apple is a rounded shape and the bottle is a rectangle.
How do I draw the wire grid on a shopping cart?
Draw the long sideways lines first, then add the up and down lines between them. Use a ruler if you want them extra straight, or keep them a little wobbly for a hand-drawn look.
How can I make my shopping cart look like it is full?
Draw items so they stick up above the rim, like the apple, bottle, and loaf here. Overlapping a few things makes the cart feel packed.