How to Draw a Snowmobile (Easy Step by Step)
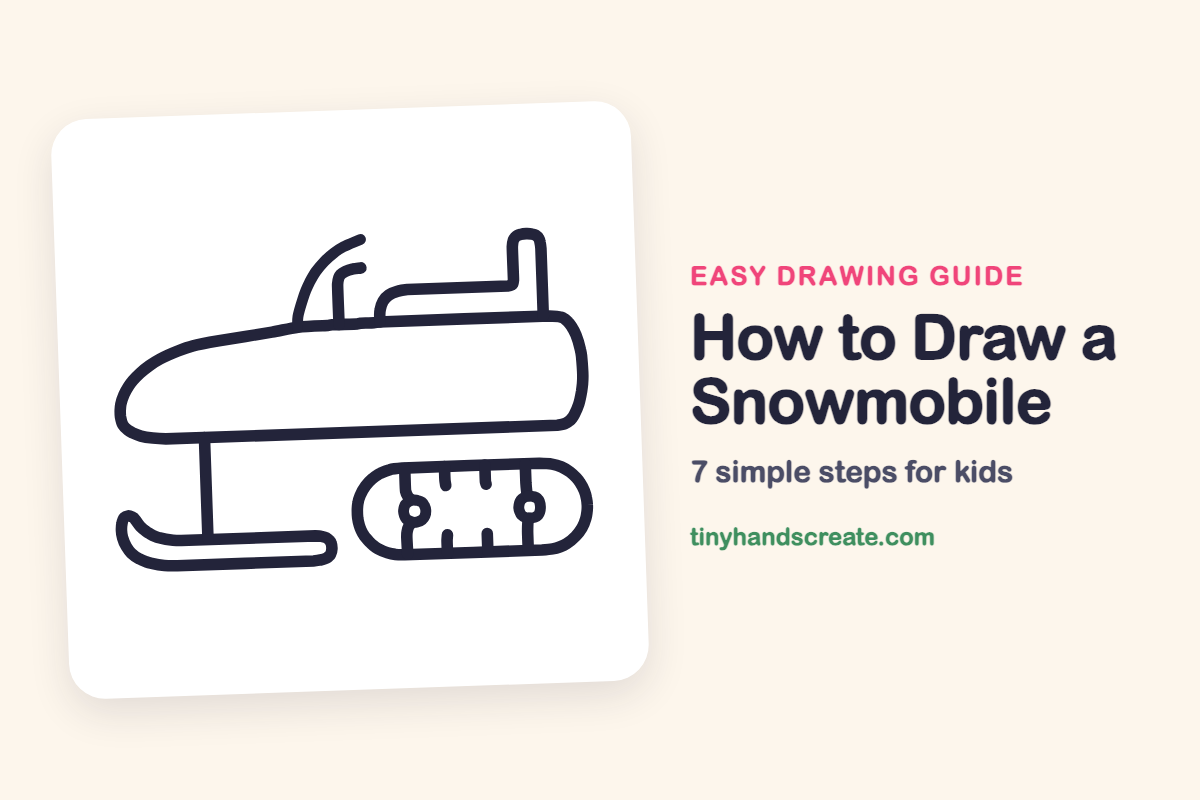
A snowmobile is a fun drawing because it looks like a toy made of simple shapes. You only need a long rounded body, a stretched oval for the track, and a few straight and curved lines. It is a great first vehicle for kids who want something a little different from a car.
- Easy
- 10 minutes
- 7 steps
You need: paper, a pencil, an eraser, and crayons or markers for coloring.
Start drawingIn this article (7 sections)
How to draw a snowmobile step by step
How to Draw a Snowmobile · tinyhandscreate.com
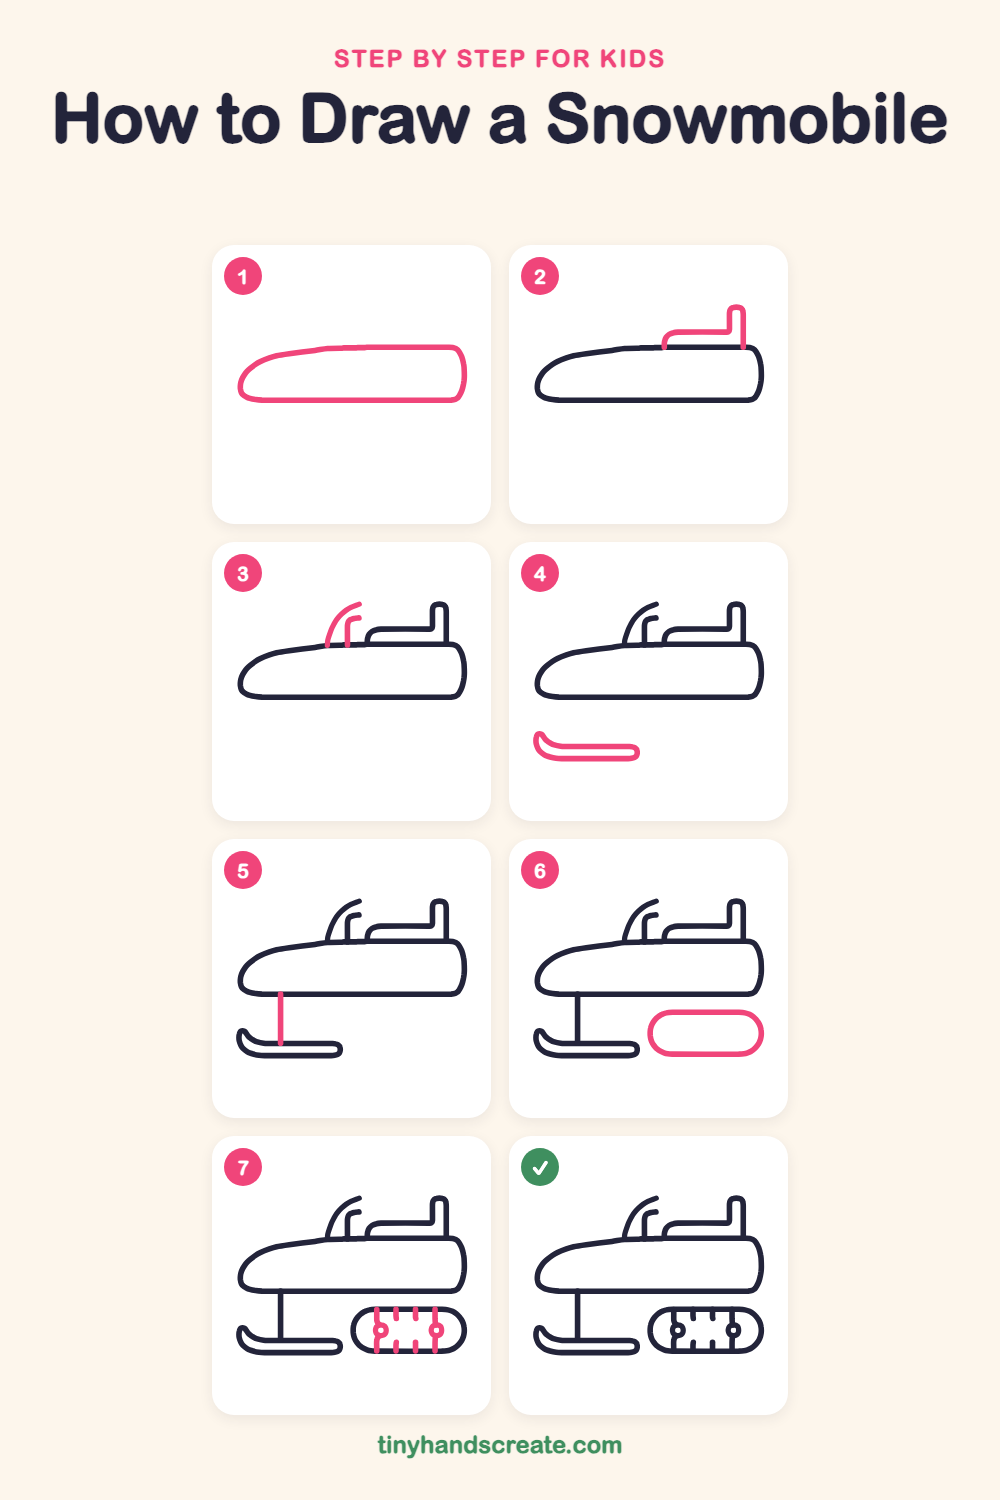
Step 1: The long body
Start with a long, loose shape like a rounded loaf lying on its side. Make the left end sloped and rounded like a nose, and the right end rounder and a little taller. Finish with a flat line along the bottom.
Step 2: The seat
On top of the body, near the right side, draw a long flat bump for the seat. Let it rise up into a tall rounded tab at the right end, like a backrest.
Step 3: Windshield and handlebar
Near the middle of the top, draw a tall curved line that sweeps up and leans back toward the seat for the windshield. Next to it, draw a shorter line going up that bends at the top for the handlebar.
Step 4: The ski
Under the front of the body, leave a little gap and draw a long skinny shape like a canoe, with the tip curling up at the left end. Make the right end smooth and round.
Step 5: The ski post
Draw one straight line going down from the bottom of the body to the top of the ski. It holds the ski in place.
Step 6: The track belt
Under the back of the body, draw a big stretched oval like a running track or a pill. This is the belt that grips the snow.
Step 7: Wheels and tread
Inside the track, near each end, draw a tall straight line with a small circle on it for the wheels. Then add short straight lines along the top and bottom inside edges of the track to make the tread bumps.
All done!
Go over your lines with a marker, then color it in.
Finished your snowmobile? Keep the pencils out and learn how to draw a food truck or how to draw a bullet train next.
Tips for drawing a snowmobile
- Draw the body very lightly first. The sloped front and the rounder back are easy to fix if the shape comes out wobbly.
- Make the track a big pill shape with two straight sides. If you draw a circle it will look like a wheel, not a belt.
- Draw the ski a little below the body, then connect it with the straight post. Keep the tread lines short and evenly spaced so they look like bumps.
Free snowmobile coloring page
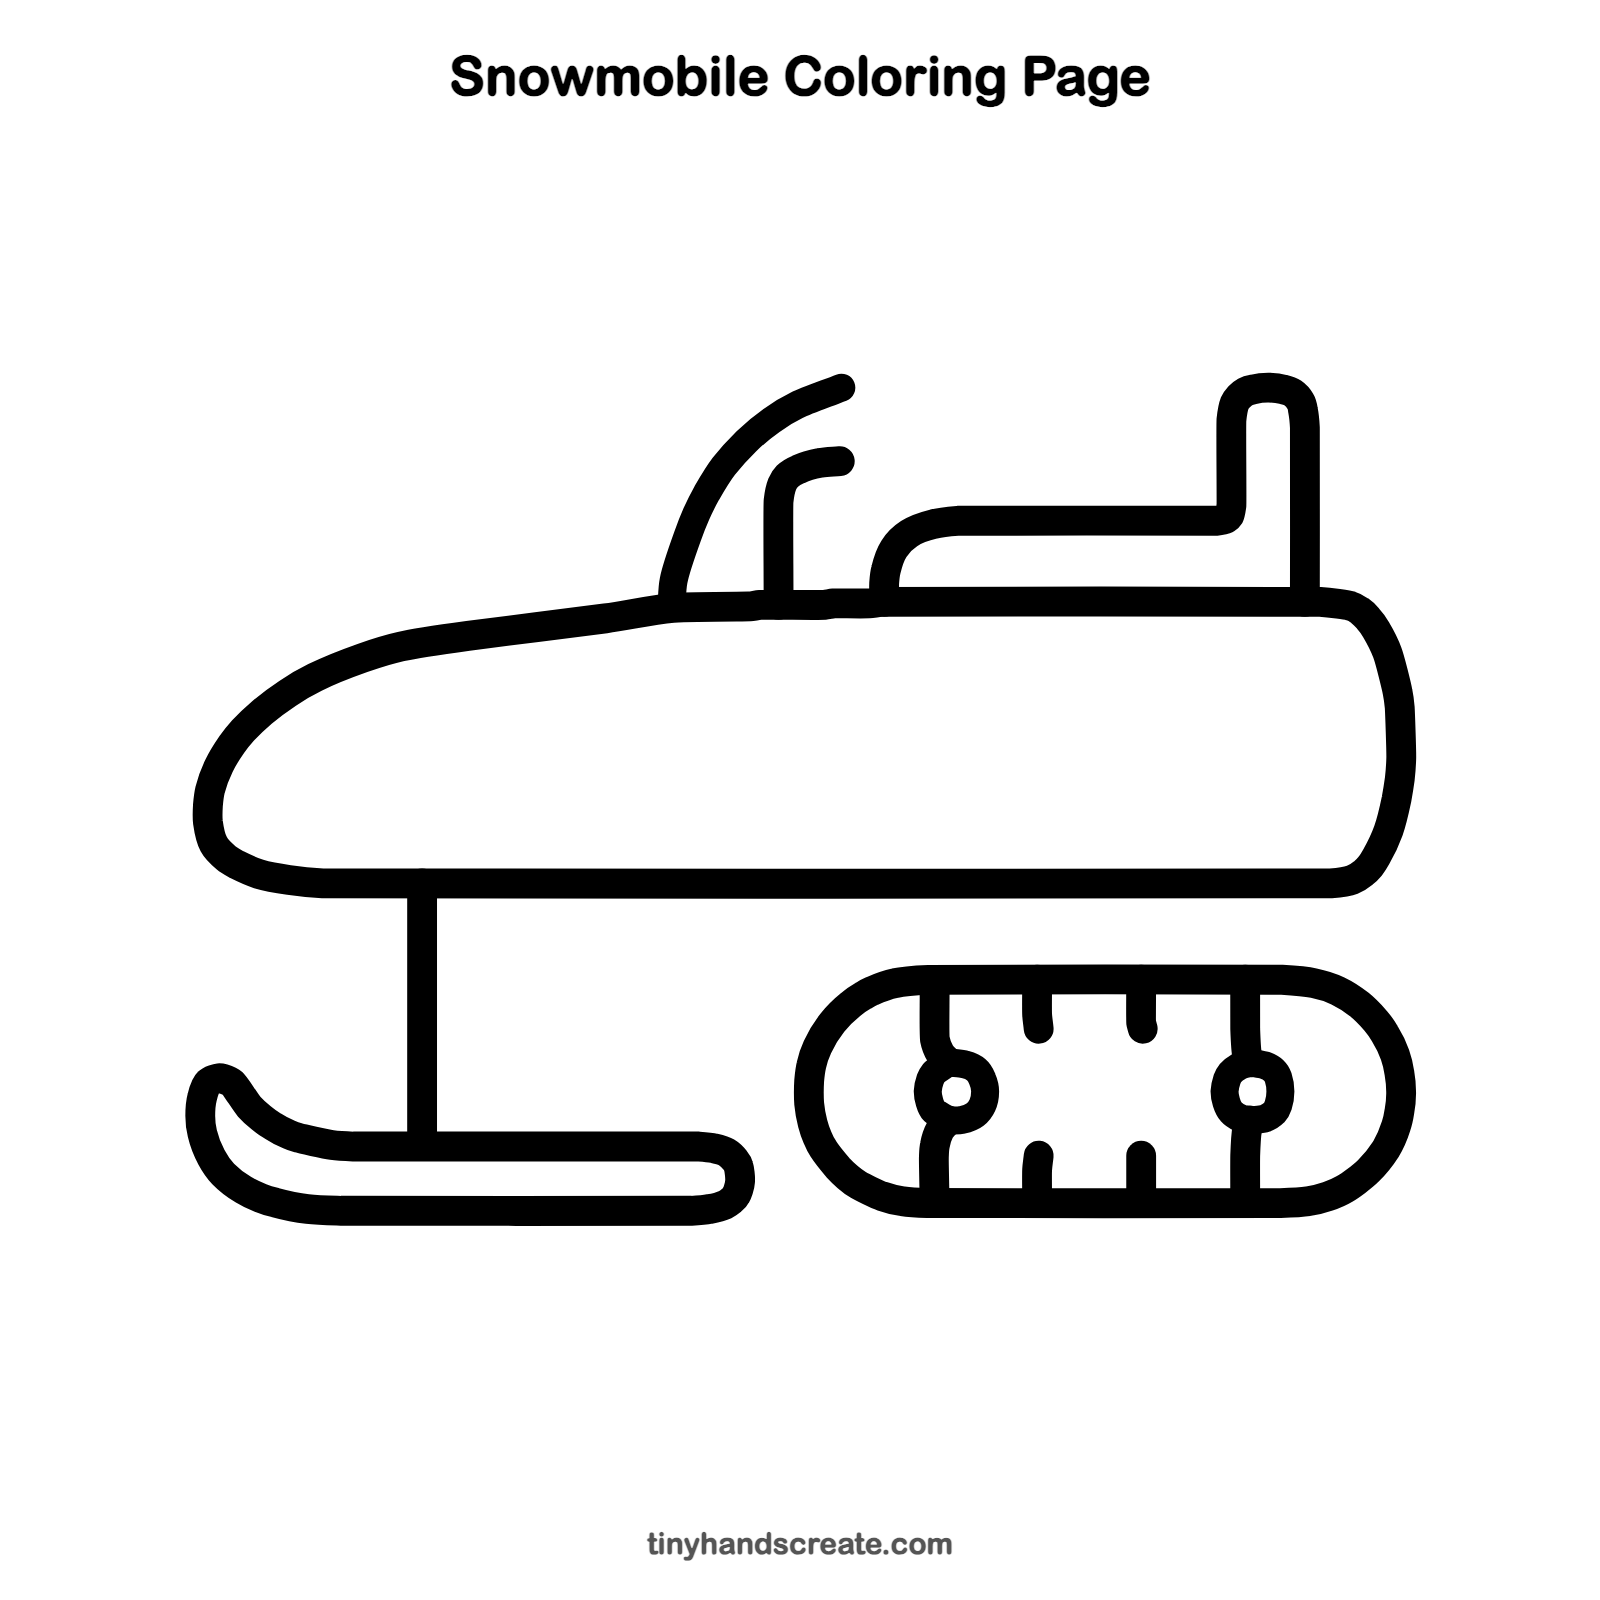
Want to go straight to coloring? Open this snowmobile coloring page at full size and print it. It is the same drawing you just learned, with clean lines ready for crayons or markers.
How to color your snowmobile drawing
Try a bright red or blue body with a black seat and a gray track. For a creative twist, draw snowflakes falling all around and a little trail of tracks in the snow behind it.
Snowmobile fun fact for kids
A snowmobile steers with the skis at the front, while a wide rubber belt called a track at the back grips the snow and pushes it forward.
Questions about drawing a snowmobile
What shapes do I need to draw a snowmobile?
You need one long rounded shape for the body, one stretched oval (a pill shape) for the track, and a few curved and straight lines for the seat, windshield, handlebar, ski and wheels.
How do I make my snowmobile look like it is moving fast?
Add a few short straight lines behind it for speed. You can also draw it on a hill, tilted a little bit uphill.
What is the hardest part of drawing a snowmobile?
Most kids find the ski the trickiest, because it curls up at the tip. Start at the curled tip, draw along the bottom to the round end, and then come back along the top to close the shape.