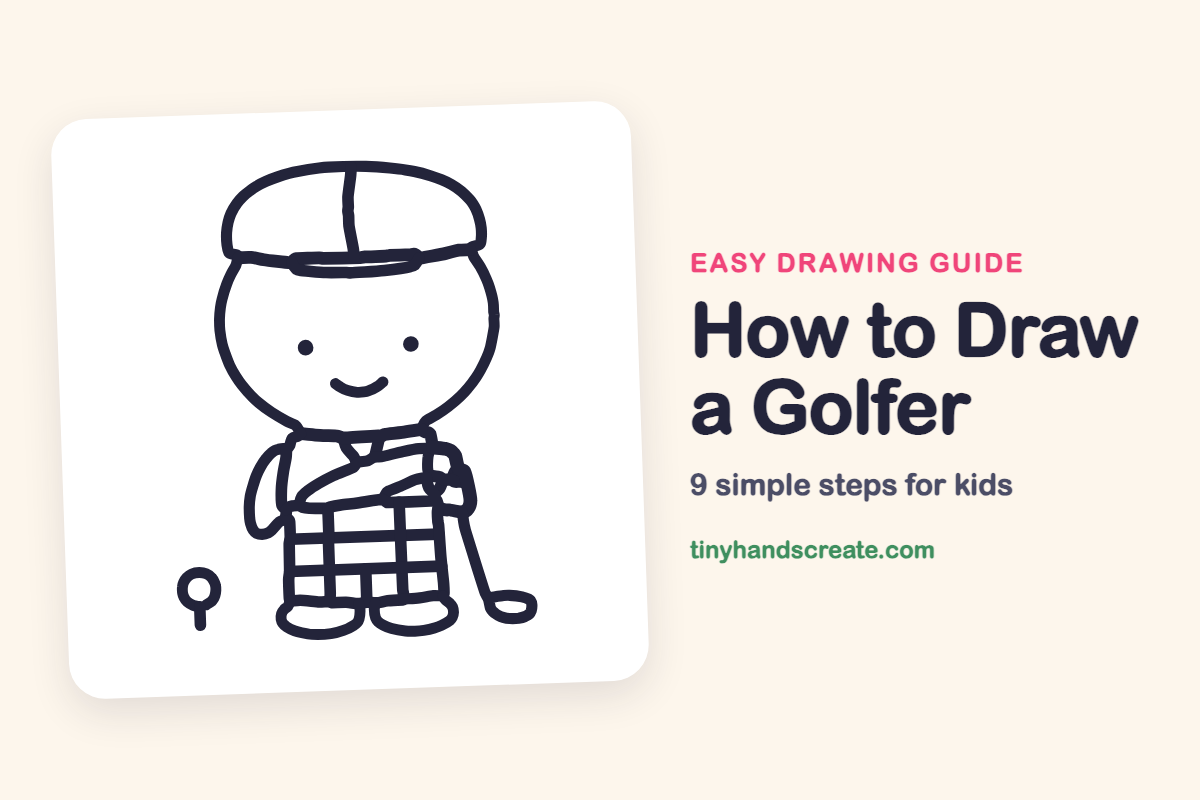
How to Draw a Golfer (Easy Step by Step)
This friendly golfer is built from simple shapes: curved lines, ovals, and straight lines. The big round head, the puffy flat cap, and the plaid pants make it easy to follow one step at a time. By the end you will have a cheerful player with a club, a ball, and a tee.
- Medium
- 15 minutes
- 9 steps
You need: paper, a pencil, an eraser, and crayons or markers for coloring.
Start drawingIn this article (7 sections)
How to draw a golfer step by step
How to Draw a Golfer · tinyhandscreate.com
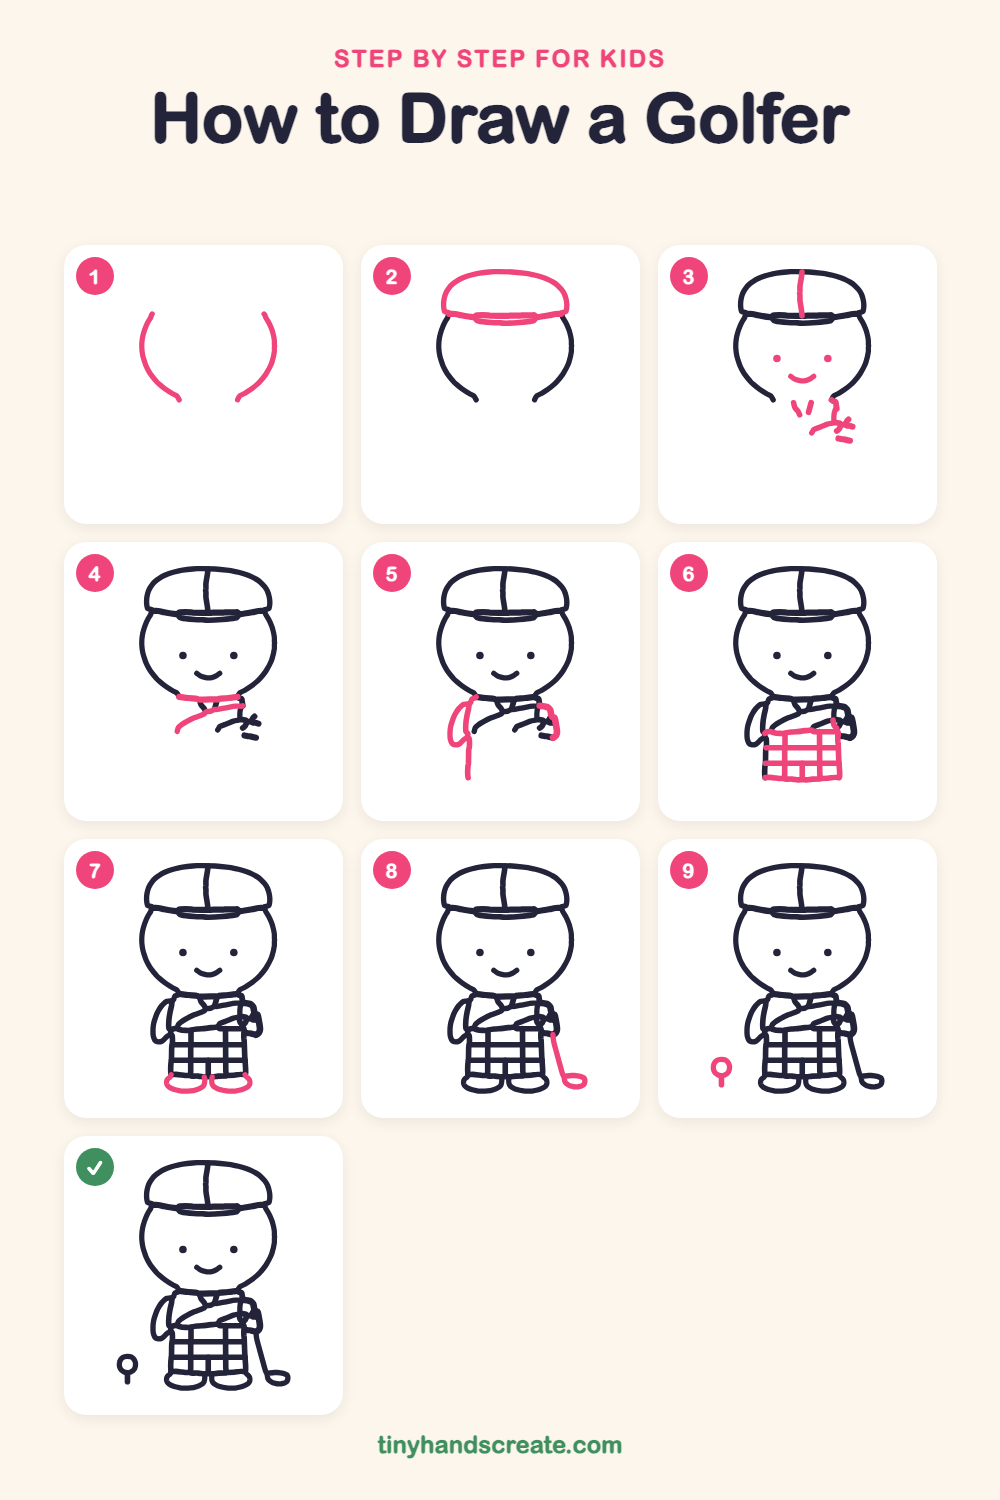
Step 1: Sides of the head
Draw two curved lines that bend like the sides of a big round head. Leave a wide gap at the top for the cap and a gap at the bottom for the chin.
Step 2: The flat cap
Draw a wide, puffy dome across the top of the head, like a squashed half circle. Add a curved brim line across the bottom of the dome, then a short curved line under it for the cap band.
Step 3: Face and cap seam
Draw a short line down the middle of the cap. Add two small dots for eyes and a little curved smile below them. Add a few small marks near the neck on the right.
Step 4: Shoulders and strap
Under the head, draw a short straight line for the shoulders. Then draw a long curved line slanting across the chest for the strap.
Step 5: Arm and hand
On the left, draw a long, narrow loop for the arm hanging down. On the right, draw a small rounded shape for the hand.
Step 6: Checkered pants
Draw a rectangle below the shirt for the pants. Add straight lines across and down inside it to make a grid, like a window.
Step 7: Round shoes
At the bottom of the pants, draw two wide ovals side by side for the shoes.
Step 8: Golf club
Draw a long straight line from the hand down and to the right. At the bottom, add a small flat oval for the club head.
Step 9: Tee and ball
In the bottom left corner, draw a small circle for the golf ball. Add a short straight line under it for the tee.
All done!
Go over your lines with a marker, then color it in.
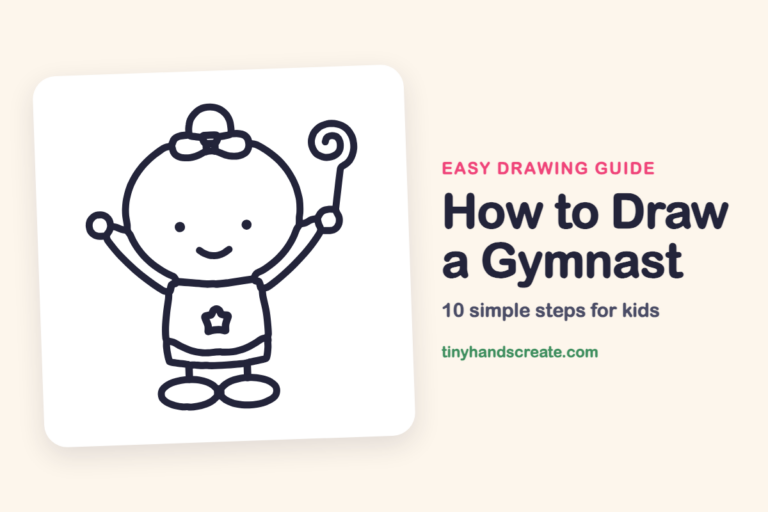
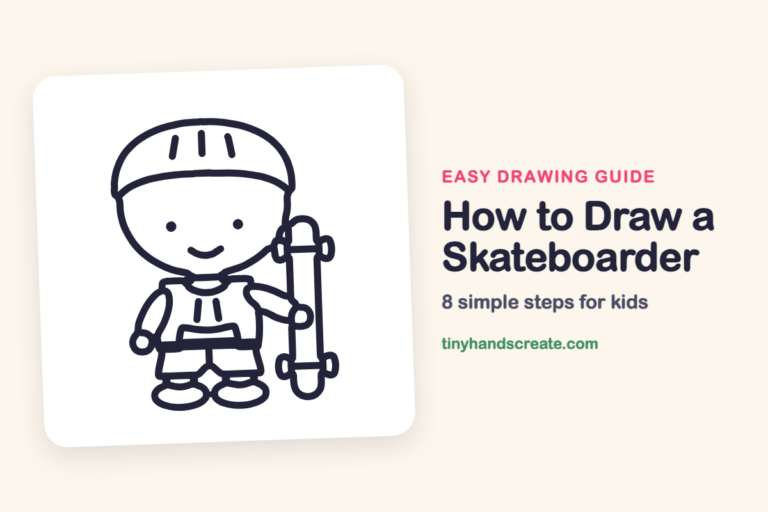
Finished your golfer? Keep the pencils out and learn how to draw a gymnast or how to draw a skateboarder next.
Tips for drawing a golfer
- Draw the two side curves of the head lightly and leave room at the top. The cap sits across the gap, so its brim should meet both sides.
- For the plaid pants, draw the outside rectangle first, then add the lines across and down. Use a ruler or the edge of a book if wobbly lines bother you.
- The club is the trickiest part. Draw one long line first, then add the small oval at the end, instead of drawing the whole thing in one go.
Free golfer coloring page
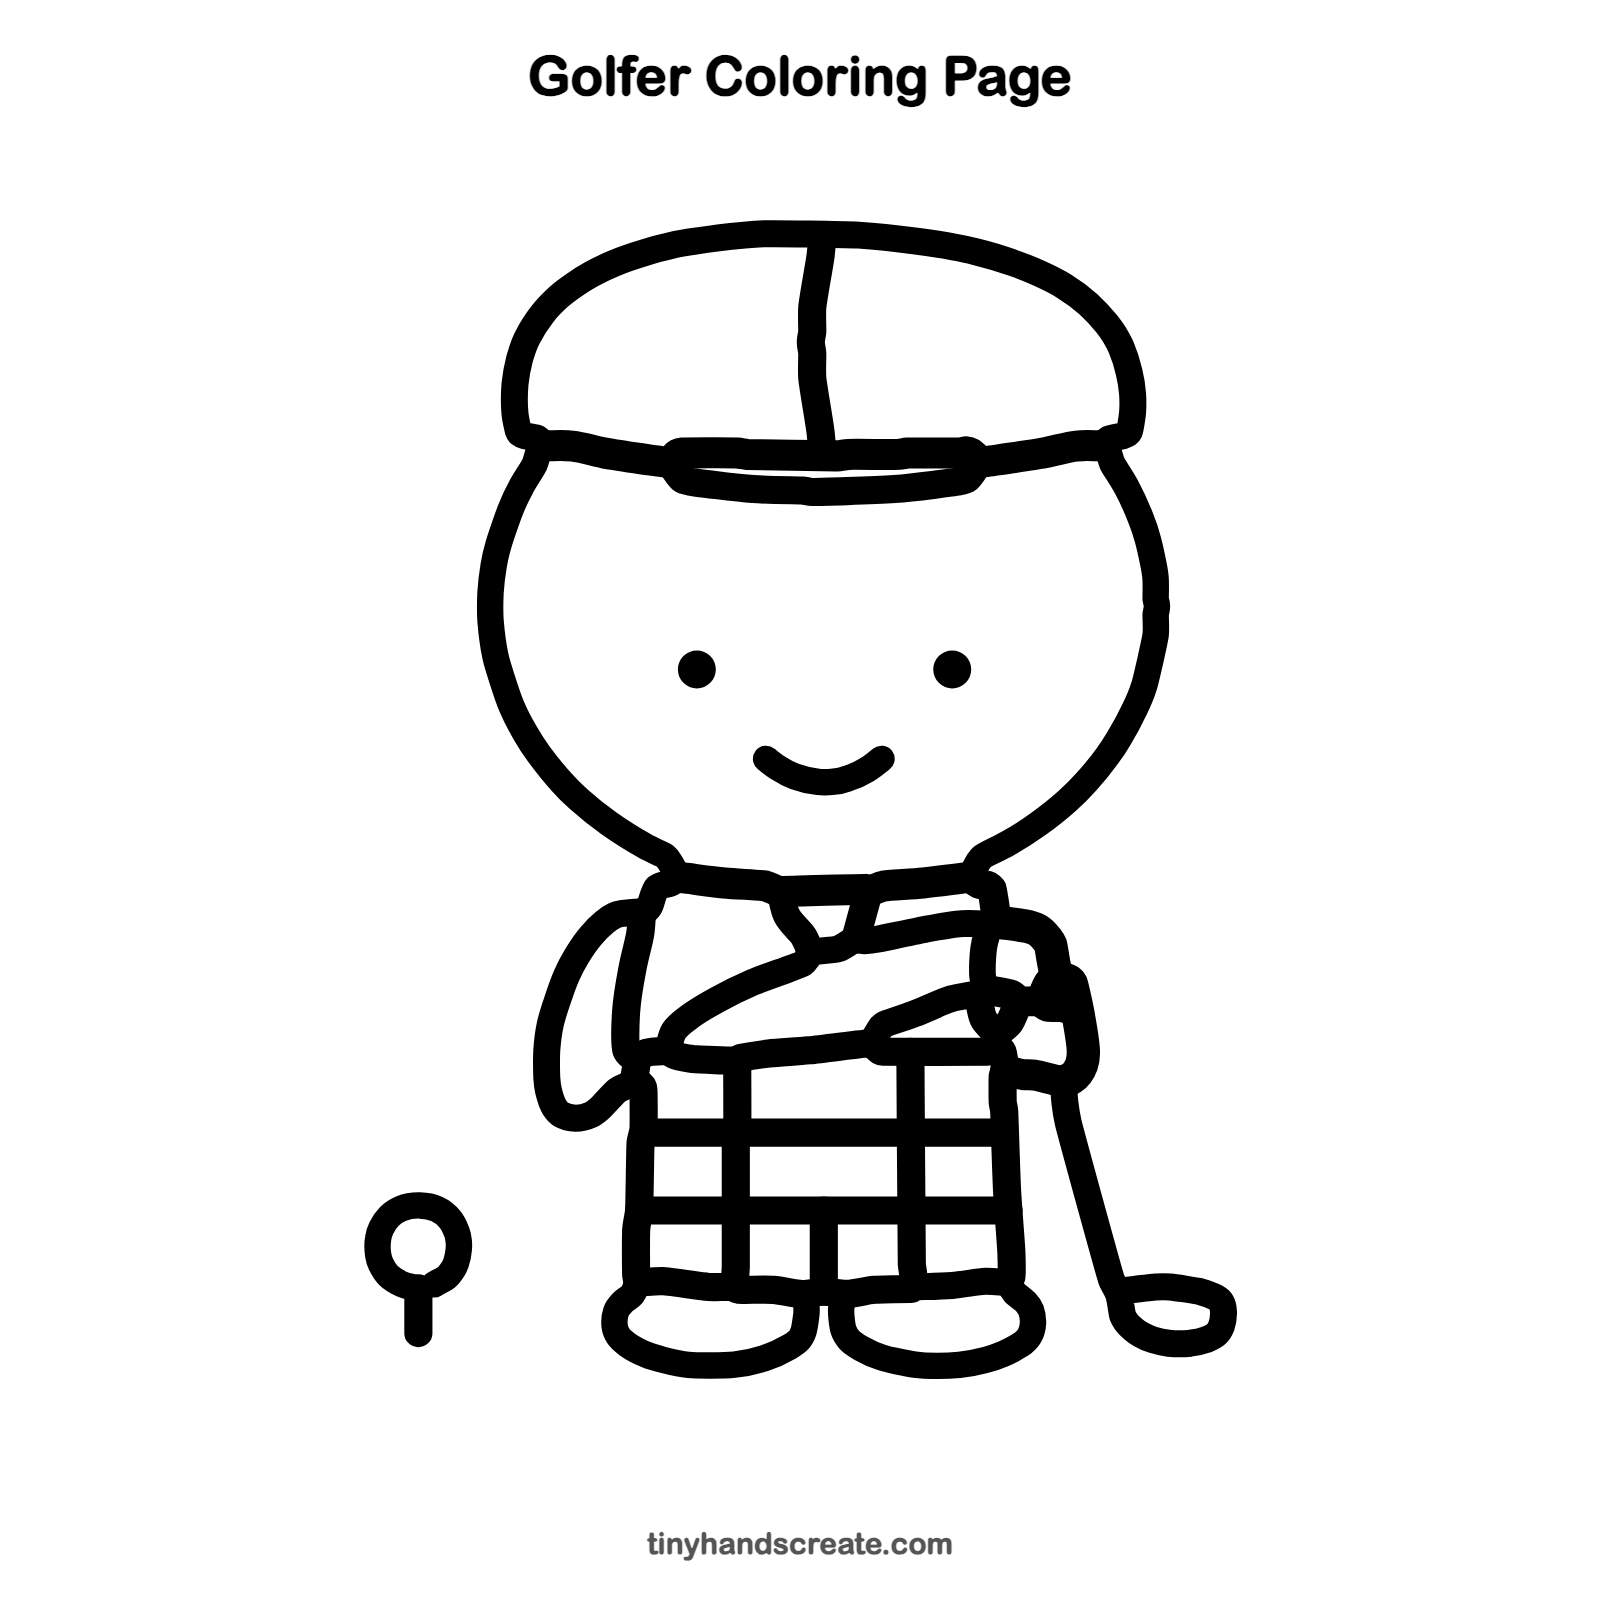
Want to go straight to coloring? Open this golfer coloring page at full size and print it. It is the same drawing you just learned, with clean lines ready for crayons or markers.
How to color your golfer drawing
Try a red and green plaid for the pants, a bright cap, and white shoes. You can color the club gray and the ball white with a bright tee.
Golfer fun fact for kids
Most golf balls have between 300 and 500 tiny dents called dimples. They help the ball fly farther through the air than a smooth ball would.
Questions about drawing a golfer
What shapes do I need to draw a golfer?
You need curved lines for the head, a dome for the cap, ovals for the shoes and club head, and a rectangle for the pants. Straight lines make the club, the tee, and the plaid, and a small circle makes the ball.
How do I make my golfer look cuter?
Keep the head big and the eyes small and far apart. A small curved smile gives your golfer a happy look.
How do I draw the plaid pants neatly?
Start with a plain rectangle, then add lines going down and lines going across. Draw them lightly first so you can fix mistakes.