How to Draw a Cooking Pot (Easy Step by Step)
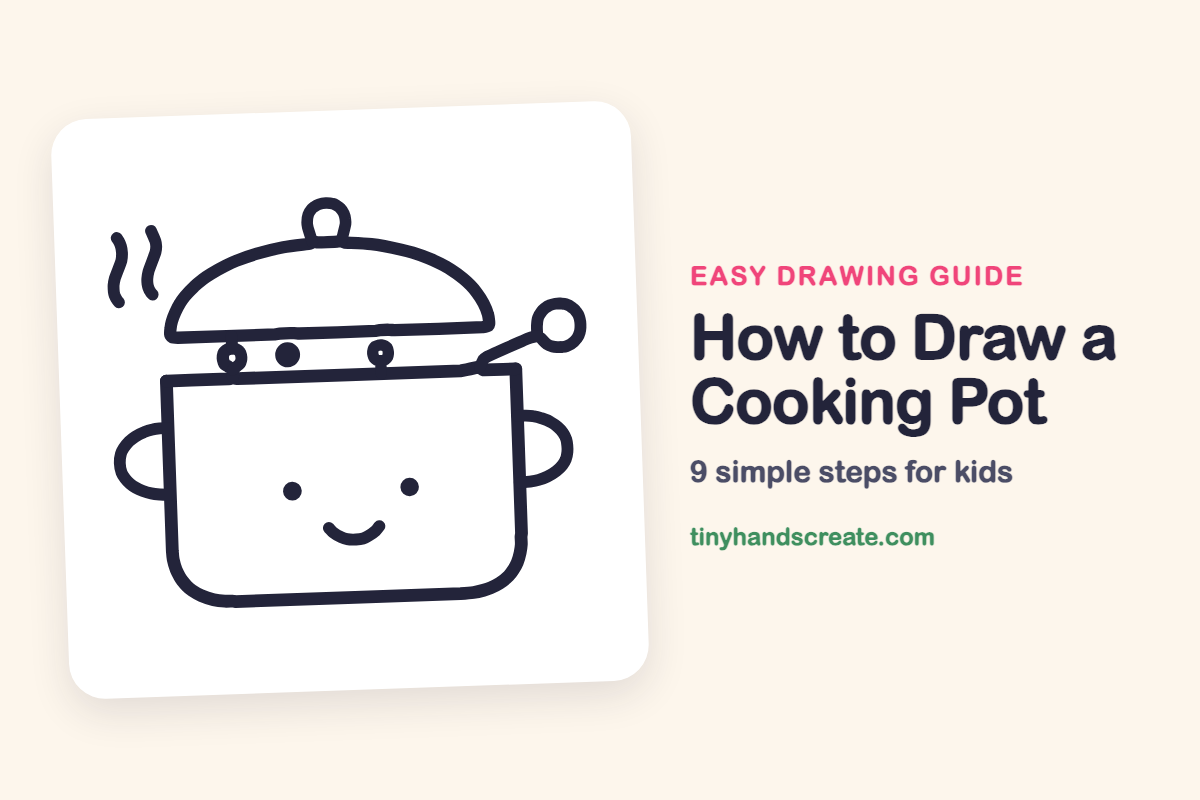
This cooking pot looks like it is smiling while dinner bubbles away. It is built from a rounded box, a dome lid, a few small circles, and some wiggly lines, so every part is easy to sketch.
- Easy
- 15 minutes
- 9 steps
You need: paper, a pencil, an eraser, and crayons or markers for coloring.
Start drawingIn this article (7 sections)
How to draw a cooking pot step by step
How to Draw a Cooking Pot · tinyhandscreate.com
Step 1: The pot body
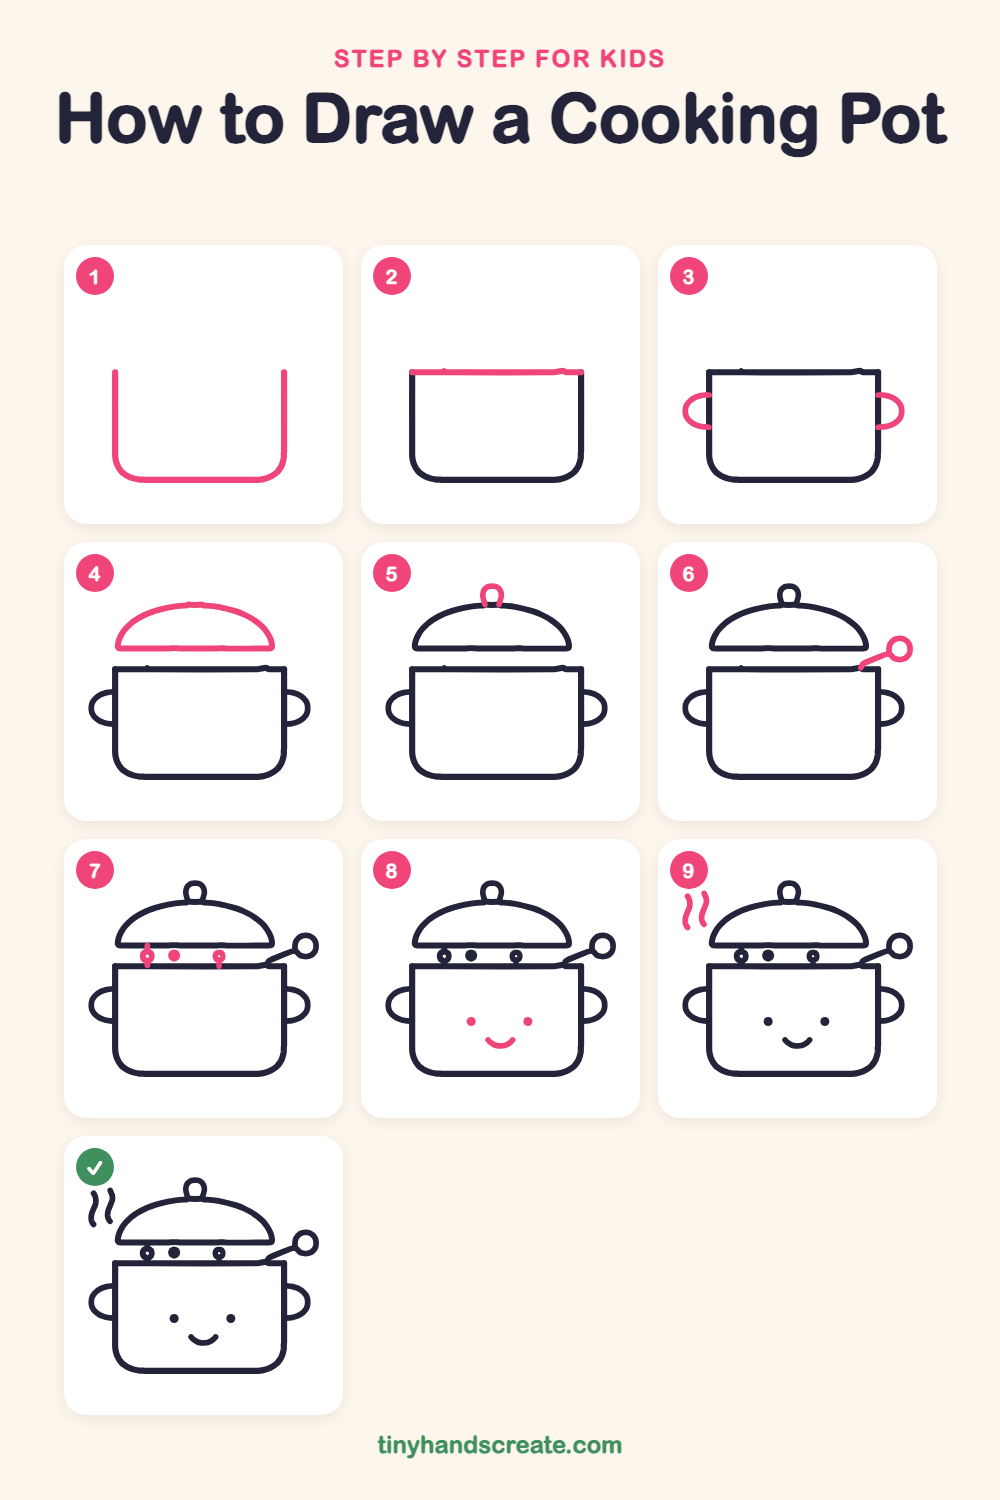
Start at the top left and draw a straight line down. Curve around a rounded corner, draw a flat bottom, curve up the other corner, and finish with a straight line up on the right. Leave the top open.
Step 2: The pot rim
Draw one long, straight line across the top of the pot, from the top of the left side to the top of the right side. This closes the pot.
Step 3: The side handles
On each side of the pot, draw a curved loop shaped like half an oval. Start and end it on the pot wall, and make both handles about the same size.
Step 4: The lid
Float a dome above the pot. Draw a flat line first, then curve a big hill shape up from both ends to meet at the top.
Step 5: The lid knob
On top of the middle of the lid, draw a small upside-down U shape for a little handle. Both ends touch the lid.
Step 6: The long spoon
Start at the right end of the rim and draw a short slanted line going up and to the right. Add a small circle at the top end for the spoon.
Step 7: Bubbles in the gap
In the gap between the lid and the pot, draw three small dots in a row. Make the middle one a solid dot and the outer two tiny rings.
Step 8: The happy face
Draw two small round dots for eyes in the middle of the pot. Then draw a little smile that curves like a bowl, centered below and between the eyes.
Step 9: Wavy steam
Above the pot on the left, draw two wiggly lines that go up like squiggly snakes. Make them a little different lengths.
All done!
Go over your lines with a marker, then color it in.
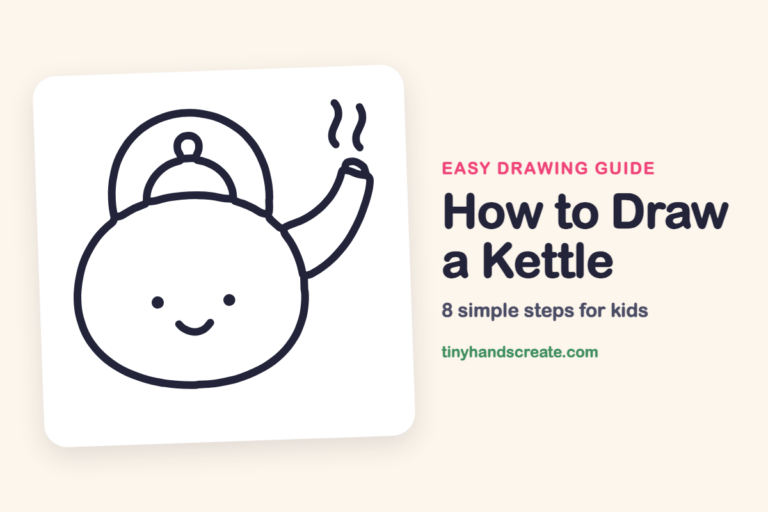
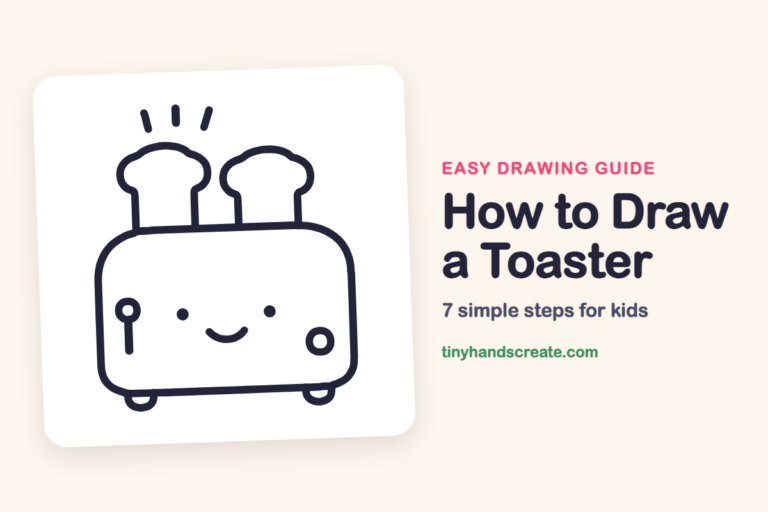
Finished your cooking pot? Keep the pencils out and learn how to draw a kettle or how to draw a toaster next.
Tips for drawing a cooking pot
- Draw the pot body in one smooth curve, with straight sides and rounded bottom corners, and keep both sides about the same height.
- Leave a gap between the lid and the pot, because the lid floats above the rim and looks best with some space under it.
- For the steam, start at the bottom and wiggle slowly upward, and do not worry if the two lines are not twins.
Free cooking pot coloring page
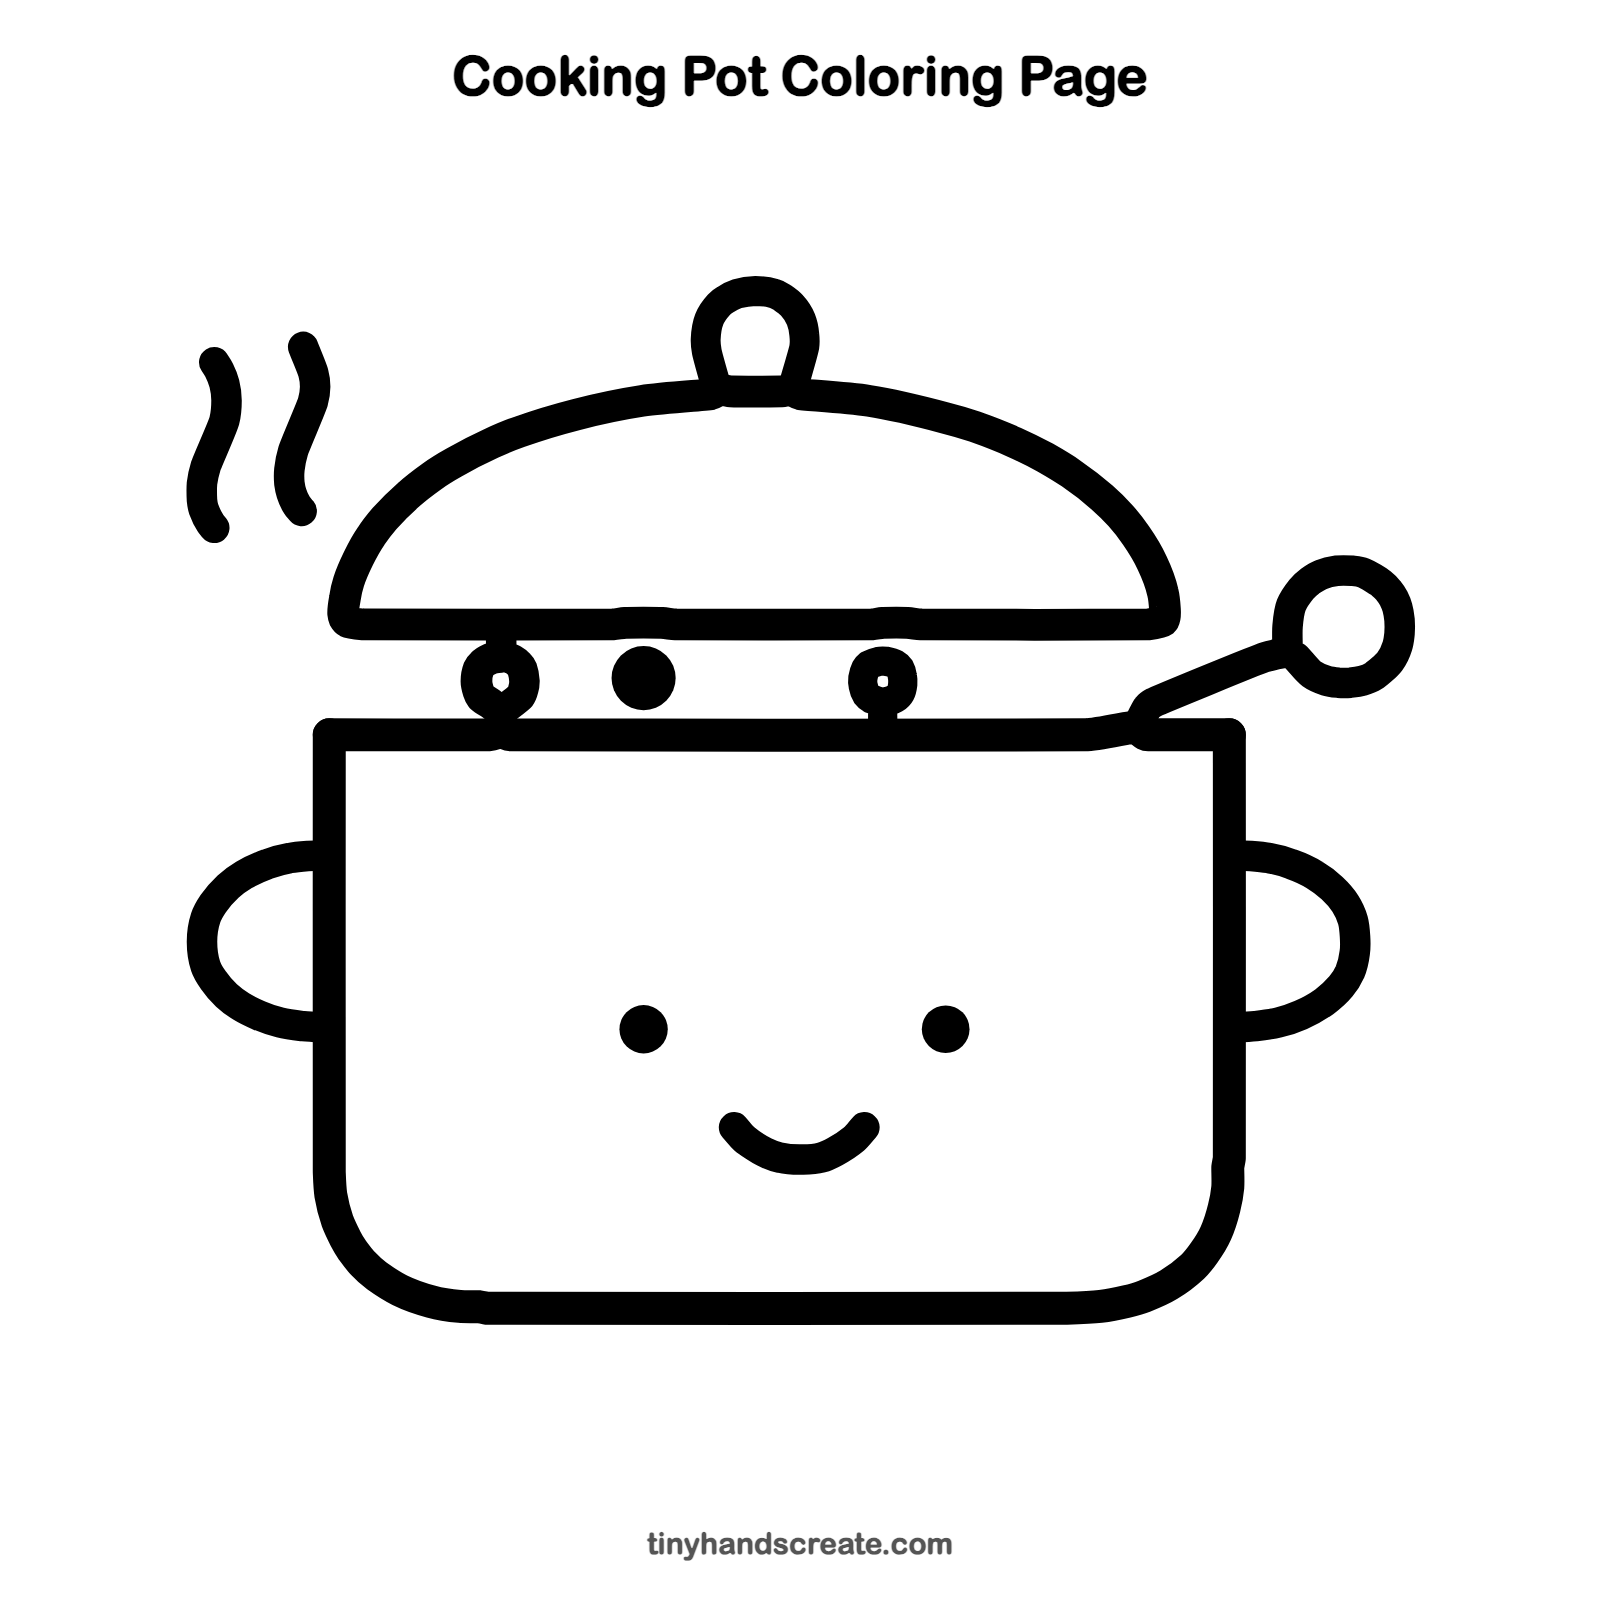
Want to go straight to coloring? Open this cooking pot coloring page at full size and print it. It is the same drawing you just learned, with clean lines ready for crayons or markers.
How to color your cooking pot drawing
Try a shiny silver or bright red pot with a yellow lid and a brown wooden spoon. For a creative twist, color the steam in rainbow stripes instead of gray.
Cooking pot fun fact for kids
At sea level, water boils at 212 degrees Fahrenheit (100 degrees Celsius).
Questions about drawing a cooking pot
What shapes do I need to draw a cooking pot?
You need a rounded box for the body, a dome for the lid, and small loops for the knob and handles. Dots make the bubbles and the face, and wavy lines make the steam.
How do I make my cooking pot look cuter?
Add a smiling face with two round dot eyes and a small curved mouth. Placing the face in the middle of the pot makes it feel friendly.
How do I draw the lid so it looks like it is floating?
Leave a gap between the flat bottom of the lid and the pot rim. The little dots in that gap help show the lid is lifted up.