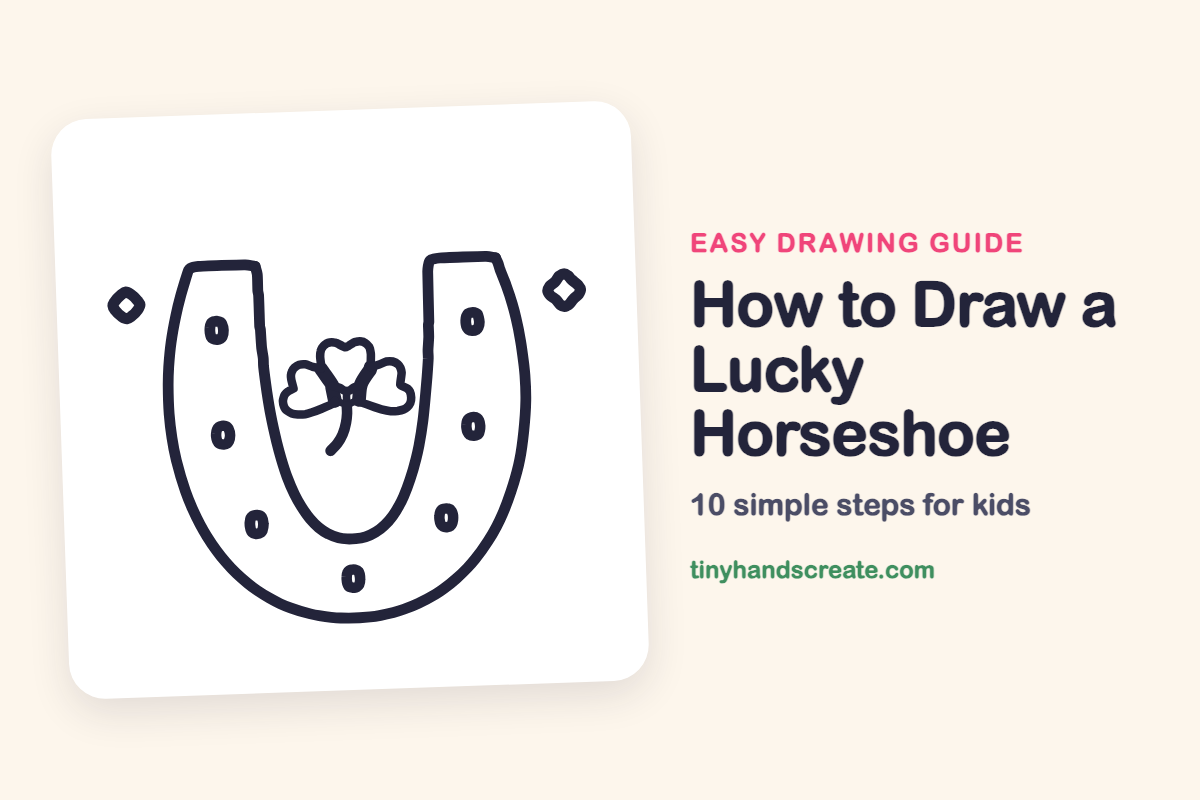
How to Draw a Lucky Horseshoe (Easy Step by Step)
A lucky horseshoe is a fun first drawing because it is mostly one big curve with a few small shapes added on. You will use a U shape, little ovals, hearts and small diamonds. Once you can draw those, you can make the whole thing.
- Easy
- 10 minutes
- 10 steps
You need: paper, a pencil, an eraser, and crayons or markers for coloring.
Start drawingIn this article (7 sections)
How to draw a lucky horseshoe step by step
How to Draw a Lucky Horseshoe · tinyhandscreate.com
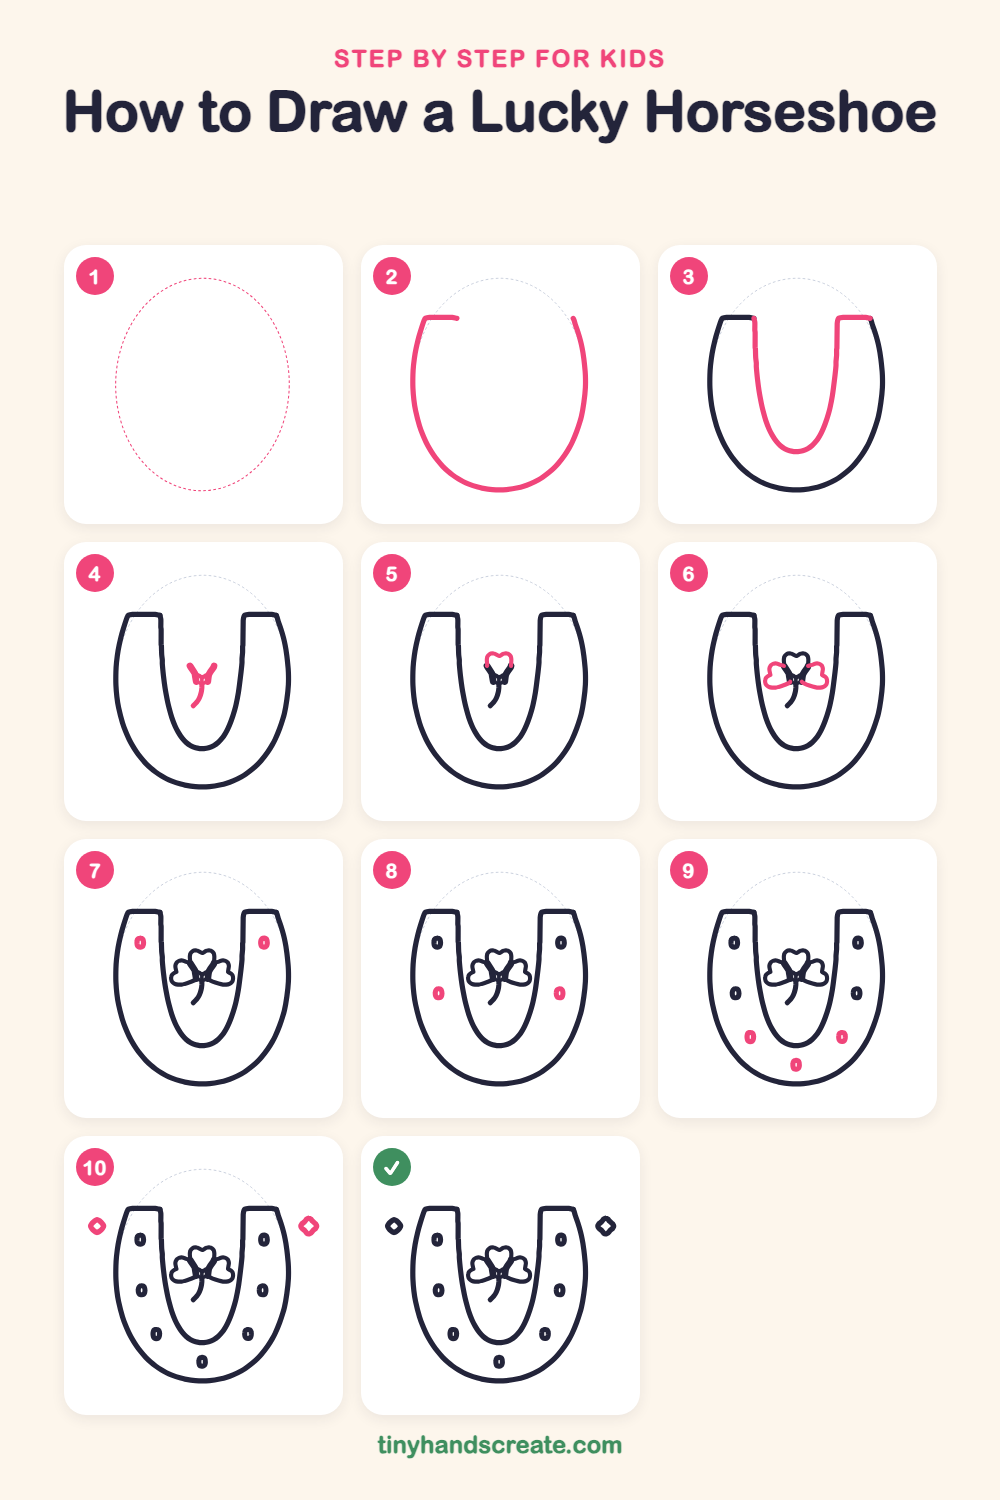
Step 1: Guide shapes
Lightly sketch this oval. It only shows where the big parts go, so press softly. You will erase it at the end.
Step 2: Outer horseshoe curve
Draw a big curve shaped like a tall U. Start with a short flat line at the top left, then curve down around the bottom and up the right side, stopping near the top right.
Step 3: The inner curve
Inside the big U, draw a smaller U that follows the first one. Start at the top of the left side, curve down around the bottom, and finish at the top of the right side. Close the flat tops at both ends.
Step 4: The clover stem
In the open space of the horseshoe, draw a short curved line like a little swoosh. At the top, make a tiny V where the leaves will join.
Step 5: The top clover leaf
At the top of the stem, draw a small heart shape pointing down. It has two small bumps on top and a point at the bottom.
Step 6: Side clover leaves
Draw two more small hearts, one on the left and one on the right of the stem. Tip each heart so its point touches the middle where the stem starts.
Step 7: Top nail holes
Near the top of the horseshoe, draw a small tall oval on each side. Add a tiny line in the middle of each one.
Step 8: Middle nail holes
Draw two more small ovals lower down on the horseshoe, one on each side. Try to place them at the same height so they match.
Step 9: Bottom nail holes
Add three small ovals along the curve at the bottom: one on the left, one on the right, and one in the middle. Give each a tiny line inside.
Step 10: Lucky sparkles
Draw a small diamond outside the horseshoe on each side, up high. Make each one a tilted square with a little diamond inside it.
All done!
Erase the guide shapes, go over your lines, then color it in.
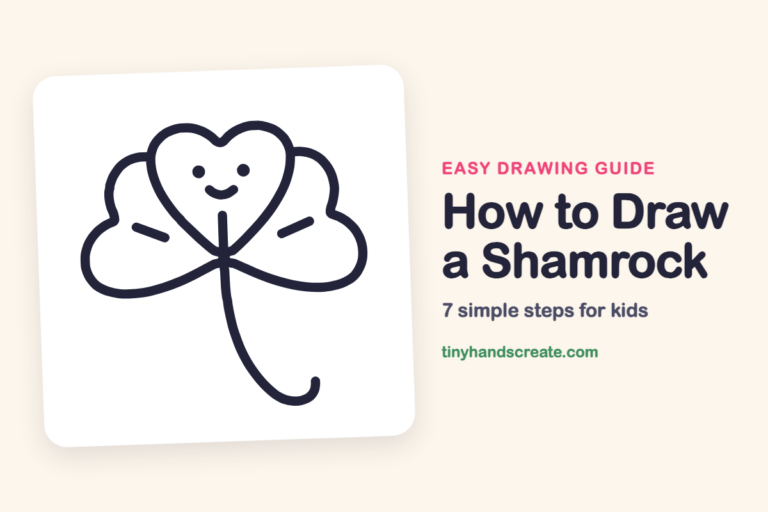
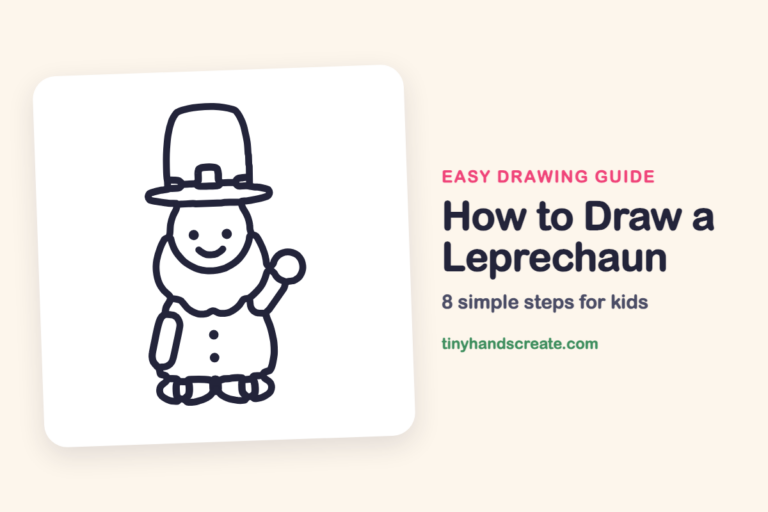
Finished your lucky horseshoe? Keep the pencils out and learn how to draw a shamrock or how to draw a leprechaun next.
Tips for drawing a lucky horseshoe
- Draw the outer curve lightly first, then add the inner U the same distance inside, so the horseshoe has an even thickness all the way around.
- Make the nail holes the same size by drawing one, then copying it on the other side at the same height.
- For the clover, draw the top heart first, then add the side hearts so all three points meet at the top of the stem.
Free lucky horseshoe coloring page
Want to go straight to coloring? Open this lucky horseshoe coloring page at full size and print it. It is the same drawing you just learned, with clean lines ready for crayons or markers.
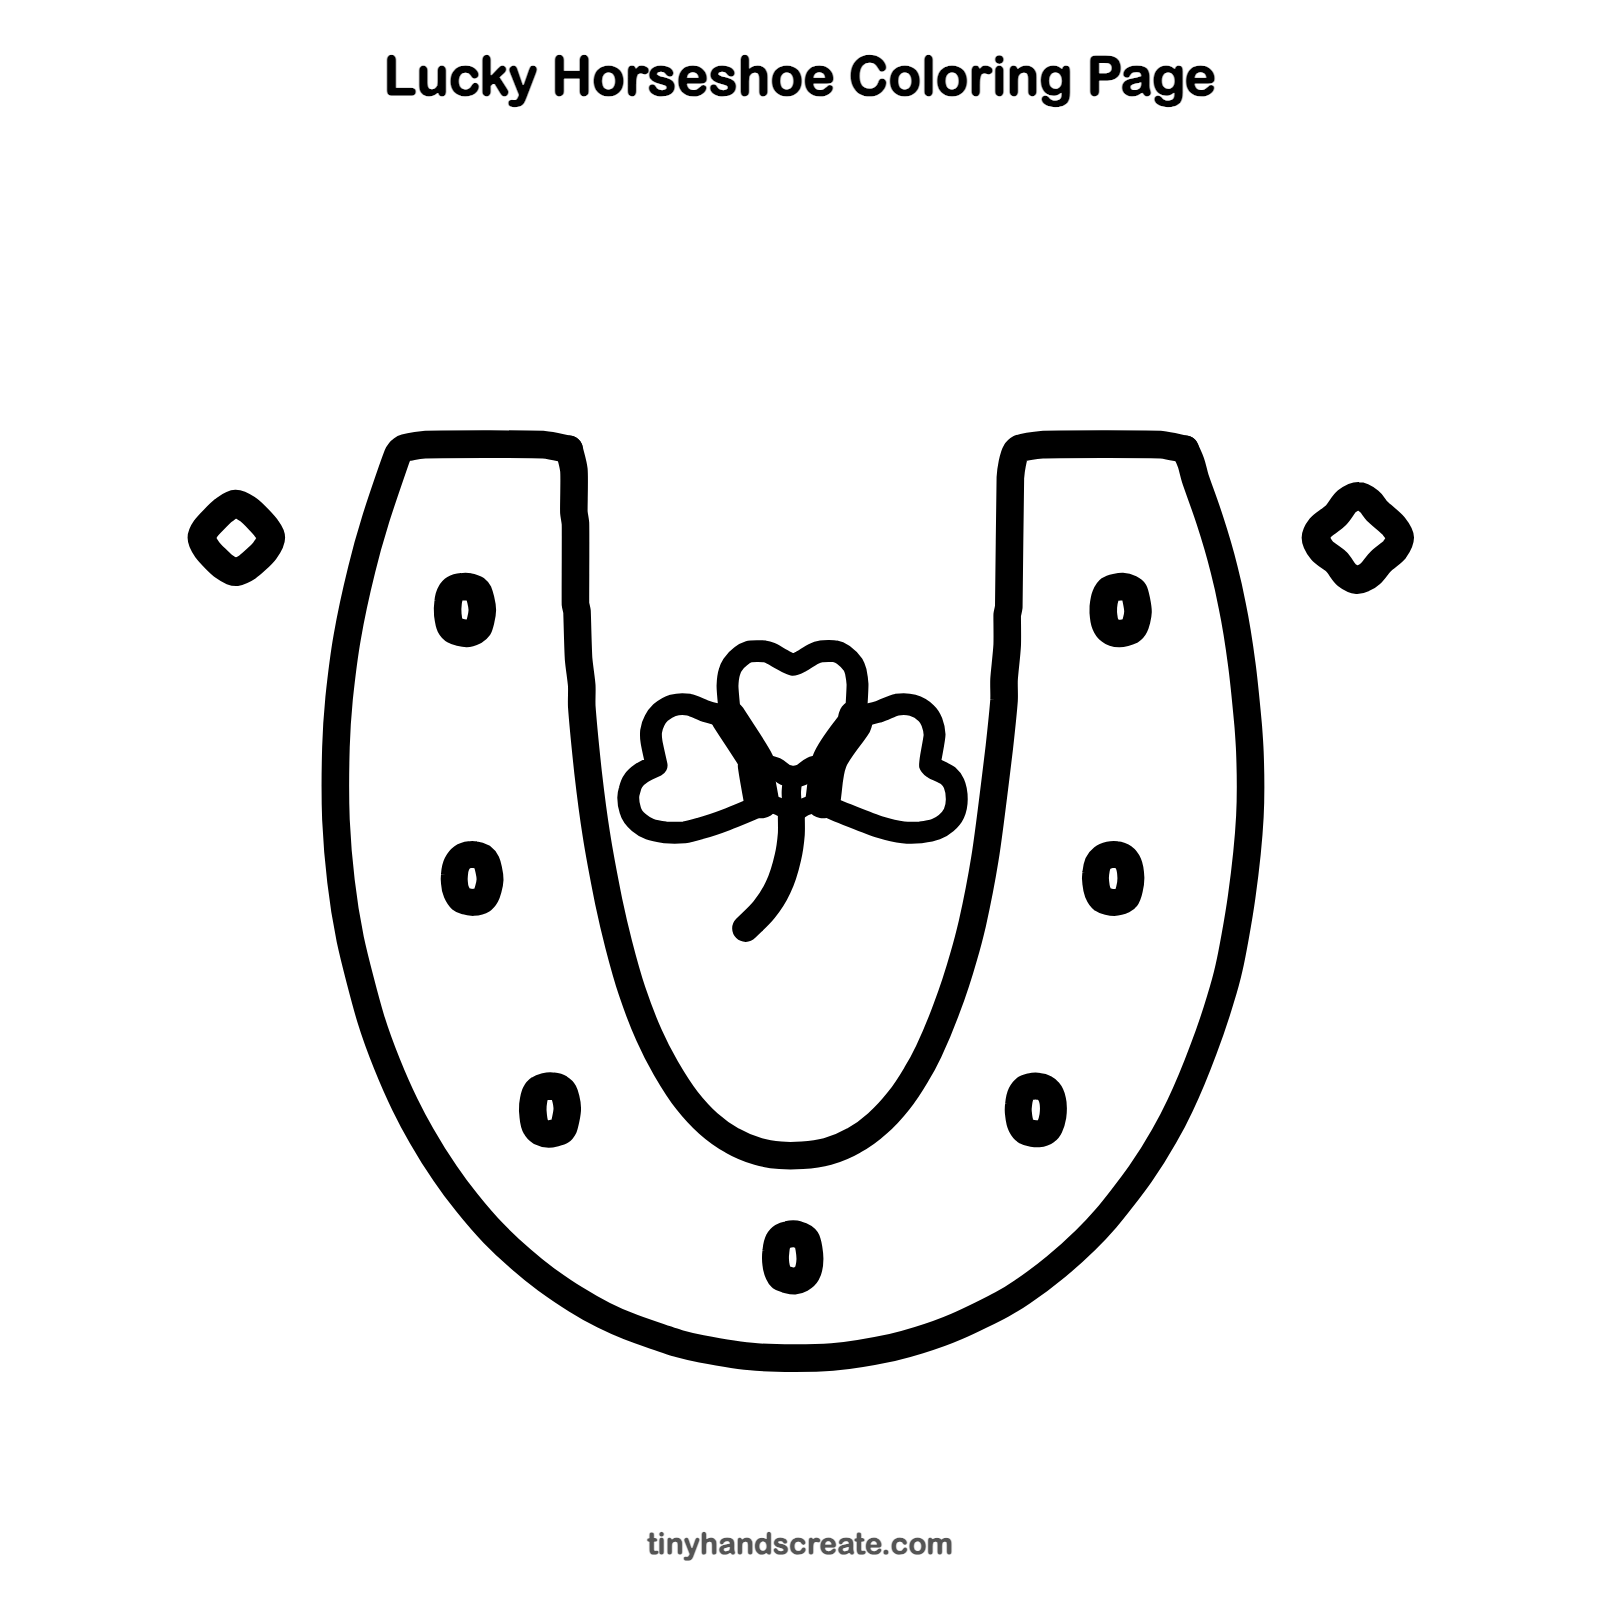
How to color your lucky horseshoe drawing
Try silver or gray for the horseshoe, green for the clover and yellow for the diamonds. For a creative twist, color each nail hole a different shade, like a rainbow of lucky dots.
Lucky horseshoe fun fact for kids
Real horseshoes are usually made of iron or steel and are nailed to a horse's hooves to protect them. The nails go through small holes in the shoe.
Questions about drawing a lucky horseshoe
What shapes do I need to draw a horseshoe?
You need a big U shape, small ovals for the nail holes, three small hearts for the clover, and two small diamonds. That is all.
How do I keep both sides of the horseshoe even?
Draw a light line down the middle of your paper first. Then check that each side matches the other as you go, and erase the line at the end.
How can I make my lucky horseshoe look more special?
Add the clover inside and the diamonds beside it. You can also color each part in a bright, different color.