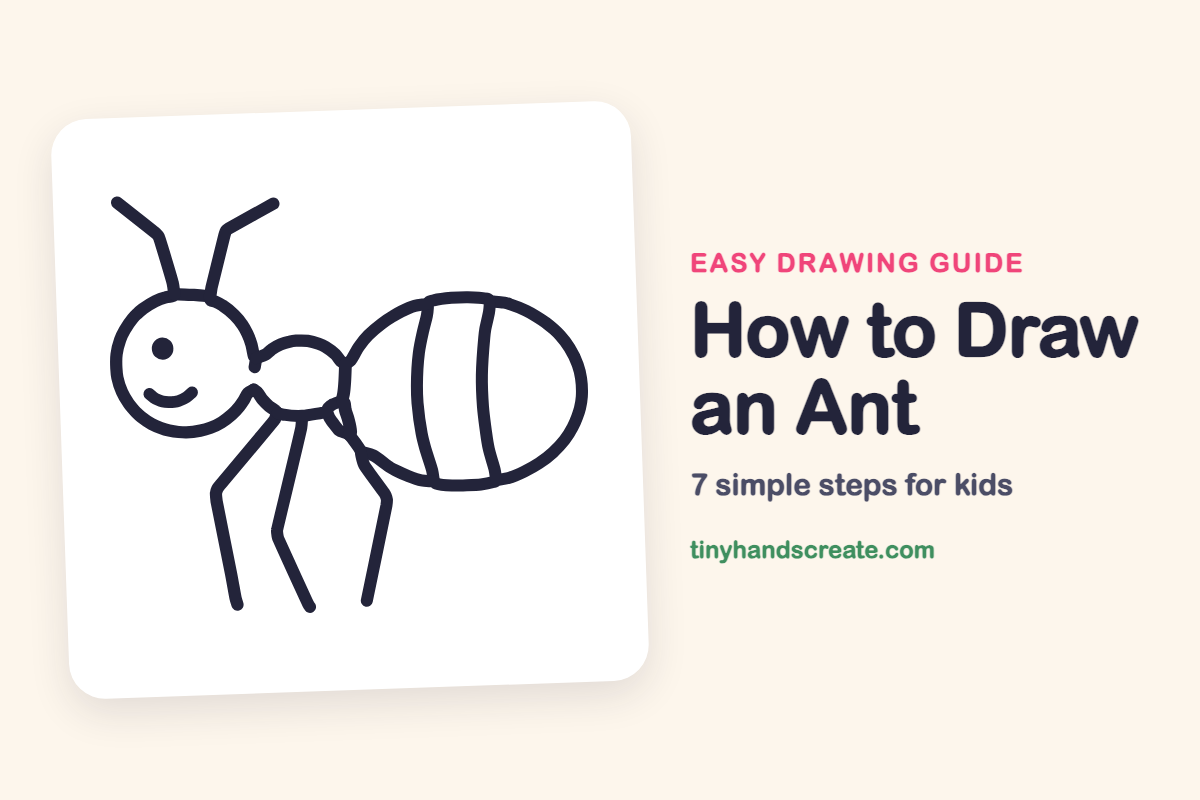
How to Draw an Ant (Easy Step by Step)
This ant is a great first bug to draw because it is made of just a few simple shapes. Kids start with a round head and a big oval back end, then add feelers, three legs, a smiling face, a small middle body and two stripes.
- Easy
- 10 minutes
- 7 steps
You need: paper, a pencil, an eraser, and crayons or markers for coloring.
Start drawingIn this article (7 sections)
How to draw an ant step by step
How to Draw an Ant · tinyhandscreate.com
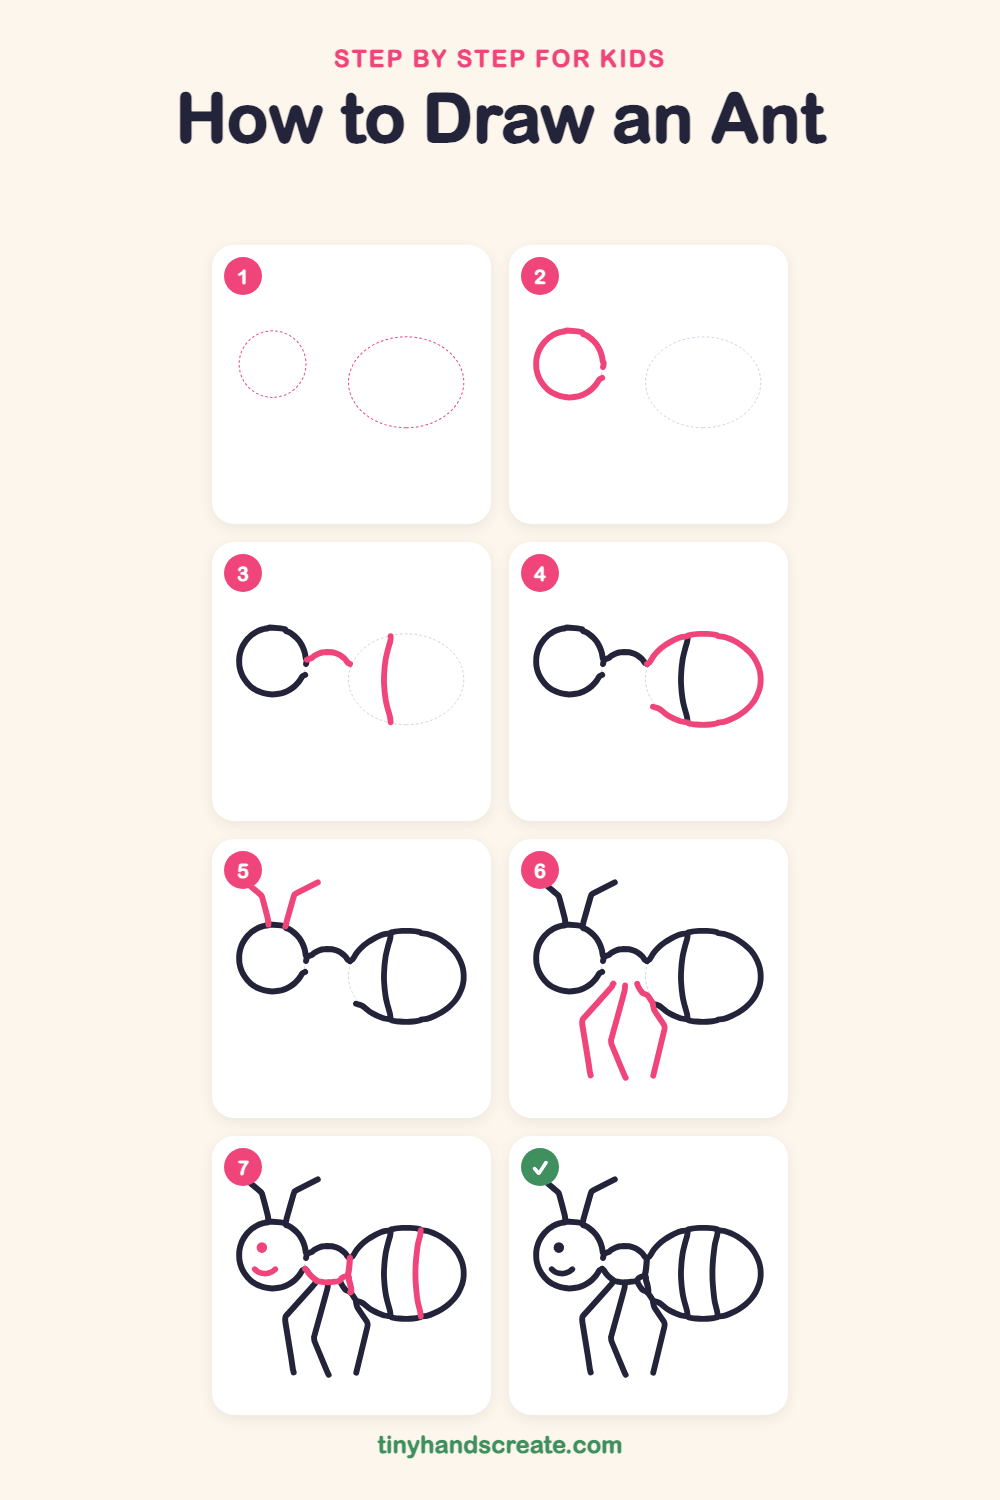
Step 1: Guide shapes
Lightly sketch these 2 ovals. They only show where the big parts go, so press softly. You will erase them at the end.
Step 2: The round head
Draw a big circle on the left side of your paper. Leave a small gap on the lower right side of the circle, and leave room on top for feelers.
Step 3: Neck and first stripe
Start at the gap on the right side of the head and draw a short bump that curves up and over to the right. Then, farther right, draw a long, slightly bent line going straight down for the first stripe.
Step 4: The big back end
Finish a large oval to the right of the head. Start where the bump ends, curve around the top, the right side and the bottom, and end near the lower gap so the stripe line sits inside.
Step 5: Two feelers
On top of the head, draw two lines that go up and out, each with a bend near the top. Start each one on the head and let them lean away from each other.
Step 6: Three legs
Under the gap between the head and the big oval, draw three long legs. Start each one with a slanted line going down and left, then bend it and go almost straight down. Draw the third leg on the right so it leans toward the oval.
Step 7: Face, middle, second stripe
Draw a small dot for an eye and a little curved smile on the head. Then draw a short curve joining the head to the big oval to make the middle body, and add a second bent stripe inside the big oval.
All done!
Erase the guide shapes, go over your lines, then color it in.
Finished your ant? Keep the pencils out and learn how to draw a fox or how to draw a hedgehog next.
Tips for drawing an ant
- Leave a small gap in the head circle where the neck will join, so the lines meet neatly later.
- Draw the legs as long lines with one bend in each. Start at the top, go down and out, then bend and go almost straight down.
- Curve both stripes the same way so they look like they wrap around the big oval.
Free ant coloring page
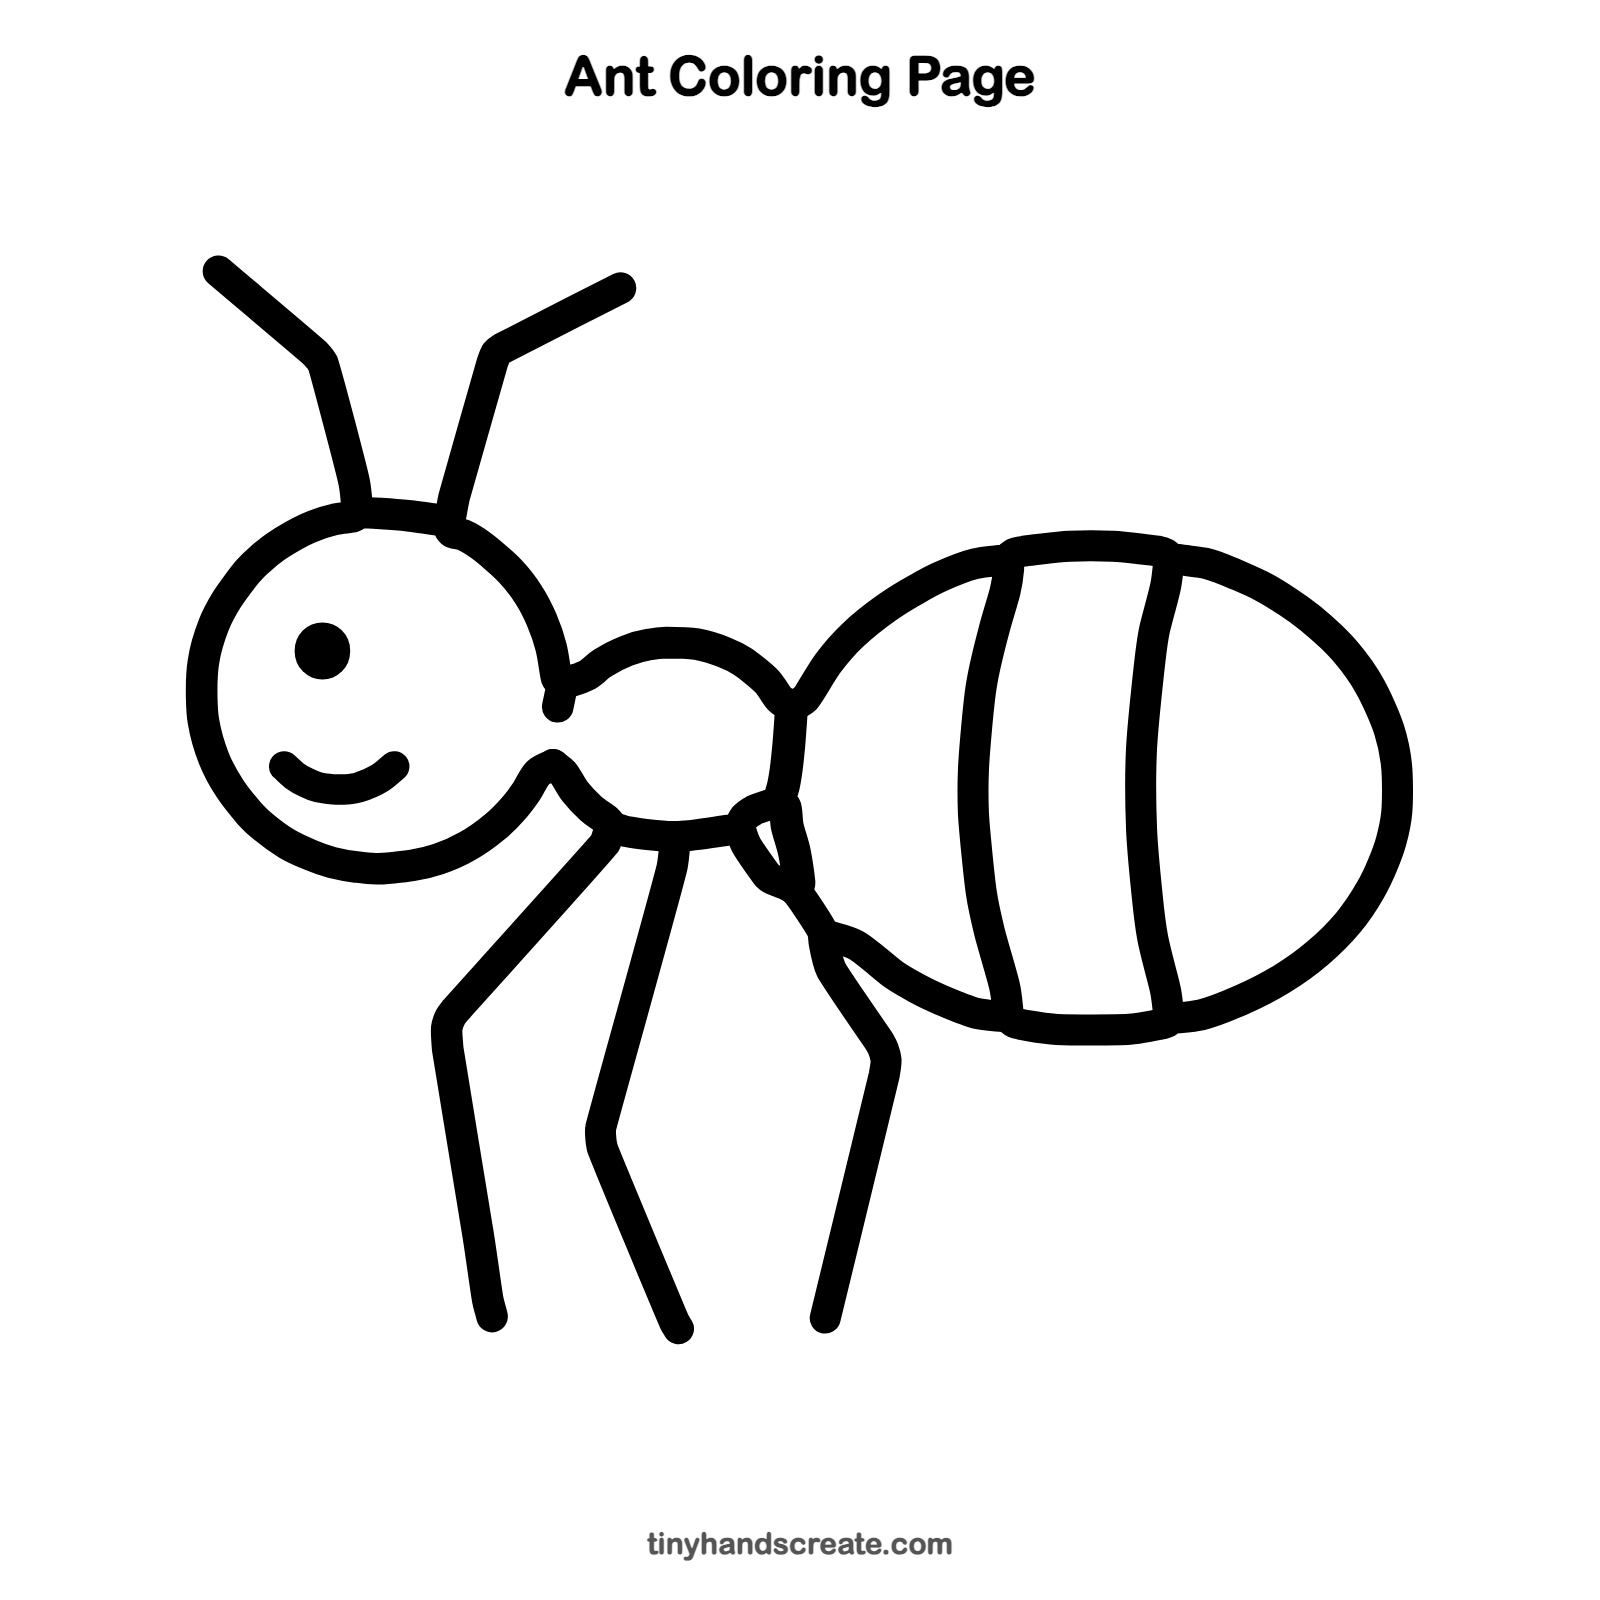
Want to go straight to coloring? Open this ant coloring page at full size and print it. It is the same drawing you just learned, with clean lines ready for crayons or markers.
How to color your ant drawing
Try black, dark red or brown for the body. Color the stripes a lighter shade, or leave them white. For a creative twist, draw a crumb or a leaf for your ant to carry.
Ant fun fact for kids
Ants can carry objects that weigh many times more than their own bodies. They also leave a scent trail so other ants in the colony can follow the same path to food.
Questions about drawing an ant
What shapes do I need to draw an ant?
You need one circle for the head, one big oval for the back end and some bent lines. A small curved shape in the middle joins them together.
How many legs does an ant have?
A real ant has six legs, three on each side. This drawing shows three legs, the ones on the side facing you.
How do I make my ant look cuter?
Give it a round dot for an eye and a wide, curved smile. Bending the feelers a little differently gives it personality.