How to Draw a Doctor (Easy Step by Step)
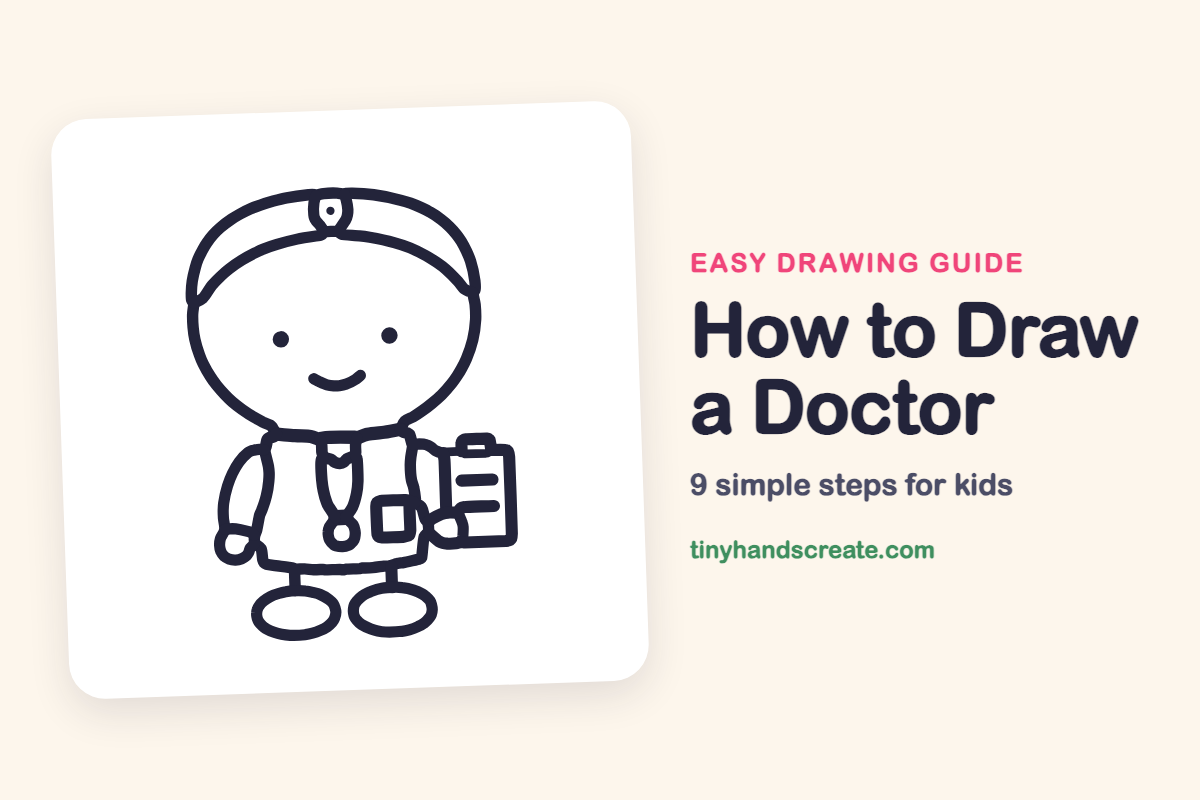
A doctor is a friendly drawing built from rounded shapes and simple lines. You start with a big round head, then add a headband with a mirror, a boxy coat, a stethoscope and a clipboard, so every detail tells you what the job is. It is a good drawing for practicing smooth curves and for making a cheerful face.
- Easy
- 12 minutes
- 9 steps
You need: paper, a pencil, an eraser, and crayons or markers for coloring.
Start drawingIn this article (7 sections)
How to draw a doctor step by step
How to Draw a Doctor · tinyhandscreate.com
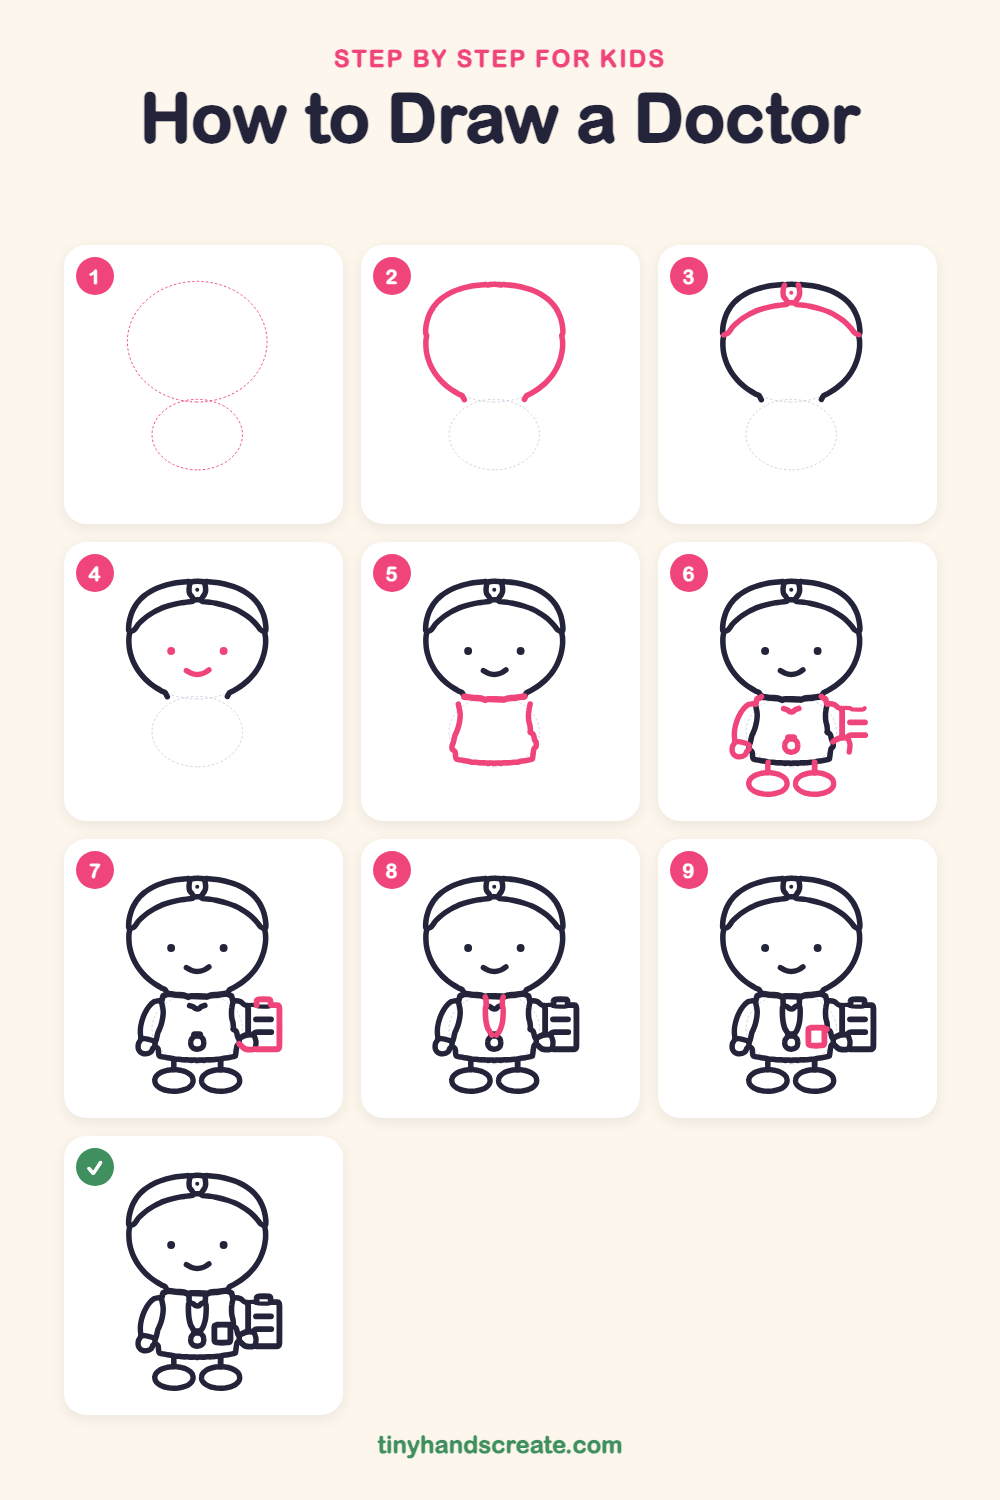
Step 1: Guide shapes
Lightly sketch these 2 ovals. They only show where the big parts go, so press softly. You will erase them at the end.
Step 2: The round head
Start at the left of the neck and draw a big, round head shape that curves up, over the top and down to the right. Leave the bottom open where the neck will be.
Step 3: Headband and mirror
Draw a curved line across the top of the head, like a rainbow, for the headband. Add a tiny loop with a dot inside at the top middle, for the doctor's head mirror.
Step 4: A friendly face
Add two small round dots for eyes, spaced wide apart. Draw a little curved smile below and between them.
Step 5: Collar and coat
Under the head, draw a short straight line for the collar. Then draw a boxy coat that is a little wider at the bottom, and close it with a flat line along the bottom.
Step 6: Arms, feet and buttons
Draw a bent arm on each side of the coat, with a small round hand at the end of the left arm. Add two wide oval feet under the coat, a tiny V at the collar and a small circle in the middle of the coat.
Step 7: The clipboard
Next to the right hand, draw a tall rectangle around the lines, with a small box on top for the clip.
Step 8: The stethoscope
Starting at the collar, draw two lines that go straight down and curve together, like a long skinny U. End them at the small circle on the coat.
Step 9: The pocket
On the lower right of the coat, next to the stethoscope, draw a small square for the pocket.
All done!
Erase the guide shapes, go over your lines, then color it in.
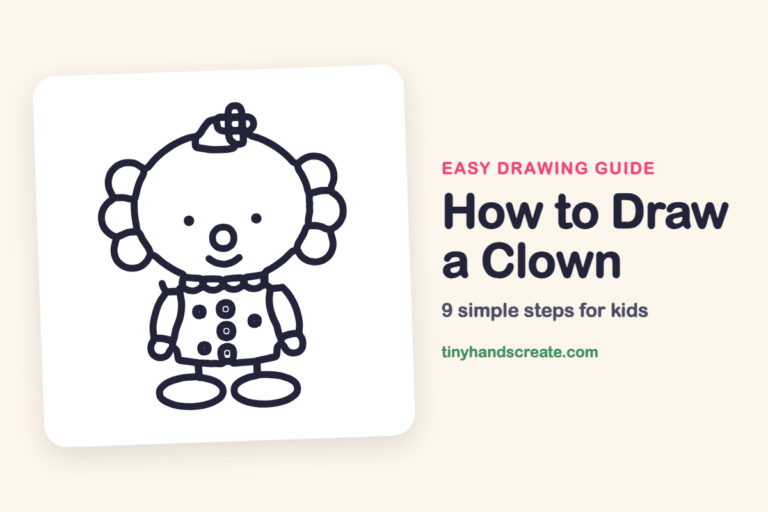
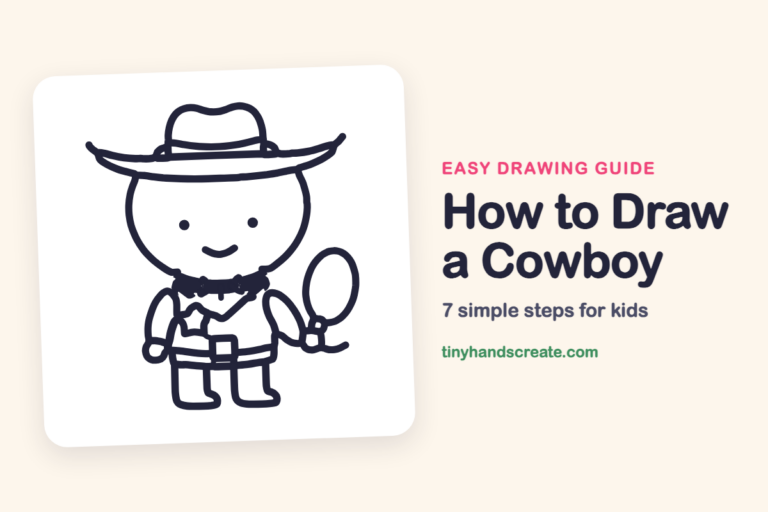
Finished your doctor? Keep the pencils out and learn how to draw a clown or how to draw a cowboy next.
Tips for drawing a doctor
- Draw the head first and make it big. Everything else is smaller, so a large head leaves room for the coat and feet below it.
- For the stethoscope, start both lines at the collar and let them curve in toward each other, so they end together at the small circle on the coat.
- Keep the clipboard lines short and straight, and draw the rectangle around them so the clip sits neatly on top.
Free doctor coloring page
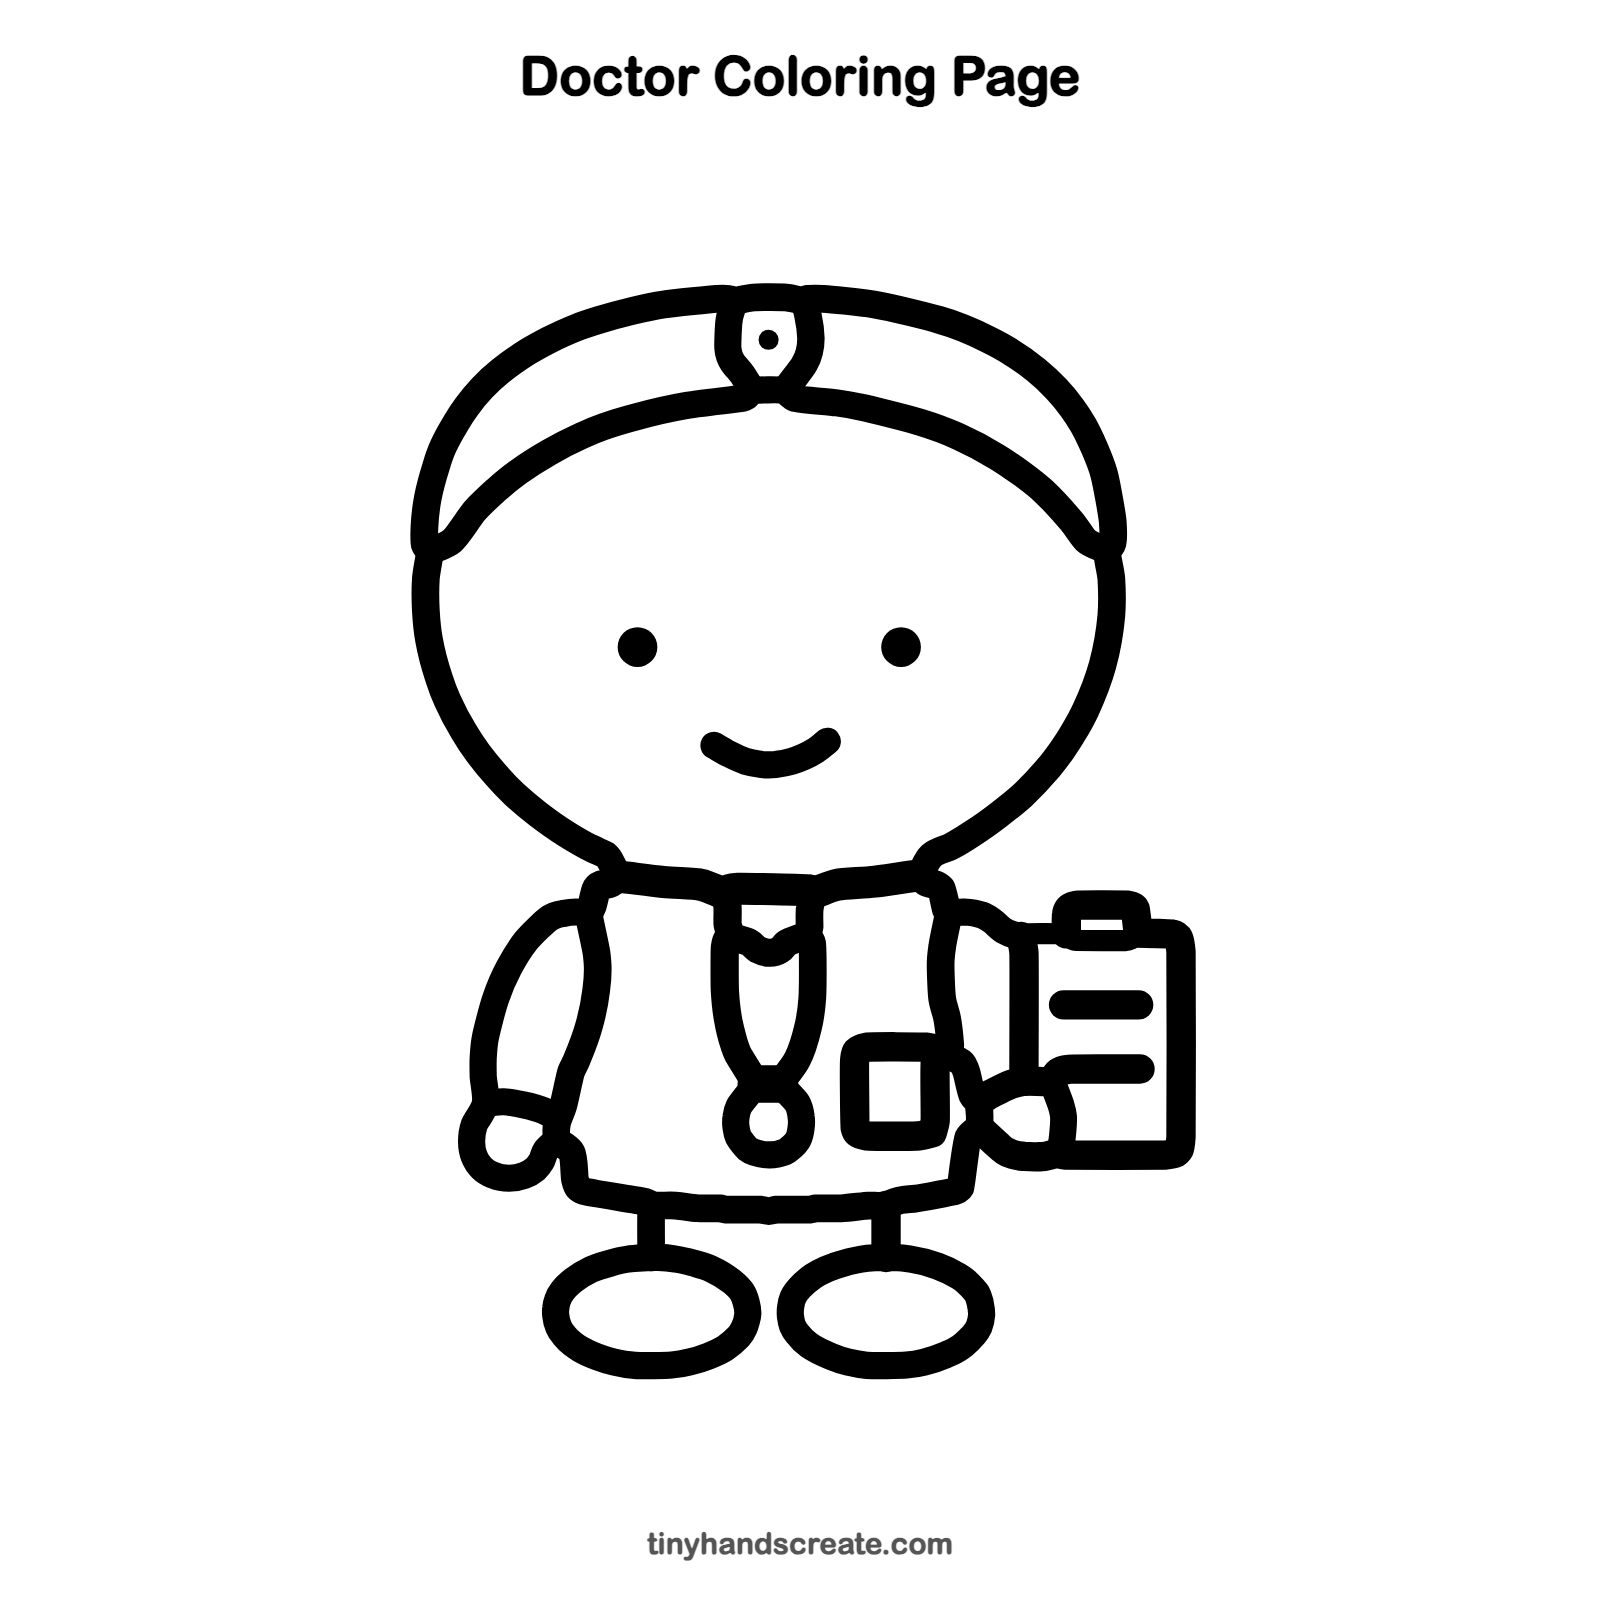
Want to go straight to coloring? Open this doctor coloring page at full size and print it. It is the same drawing you just learned, with clean lines ready for crayons or markers.
How to color your doctor drawing
Try a white coat with a light blue headband and a silver mirror. For a creative twist, color the clipboard paper like a funny chart, with tiny hearts or stars drawn on it.
Doctor fun fact for kids
The stethoscope was invented in 1816 by a French doctor named René Laennec. He rolled up a sheet of paper into a tube to listen to a patient's heart, and later made a wooden version.
Questions about drawing a doctor
What shapes do I need to draw a doctor?
You need a big round shape for the head, ovals for the feet, small circles for the hands and mirror, and a rectangle for the clipboard. The coat is a boxy shape with a flat bottom, and the pocket is a small square.
How do I make my doctor look friendlier?
Make the smile curve up and keep the eyes small and far apart. A big round head also helps the doctor look kind and cheerful.
How long does it take to draw a doctor?
Most kids finish in about 10 to 15 minutes. Go step by step and don't worry if the lines wobble a bit.