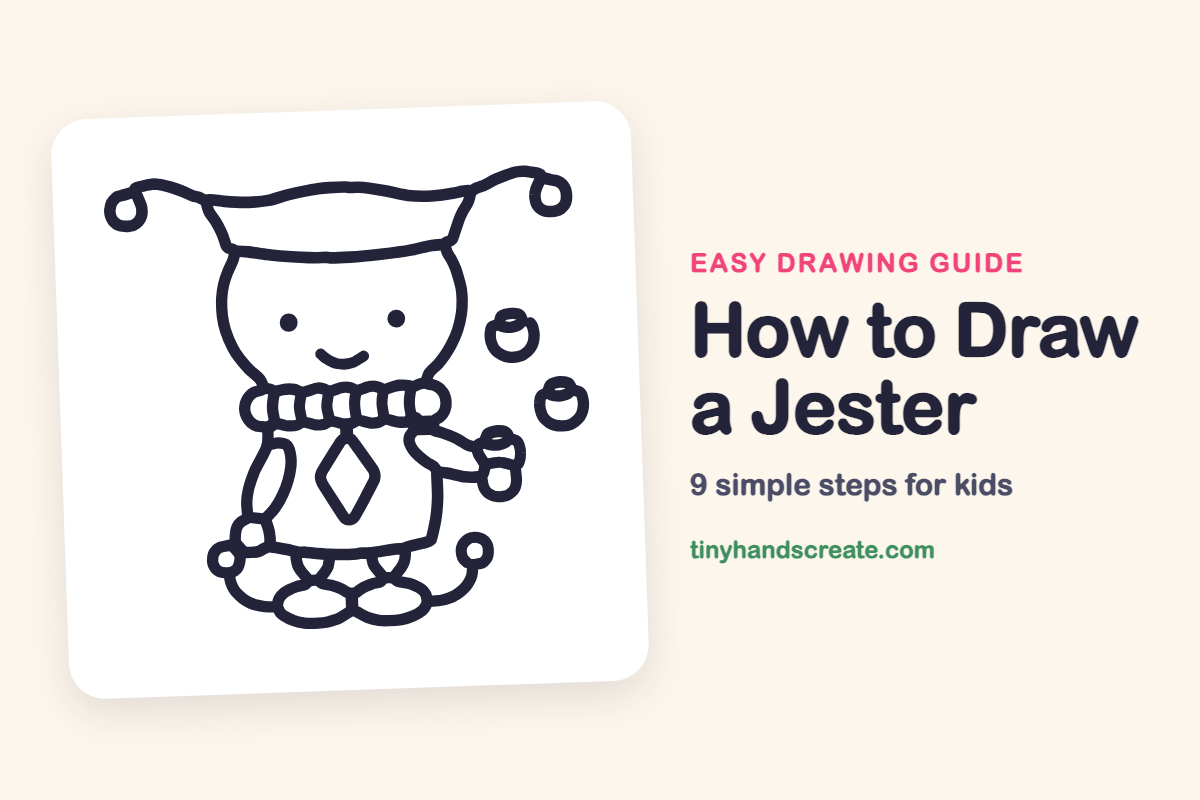
How to Draw a Jester (Easy Step by Step)
A jester is a happy character made almost entirely of circles, ovals and curvy lines. This one has a floppy hat with two curled tips, a ruffled collar, and juggling balls floating beside it. Once you can draw a circle and a wavy line, you can draw this whole picture.
- Medium
- 15 minutes
- 9 steps
You need: paper, a pencil, an eraser, and crayons or markers for coloring.
Start drawingIn this article (7 sections)
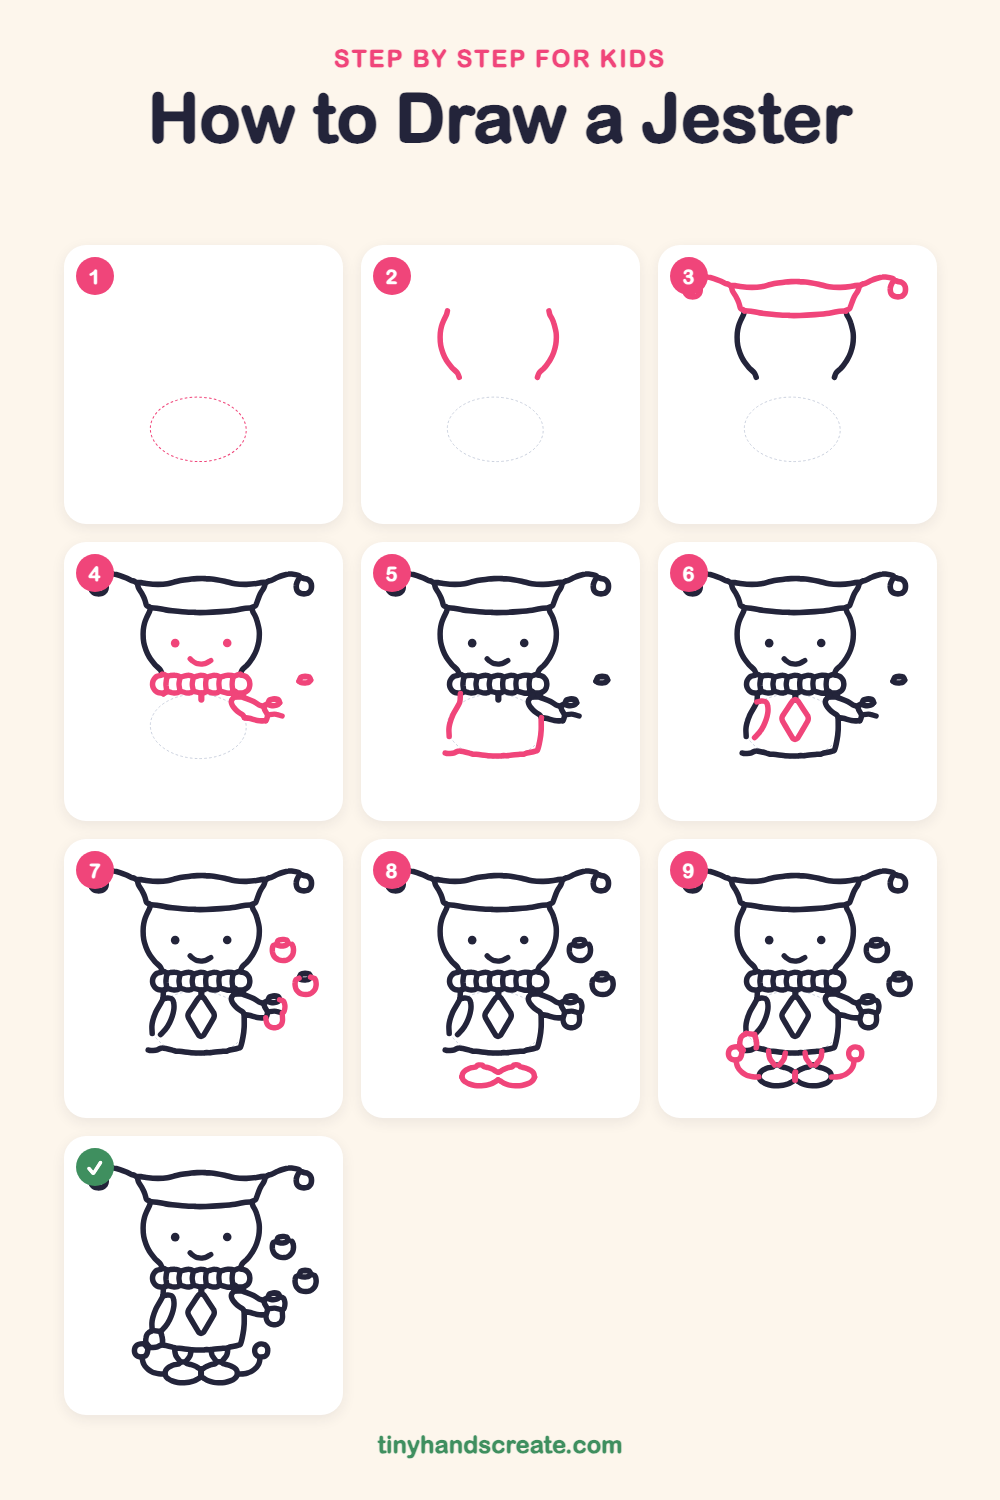
How to draw a jester step by step
How to Draw a Jester · tinyhandscreate.com
Step 1: Guide shapes
Lightly sketch this oval. It only shows where the big parts go, so press softly. You will erase it at the end.
Step 2: Sides of the head
Draw two curved lines that bulge outward, like a pair of parentheses. Leave the top and bottom open, since the hat and collar will close them in.
Step 3: The floppy hat
Draw a gently wavy line across the top of the head, and a second, straighter line below it, joined by short slanted sides. Let the top line stretch out past each side and curl into a small loop for a bell.
Step 4: Face, collar and arm
Add two dots for eyes and a small curved smile. Under the chin, draw a row of little side-by-side circles for the ruffle collar. From the right end of the collar, draw a long leaf shape for the arm, and add a tiny oval beside it.
Step 5: The tunic body
Under the collar, draw a rounded body shape. Start with a curved line down the left side, then draw a wavy line along the bottom, and finish with a straight line up the right side.
Step 6: Diamond and sleeve line
Draw a tall diamond in the middle of the tunic. Then add a short curved line on the left side of the body.
Step 7: Juggling balls
Draw two small round balls floating on the right, each with a little flat top. Add a third small ring right at the end of the arm, where the hand holds a ball.
Step 8: The shoes
Under the tunic, draw two wide ovals side by side so they touch in the middle, like a sideways number eight.
Step 9: Legs and curly tails
Draw two short V-shaped legs that connect the bottom of the tunic to the shoes. Then draw a curved line from each side of the shoes, swooping out and up to end in a small ring. Add a little loop near the left side of the tunic.
All done!
Erase the guide shapes, go over your lines, then color it in.
Finished your jester? Keep the pencils out and learn how to draw the tooth fairy or how to draw a samurai next.
Tips for drawing a jester
- Draw the hat's top line as one long gentle wave, and curl each end into a loop so the two tips match.
- The ruffle collar is a row of small circles. Draw them side by side and try to keep them about the same size.
- Draw the juggling balls near the end and spread them out. Leaving space between them makes them look like they are in the air.
Free jester coloring page
Want to go straight to coloring? Open this jester coloring page at full size and print it. It is the same drawing you just learned, with clean lines ready for crayons or markers.
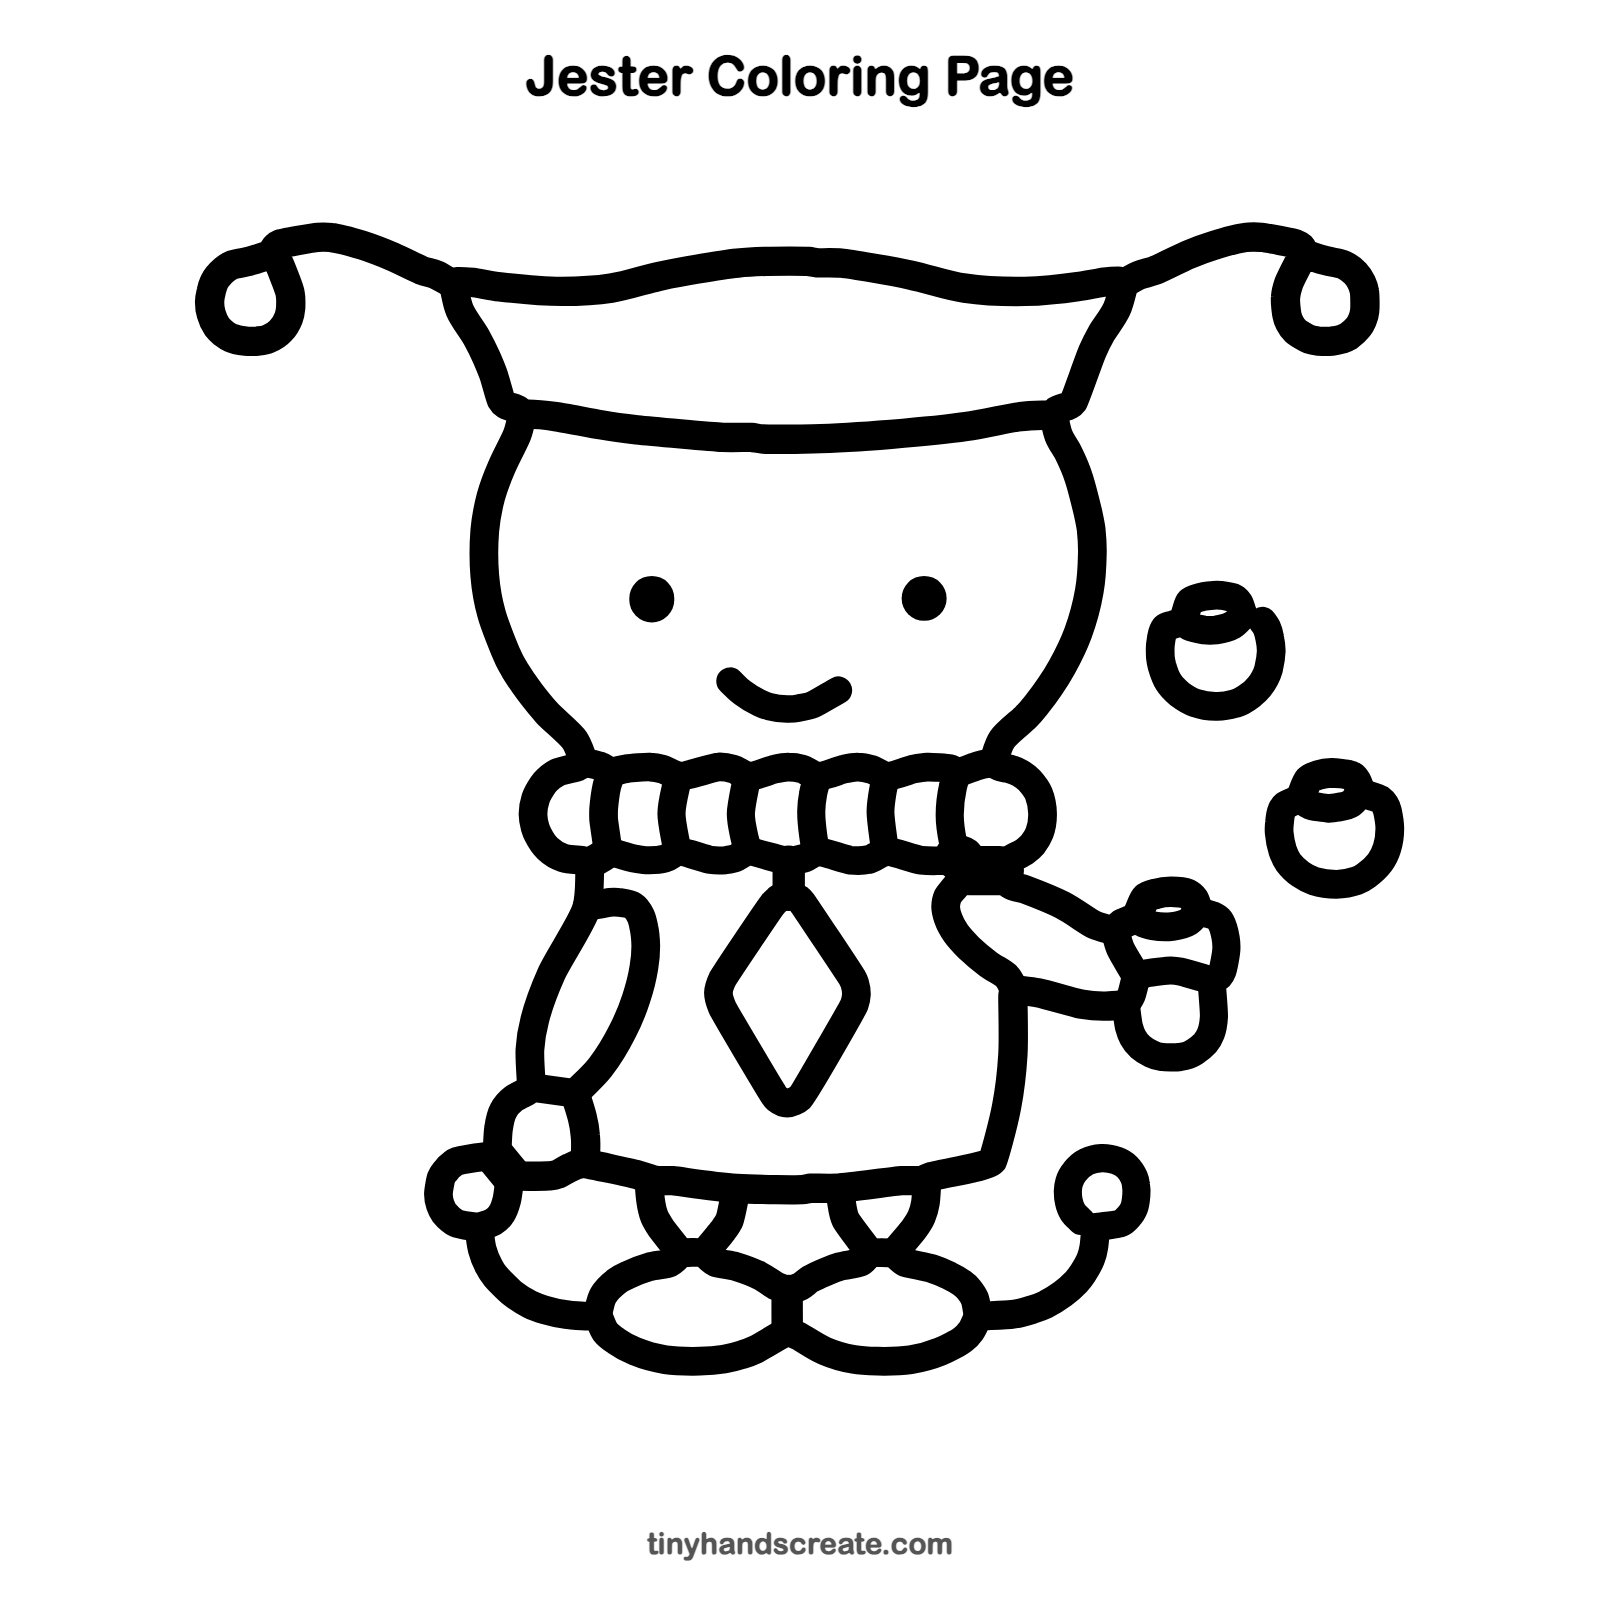
How to color your jester drawing
Try red and yellow on the hat and tunic, with a different color for the diamond, and bright colors for each ball. For a creative twist, color the hat in stripes or dots and make each ball a different pattern.
Jester fun fact for kids
Jesters were entertainers at royal courts hundreds of years ago. Many of them could juggle, tell jokes, sing and do acrobatics, and their hats often had little bells that jingled when they moved.
Questions about drawing a jester
What shapes do I need to draw a jester?
You need small circles for the collar, ovals for the shoes, and a diamond for the tunic. The hat is a wavy line with a straighter line below it, and the head is two curved sides.
How do I make my jester hat look floppy?
Make the top line wavy instead of straight, and let the two tips stretch out to the sides and end in a small loop. The curves are what make it look floppy.
How do I make my jester look cuter?
Keep the eyes as small dots set wide apart, then add a little curved smile. A round head and wide, tiny shoes help too.