How to Draw a Troll (Easy Step by Step)
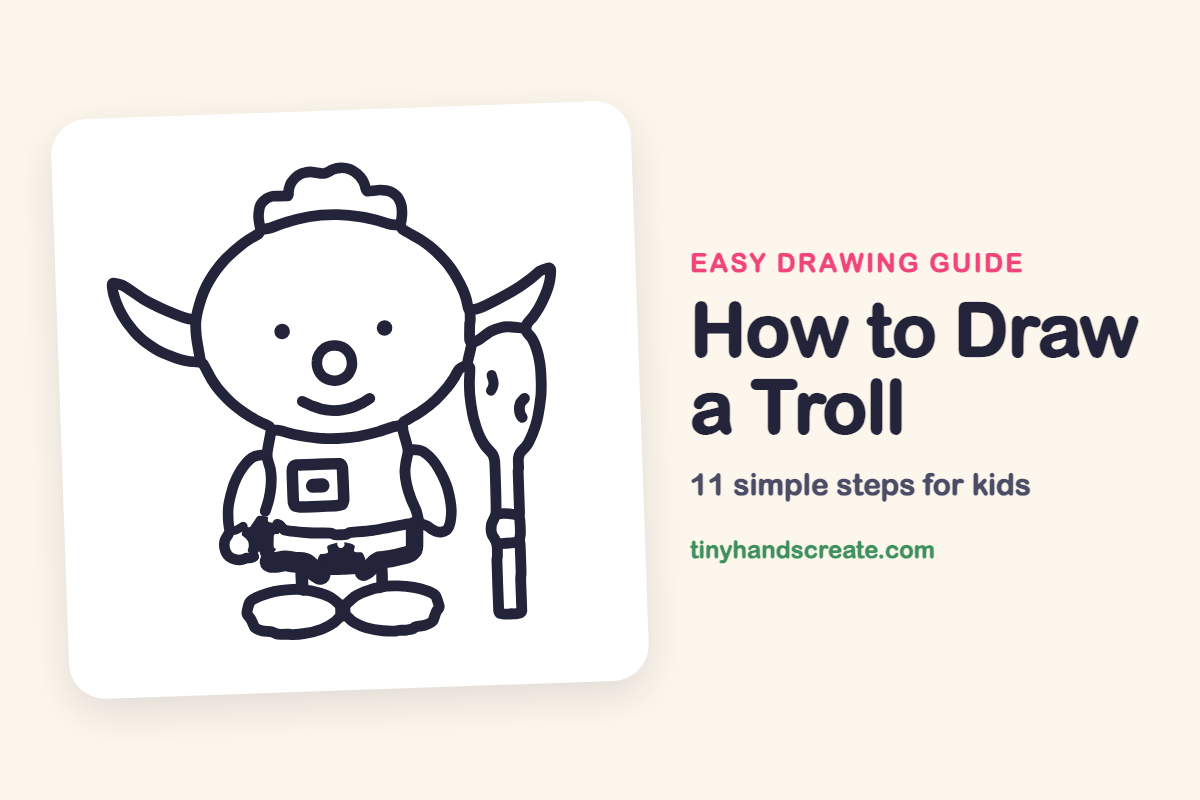
This little troll is silly and friendly, with big pointy ears, bumpy hair, a round nose, and a wooden club. It is built from simple shapes: ovals for the head and feet, a rounded square for the shirt patch, and leaf shapes for the ears. Once you know those shapes, you can invent your own troll.
- Easy
- 15 minutes
- 11 steps
You need: paper, a pencil, an eraser, and crayons or markers for coloring.
Start drawingIn this article (7 sections)
How to draw a troll step by step
How to Draw a Troll · tinyhandscreate.com
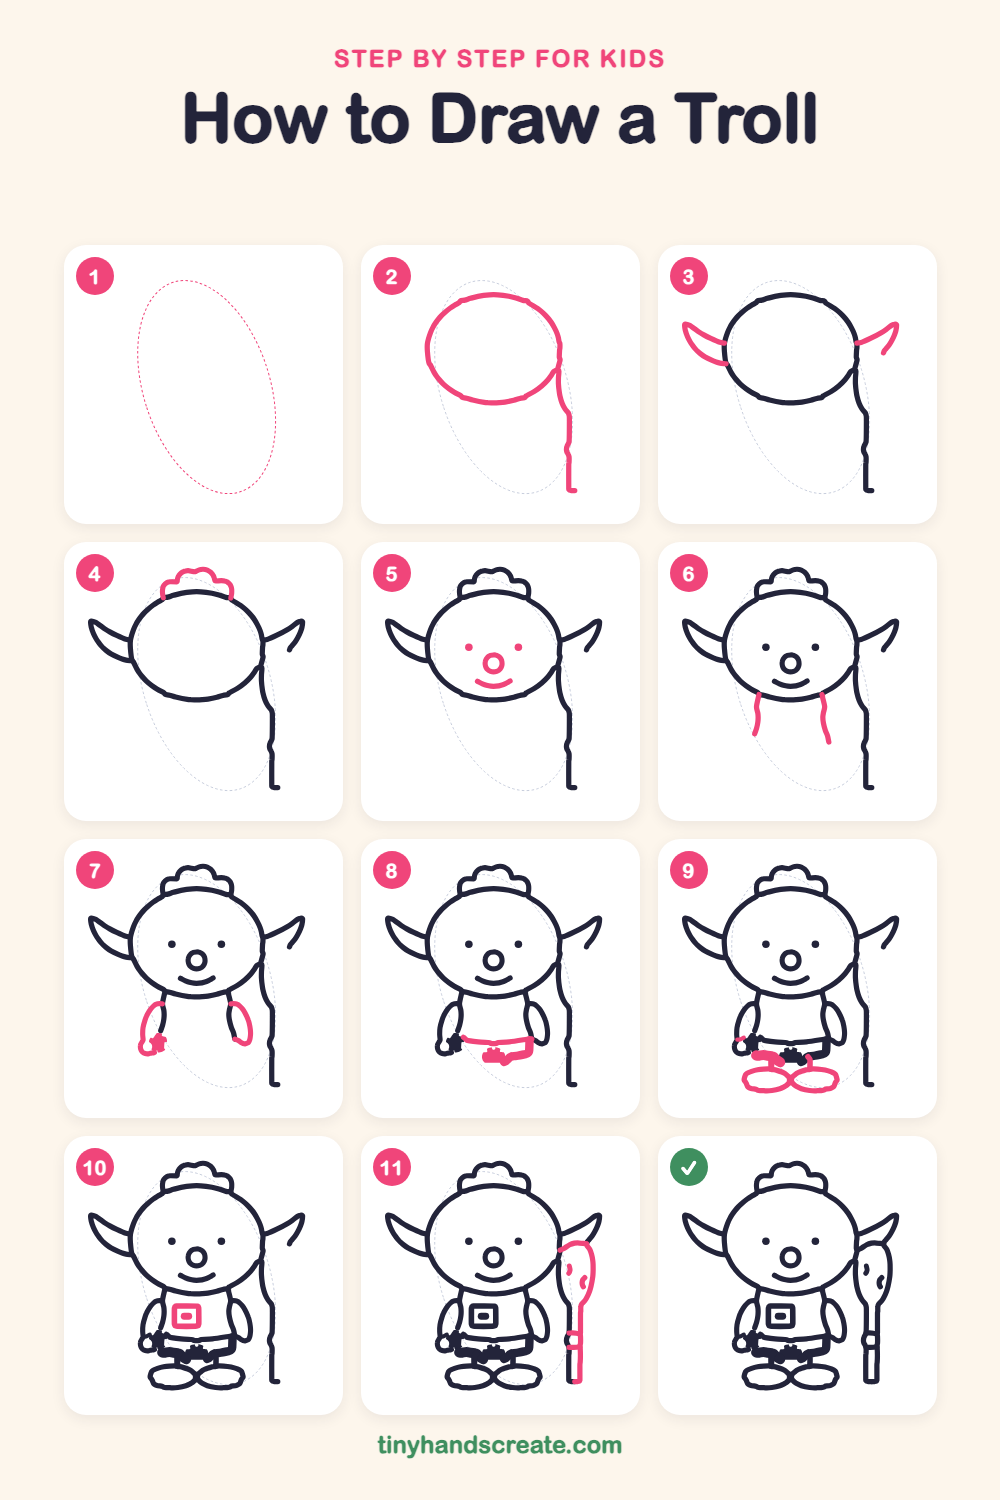
Step 1: Guide shapes
Lightly sketch this oval. It only shows where the big parts go, so press softly. You will erase it at the end.
Step 2: Head and side line
Draw a wide oval for the troll's head. Then, from the right side of the head, draw one long wobbly line straight down the page.
Step 3: Pointy ears
On each side of the head, draw a leaf shape that starts at the head and sweeps out to a sharp point. Make both ears about the same size.
Step 4: Bumpy hair
On top of the head, draw a bumpy cloud shape with three or four round bumps. The ends of the cloud touch the top of the head.
Step 5: Face
Draw two small dots for eyes. Add a small circle for the nose, then a curved smile underneath.
Step 6: Shirt sides
Under the chin, draw two short, slightly curved lines going down. They make the sides of the troll's shirt.
Step 7: Arms and hands
Draw a long bean shape on each side of the body for the arms. Finish the arm on the left with a small circle for a hand.
Step 8: Belt and shorts
Draw a flat wavy band across the bottom of the shirt for the belt. Add a small wiggly shape below it for the shorts.
Step 9: Big feet
At the bottom of the body, draw two wide ovals side by side for big feet. Add a few short lines above them for the legs.
Step 10: Shirt patch
On the middle of the shirt, draw a square with rounded corners. Inside it, draw a smaller rounded rectangle.
Step 11: The wooden club
Next to the troll, draw a tall rounded shape for the top of the club, with two little spots inside. Then draw a long thin handle going down, with a band near the bottom.
All done!
Erase the guide shapes, go over your lines, then color it in.
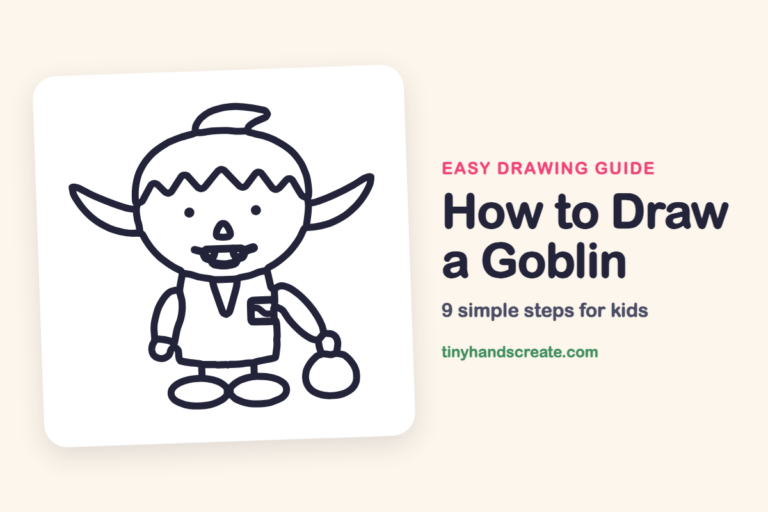
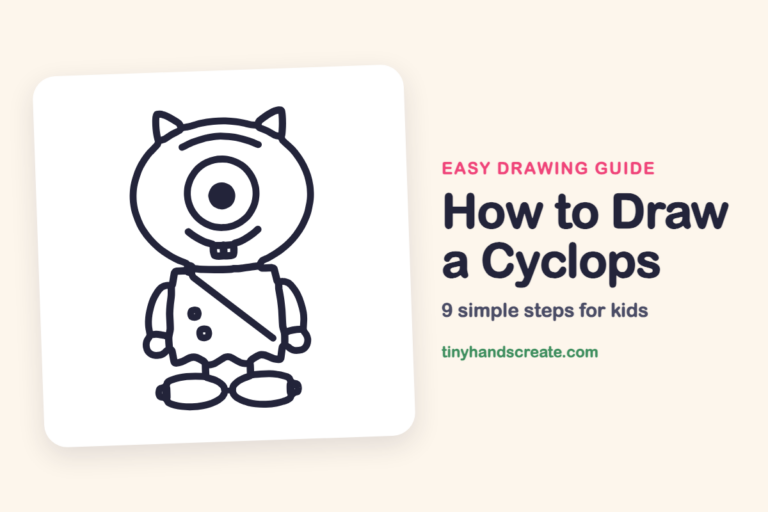
Finished your troll? Keep the pencils out and learn how to draw a goblin or how to draw a cyclops next.
Tips for drawing a troll
- Draw the head oval first and big. The ears and hair are placed around it, so a small head leaves no room for them.
- The ears are the trickiest part. Start each one at the side of the head and sweep a curve out to the point, then draw the return curve back.
- For the hair, make the bumps different sizes so it looks messy and fun.
Free troll coloring page
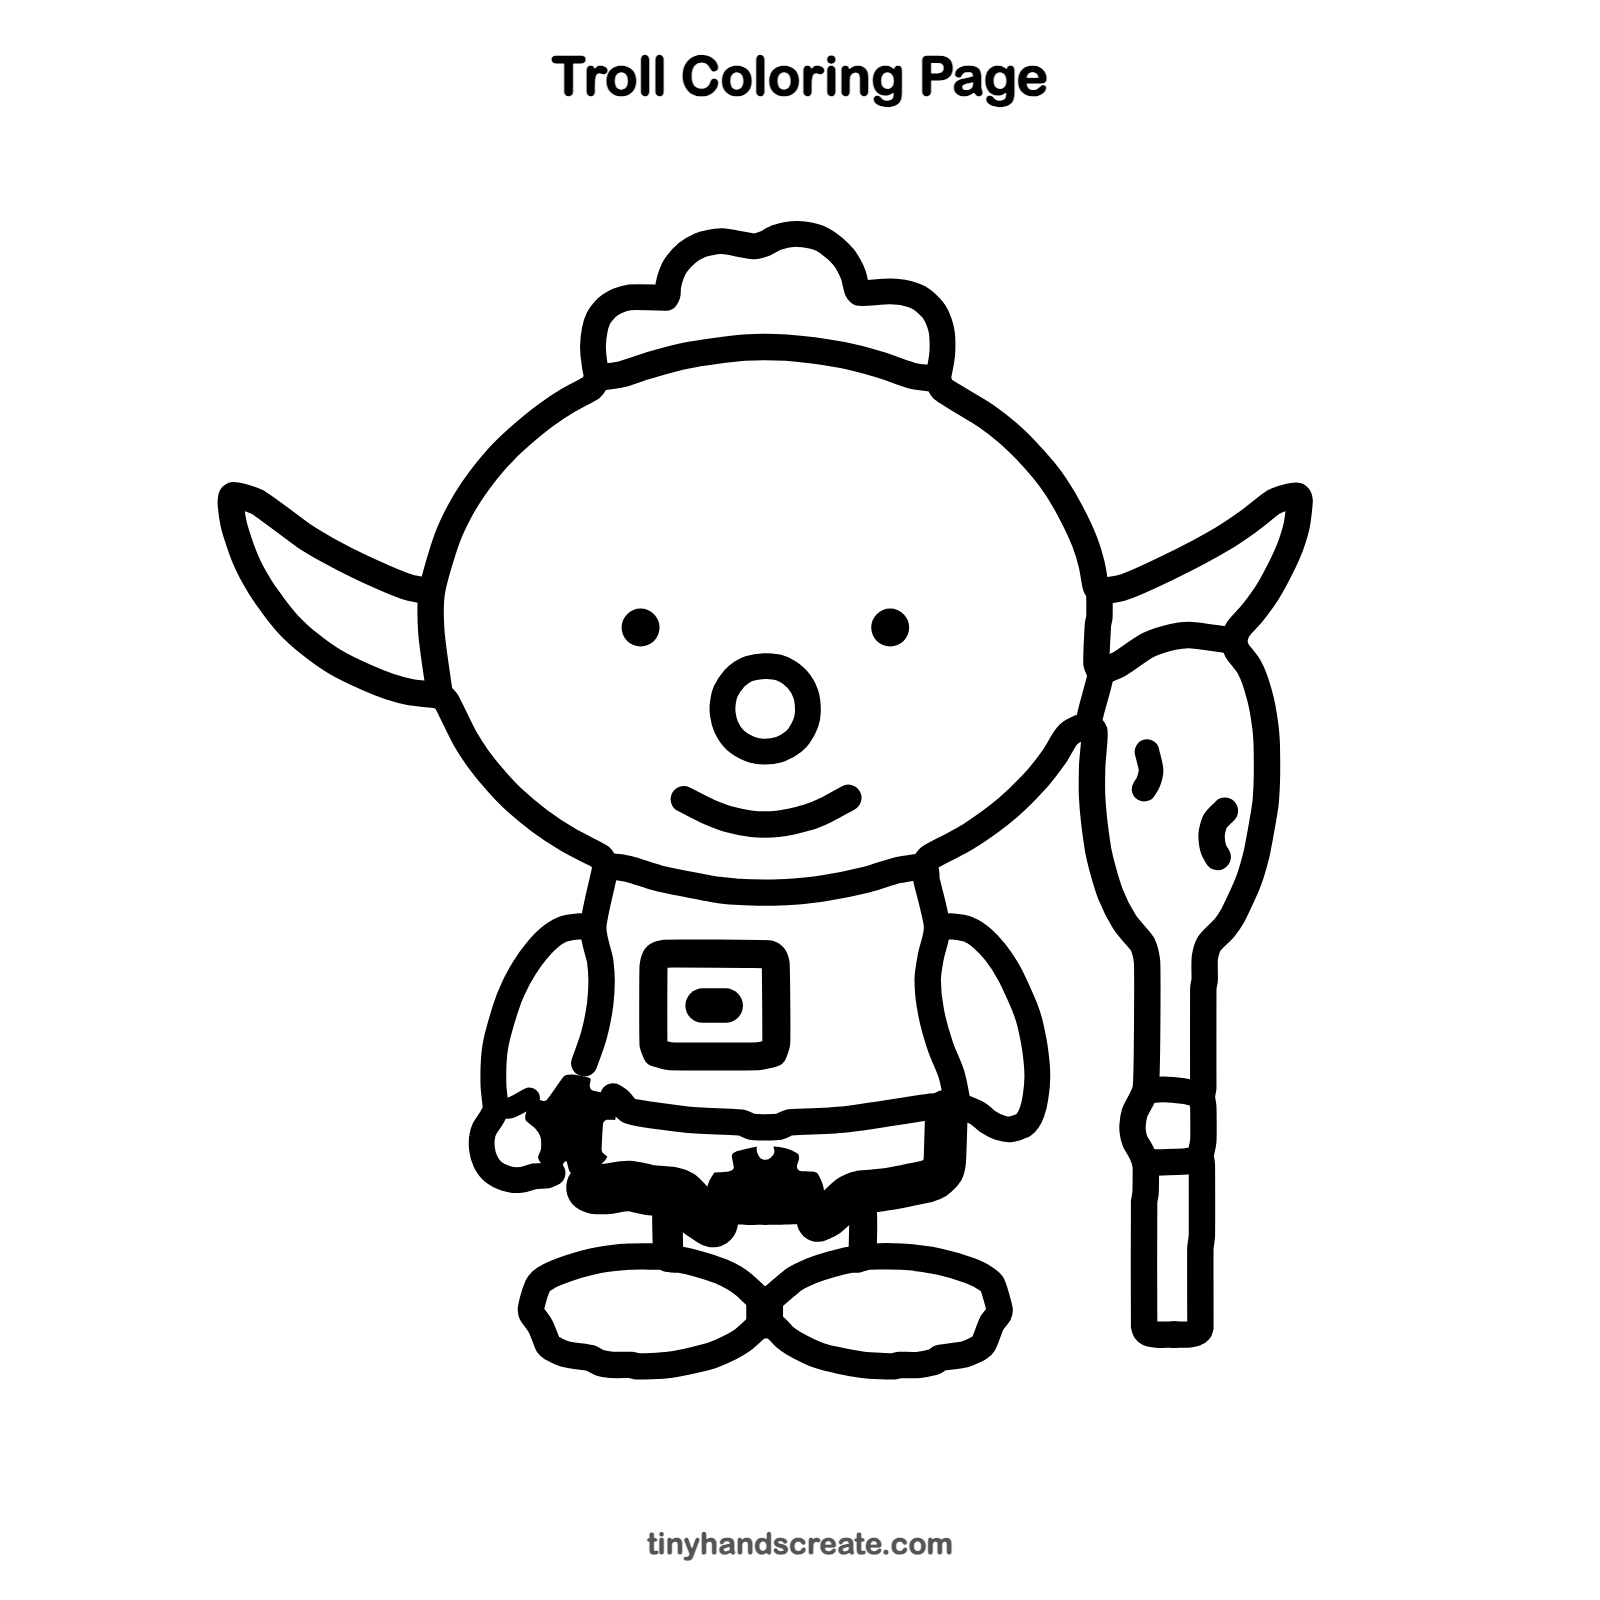
Want to go straight to coloring? Open this troll coloring page at full size and print it. It is the same drawing you just learned, with clean lines ready for crayons or markers.
How to color your troll drawing
Try green or gray skin, brown hair, and a wooden brown club with darker spots. For a twist, give your troll rainbow hair or a patch with a pattern of your own.
Troll fun fact for kids
The word troll comes from Old Norse, the language of the Vikings. In the Norwegian folk tale The Three Billy Goats Gruff, a troll lives under a bridge.
Questions about drawing a troll
What shapes do I need to draw a troll?
You need ovals for the head and feet, a rounded square for the patch, and leaf shapes for the ears. A small circle makes the nose and the hand.
How do I make my troll look cuter?
Make the head extra big, keep the eyes small and wide apart, and give it a curvy smile. Big feet help too.
How do I draw a troll's club?
Start with a tall rounded shape for the top, then add a long thin handle going down. A couple of spots on the top make it look like wood.