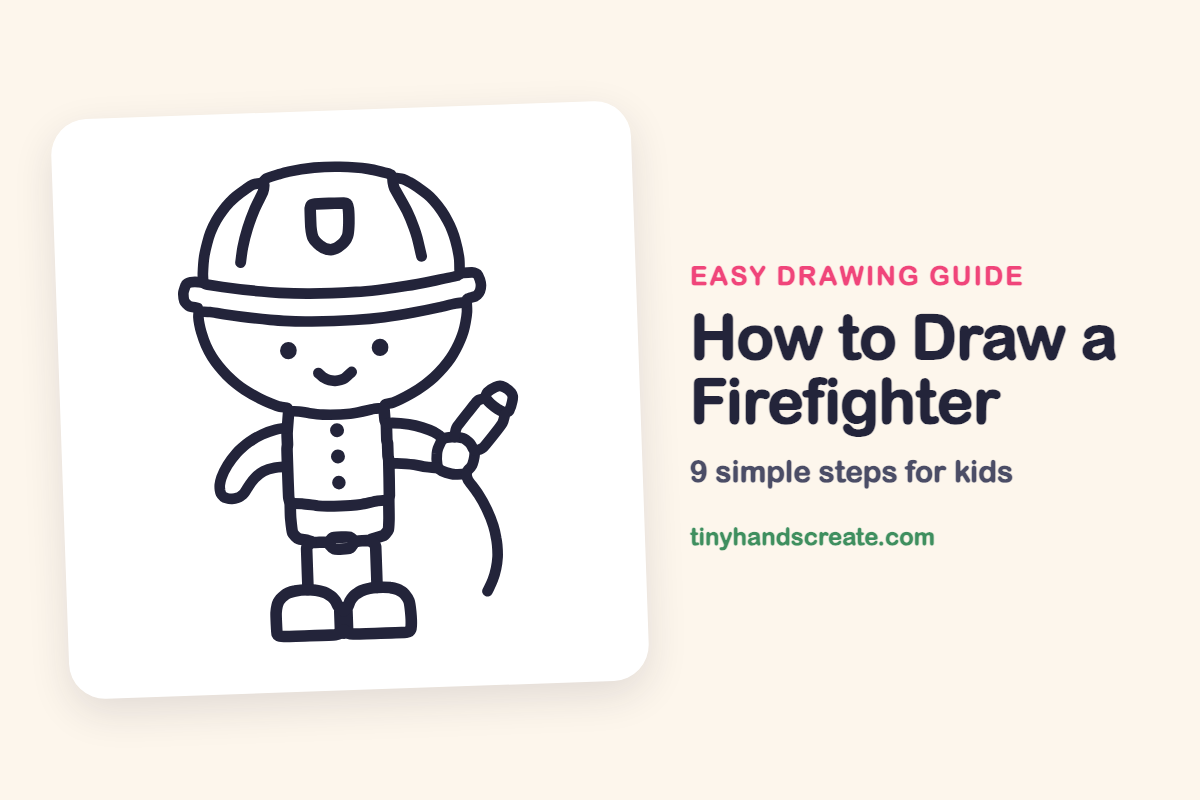
How to Draw a Firefighter (Easy Step by Step)
This little firefighter is built from simple shapes, which makes it a friendly drawing for beginners. A round head, a dome helmet, a boxy jacket and a long curved hose are all you need. The smiling face and the tiny shield on the helmet give it lots of personality.
- Easy
- 12 minutes
- 9 steps
You need: paper, a pencil, an eraser, and crayons or markers for coloring.
Start drawingIn this article (7 sections)
How to draw a firefighter step by step
How to Draw a Firefighter · tinyhandscreate.com
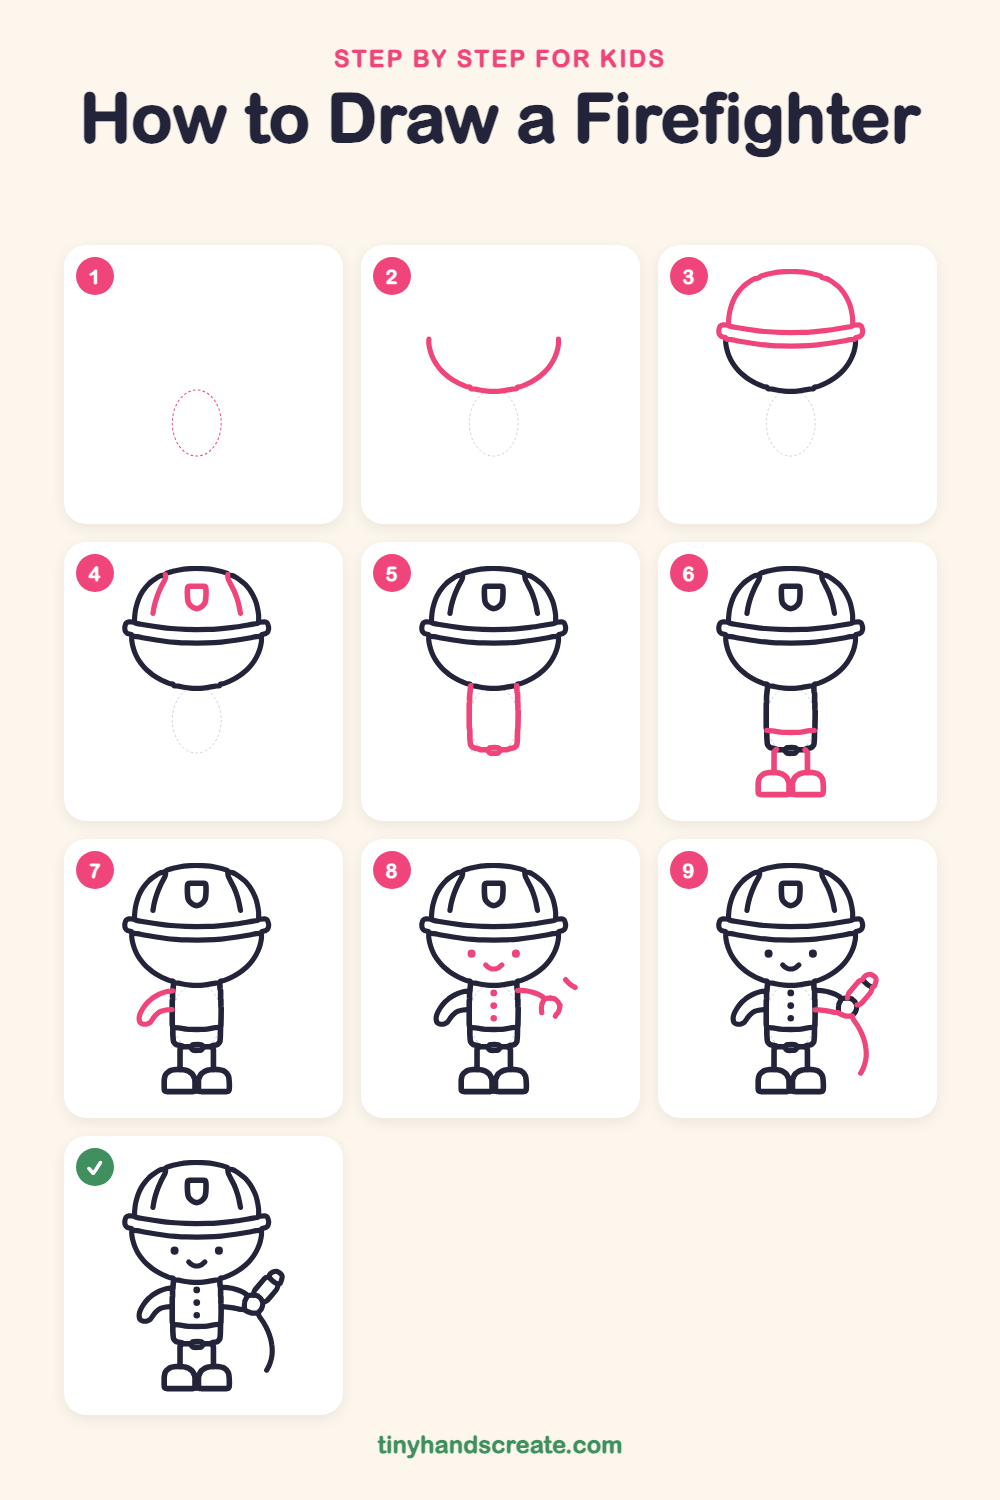
Step 1: Guide shapes
Lightly sketch this oval. It only shows where the big parts go, so press softly. You will erase it at the end.
Step 2: The round head
Draw a big curve like the bottom half of a circle for the head. Leave the top open, because the helmet will cover it.
Step 3: The helmet
Draw a big dome over the open top of the head, like half a ball. Then add a long curved band across the bottom of the dome, with little rounded ends sticking out at the sides.
Step 4: Helmet badge and stripes
Draw a small shield shape in the middle of the dome, rounded at the top and pointed at the bottom. Add a curved stripe on each side of the dome, starting at the top edge.
Step 5: The jacket
Under the head, draw two straight sides and a rounded bottom to make a tall box for the jacket. The sides start right at the bottom of the head.
Step 6: Belt, legs and boots
Draw a short curved band across the lower jacket for the belt. Under the jacket, draw two short straight legs, then give each a rounded boot with a flat bottom, side by side.
Step 7: The resting arm
On the left side of the jacket, draw a short curved arm that bends down and ends in a little curl for the hand.
Step 8: Face, buttons and raised arm
Add two dots for eyes and a little curved smile on the face. Draw three dots down the jacket for buttons. Then draw the other arm reaching out from the right side of the jacket, ending in a small hook for the hand.
Step 9: Hose and nozzle
Draw a small circle at the end of the arm for the hand. Add a short tube with a rounded end tilting up from the hand for the nozzle. Finish with a long curved line trailing down from the hand for the hose.
All done!
Erase the guide shapes, go over your lines, then color it in.
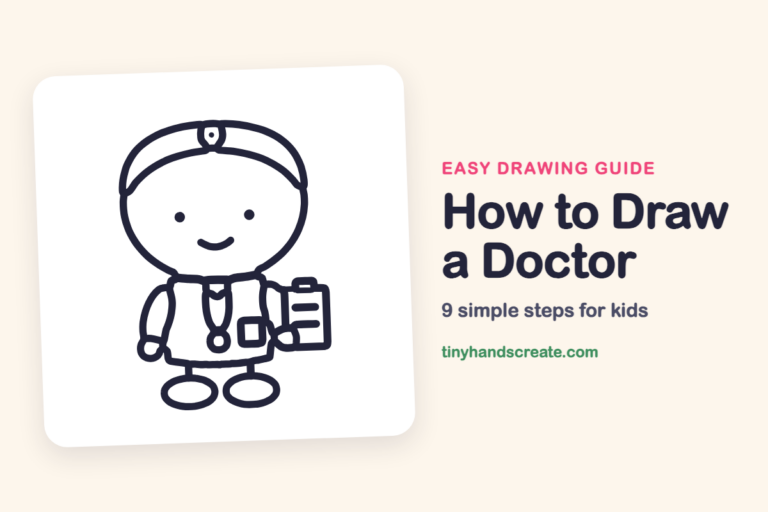
Finished your firefighter? Keep the pencils out and learn how to draw a chef or how to draw a doctor next.
Tips for drawing a firefighter
- Draw the bottom of the head first and lightly, then set the helmet dome over the open top so the two shapes meet neatly.
- The helmet band is the trickiest part. Make it a long curve that is wider than the head, with small rounded ends sticking out on both sides.
- Draw the hose in one smooth, slow stroke from the hand. Stopping in the middle makes the curve look wobbly.
Free firefighter coloring page
Want to go straight to coloring? Open this firefighter coloring page at full size and print it. It is the same drawing you just learned, with clean lines ready for crayons or markers.
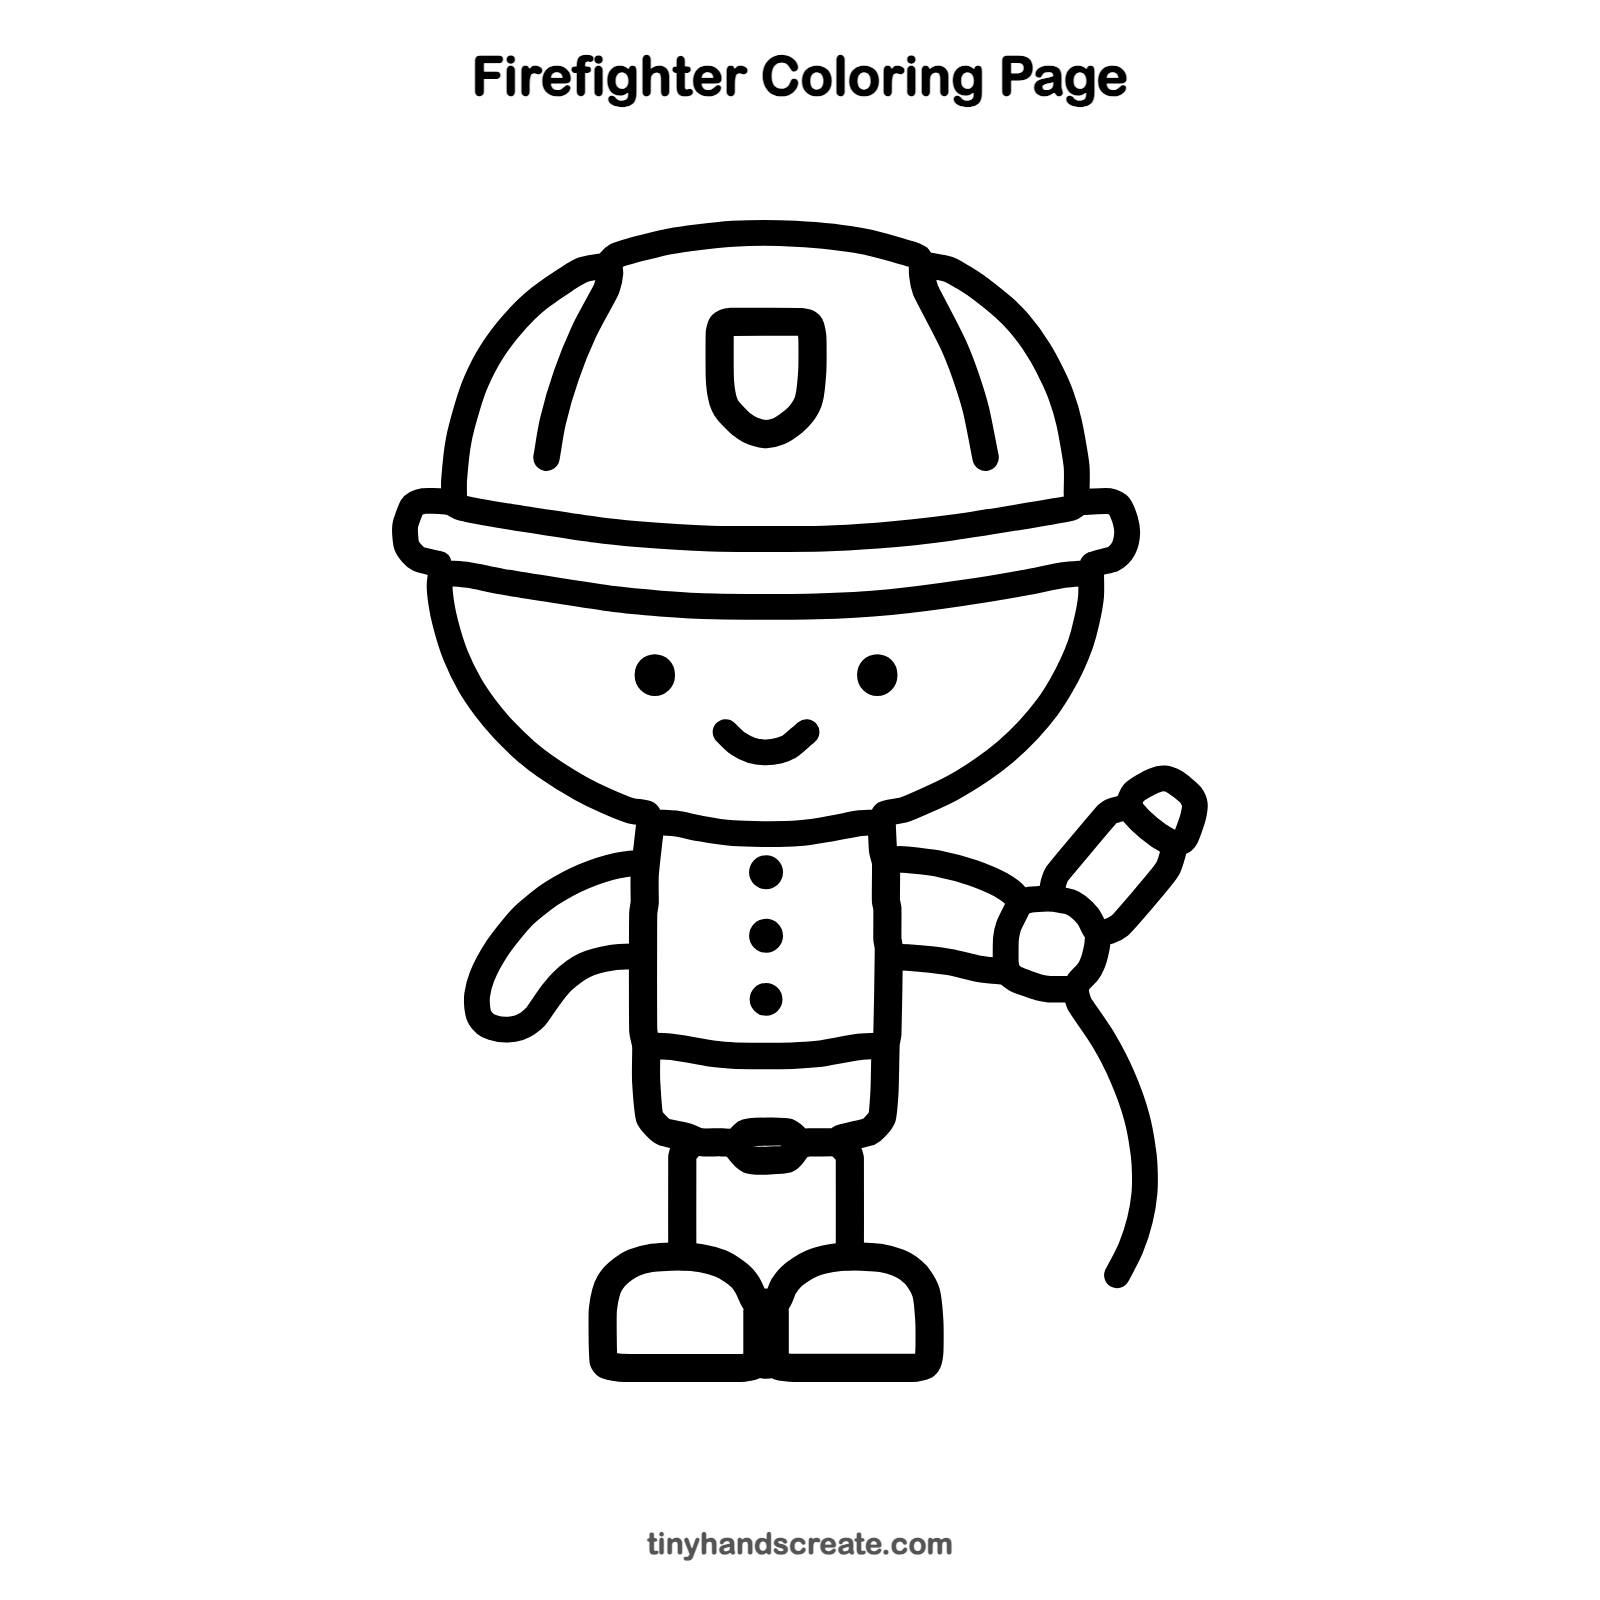
How to color your firefighter drawing
Try a bright red helmet and jacket with yellow stripes and a yellow belt. For a creative twist, add a blue water spray coming out of the nozzle.
Firefighter fun fact for kids
Many traditional American firefighter helmets have a long brim at the back that helps keep water and hot sparks from running down the neck.
Questions about drawing a firefighter
What shapes do I need to draw a firefighter?
You need a round shape for the head, half a circle for the helmet, and a tall box for the jacket. Add two short straight legs and rounded shapes for the boots.
How do I make my firefighter look cuter?
Draw the head extra big and the eyes wide apart, with a small curved smile. A round helmet and short legs make the character look extra friendly.
How do I draw the fire hose?
Draw a small circle for the hand, add a short tube tilting up for the nozzle, then draw one long curved line trailing down for the hose. Take your time so the curve stays smooth.