How to Draw a Thumbs Up (Easy Step by Step)
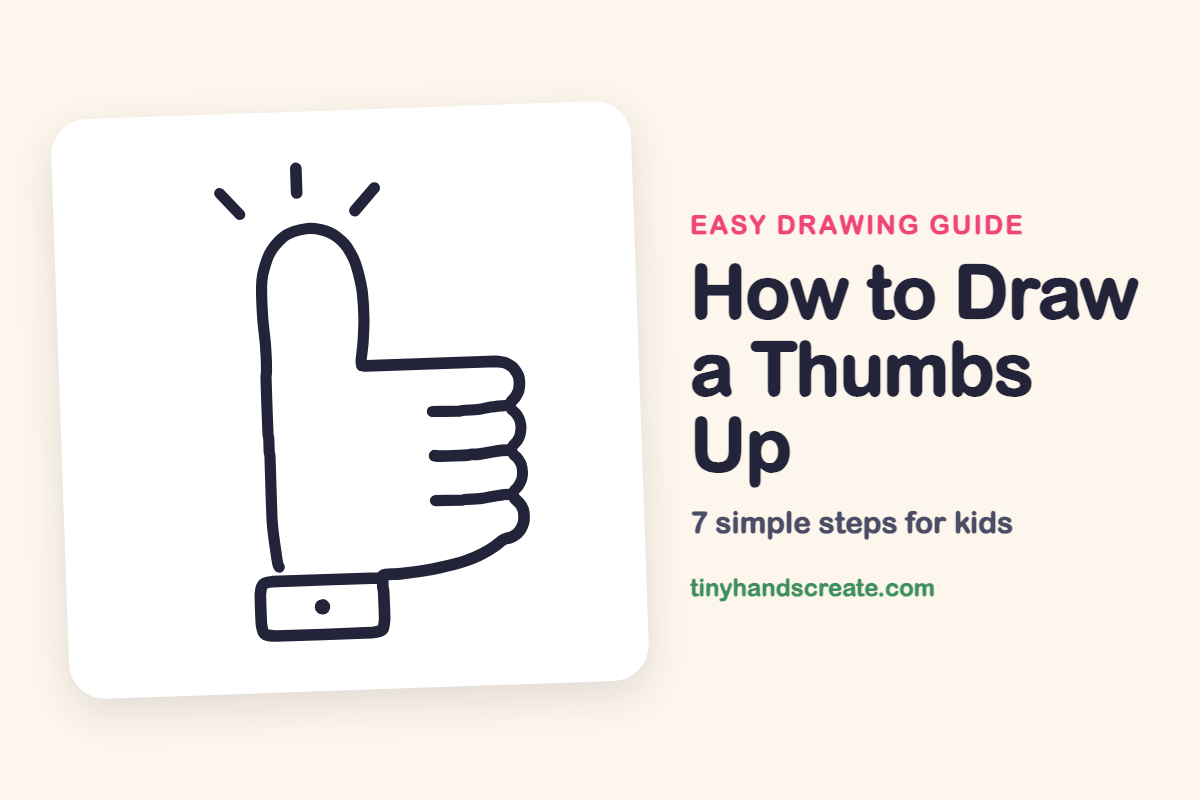
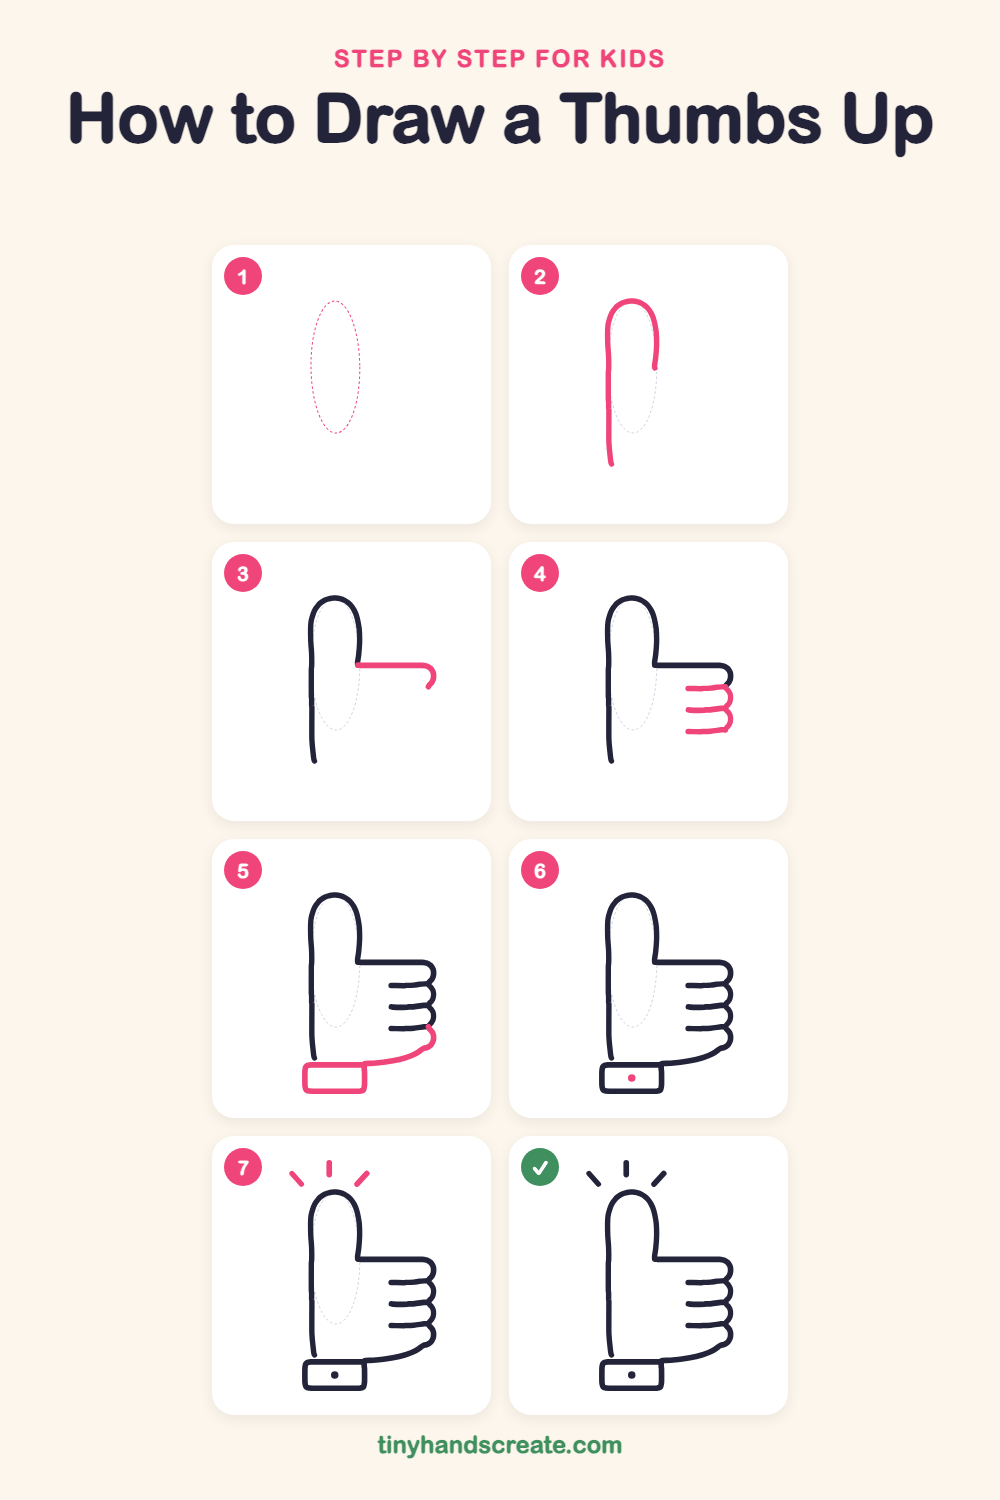
A thumbs up is a happy way to say good job without using any words. This drawing is built from a tall rounded thumb, three short lines with bumps for the curled fingers, and a rectangle cuff with a button. Short shine lines on top make it look like it is sparkling.
- Easy
- 10 minutes
- 7 steps
You need: paper, a pencil, an eraser, and crayons or markers for coloring.
Start drawingIn this article (7 sections)
How to draw a thumbs up step by step
How to Draw a Thumbs Up · tinyhandscreate.com
Step 1: Guide shapes
Lightly sketch this oval. It only shows where the big parts go, so press softly. You will erase it at the end.
Step 2: Thumb outline
Start on the right side of the guide oval, about halfway down, and draw up and over the rounded top. Then draw straight down the left side, past the bottom of the oval, so the thumb leans into the back of the hand.
Step 3: Top of the fist
Start at the right side of the thumb, near the middle, and draw a straight line to the right. Finish it with a small curve that bends down, like the corner of a box.
Step 4: Curled fingers
Under the top of the fist, draw three short lines going left, one under the other. At the right end of each line, add a small round bump so the fingers look curled.
Step 5: Hand bottom and cuff
From the last finger bump, curve a line down and sweep it to the left to make the bottom of the hand. Then draw a wide rectangle with rounded corners at the left end of that line, under the thumb, for the cuff.
Step 6: Cuff button
Draw one small dot in the middle of the cuff rectangle. It is the button.
Step 7: Shine lines
Above the thumb, draw three short straight lines that fan out: one straight up and one slanting away on each side. They show the thumbs up is shining.
All done!
Erase the guide shapes, go over your lines, then color it in.
Finished your thumbs up? Keep the pencils out and learn how to draw a ball of yarn or how to draw a baseball glove next.
Tips for drawing a thumbs up
- Draw the thumb tall and narrow, and keep its left side long and smooth so it flows down into the back of the hand.
- Keep the three finger lines about the same distance apart. Draw them one at a time from top to bottom so the bumps stack neatly.
- Draw the cuff as a wide rectangle with rounded corners, using a ruler or a book edge if you like. Put the button dot in the middle.
Free thumbs up coloring page
Want to go straight to coloring? Open this thumbs up coloring page at full size and print it. It is the same drawing you just learned, with clean lines ready for crayons or markers.
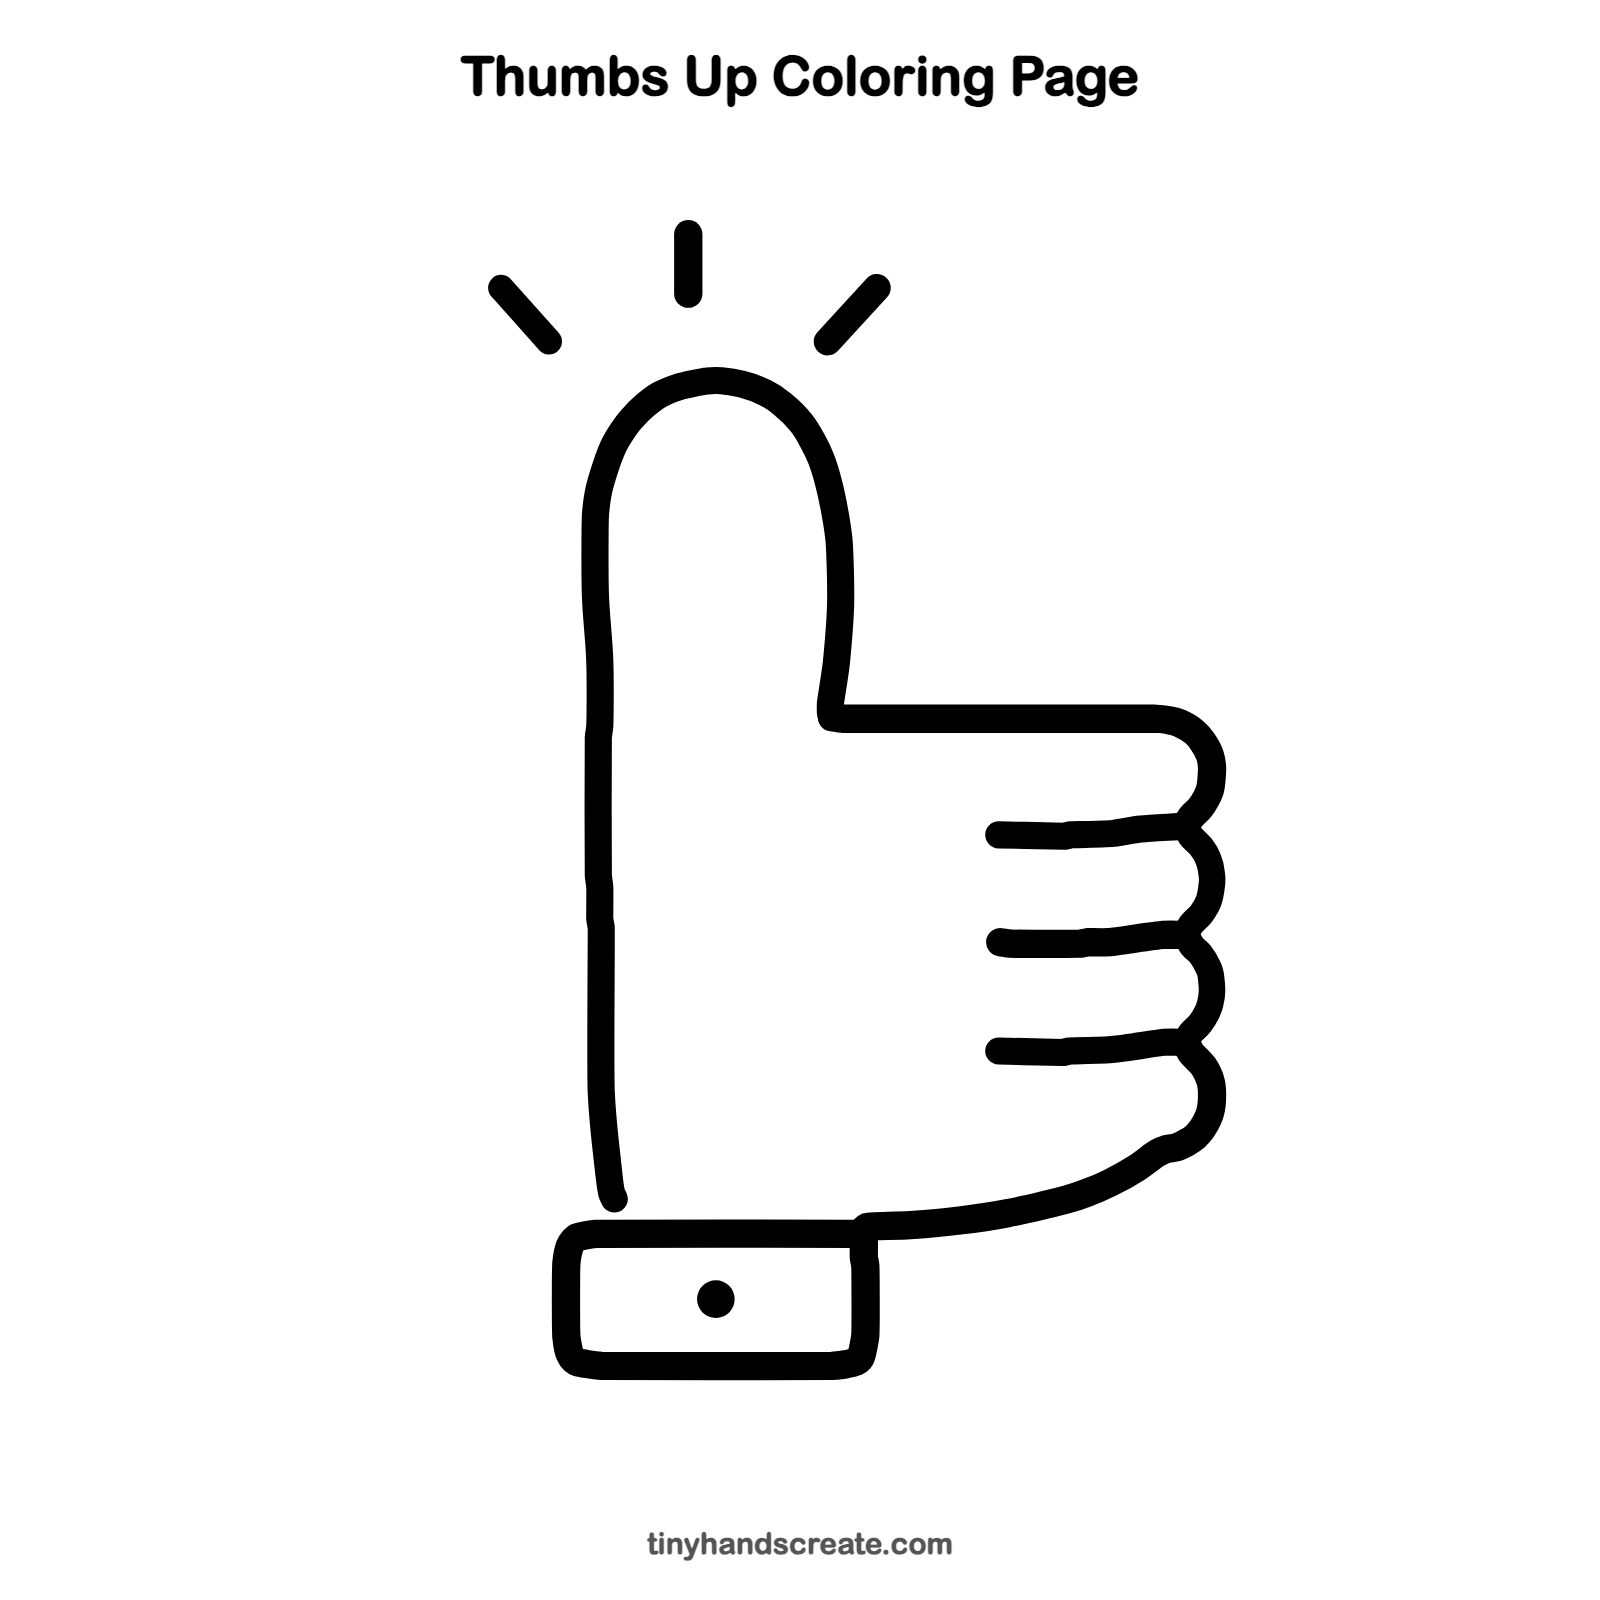
How to color your thumbs up drawing
Color the hand a warm peach, tan or brown, and the cuff a bright blue or red. Make the button a different color, and try yellow for the shine lines.
Thumbs up fun fact for kids
The thumb is the only finger with two bones. Each of your other fingers has three.
Questions about drawing a thumbs up
What shapes do I need to draw a thumbs up?
You need a tall rounded shape for the thumb, a few short lines with small bumps for the fingers, and a rounded rectangle for the cuff. A dot for the button and three short lines for the shine finish it off.
How do I make the fingers look curled?
Draw three short lines going left, one under the other, and end each one with a small round bump on the right. Stacking three bumps together makes the fist look folded.
How can I make my thumbs up look more cheerful?
Add the shine lines above the thumb and color it in bright colors. A colorful cuff and button help too.